
Having a few simple lighting setups available at your disposal is one of the most important tricks any photographer can have up their sleeve. In this post, I'm going to share with you six of my favorite lighting setups for wedding photographers, but really any photographer can use these simple tips.
If you have ever dabbled in the field of wedding photography, you know it can be extremely intimidating for many reasons. The shooting days are long, your clients are often demanding, the work environment is stressful, and you are constantly having to create amazing looking images every few seconds. One of the most enjoyable parts of the wedding day is the 10 or 20 minutes the bride and groom set aside for portraits of just the two of them. If you are really lucky, you might be able to photograph them each separately earlier in the day. When the opportunity comes to capture images of your clients on their special day, the last thing you want is to be searching for perfect natural light or worse, fumbling with your strobe lights.
Below, I have outlined six simple lighting setups that any photographer can use to add more excitement to their on location portraits. They, of course, can be tweaked to utilize more of the natural, available light on location, or you can choose to lower your ISO and increase your shutter speed to create even moodier, more dramatic images with flash alone. For all of these images, I'm using one Profoto A2 portable flash, and in the final image, I add a second A2 to create a dramatic two-light setup.
The Simple Headshot
When you think of wedding portraits or any on-location portrait, you might not think of using simple headshot lighting. However, this is such a simple setup and the results are so nice that I think every photographer should be familiar with this technique.
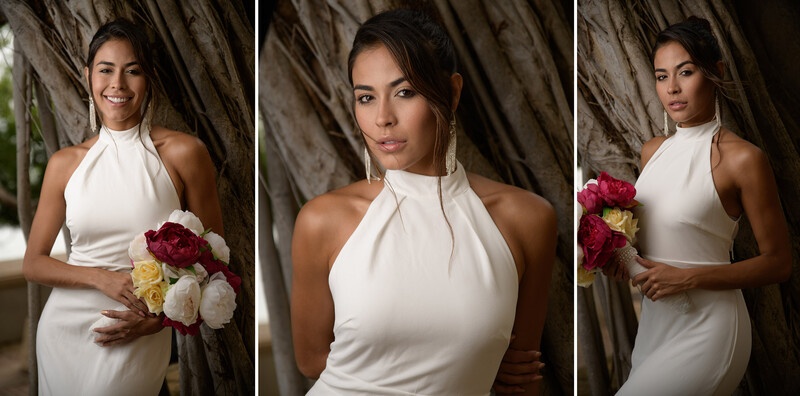
Instead of using a traditional medium softbox, I like to use the Profoto 1x3 Strip Softbox. This allows you to angle the light and create both a soft, directional keylight from the top of your subject's face and a similarly soft fill light from the side of their body. If you place the light close enough, you can create both soft light that fills in your subject's skin while also allowing for nice dark shadows that give the face that three-dimensionality that looks natural.
Create Natural Vignette
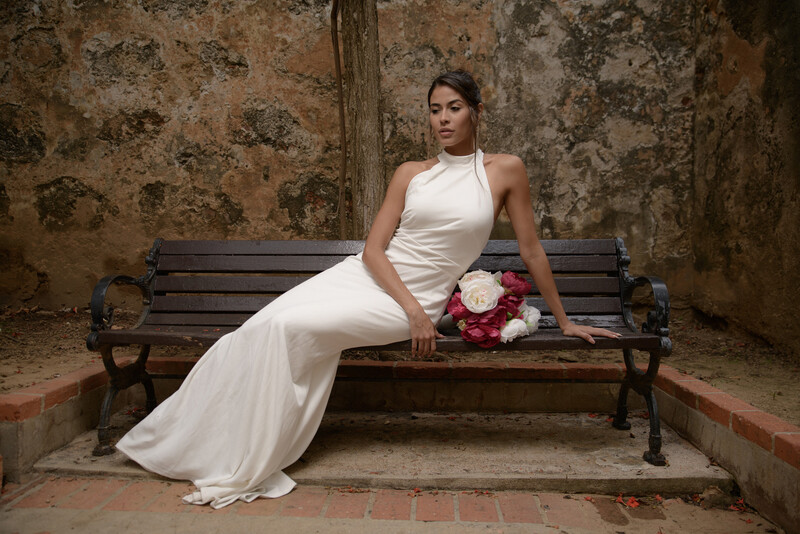
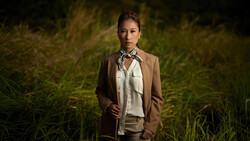
Sometimes, natural light looks great, but because the light is illuminating the scene evenly, it reveals too much information throughout the entire photograph and leaves the viewer's eye wandering all over the place. One simple technique I like to use when I want to pull the subject's eye into the bride is to create harder light that falls off rapidly around the edges. Any sort of reflector dish or hard spot grid can achieve this look, but in this example, I used the Profoto Clic Magnum and Grid. The Magnum allows the light to remain bright and powerful, while the grid narrows the light and creates a natural vignette effect.
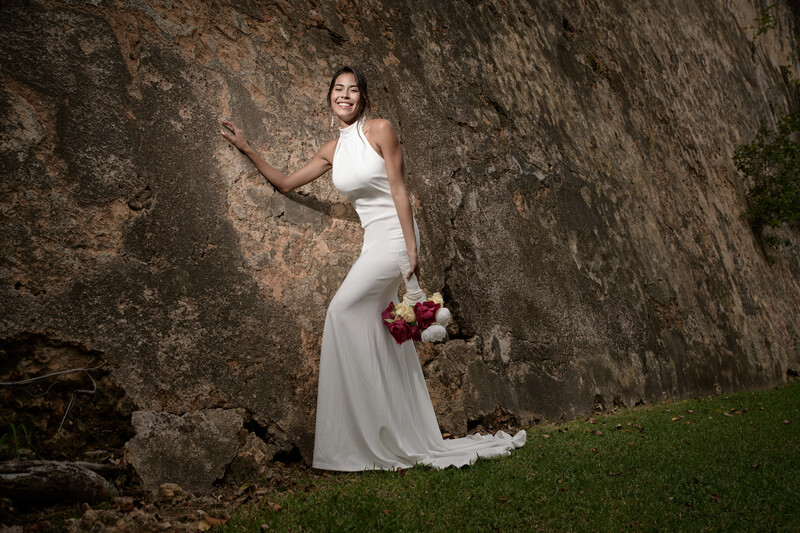
This setup also works well when you want to light multiple people because you can place the strobe much further away and illuminate a larger area. Keep in mind, when shooting with any hard light source, you definitely want to zoom into your screen and confirm you are happy with the location of the shadows on your subject's face. Moving a flash with a reflector or grid just a few inches left or right can make a massive change in the shadows coming off the nose, eyelashes, and chin.
Going Hollywood
During this shoot, I was able to use a light modifier that I have never used out on location before: The Clic Fresnel. Like the Magnum used above, the Fresnel actually increases the output of your flash by a stop or two, and it helps focus the light directly on your subject. This creates a sort of spotlight effect that can look reminiscent of those old Hollywood portraits from the 30s and 40s.
While this style of lighting is most pronounced indoors where you can cast the unique shadow on the wall, I like this setup because I can always have it available in my camera bag because the Fresnel lens is so small and compact.
http://www.youtu.be/H7vM_BM5ATs
My 80/20 Setup
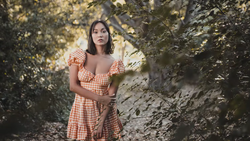
The easiest lighting setup you can possibly do anywhere is to simply use 100% natural light. Sometimes though, even with the most beautifully soft overcast light, you are left with an image that lacks any sort of punch or contrast. The light is simply too soft, and it starts to look a little boring. When these situations arise, I like to drop my exposure down 2/3rds of a stop and introduce a faint pop of flash to add a little contrast and directionality. I like to call this my 80/20 setup because it uses 80% natural light, and the flash only adds 20% to the final exposure.
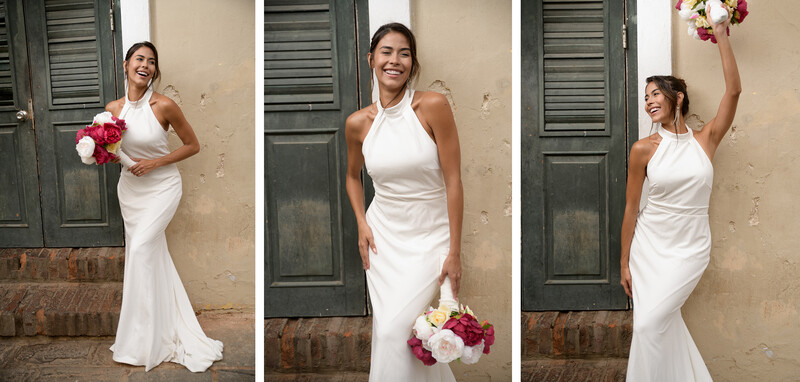
In order to achieve this look you can literally use any light modifier you want, but in this example, I decided to use the OCF Beauty Dish White because it creates a nice soft light that still has a slightly hard edge around the reflector plate. I never use traditional beauty dishes out on location because they are so rigid, large, and impossible to transport, but the more I use my OCF collapsible Beauty Dish, the more I think it might be the single best light modifier to take on a portrait session. It's definitely too small for larger group photos, but for one or two people, it has quickly become my favorite light modifier of all.
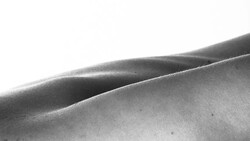
Light From Above
All of the lighting setups shown above rely on placing your light in a pretty typical position. The most flattering and predictable placement of your strobe is always going to be about 45 degrees off to either side and a few feet above the subject's nose. But what if you want to create something that has a vastly different feel and overall tone? In this setup, I've used a larger 3' OCF Softbox Octa directly above my subject to create a much more cinematic and whimsical lighting environment.
Because the softbox is still relatively large, the light being cast down still has a soft flattering look to it, and by simply adjusting how far in front the light is placed, you can add more or less light on your subject's face. This technique is also great when you need to block strong color casts caused by light bouncing off green leaves or trees.
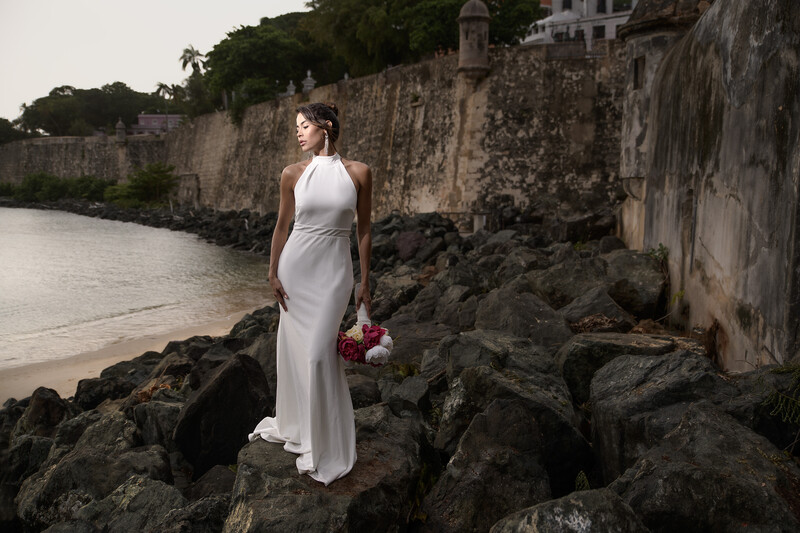
Gelled Two-Light Setup
While I love taking photos in beautiful, natural locations, some of my favorite portfolio images were actually taken in busy streets where the glowing city lights can spill into the frame. When shooting in the streets, I often want to add a strong backlight to help my subject pop off the background a little more.
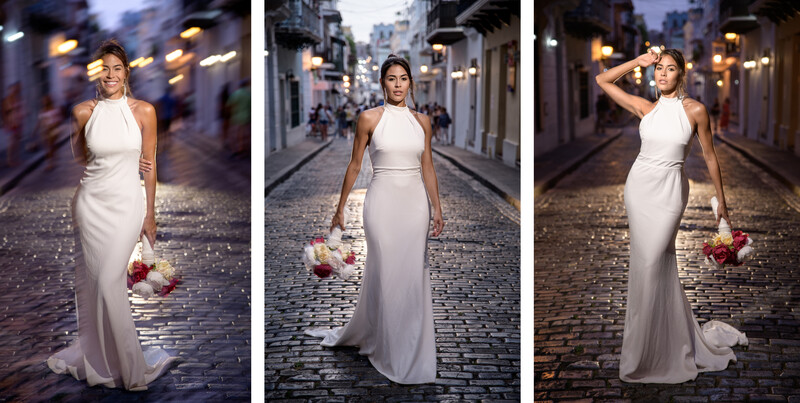
Here I've added both a 20-Degree Grid and Gel Holder with a 1/2 CTO warming gel to my key light. This allows me to lower my white balance and color match my strobe light with the warm lights often found on a busy street. Then, using a second CTO gelled A2 strobe, I can place it behind my subject to illuminate the Old San Juan cobblestone streets and create a little highlight around my subject. Since my assistant will have to manage the front key light on a light stand, I like to use this little tabletop light stand that I always keep in my lighting bag. Once you get the power of the two flashes perfectly balanced, you can then add or subtract the amount of city lights into your frame by slowing or increasing your camera's shutter speed.
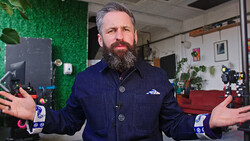
Learn More Wedding Tips
As part of these video series, Chris Fain invited me on his Geared Up show to talk about some of these lighting setups and other general tips for shooting wedding portraits. Even if you've already watched the two Fstoppers videos above, the Profoto Geared Up conversation allowed me to take live questions from other photographers and open up more about some of the best tips and tricks I've used throughout my 15-plus-year wedding career.

I want to thank Profoto for reaching out to me and sponsoring this video concept. I've been shooting with Profoto lights as my only strobe system for about 10 years now, and I absolutely love how modular their system is while also being extremely easy to set up, break down, and adjust quickly on location and in my studio. Investing into the Profoto ecosystem is pricey for sure, but compared to every other system I've used throughout my career, the Profoto system is by far my favorite to use.
Join the Fstoppers community for free
-
Post comments and join in the discussions
-
Browse the site ad-free
-
Share your work and get featured in the community
-
Compete in the photo contests for fun and prizes
2 Comments
This is an awesome article. Great info!
Thanks Casey! I hope one or more of these setups gives you something you can use in your own work.