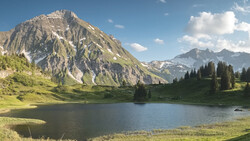
The right editing of a landscape photo can bring out details, improve contrast, and create a color balance that enhances a scene’s natural beauty. Here's how to do that in Lightroom.
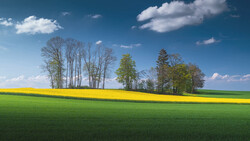
Coming to you from Christian Möhrle - The Phlog Photography, this detailed video walks through the full workflow for editing a landscape image in Lightroom and Photoshop. It starts with essential tonal adjustments, lowering exposure to recover highlights while raising shadows to maintain balance. The choice of profile—Adobe Landscape—instantly increases saturation and lifts the darkest areas. They allow for better control over the final look while maintaining a natural feel.
After the basic corrections, masking techniques refine the image further. Targeting the sky separately adds drama by increasing contrast and darkening specific areas without affecting the rest of the scene. Using a color range mask fine-tunes specific sky regions, fixing unwanted polarization effects that can create uneven tones. Adjusting exposure and saturation within these masks ensures colors don’t become overwhelming. These adjustments highlight how strategic masking prevents global changes from impacting areas that don’t need modification, keeping the overall image balanced.
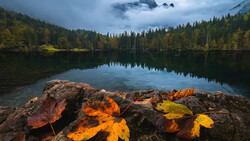
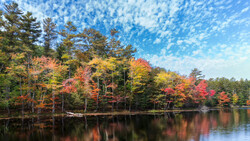
Color grading is another essential step, and Möhrle demonstrates how to shift hues for a more appealing result. The foreground’s yellow tones move toward orange, complementing the blues in the sky and ocean. This contrast creates visual depth and adds warmth without making the image feel unnatural. Lowering the blue saturation prevents the sky from becoming overpowering, while tweaking luminance levels refines brightness without sacrificing detail. Split toning introduces subtle warmth in highlights while keeping shadows slightly cool, reinforcing the complementary color scheme. Calibration adjustments further enhance the final look, proving how each step builds on the last.
Photoshop comes into play for final refinements. Removing distractions, like people or objects that take attention away from the main subject, cleans up the composition. Applying a glow effect strengthens the contrast between light and dark areas, making the brightest spots stand out without washing out details. The use of blend-if settings ensures that the glow only affects highlights, keeping shadows untouched. Additional fine-tuning through a vibrance adjustment layer and selective brushwork reinforces the intended mood. Check out the video above for the full rundown from Möhrle.
And if you really want to dive into landscape photography, check out our latest tutorial, "Photographing the World: Japan II - Discovering Hidden Gems with Elia Locardi!”
Join the Fstoppers community for free
-
Post comments and join in the discussions
-
Browse the site ad-free
-
Share your work and get featured in the community
-
Compete in the photo contests for fun and prizes
No comments yet