
Those of us in the Northern Hemisphere are now in the throes of summer, which means harsh sunshine for a larger part of the day. While midday sun is generally not ideal for photographs, it isn't always avoidable. Luckily, there are some simple ways to work around and even with that blazing star and still end up with strong images.
We've all heard it many, many times: you should avoid taking photographs during the middle of the day. And it is true that generally speaking, the best time to take photographs is early in the morning or late in the evening when the sun is low and shadows are soft and long. Midday sun produces really high-contrast images with strong highlights and harsh shadows. It usually isn’t the most flattering light for portraits. Unfortunately, it isn’t always possible to avoid shooting in the middle of the day. Sometimes, that is the only time clients have available, a wedding is taking place partly at that time, or maybe you can only go for a hike in the afternoon. Shooting in midday sun doesn’t have to be awful, however! There are some easy ways to work with that strong sun to still end up with great photos.
Deal With It
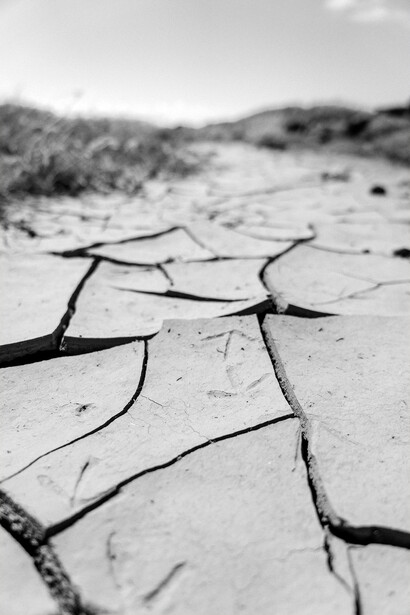
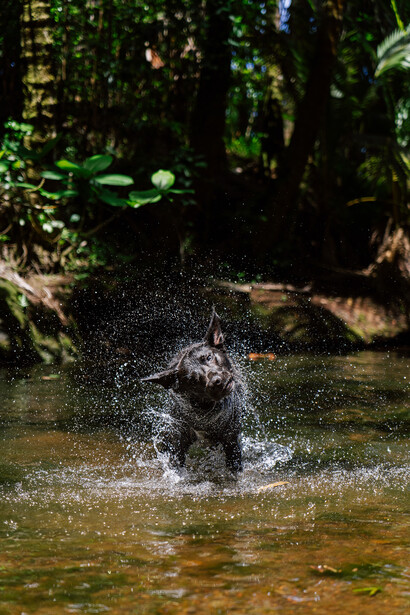
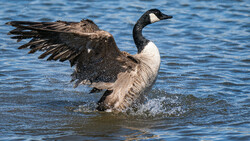
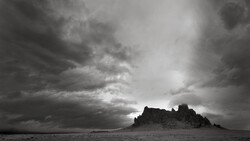
The first, and at times easiest, thing to do is to just deal with it. As I will go into below, there are ways to minimize the impacts of the harsh sun. But sometimes, even those things aren't options or the best thing to do may even be to use the sun to your advantage. Simply embrace the contrast! High-contrast images can produce some cool and interesting results, so don't be afraid to go with it! In fact, images with midday sun lend themselves really well to black and white because they are already high contrast. It can be a great way to emphasize lines and shapes, creating really bold images.
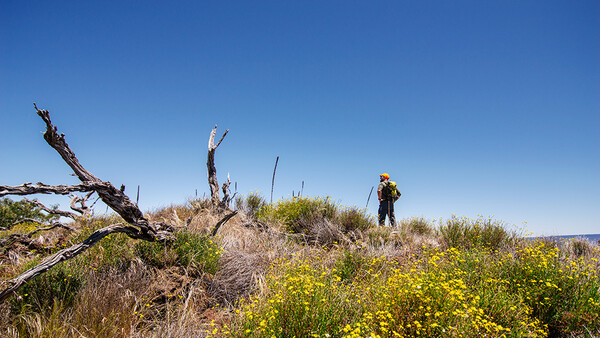
Finding backgrounds with striking shapes, lines, and/or color is another great way to lean into and play up the qualities inherent to the midday sun. For scenes that don't involve humans, finding strong forms in a setting, like architectural lines or trees isolated in a field, can be another good way to utilize harsh sunlight. Or, try shooting low to fill your composition with lots of sky to create a powerful, minimal image.
Find Shade
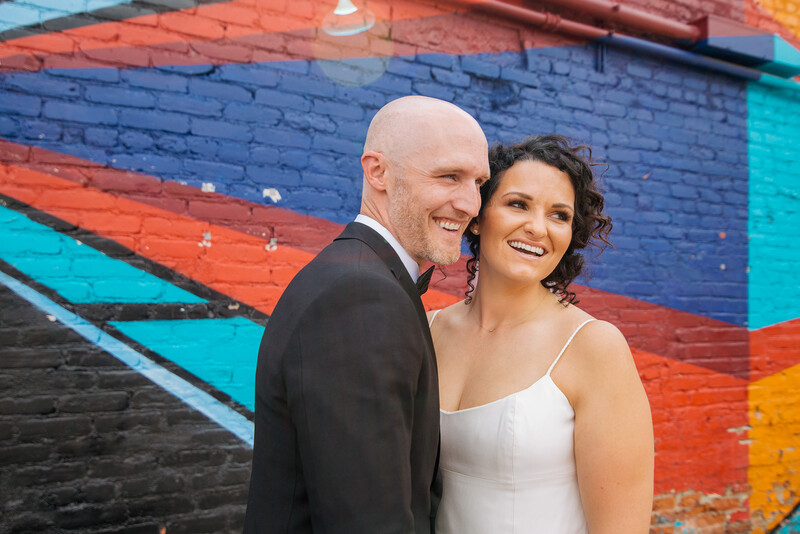
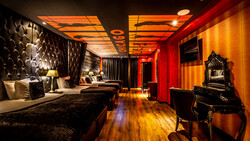
The next best thing to do is to find shade. Putting your subject in a shady spot will provide soft, even light (and give them a break from the hot sun). The key to this is to find open shade, however. Open shade is a wide area of coverage that will allow you to place your subject away from whatever is providing the shade or anything else that may produce an unwanted color cast. For example, putting a person too close to green leaves will cast a green color onto their skin. It isn't the most flattering thing and can be difficult to edit out in post.
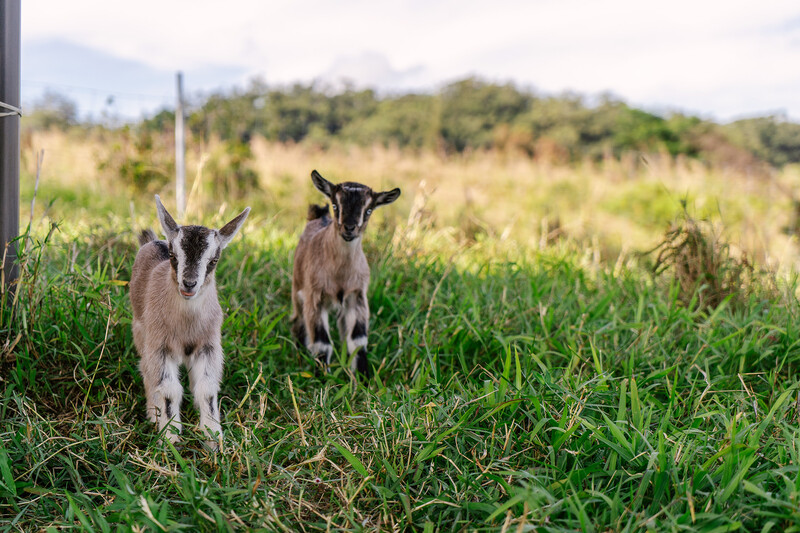
On the flip side, you can also put your subject directly in the sun with a densely shady spot behind them. This creates a spotlight-like effect. You will still get harsh contrast on the subject itself, of course, but they will generally stand out nicely from the background, and it can create some unique images as a result.
Use a Reflector
A reflector is another great tool to have on hand when dealing with the midday sun. Because the sun will be mostly overhead, dark shadows around the eyes (or on the face in general) are a common thing; a reflector will help remedy that. While you can buy pricey photography-specific reflectors, anything white will honestly do. Posterboard is a great, easily accessible, and cheap option, but you can even use a white shirt in a pinch. Just hold the reflector so it is facing the sun and pointed towards your subject. This will send a surprising amount of light back to your subject and help fill in shadows, resulting in a more flattering portrait.
Editing
Lastly, editing is usually key with these photos. They will have dark shadows and bright highlights, so you’ll need to level those out. I generally underexpose images taken during the middle of the day to avoid highlights being too far gone to recover, so exposure then needs to be brought up in editing. Then, depending on the image, I bring down the highlights so they aren’t so bright and bring up the shadows so they aren’t so dark. The dodge and burn tool is also extremely helpful for these types of images. Dodging the face of the subject to soften the shadows even more will help, and if there are distractingly bright areas, you can burn those in. Midday photos can also be a good time to play around with your edits (provided the shoot allows for it, of course) and dive into the high-contrast realm that is already there.

Join the Fstoppers community for free
-
Post comments and join in the discussions
-
Browse the site ad-free
-
Share your work and get featured in the community
-
Compete in the photo contests for fun and prizes
11 Comments
Infrared does great with harsh daylight as well.
Great article! Just one point I'd add between finding shade and reflector is something like "making shade."
Diffusers are great for this but definitely require either an assistant or C-Stands of some sort ( with sand bags if it's windy!)
https://www.bhphotovideo.com/c/product/1175594-REG/phottix_ph86538_coll…
Definitely agree with using diffusers. I just put to use the diffuser from my 5-in-1 reflector kit shooting an engagement on a California beach. Worked really well softening the harsh sunlight. An assistant was a must, especially since beaches are usually windy.
Oh absolutely! That is a great point!
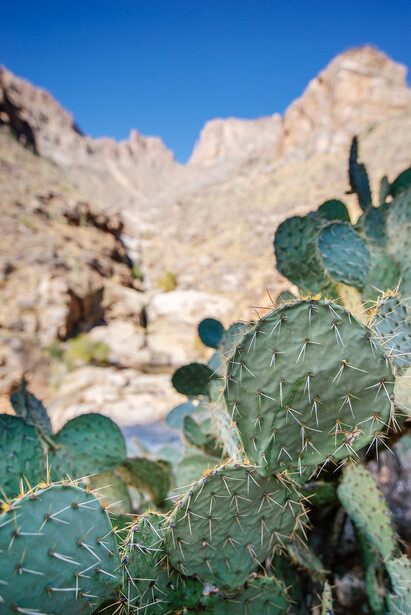
That last photo that you used in the article, with the cacti in the foreground and the mountains in the background .... those mountains look familiar.
They wouldn't happen to be in the Tinajas Altas range, along the Arizona-Mexico border east of Yuma, would they?
It is close to there, but not quite! That was taken near Tucson, Arizona. If I remember correctly it was roughly in the Sabino Canyon area.
Thanks for the info, Abby!
I still have a lot to learn about southern Arizona. The first time I was ever there was just a couple months ago, and I loved it so much! Can't wait to go back again and again and again!
The Mount Lemmon area of Tucson is absolutely amazing; I highly recommend it! That's really the only place I've been there (my husband's sister lives there), but it is stunning!
Thanks so much for the recommendation! I'm going to look up Mount Lemmon now, and see what it's like. I love planning for upcoming adventures! Of course, my main interest is wildlife, so I'll be researching to see what species of snakes and lizards are up there on Mount Lemmon.
Thank you Abby - we can't always choose the time to take our photographs when travelling or working - we have to take the light as we find it. Going back to re-shoot at the golden hour isn't an option if the train is leaving soon.
My hints to add to your suggestions:
[1] there is an inverse relationship between sensor ISO and dynamic range - use the base setting ISO when possible
[2] polariser filters can take the reflective shine of green leaves and wet rocks and many building materials in a way that can't be done in post-processing - and can reveal cloud patterns that would otherwise be lost
[3] shade + fill-in flash can restore even lighting when harsh shadows cover the face - even a small pop-up strobe can make a difference - while flash bounced from a reflector will mimic a larger light source. Using a tungsten white balance on the camera and an orange gel on the flash can put some colour into an otherwise bland sky.
[4] Shooting a sequence of HDR exposures can salvage a scene and restore detail in shadows that would otherwise be just noise.The AURORA-HDR programme has some "realistic" algorithms which beat the usual "over-processed HDR look" - and remember that AURORA released their 2018 full featured version for free to tempt you into their system.
[5] strong ND filters and a tripod to give 5+ minute exposures can blur the cloud patterns can avoid the "cotton-candy" effect in the sky - turning them into more graphic representations of the wind and weather
[6] lastly - just embrace the "problem" and emphasise it - some subjects just cry out for the bleached pastel hues and high-key backgrounds that the midday sun creates. Vertical sunlight goes deep into the sea and can give those inviting turquoise colours; add that polariser to deepen the effect. Heat Haze can be a help too - it can create a separation between a patterned foreground subject and a softened environment; by using a supertelephoto the effect of the distorted distance is compressed, maximising the haze separation effect.
Now, knowing the F-Stoppers readership - there are at least another 5-6 things I have left out that you will be keen to add!
Best wishes - Paul
PS - saferty first: lens caps are a big help here too - leaving them off with a wideangle on your camera as you walk around can burn a perfect sun shaped defect in a sensor surface coating, or melt a hole your silk-and rubber fim camera shutter blinds!
Lots of great tips here as well, thank you, Paul!