
Implementing gels into your photography is a really simple and effective way to make sure your images really stand out from the rest of the crowd. There are a ton of different ways to use gels to create some absolutely stunning imagery, but in this post I am just going to show you a few ways that you can use them to add color to your background to produce really dynamic portraits.
In my last post, I talked about how to get three different headshot looks with just two lights and one grey background. If you haven’t already seen that, check it out here. Today I want to expand on that concept a little bit by using gels to add color to the background which will virtually give you an infinite number of backgrounds to choose from. Instead of using two studio strobes like I did in the last tutorial, for this lesson I'm going to be using three speedlights. The reason I wanted to use speedlights rather than studio strobes is because I got a handful of questions about whether or not the 3 in1 headshot could be done with more basic gear. In order to lay those concerns to rest I wanted to get back to basics and use some of the least expensive gear on the market to prove that you can get some great images with very inexpensive gear.
Here’s a list of the gear I used (excluding the camera):
Savage Grey Seamless Background - $28
Speedlights - Yongnuo YN 560IV x 3 - $69 each
Flash Trigger - Yongnuo YN 560 TX - $40
Rosco Color Effects Filter Kit - $33
MagMod MagGrip and MagGel Holder (Optional to secure gels) - $100
Westcott Apollo Orb Kit - $150
Tether Tools Orange Tether Cable (Optional but recommended) - $49
Now that I've gone over the basic gear, let’s get started. Here’s the process in a nutshell.
Setup lights… Add color to lights… Take picture…
Ok so maybe it’s not that simple, but it really isn't all that difficult either.
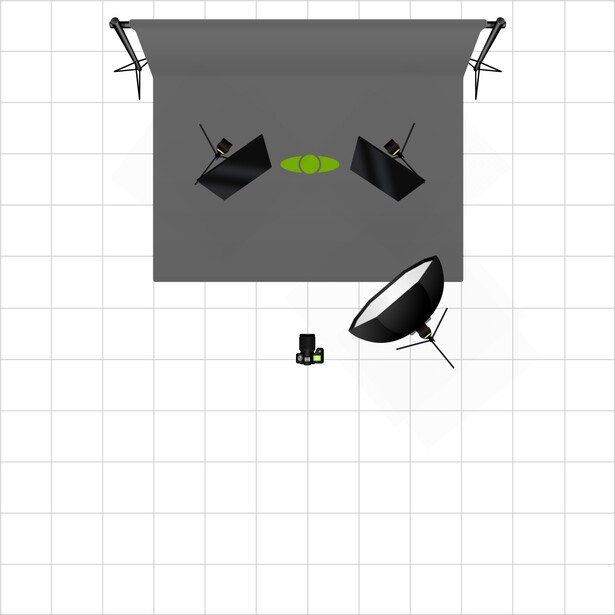
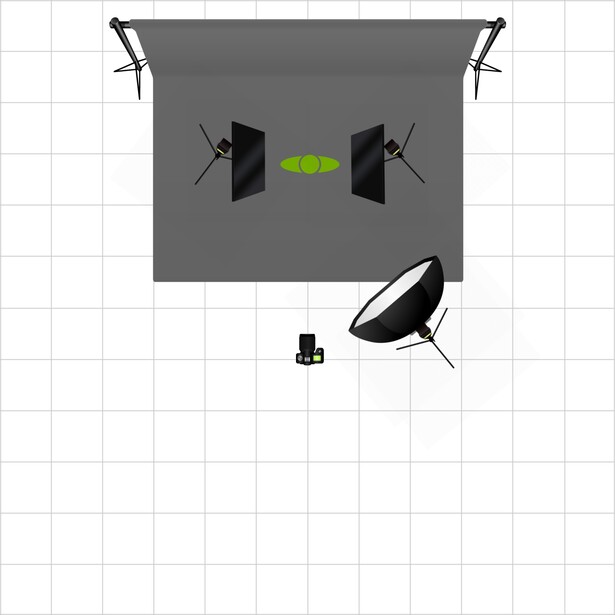
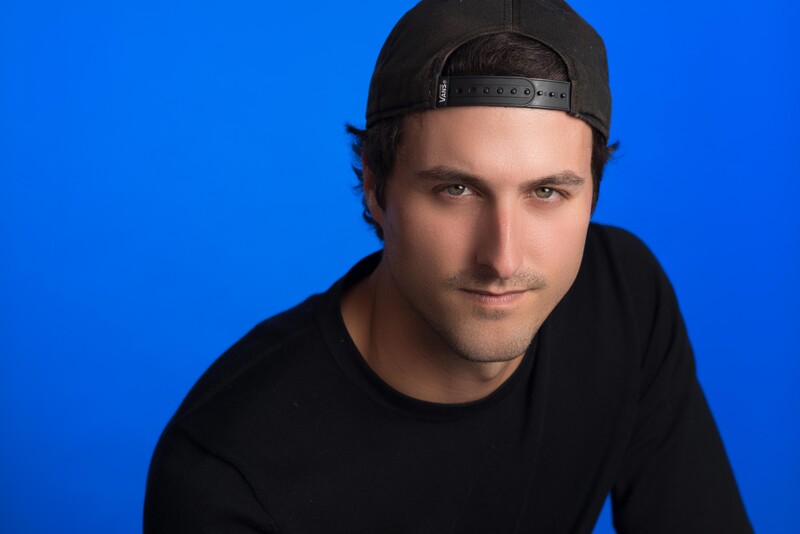
The first thing you’ll want to do is setup your background lights. It’s also important that you use a grey background (which I failed to mention in the above video) because that will translate the color from the gels better than any other background. You can probably get away with using white, but in my experience I have always had better results with grey. When I am adding color to my background I prefer to use two lights rather than just one because with two flashes I am able to control the color much better than I would be able to with just one flash. That being said, you can definitely use just one flash if that’s all you have but I have found that I get a much more consistent color across the entire frame if I have two lights angled in toward the background at about 45º.
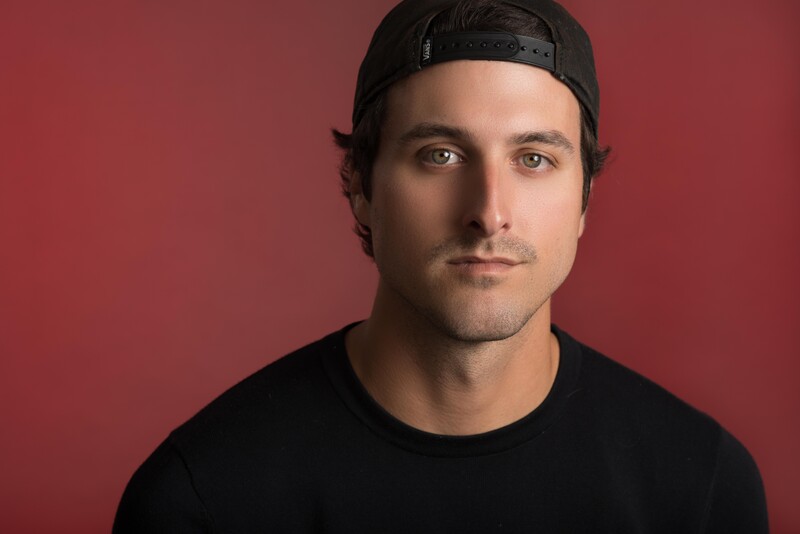
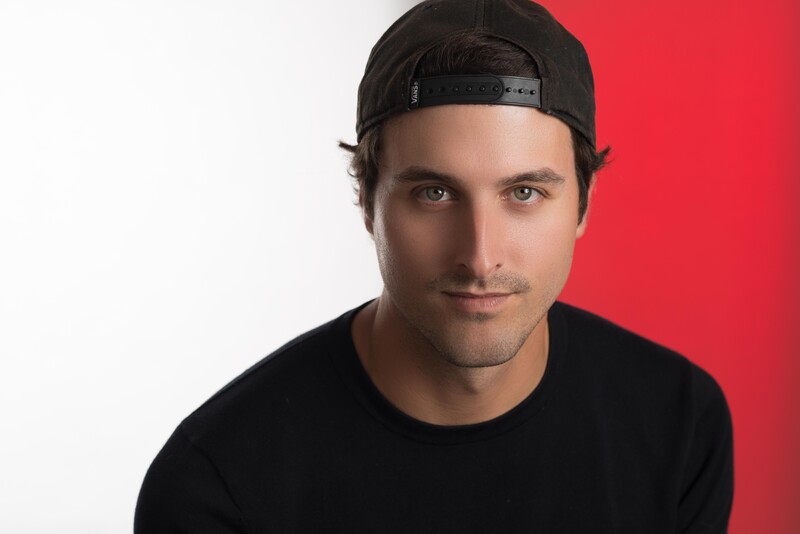
Once you have your background lights placed where you want them, go ahead and take a test shot without your key light on. Depending on where you have place your subject you might get some pretty bad color bleed onto the side of your subjects face.
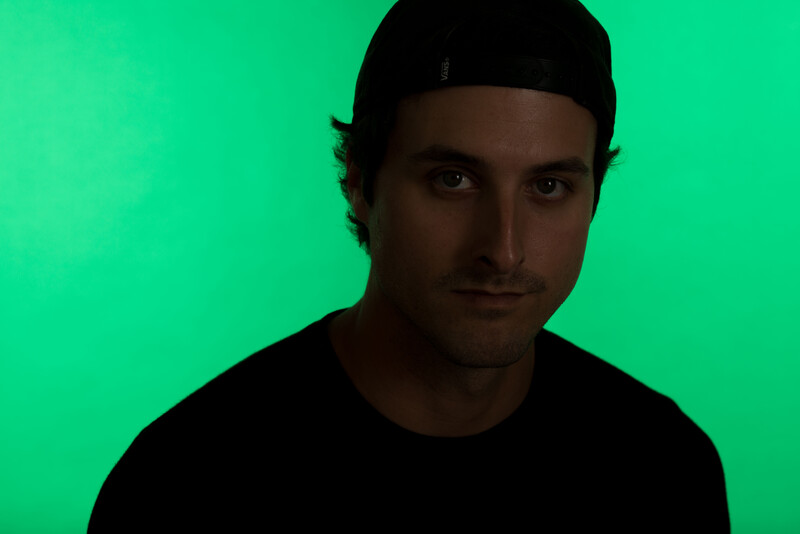
There isn't too much bleed in this image, but if you run into that problem, here is how you eliminate it. You can either bring your subject forward so the light doesn't fall on their face anymore, or you can flag the light with a piece of black foam core. I chose to use the foam core because I will actually use it for something else a little bit later.
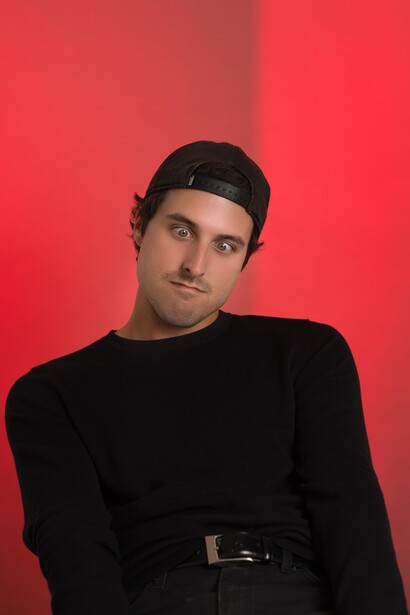

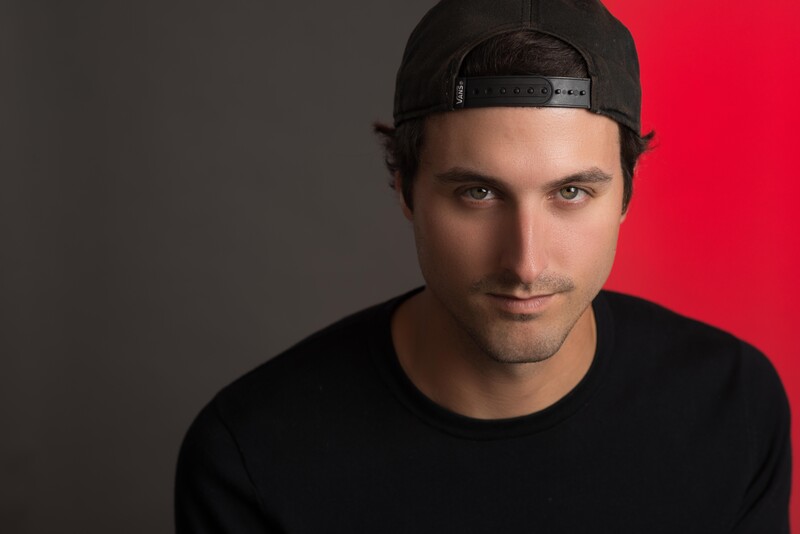
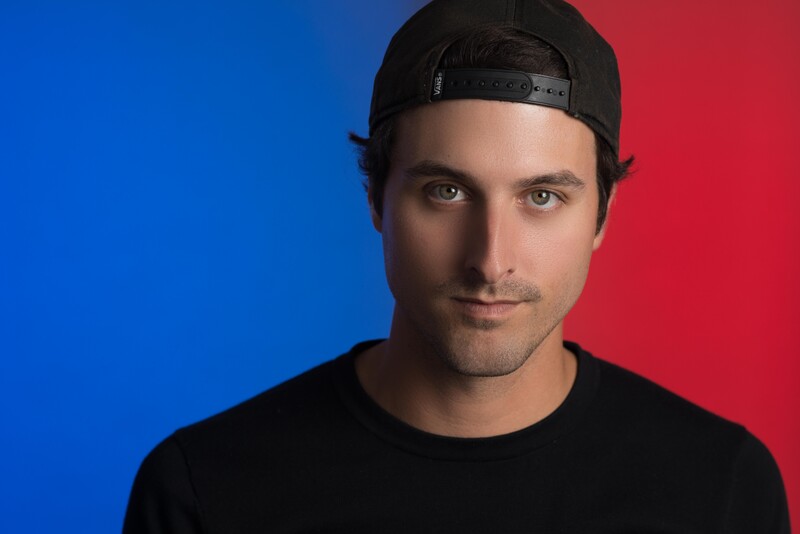
In addition to creating solid colored backgrounds, one of my favorite ways to use gels on my background is to actually split it into two different colors. To achieve this, all you have to do is feather your flags back toward the middle of the backdrop. In some cases you may have to have your flag almost pointed directly at the backdrop at 90º.
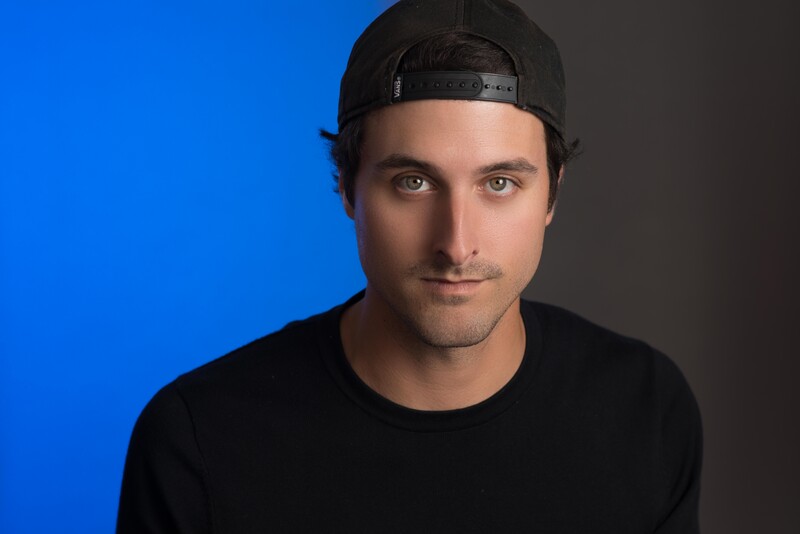
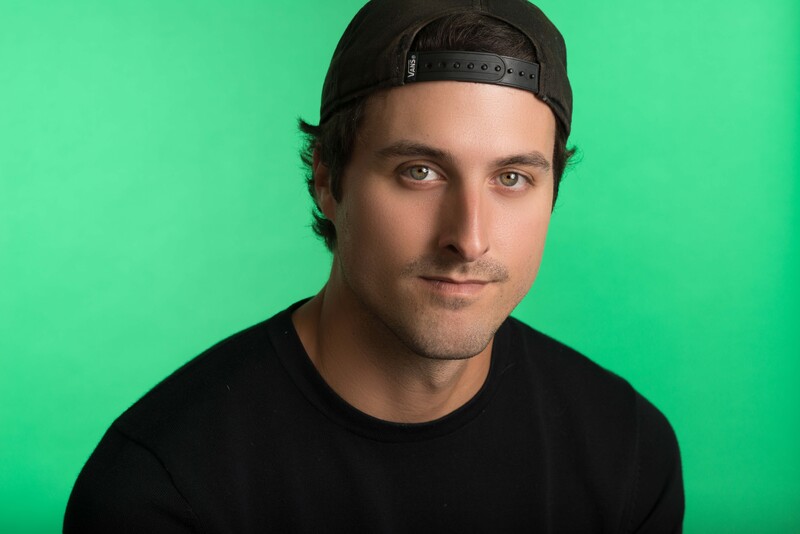
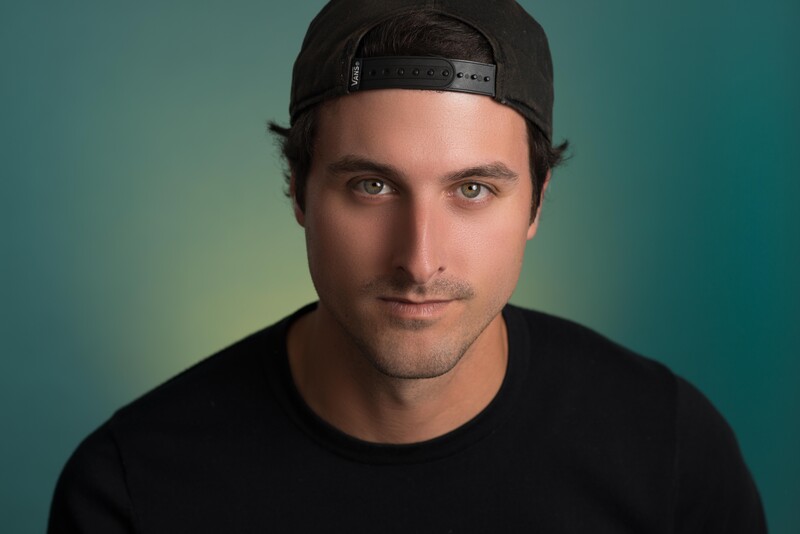
I'll leave you with a couple more images from this session.

Join the Fstoppers community for free
-
Post comments and join in the discussions
-
Browse the site ad-free
-
Share your work and get featured in the community
-
Compete in the photo contests for fun and prizes
54 Comments
It might be a little harder to get an evenly lit background with a full body shot. If you have a lot more space to work with it wouldn't be that hard because you could pull your subject off the backdrop and move the lights further away allowing a more even spread.
Hi, a very cool article. Please write the names of the flash brackets that you used for the rear flashes. I want to make a blue abstract background and if you added them it would help me a lot. Thank.
What is the power of the main light?
College student photog here, so forgive my ignorance, but will I have an issue with this technique for full length portraits where the model would be posing on the floor? I haven't seen any examples like that. Thank you!