
As photographers, we need to put our best foot forward, especially if we're hoping to get clients to hire us or even simply aim for a quick dopamine hit on Instagram. However, one of the most beneficial exercises I have done is to look at the process of getting to my own favorite images and the process others follow to get to theirs.
I firmly believe that we can learn a lot by looking at the process we work within and the processes of others. The fantastic Magnum contact sheet books are a reminder that even the most revered photographers in history had to work hard for their images and the first picture is rarely the one they use. Everyone has to start somewhere and work towards their desired image.
This idea was hammered home for me in a course I recently took. The instructor took you through every step of his process and showed you step by step how he builds an image. This inspired me to take a look at my own process and consider very consciously how I go from the "wow, look at that" moment to the finished image. In today's simple example, I'd like to walk you through an image I made walking back to my hotel one evening on a trip to Hong Kong.
As this was a personal trip with my wife, I hadn't done any photography research or even considered what photographs I wanted to make. However, in the back of my head, as perhaps many of us have, I had a vision of Hong Kong's iconic neon signs that I wanted to make an image of. The rest, however, was put together from my experiences there and a little luck and patience as I returned home one evening.
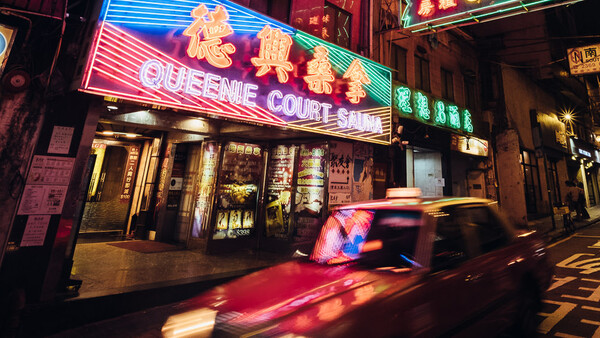
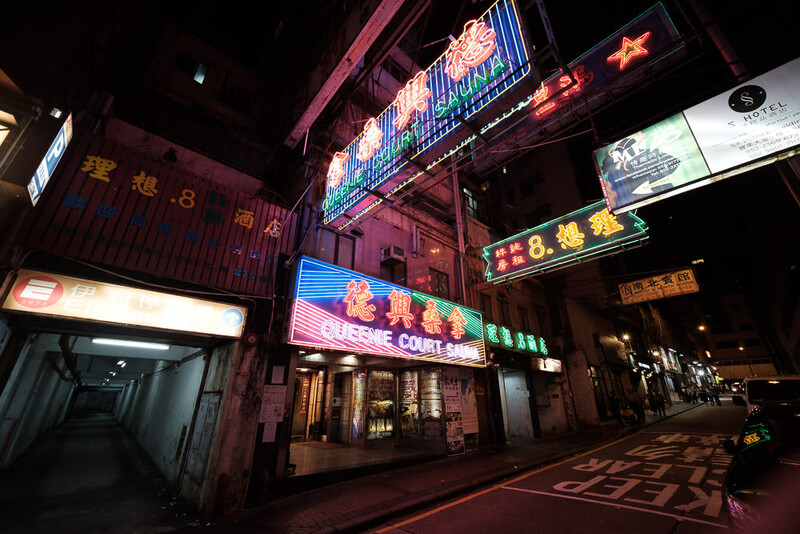
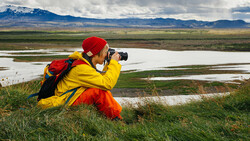
Hopping off the MTR at Jordan one evening to walk back to the hotel, I stumbled upon the scene below. At the time, I had no idea it was quite a popular spot to make a photograph of Hong Kong's neon, so I had no pre\determined shots in my head. That's a great starting place when working on an image. Throw away any preconceived ideas you have and begin working from a clean slate. That night, this street was also reasonably quiet, so I was able to spend my time wondering around the scene and settling on a photograph I was happy with.

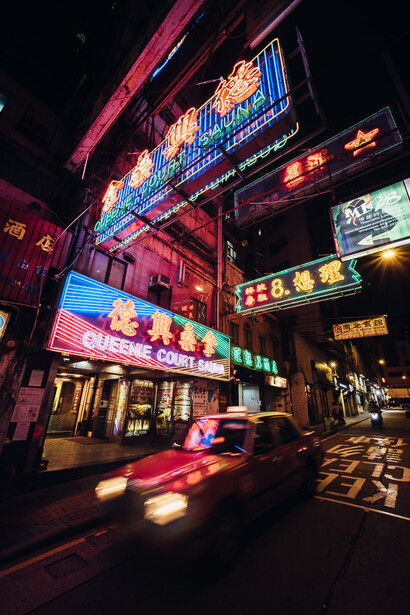
The final element of this image, the long shutter, was made much easier to deal with by using the IBIS on the Fujifilm X-H1 I took with me. Although 1/15 may not seem too long, I often have trouble hand-holding at that speed. The IBIS meant I could shoot and shoot without having to worry too much about sharpness.
If you've enjoyed this process, please head over and watch the video below. There, I take a look at this image in a little more detail and also walk you through another image from that quick shoot.
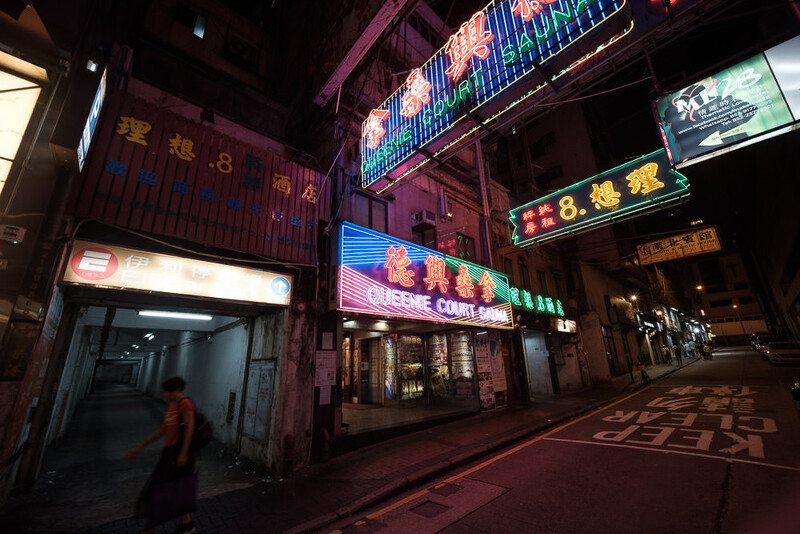
If you're just beginning with photography, "working a scene" like this can be extremely helpful in improving your compositions. Don't settle for the first image you make and think there's nothing there. Keep at it. Frame it differently. Try to break the scene down into the pieces that help you tell your story and those that don't. Remove the ones that don't. Have patience. Rarely does a photograph you're happy with happen instantly. Once you're done, look at your images, analyze your process, and try to recall what you were thinking and how it got you to your final favorite.
Now, I'll turn the conversation over to our readers. How is it that you work your way to a final image in the genre of photographs that you make? Do you do a lot of pre-production work? Do you settle on a composition first and wait for a moment? Is your work more spontaneous than that? Let me know in the comments below.


Join the Fstoppers community for free
-
Post comments and join in the discussions
-
Browse the site ad-free
-
Share your work and get featured in the community
-
Compete in the photo contests for fun and prizes
3 Comments
Hi Lee,
In the end, 4650K. Going cooler fixed the warm road tones but made the neons lose some of their glow and the colours didn't remain how I saw them.
Thanks for the great article. I wish fstoppers had a lot more of stuff like this.