
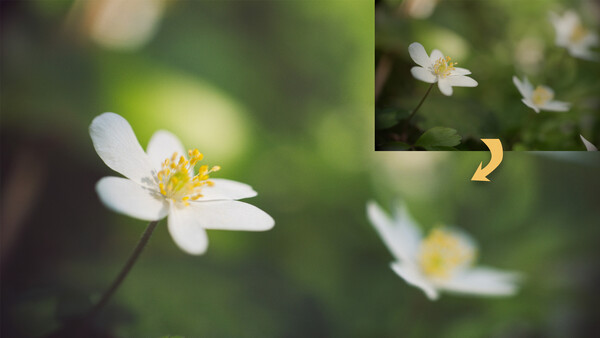
In this tutorial, we’re going to make some quick and simple adjustments to a close-up flower photograph using ACDSee Photo Studio Professional 2020 and its powerful Develop Mode.
By making a few color adjustments and altering the light levels in the photograph, we will retain detail in the delicate petals of the flower and mimic a warm film look by adding a color Photo Effect before introducing some grain. We’ll also be using the Repair tool to remove distracting elements and use some simple effects to draw attention to the main subject, the flower near the center of the frame.
Despite the excellent tools available to us in this software, this kind of image can easily be over-edited because of the delicate, white petals on the wood anemone flower, so let’s take a look at how to retain this while getting the best out of ACDSee Photo Studio Professional 2020’s Develop Mode.
1. White Balance
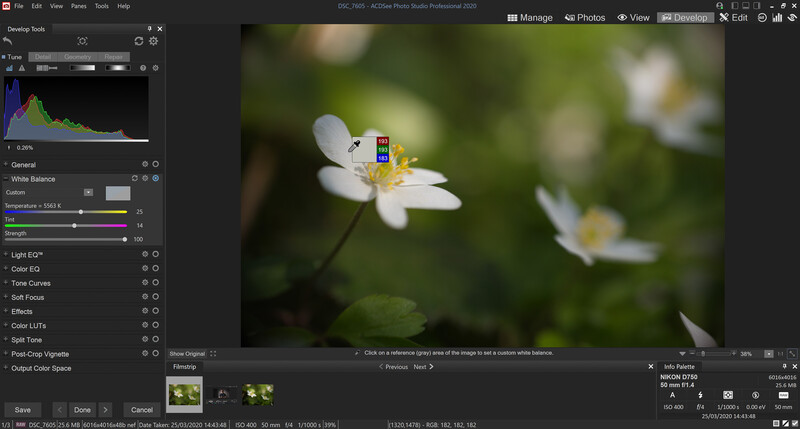
Don’t worry if it makes the image bluer initially, as the warmth in the image will come from the greens and yellows in the foliage and stamen, respectively, on the flower itself. After clicking on the center of the white petals, notice how our Temperature slider has adjusted. It now reads at 5,563K and 25 on the scale, with the Tint slider now at 14. We kept the Strength slider at 100, because we wanted the white balance to be accurate, not blended with the original, incorrect balance.
2. Light EQ™
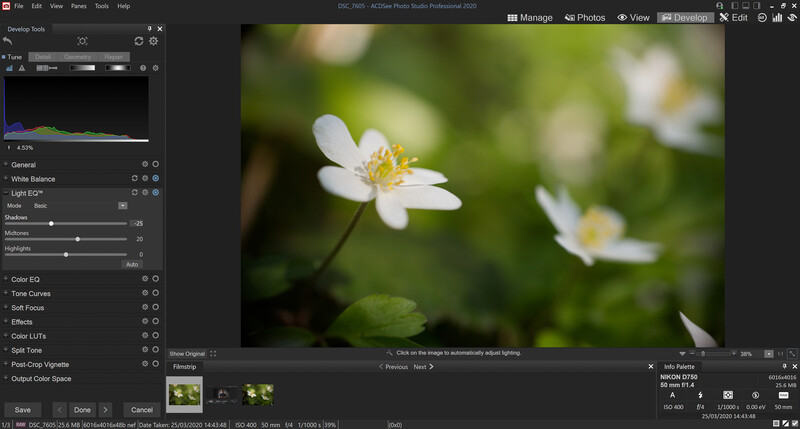
Next, we’ll alter the light levels using the Light EQ™ tool. It works via patented technology that allows full control over the light levels in the image without affecting other areas. For example, we can brighten dark areas without changing light areas and vise versa.
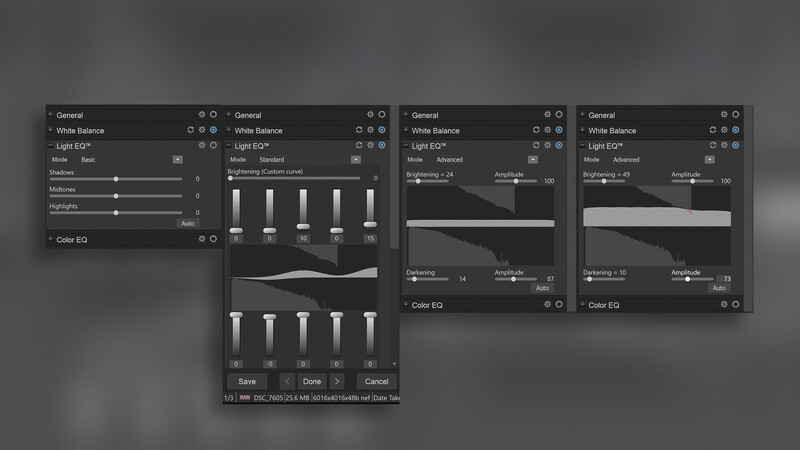
For this project, though, let’s stick with the Basic Mode and set -25 Shadows to darken them to reduce detail in those areas and +25 Midtones to brighten the rest of the image. Leave Highlights alone as the white petals are already as bright as possible before overexposure.
3. Crush the Dark Areas
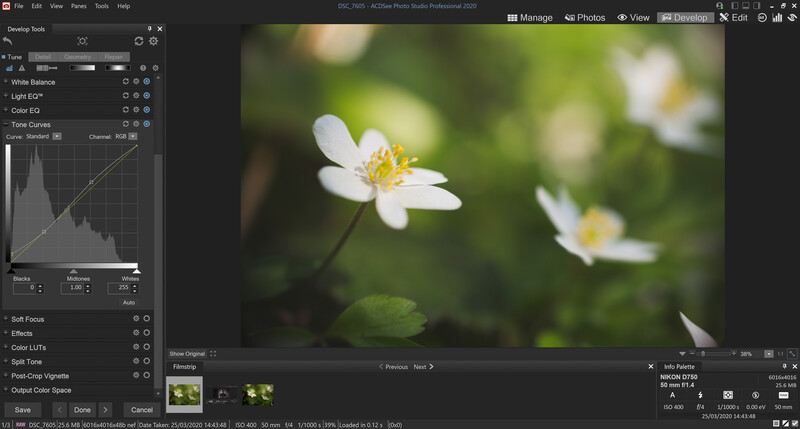
Under the Tone Curves panel and in Standard Curve, make an anchor point on the histogram two squares in and two squares up. Next, click on the bottom left anchor point and raise it up until the dark areas look quite gray. Notice how the curve line above the anchor point is automatically bent. Click on that upper portion of the line and drag that up to create an S-shaped curve to keep the rest of the image bright and punchy.
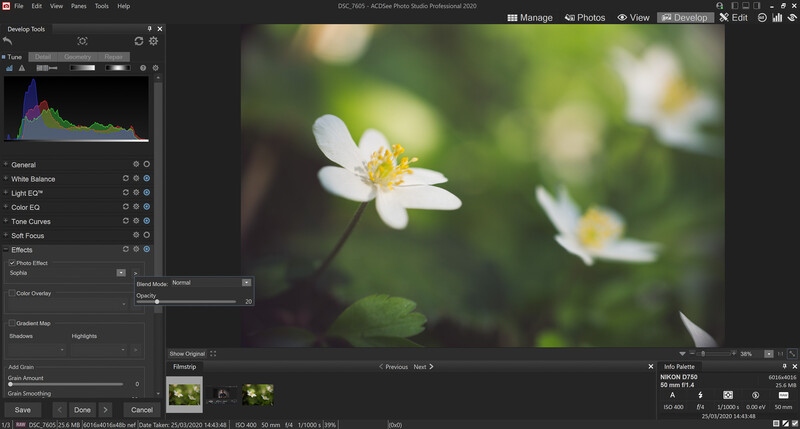
Step 4. Add Some Effects
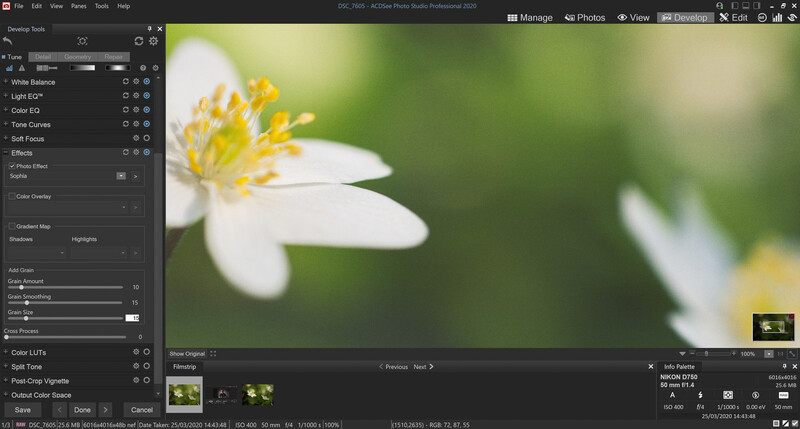
5. Post-Crop Vignette
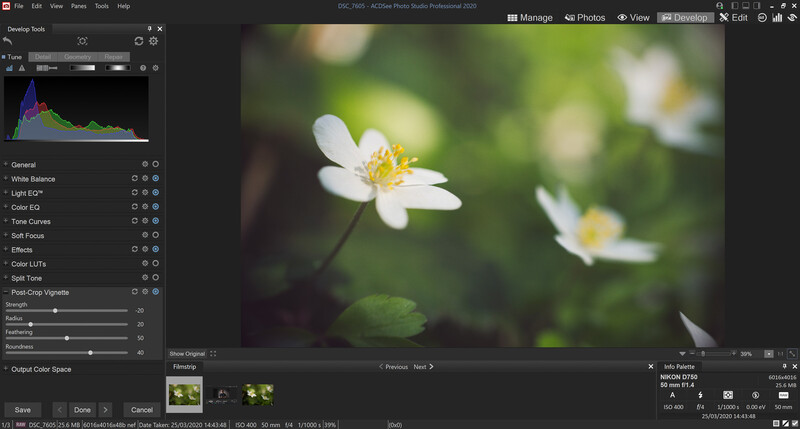
Change the Radius to 20 to draw the vignette closer to the center of the frame, and leave Feathering at 50, because it’s sufficiently diffuse. Next, change the Roundness to 40 to produce a more circular and less ovular vignette shape. This minimizes the dark vignette towards the top and bottom of the frame.
6. Final Touches

Other Develop Mode tools on offer are the Detail tool, which allows Sharpening, Noise Reduction, Skin Tune, and Chromatic Aberration correction. But for this image, we have good sharpness on the few areas that are sharp, and the noise/grain is intentionally added, so we don’t want to remove it.
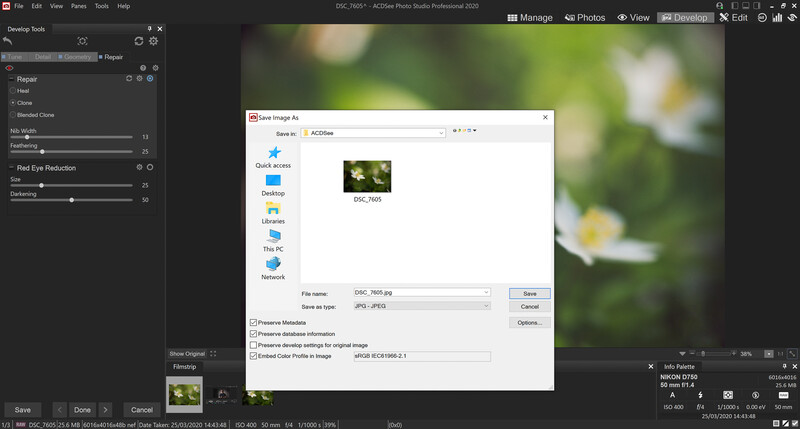
The Geometry Tool allows for lens corrections and perspective distortion correction, as well as crop adjustment and vignette correction. However, the Repair Tool is the last tool that we’ll use on this image. It features the Heal, Clone, and Blended Clone parameters, which each clone areas from part of the image to another, but in slightly different ways.
For our repair, we’ll be removing the distracting white petal in the bottom left of the frame. The Blended Clone tool blends the harsh clone lines to make it look natural, so make sure this is selected. Then, right-click on a clear, green area nearby to define a source point, reduce the Nib Width to 13 for a more accurate selection, then start painting over the petal to remove it.
Save Your Work
Edit your own nature photos with ACDSee Photo Studio Professional 2020, and share them in the comments with me.


Join the Fstoppers community for free
-
Post comments and join in the discussions
-
Browse the site ad-free
-
Share your work and get featured in the community
-
Compete in the photo contests for fun and prizes
4 Comments
In case anyone missed it at the top: "Sponsored".
No one cares if it is Sponsored or not..
Thank you for speaking for all of us, it saves time when you tell everyone what their opinion is.
Ken, thank you for pointing that out.