
Ultra-high-resolution photography has been around for years now but the technical difficulties associated with the creation of gigapixel images tend to limit the artistic output of this type of photography. People find it incredibly fascinating and like to explore every little detail of a scene, but they wouldn't want to put one on their wall as artwork. The aesthetic is often sacrificed in the race for resolution. That’s precisely why a group of photographers joined forces to create a collective called VAST in order to conciliate beauty and high definition.
Photographer and VAST Founder Dan Piech said: “We have a great deal of respect for the work the community of gigapixel photographers is doing. At the same time, we also have a great deal of respect for the work the community of artistic photographers is doing. Both communities are producing superlative photographs, solving challenging problems, and evolving their craft. Our aim is to operate at the intersection of those two communities, helping to bring together the best of what both have to offer. In doing so, we aim to be constructive contributors to the broader photography community, sharing our methods, ideas, and work.”
The VAST collective is open to collaboration and skilled photographers are welcome to join the team. The list of artists involved in VAST gathers an impressive sum of talents such as Aaron Priest, the master of 360-degree photography, or Scott Dimond who is an expert in numerous techniques including near-infinite depth-of-field capture via the focus stacking technique. All together, the team has collected many awards all over the world.
Why Go Big?
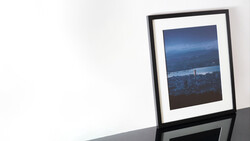
With the development of high-resolution cameras, some may think that there is no need to create gigapixel images. However, even high-end DSLR images do not appear sharp to the naked eye when displayed in large formats. Countless physical galleries hang beautiful photographs in large print sizes (more than three feet wide) but these prints should be made at 300 PPI (pixel per inch) resolution to look sharp. For example, Canon's highest resolution professional camera, the 5DS, shoots an image that is 8,688 pixels wide which gives a maximum print size of 29 inches before looking blurry (8688 / 300 PPI = 29 inches). In contrast, gigapixel photographs such as the 5,449 megapixel “Hand of Zeus” look sharp at print sizes up to 25 feet.
How to Make Gigapixel Photography
The basic concept is to capture several images and stitch them together seamlessly in post-production with the help of specialized software. Here are the main steps of the process.
1. Scouting and Pre-Visualization
Every photo starts with a great deal of location scouting and brainstorming. For any given subject, there are countless different angles, perspectives, and conditions to consider. The team plans for a time to shoot the photo with a keen awareness of how the scene changes depending on the weather, the time of day, and the time of year. Even small changes in lighting, timing, or conditions can dramatically alter the mood of a scene, especially because it can sometimes take hours to expose the hundreds of images necessary to create the final photo.
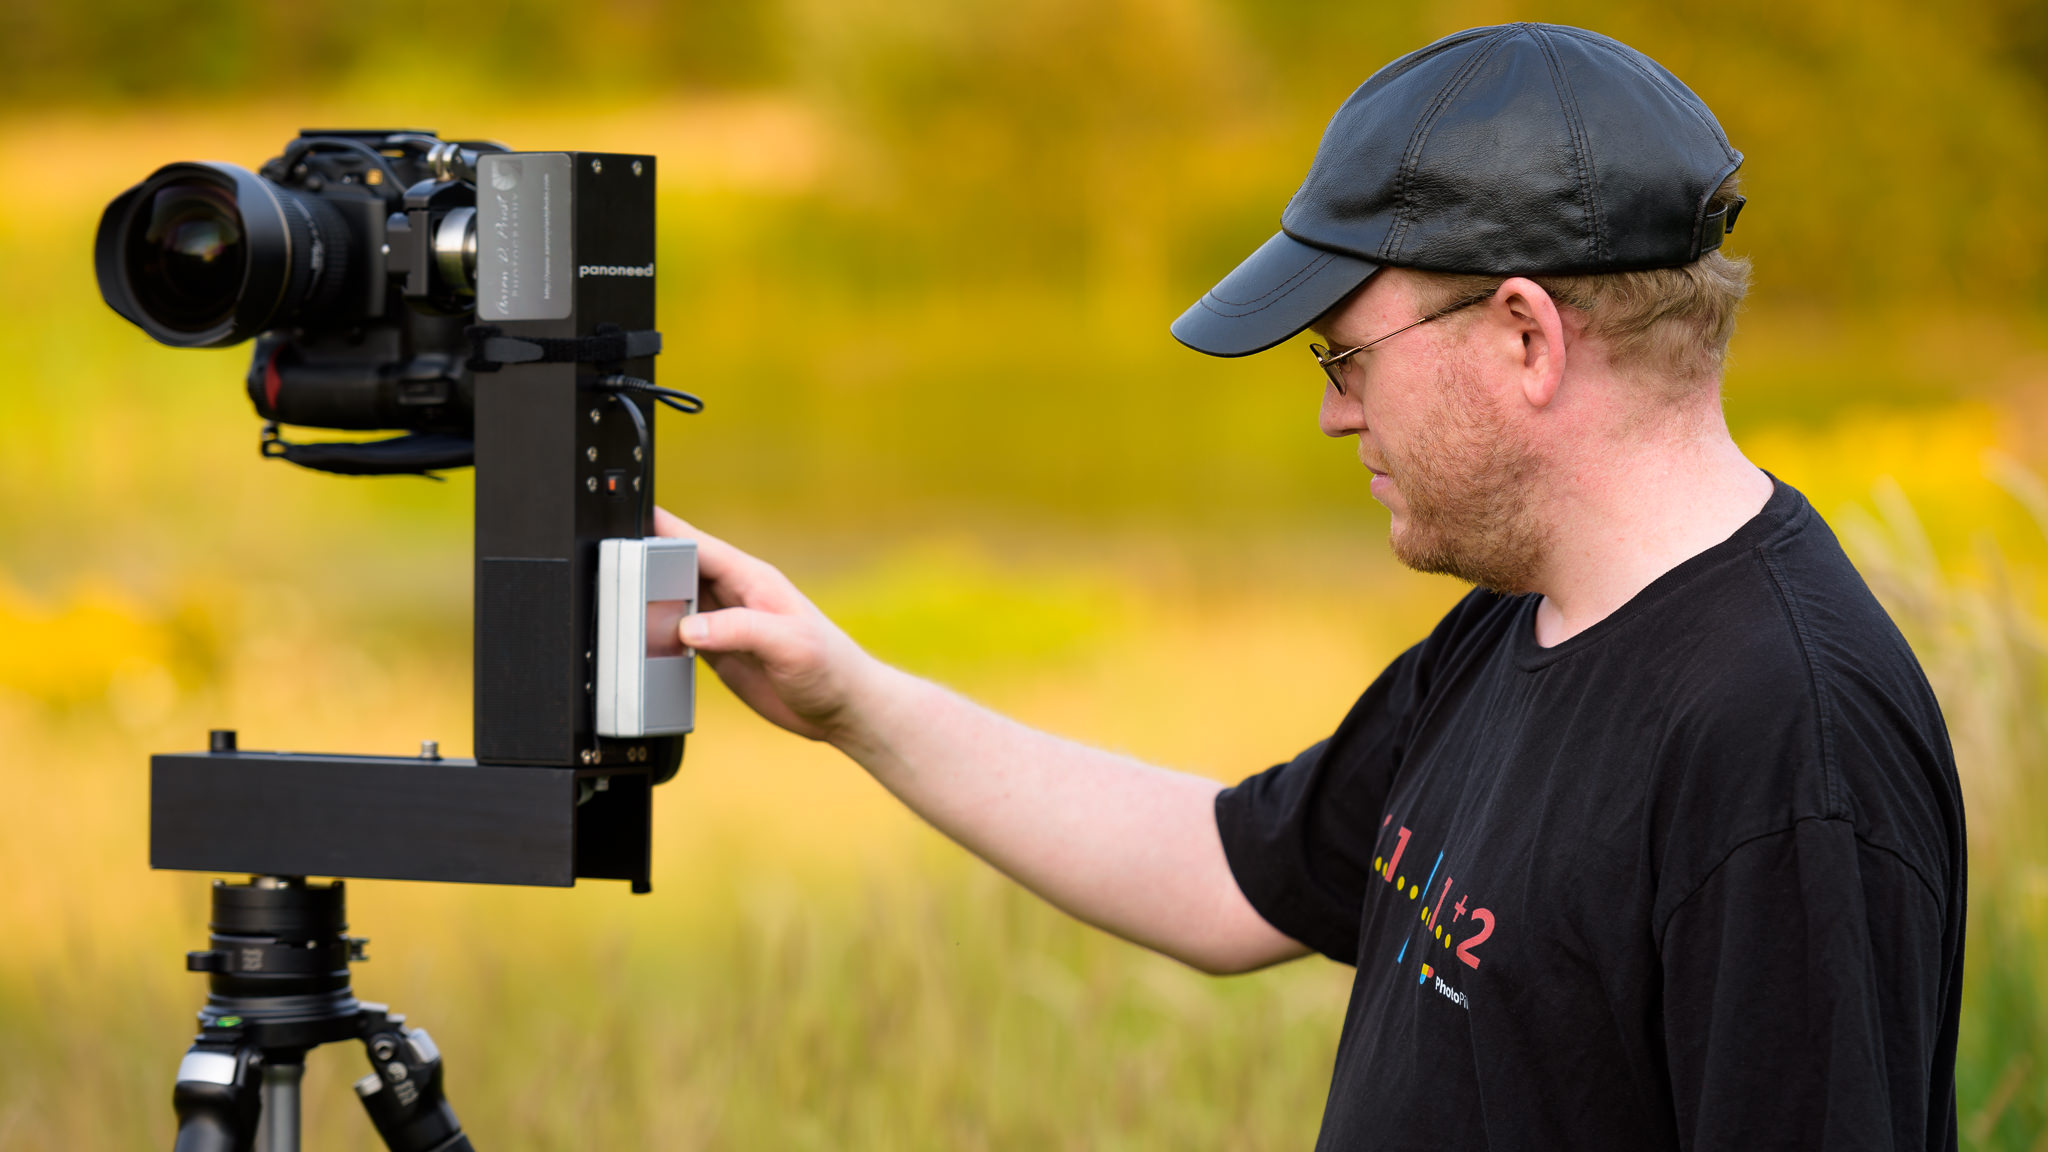
2. Capture
The exposure process utilizes a number of specialty tools such as rotational gimbal mounts, modified tripods, wind shields, and field computers. All of the gear must be extremely precise because the tiniest amount of mechanical vibration or perspective-shift during the exposure process can ruin an entire photo. The specially-made gimbal mounts enable the camera's perspective on the scene to remain unchanged as the equipment rotates to expose the matrix of images. These systems are designed to mount high-resolution cameras such as the Canon 5DS or Nikon D850. Additionally, the VAST photographers use some of the best prime lenses up to 800mm to minimize typical adverse optical artifacts such as noise, distortion, diffraction, and chromatic aberration. Depending on the desired resolution output, the photographer can take anywhere from 20 images up to several hundred for the largest gigapixel projects.
Moving objects and passing clouds during the capture phase are a big challenge. “We are very careful in our shooting process to minimize the number of motion problems we'll have,” said Piech. “For example, if the clouds are translating to the right, we'll shoot the array of exposures from left to right to minimize the apparent rate of that motion. We'll also do things like wait for a moving object to be completely in or out of a frame before we expose the frame, so as not to cut off the object between different exposures. This requires a lot of patience and a fine-tuned awareness for all of the details happening in the scene.”
Other methods can help to reduce the motion issues. Sometimes, the best option is to wait for clear days where there aren't moving elements in the sky. Very long exposures (using strong neutral density filters or using image stacking techniques to average hundreds of exposures) are also useful to blur and “erase” the moving objects such as cars and people.
3. Raw Image Data Processing, Stitching, and Blending
The first step in postproduction is to process the raw files in order to ensure a consistent reproduction of luma values across the entire final photo. Then, the team utilizes special software and image processing algorithms, some of which were created in house, to stitch the individual images together, carefully aligning all elements and smoothly blending each frame together. This results in a single, seamless, full-size photo. The last step consists of blending together multiple stitched photos of the target scene, each with different exposure characteristics. This creates a VAST photo that accurately represents the full tonal range of colors and light in the scene. This step also results in a photo with a visual aesthetic that captures the emotion of the scene as it was. This entire creation process from capture to edit to print is executed using a 16-bit, wide-gamut, color-calibrated workflow.
The stitching programs allow for multiple methods of blending images together during the stitching process. The various blending methods can mitigate movement issues in different types of subject matter. For example, some blending methods work well on subjects like moving wavy water while others work well on subjects with fine patterns like a brick wall of a building in the distance. Different blending methods are used on different areas of the scene.
Eventually, the team must accept that there are going to be issues with motion in the scene and they resign to spend tens of hours manually "cleaning up" the final photo. This cleaning phase can involve things like cloning out half of a boat that was moving down a river. Piech explained that he usually spends more than 100 hours manually working on each project. “That's truly not an exaggeration — I'm an OCD perfectionist with this stuff and want it to be perfect. I know Aaron Priest and many of our other photographers are the same way,” he said.
As you can imagine, the VAST collective does not use your average laptop to do the job. A single VAST photo asset can alone be hundreds of gigabytes in size. These files are handled by liquid-cooled, overclocked computers with large RAID arrays in order to efficiently process the gargantuan volume of image data that is used in the VAST photo creation process. The team said, “Our background in computer science has enabled us to custom build our own computers from the ground up because you quite simply can't buy pre-made computers that are powerful enough to quickly wrangle photos of this size. A single one of our computers is more powerful than a dozen MacBook Pro computers combined.”
You can follow the VAST collective on the website, Instagram, and Facebook page.
Images from VAST, used with permission.


Join the Fstoppers community for free
-
Post comments and join in the discussions
-
Browse the site ad-free
-
Share your work and get featured in the community
-
Compete in the photo contests for fun and prizes
16 Comments
The picture of the software is Kolor Autopano.
Thanks for the info.
Yes, that is one of several programs we use. Great app!
I kind of worried when GoPro bought them out...
A lot of us in the industry were very worried! Alexandre Jenny has protected his baby well though and I don't think he'd allow Kolor to go under. It's been a good fit for both companies.
Sadly, the worst has happened... with Kolor totally shut down I couldn't get my hands on a registration code! PTGui, however, has been working extremely well for me. I'm hoping GoPro will at least open source Autopano, since it's a total waste to just let it die.
Most of us in the 360/VR community are deeply saddened and even outright angry at GoPro's handling of Kolor. On this topic I can speak only for myself and not officially for any other company or organization that I'm a member of, but I'm very disappointed that GoPro didn't allow Kolor and team to branch off on their own again. This happens all too often when companies merge and one company only wants a single asset from the former, such as Garmin buying out DeLorme and discontinuing everything but the InReach under a new brand. Sigh...
PTGui is a very good app (been using it for many, many years), as is Pano2VR. Both are great substitutes for Kolor's AutoPano Giga and PanoTour Pro. The competition and good-natured rivalry was good for all of us as consumers though, and even competitors have expressed disapproval of GoPro's decision.
Quick question: Where do you guys go for large prints? Also any good tutorial on how to make large prints (color management, resolution, etc).
Great question. We utilize a network of large-format printers to be able to meet the different needs our customers and clients have - it also depends on where in the world the print needs to be made. I'd recommend googling for "large-format printer" near where you live and you should be able to find a good one. We're working on some printing tutorials. Feel free to reach out to me at dan@vastphotos.com and we'll let you know when they're ready.
Thanks Dan for the quick reply! I live in Chicago so I really hope I should find some local large format printers here.
What is the brand of the tripod with the panoramic head shown in this article (in the first picture)?
Hi Leo! The legs are from Manfrotto. On top is a leveling base from Really Right Stuff and then on top of that is a gimbal head also from Really Right Stuff.
Thank you for the info
parallax error? probably one of the biggest issues with panoramas. Software does help, but "getting it right" is important.
Autopano has also improved, i didnt think they needed so much. Either way SSD's leveled the playing field.
PCIe NVMe SSDs especially! A massive performance leap!
Yes, parallax shift is a major issue that we mitigate by using gimbal mounts to rotate the camera around the no-parallax-point. Without a gimbal mount, you'll have a stitched image that is filled with stitching errors that result from parallax shift between exposures.