
In every photoshoot, I will always perform a three-part culling process, and it ensures I always pick the best images.
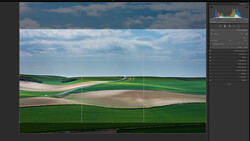
All of them will be performed on the computer using Adobe Lightroom Classic. Other raw conversion software such as Capture One or Luminar with rating and labeling functions will work equally just fine. As an example, I am also going to use one of my personal projects titled “Grocery Bags” that I have done recently as a reference point rather than a commercial project, as they are simpler to break down, but generally, the process is the same.
Part 1: The Rough Selection
There are two steps in this process, which involve filtering out images that are clearly bad and briefly selecting images that might work.
Step One
Images that are clearly out of focus, incorrectly exposed, compositional failures, technically incorrect, and meaningless images will be flagged as rejected by using the “X” shortcut key in the Adobe Lightroom Classic.
Step Two
Images that might have the potential to make it into the final cut will be labeled “Red.” This is just my personal preference, as you can also flag the image as “pick” using the “P” shortcut key or label them into any color of your preference. Remember, this will just be a brief pass, as the more detailed selections will be done in part two. Duplicates and near-duplicates of these potential shots will be labeled as well. This is because you will not be able to properly judge the fine details with so many images to go through in thumbnail mode. Duplication is a shooting technique that I often use to give me a range of images to select the best raw files to work on.
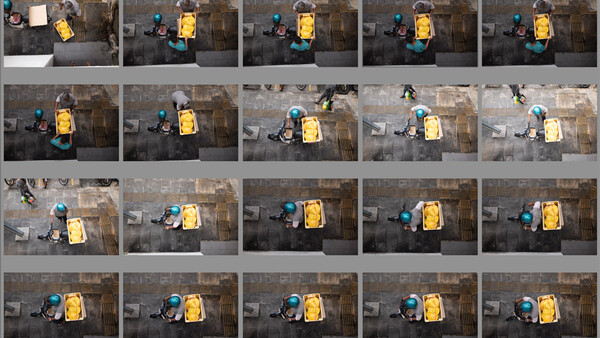
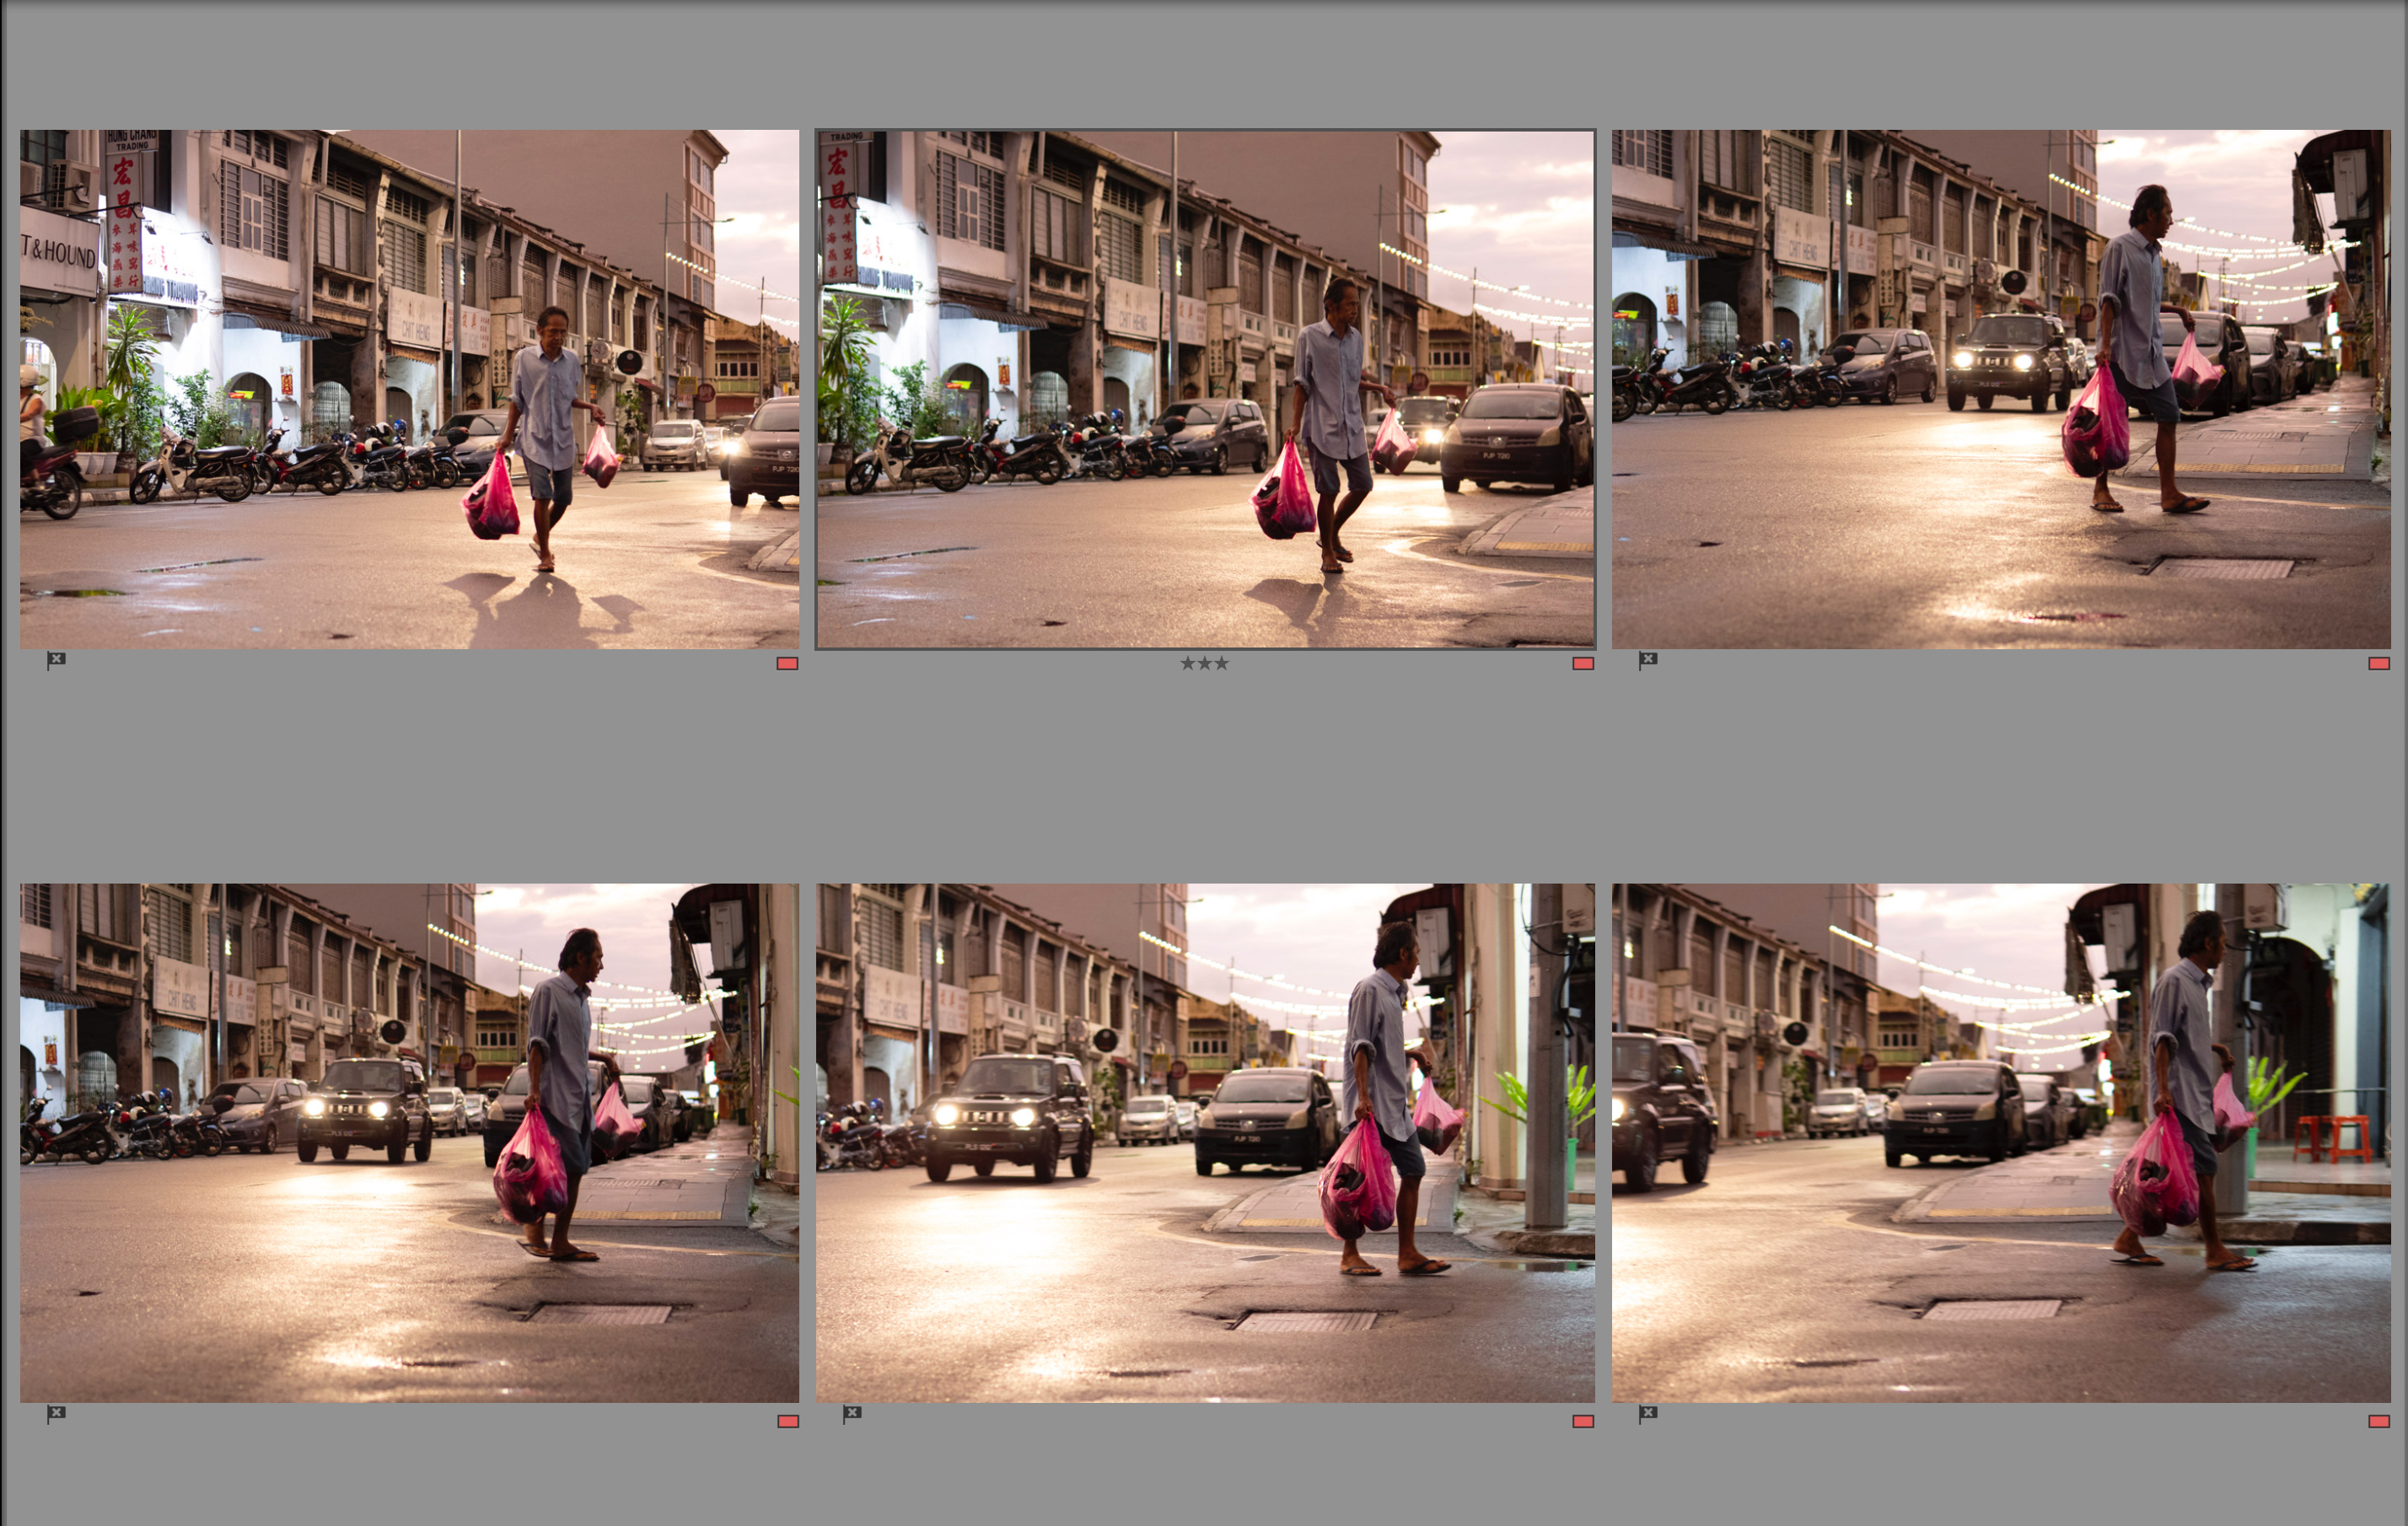
Part 2: The Framing Selection
Moving on to the most important part of this process, the framing selection. In this process, you will select the best frame out of the series of potential duplicate or near-duplicate images that you have preselected previously using the star rating system. A point to note is that I will usually only rate these images up to 3 stars. I keep the 4 to 5 stars rating to be used for the final selection stage. This means that 3 stars will be the highest rating in this part of the process. Stars are usually given to images that have stronger compositions than the rest in the series of images or have a strong subject composition. Lastly, I will also move on to flag images that are overly repetitive and clearly don’t work in this series of frames as rejected to further narrow down the winners.
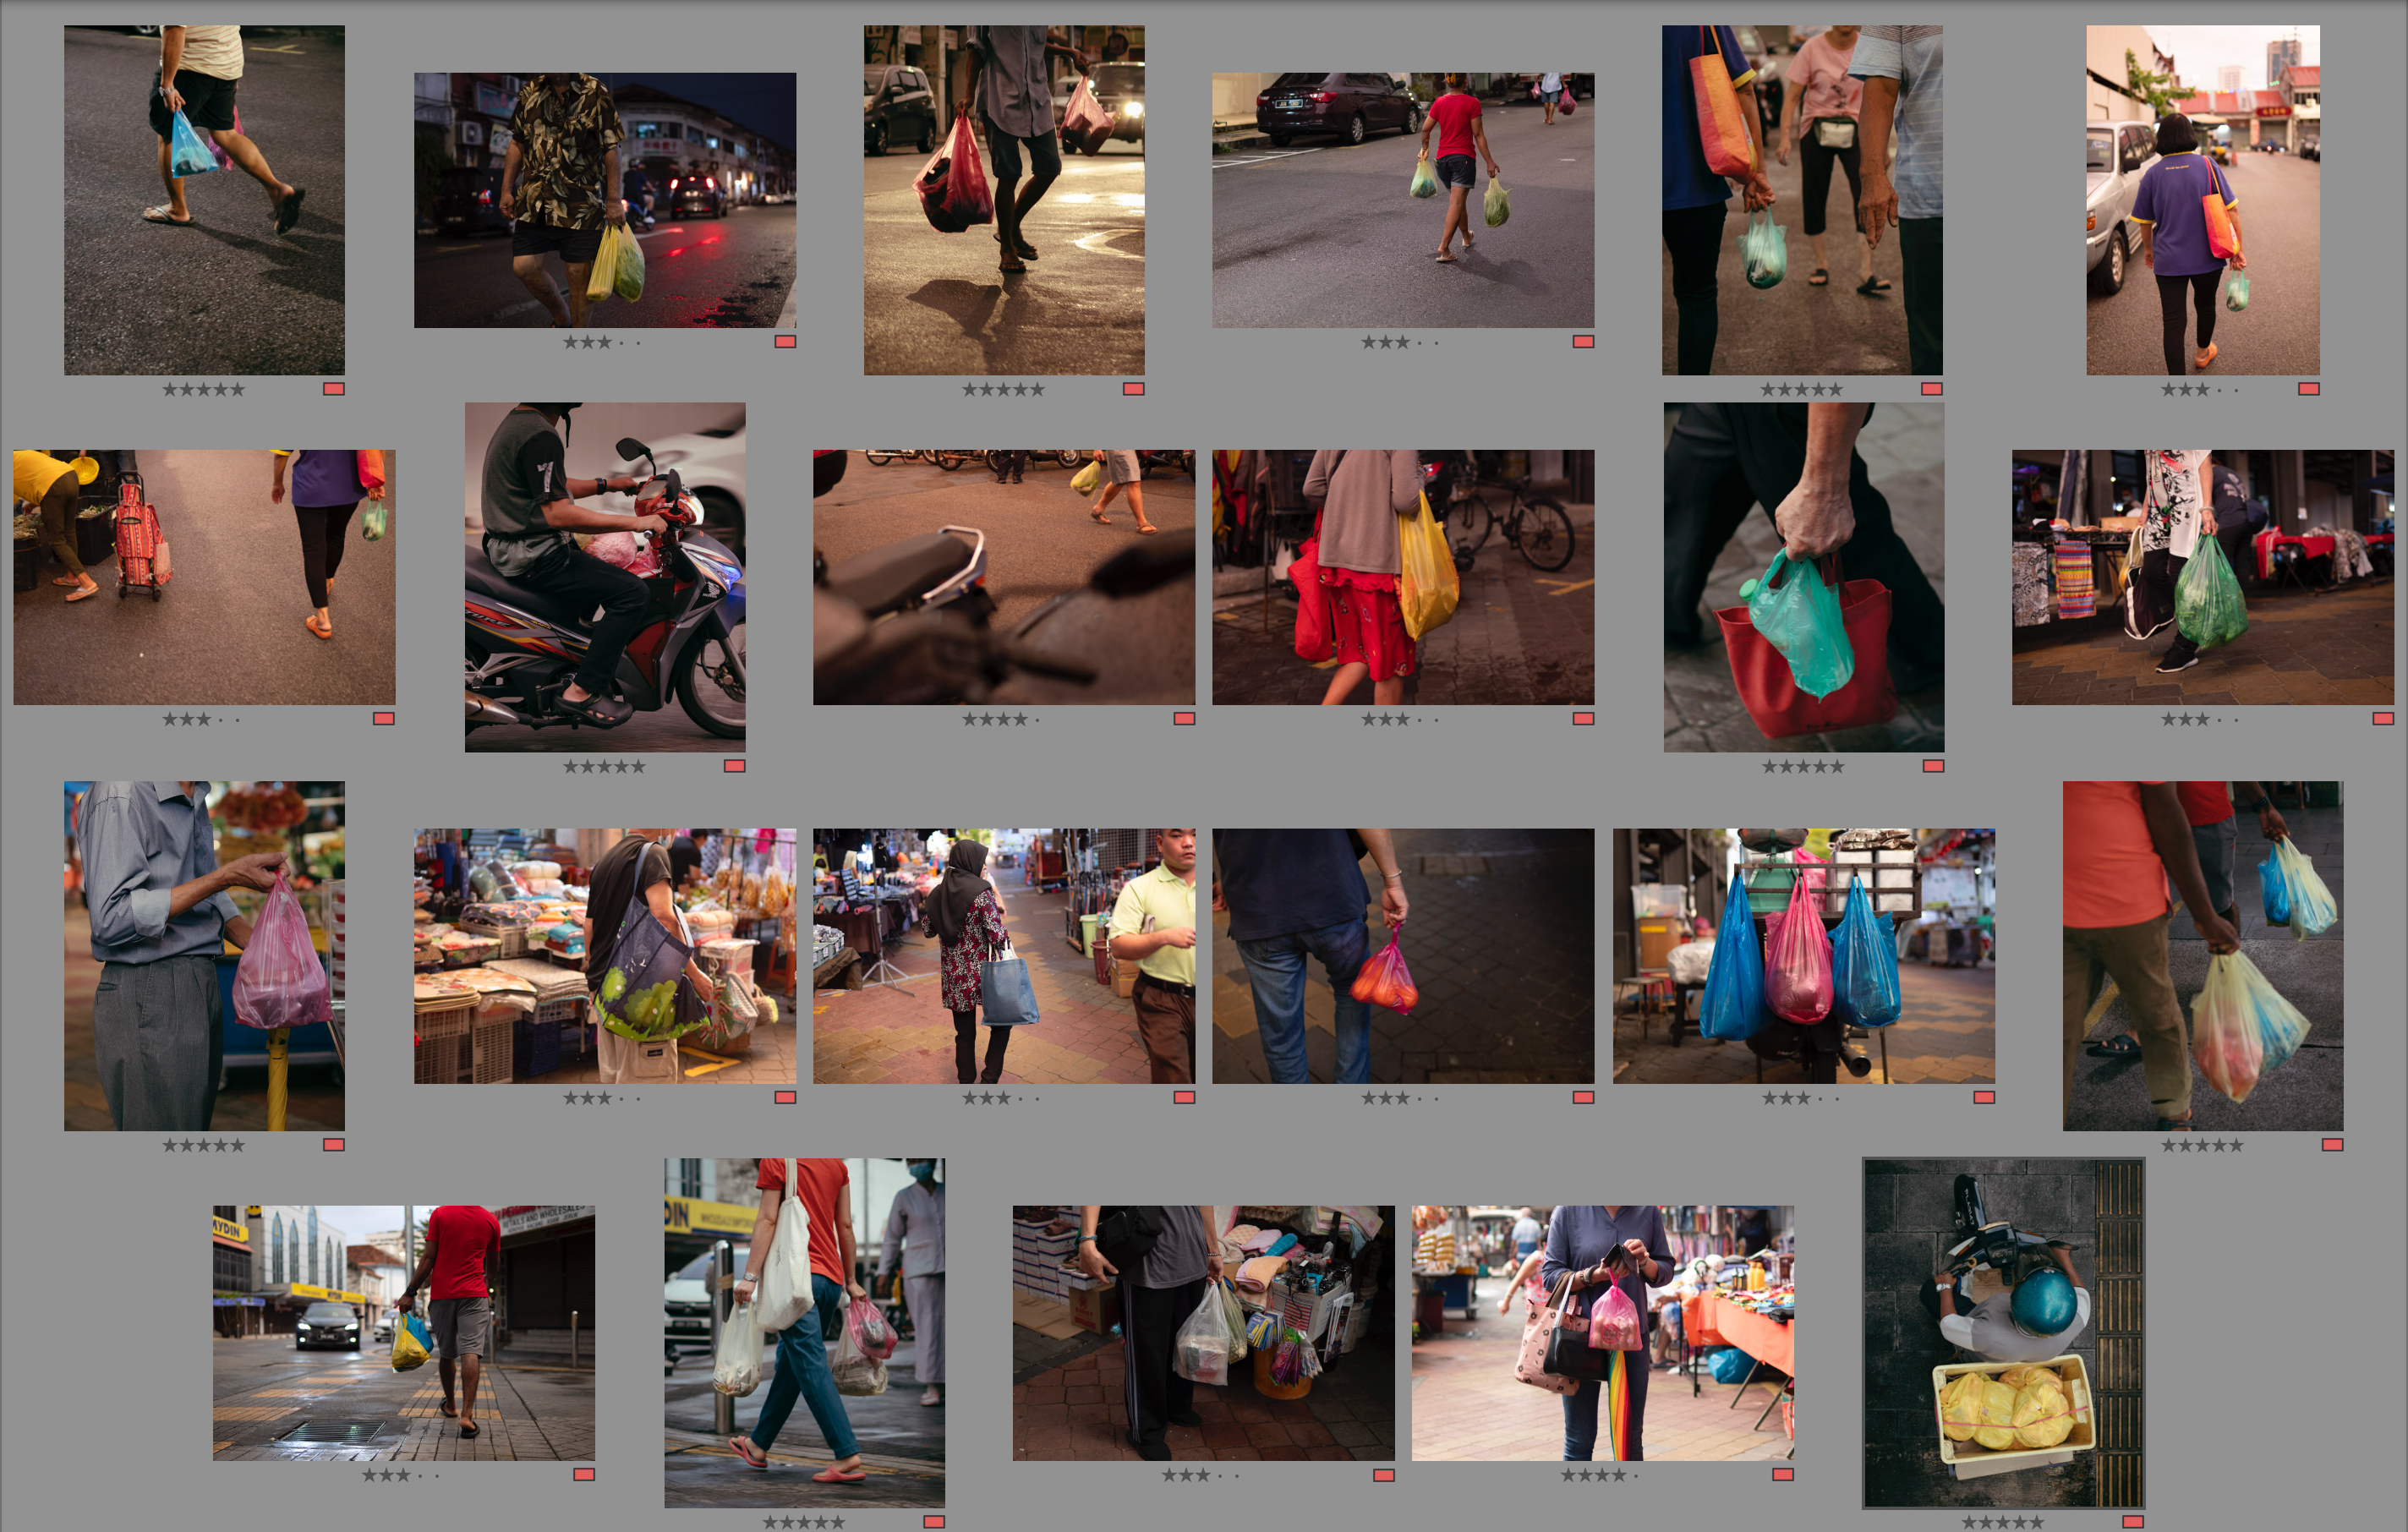
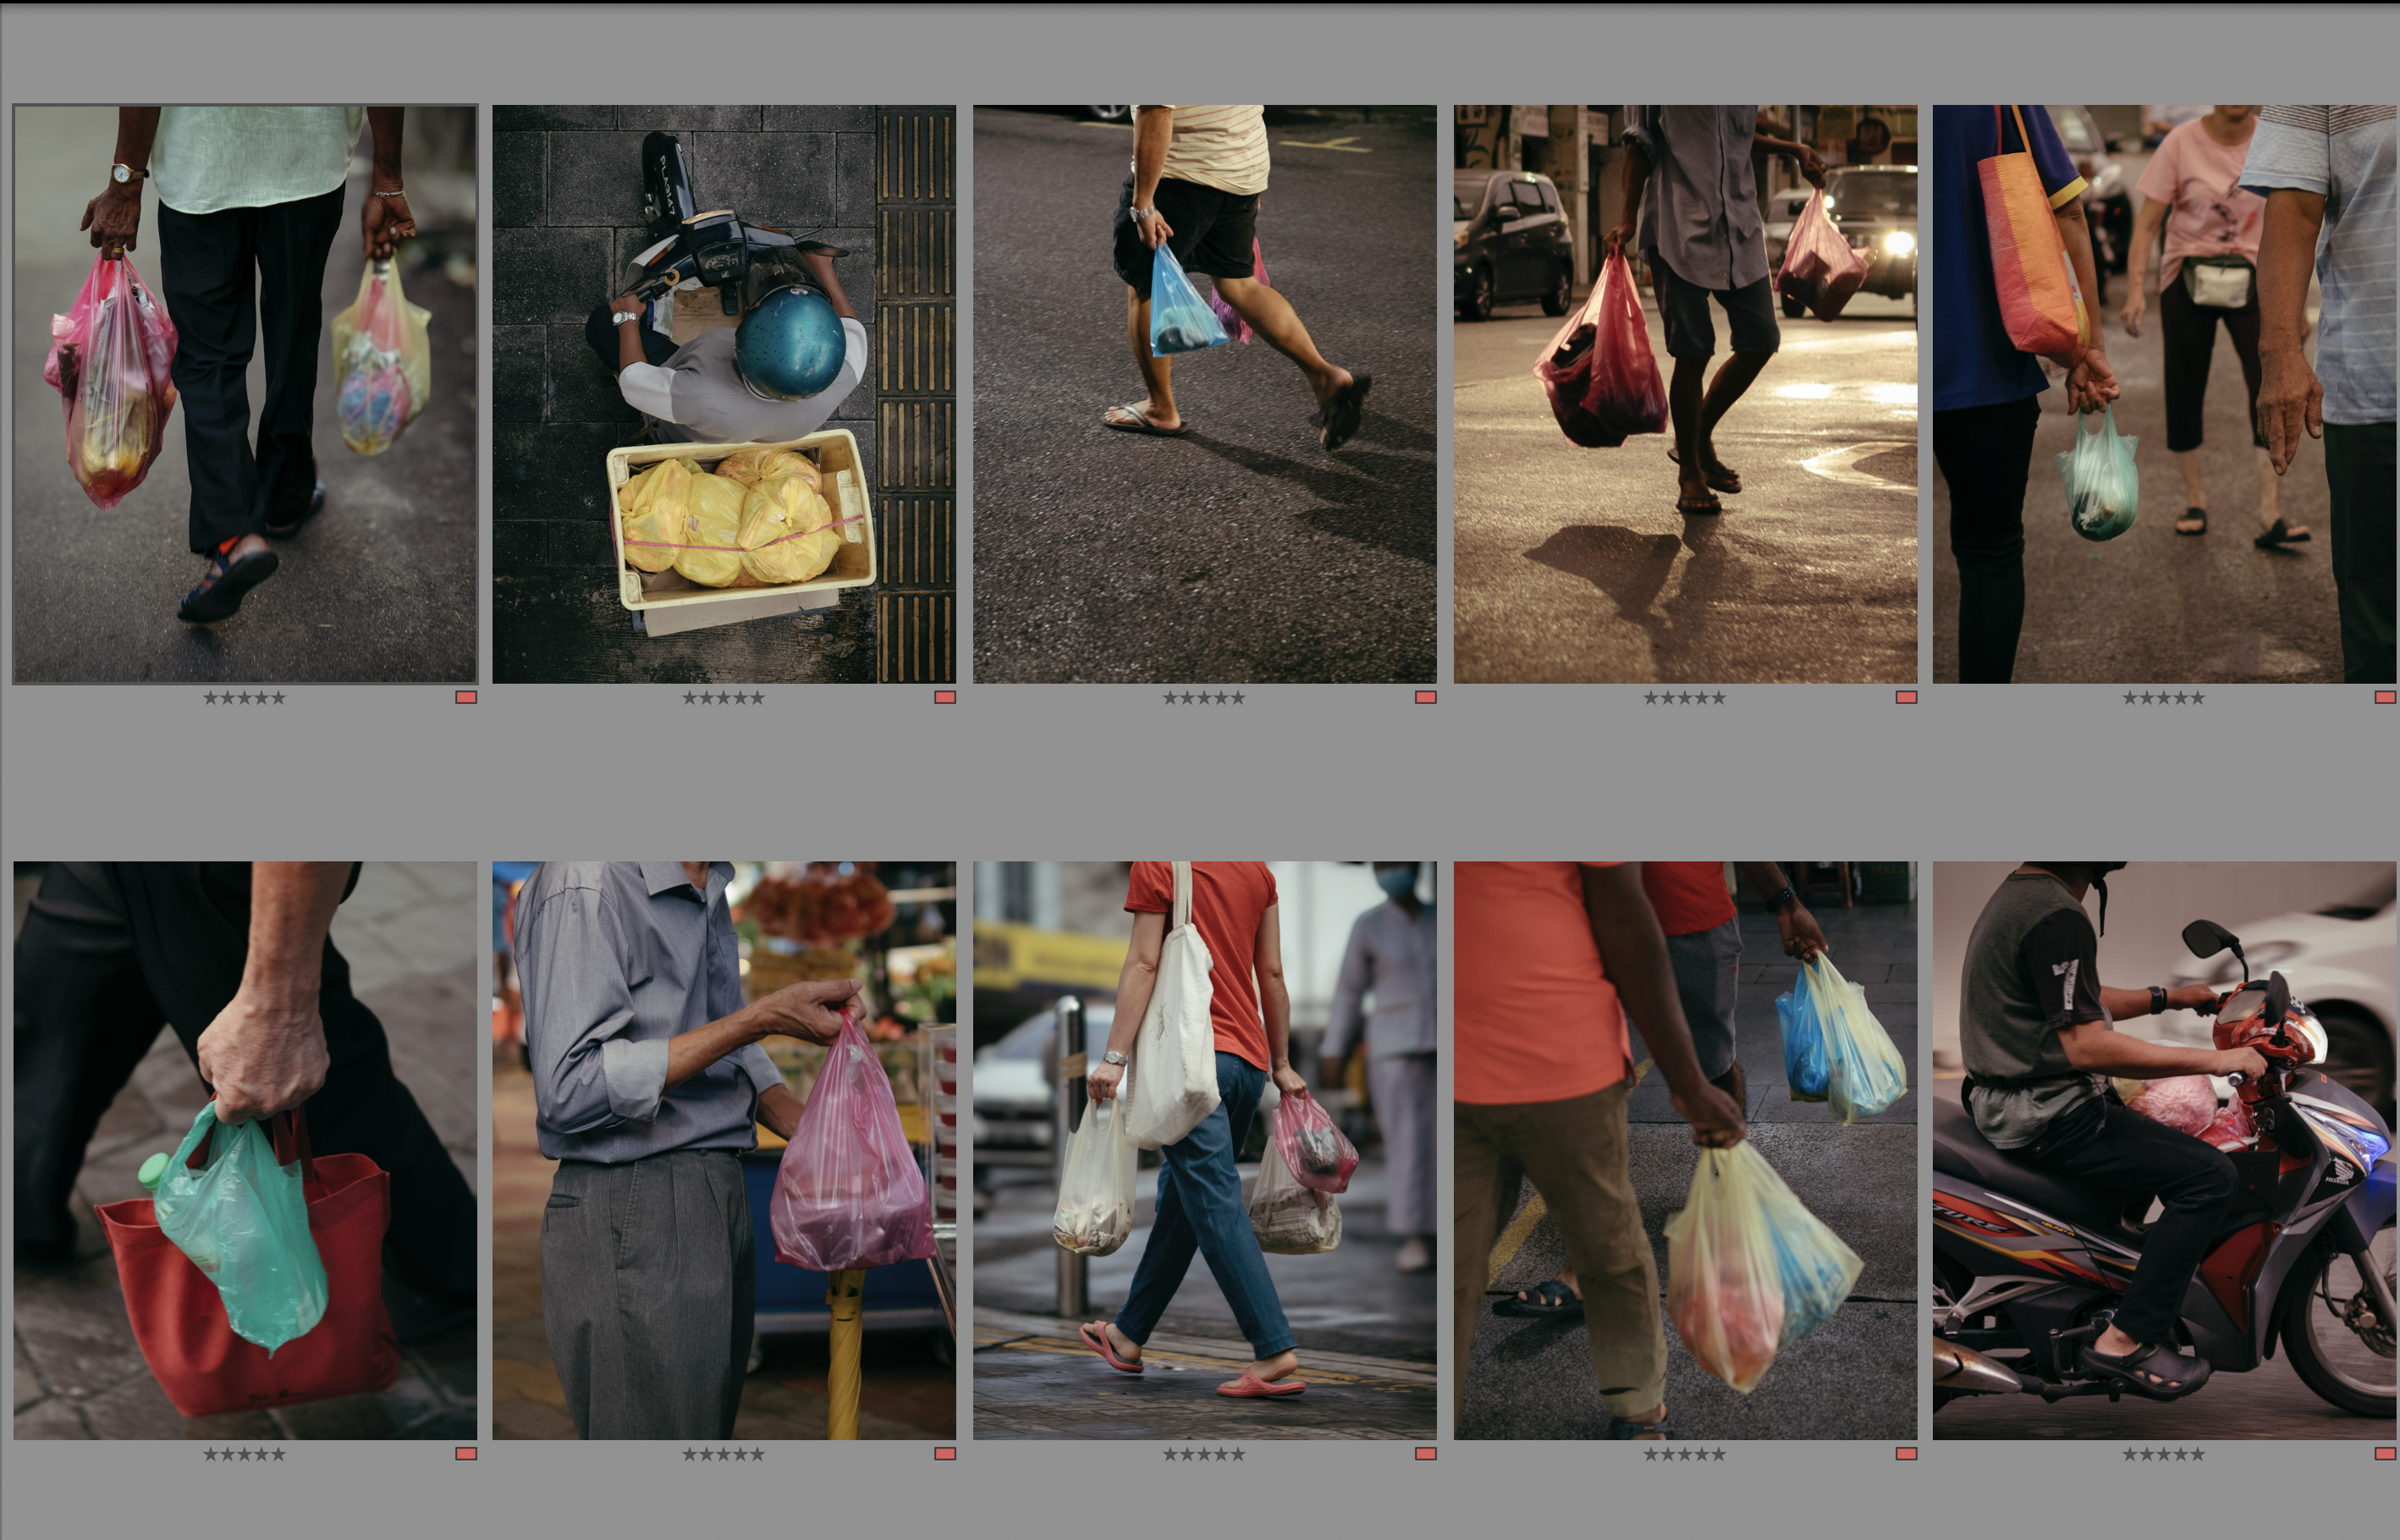
Part 3: The Curation Process.
Once all the heavy lifting work has been done, you will now be left with fewer images to go through that will make it to the final curation. And hopefully, that will help you to have clearer thoughts on the outlook of the final project. From here is the part where the actual curation process begins. From all the three-star rated images that are labeled “Red,” you can now work on eliminating visually similar images. This is so that you will be left with distinctive images that have their own characters and are compelling enough to tell your story. Be sure to choose only the best images, as it will be your final selection to curate your photo series. Rate those images that you think were the best with 4 or 5 stars. 5 stars is obviously for the best and should be your final image.
Bonus Tips
For a quick way to view your series of images in one go, I will often use the “N” shortcut key in Adobe Lightroom Classic to go into the survey mode. This mode can be used in either the Develop or Library module, where you can select two or more images that you are interested in comparing and display all chosen images at once. The best part about this mode is that it allows you to add or subtract images in the selection, as well as to flag and rate them accordingly. I often utilize this survey mode to look and study the overall mood, feel, and composition of the images and flag them accordingly.
The funny thing about photography is that you will usually at first be blinded by the fact that a good image is equal to the amount of effort that you put in to make it happen. The more effort you put in, the better the image is, Then, weeks, months, or even years later, you will find interesting things that you like in those images that you have put the least effort into. To counter this, I will usually perform this three-part process again after a certain period of time in the future. That way, I can be sure to not miss any good images that I have shot before permanently deleting them. Lesson of the day: always revisit your work and don't delete your images right away.


Join the Fstoppers community for free
-
Post comments and join in the discussions
-
Browse the site ad-free
-
Share your work and get featured in the community
-
Compete in the photo contests for fun and prizes
10 Comments
Amazing article Zhen! Thanks
Hope it helps. Thanks for reading!
Perhaps you are assuming this as a factor in step one but you don't mention consideration for images with less than ideal exposure, poor cropping or elements than need removal. As you have Lightroom, I will assume you have the ability to make adjustments.
It would be a shame to bin an image that "If only I could adjust this, it would be a winner."
Yes, this article is solely just focusing on the culling process. And depending on your shooting style you may want to adapt this workflow separately. For me personally, images that are less than ideal will already be flagged out in the first step. The editing and curation of final look will only be done for the final selected images.
I would also not disagree with you sometimes there might just be that gem that could use a little editing to shine. That would probably be another article in the future.
I used to cull the bad ones but that takes too much time. So does waiting for each preview to load in LR.
Now I do 2 or 3 waves of just picking the winners and I use Photo Mechanic for the selection process. PM instantly loads each image so no waiting for previews to load. Color code the winners with the number keys. Sort by color and repeat 2x. Import the final selects into LR.
Interesting workflow!
To cull photos after a shoot, I use FastStone Image Viewer. I follow my own easy and superfast routine.
I agree with Dave Tedder on doing 2 or 3 waves, especially when dealing with tons of pics.
In the end, I move the best images in a new folder that I name ... BEST.
I will checkout FastStone.. haven’t heard of it previously. Thanks for sharing
FastStone is amazing and easy.
I do the same. I go through the photos (they load instantly), tag them and move the tagged ones to a new folder. Repeat as needed until I have a selection I can edit.
Thanks for sharing will check it out