
When you are shooting for magazine publication (outside of the medium format realm), one thing you always have to consider is the aspect ratio of your images. Paper sizes, in most cases, do not match up to image size, so there are crop variables you have to constantly keep in mind -- especially for editorials where there will be titles, typography or article copy on the page as well.
The farther away from a subject you have to shoot, the less detail and pixels are going to be included. Having to scoot further back to allow for cropping in publications has been a thorn in my side for years. This quick little tutorial will help eliminate that and will allow for better publication quality and less cropping.
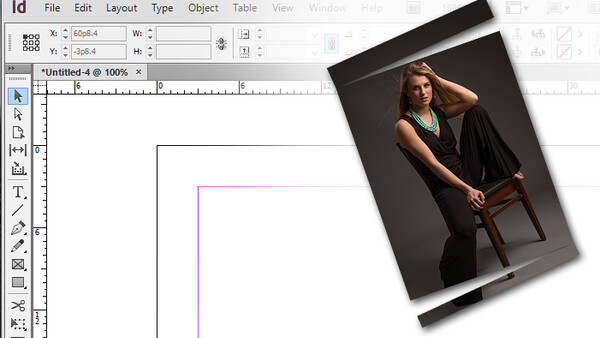
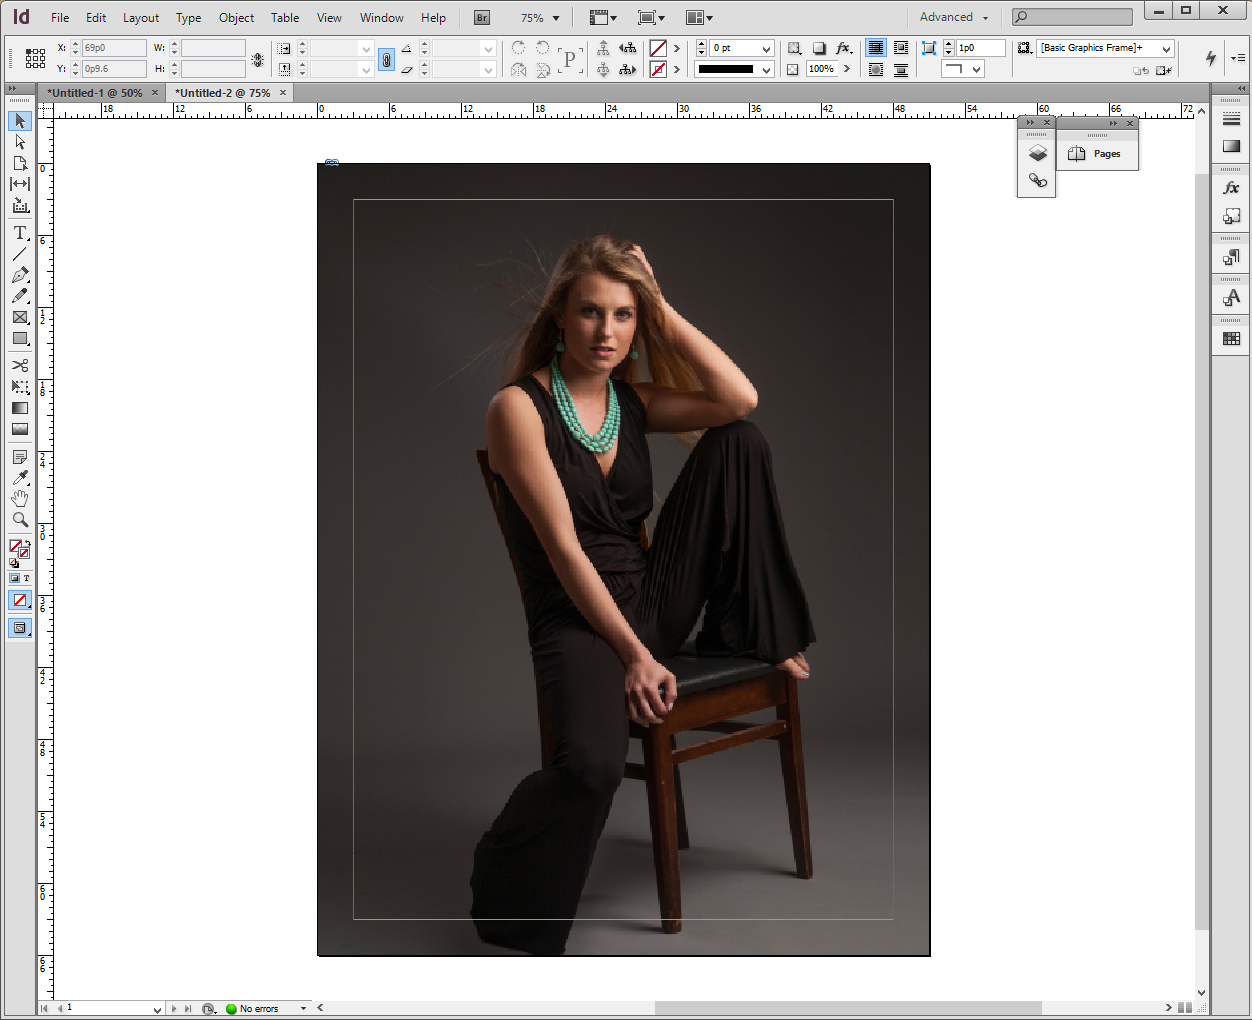
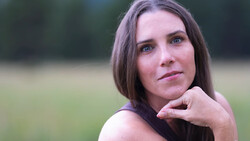
Here is an example of a shot with one of my favorite models, Sidney, out of a Canon 5D, un-cropped and placed into a standard publication-size page in Adobe Indesign. Notice when scaled to fit the sides of the paper, the image far exceeds the top and/or bottom cut lines. This, unfortunately, causes many images to have to be cropped. However, with images shot on single color backgrounds without texture, this crop can be avoided.
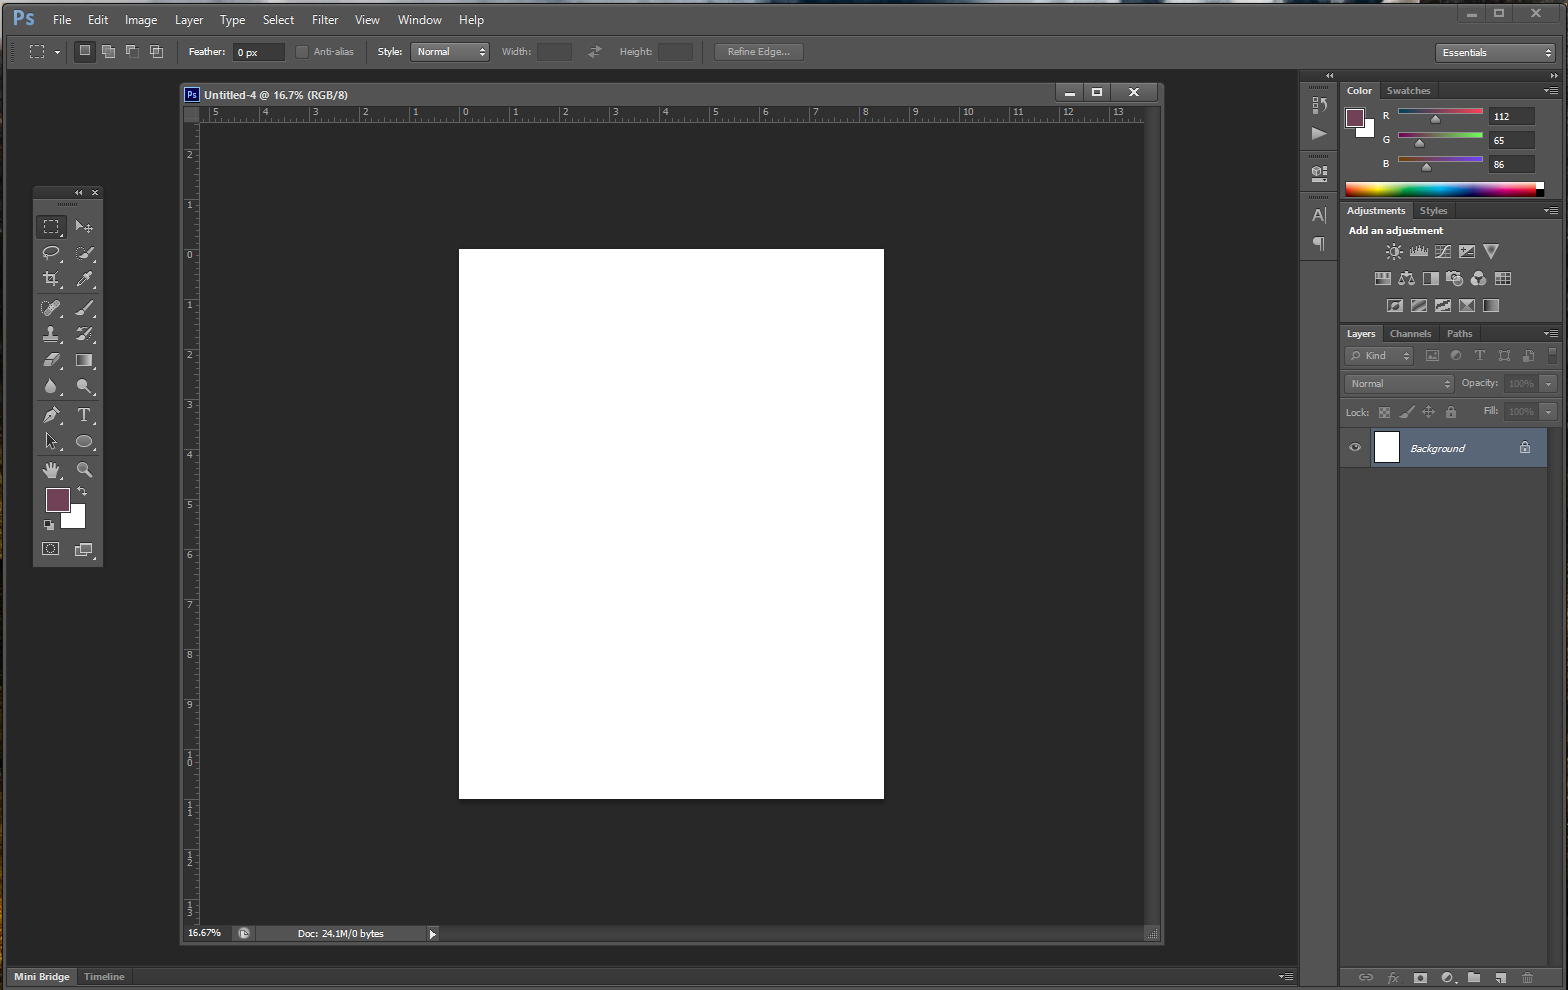
First, start by creating a new document in Photoshop to the size of the page on which you are going to be publishing. Always remember to add the bleed into the image size if the image is going to be a full page shot so you don't sell yourself short on space.
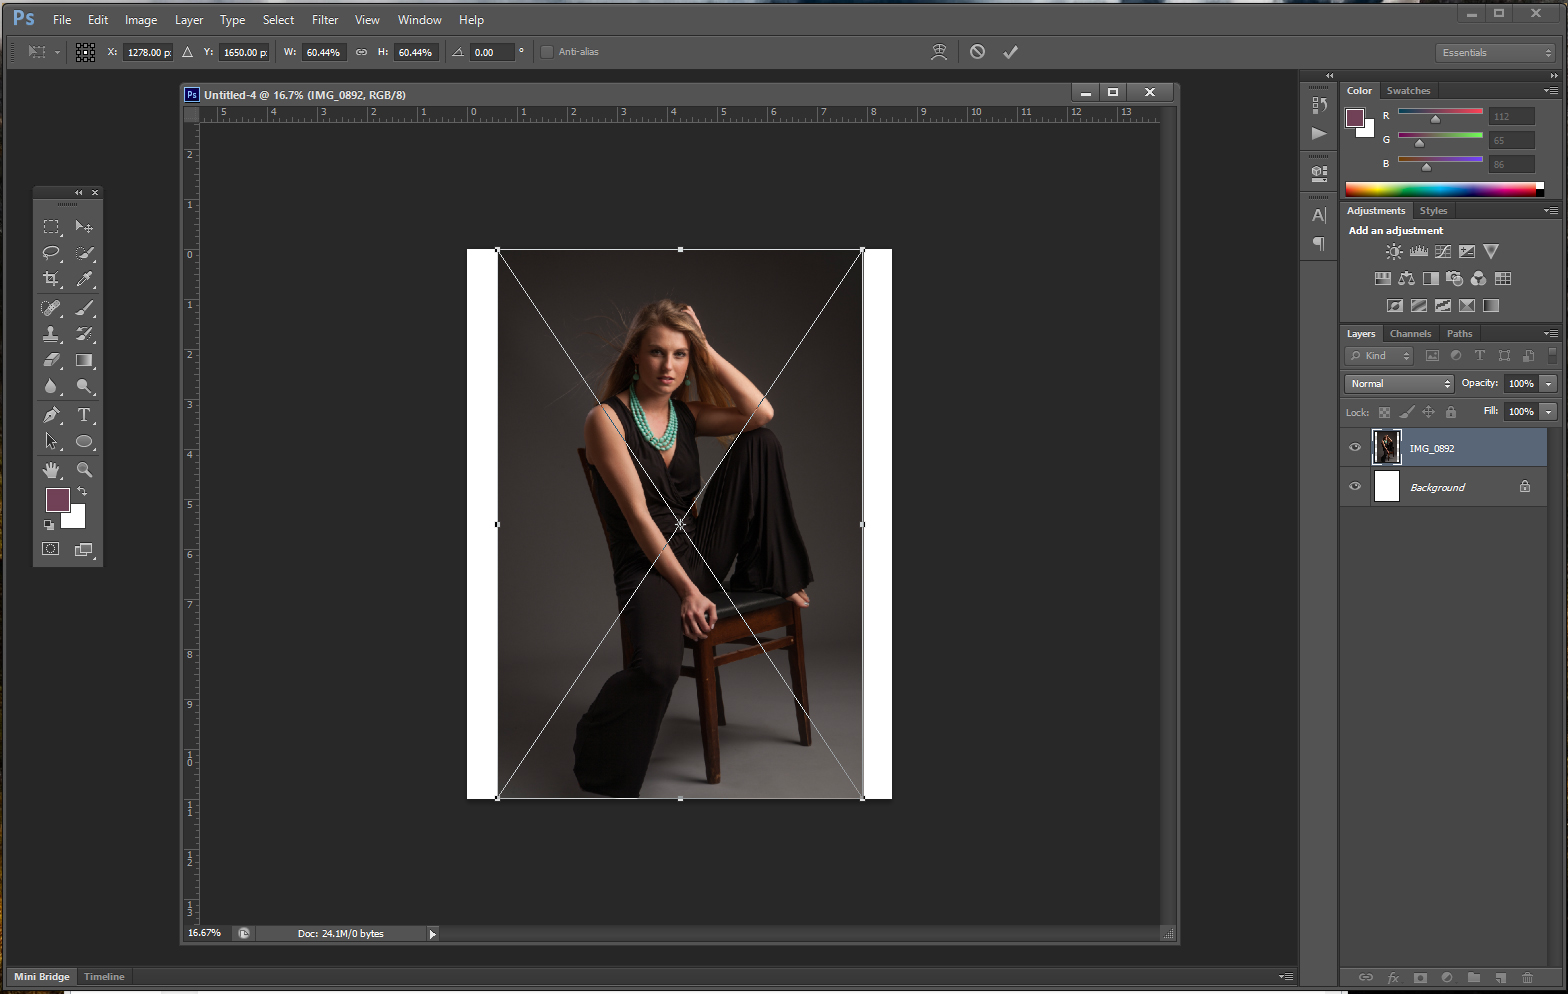
Next, place the image on the page and adjust it depending on the composition you wish to have. Remember, allow space for text. Then, rasterize it by right-clicking the layer in the layers palette and selecting Rasterize.
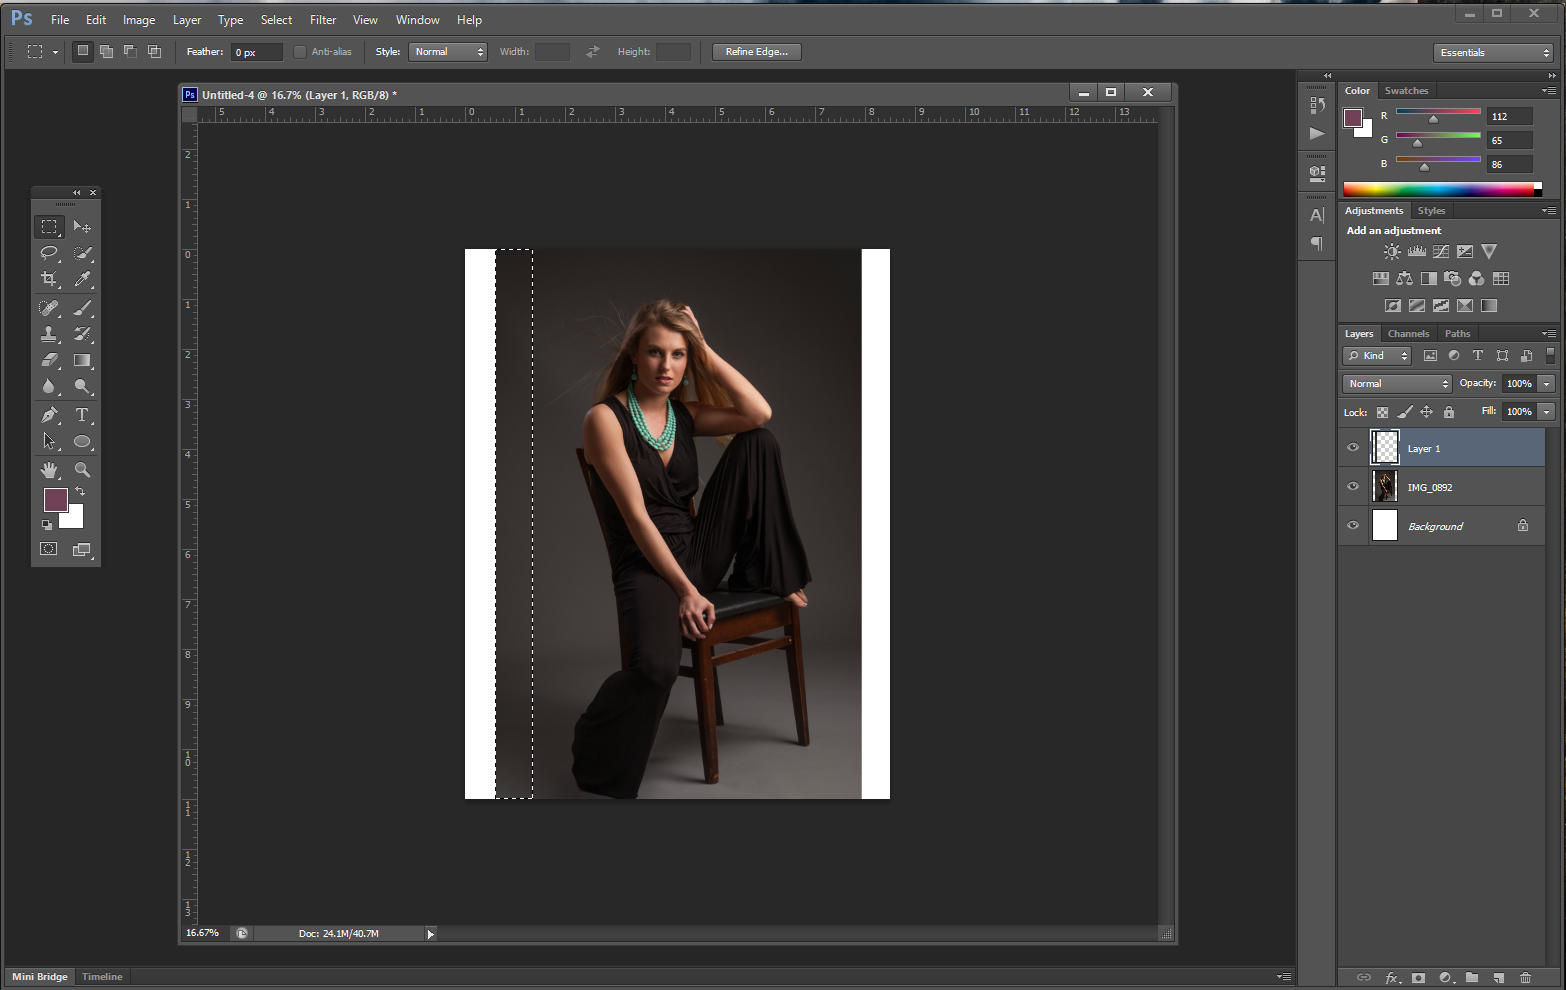
Then, take your rectangular selection tool (Marquee Tool) and draw a box down the left side of the image that is void of your subject. Copy and paste this piece onto a new layer. You can do this by holding Ctrl+C on Windows or Cmd+C on a Mac to Copy, and then by holding Ctrl/Cmd+V, and it will automatically paste into place on a new layer.
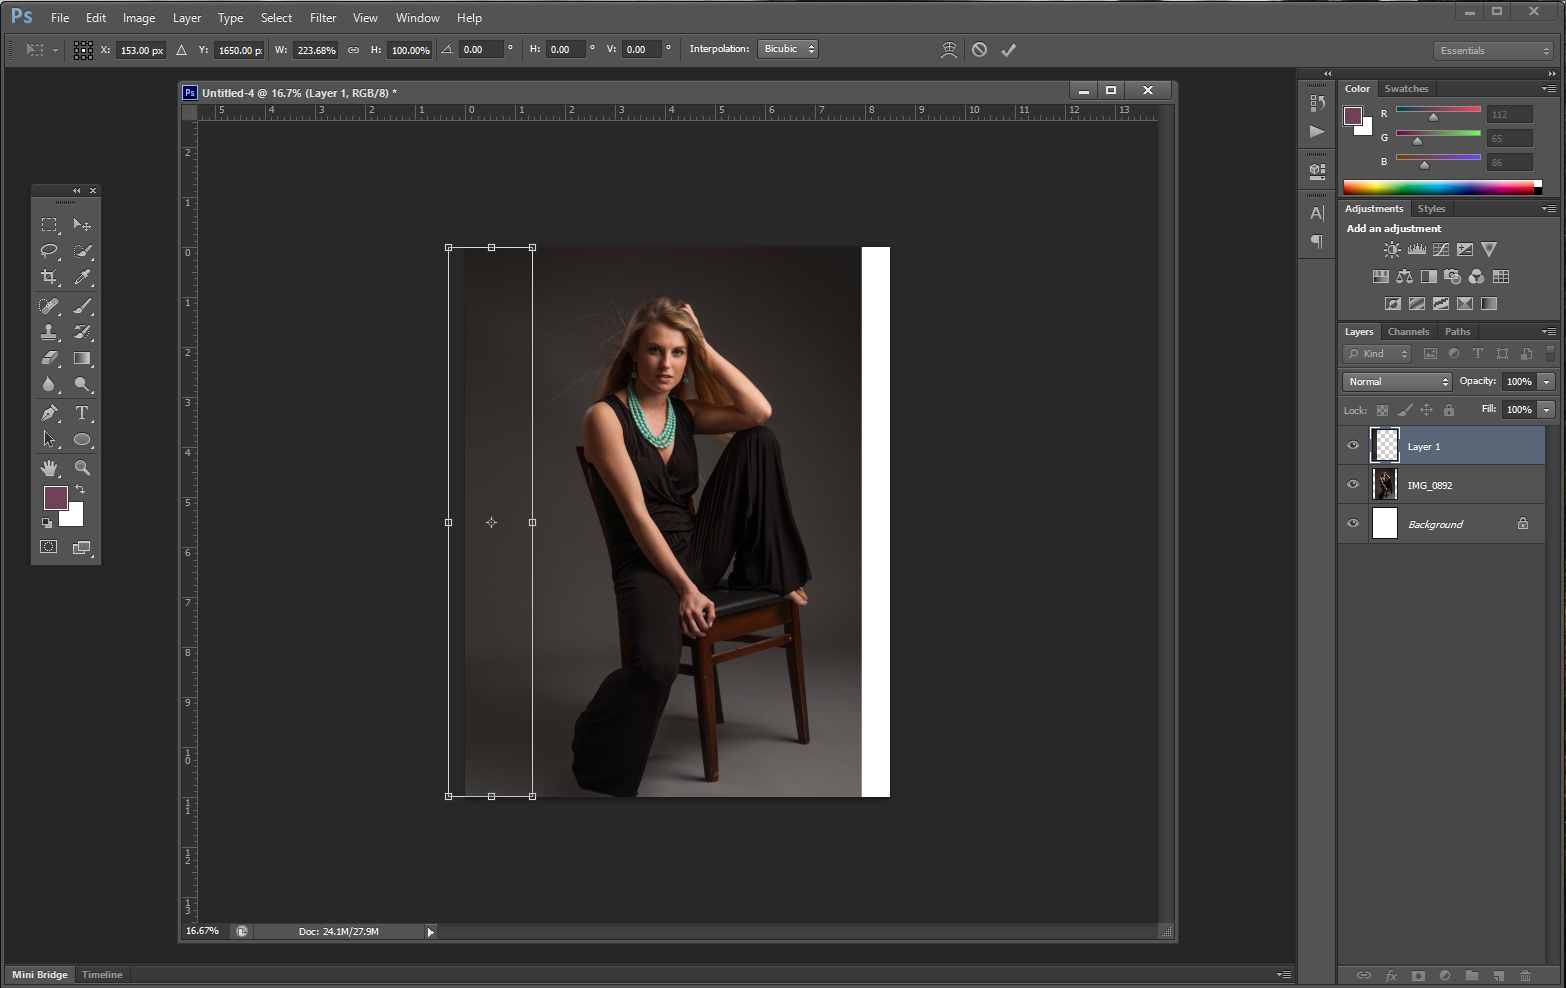
Now you will select this piece and stretch it to the left, filling in the remaining space behind your image. You will notice that it seamlessly blends in.
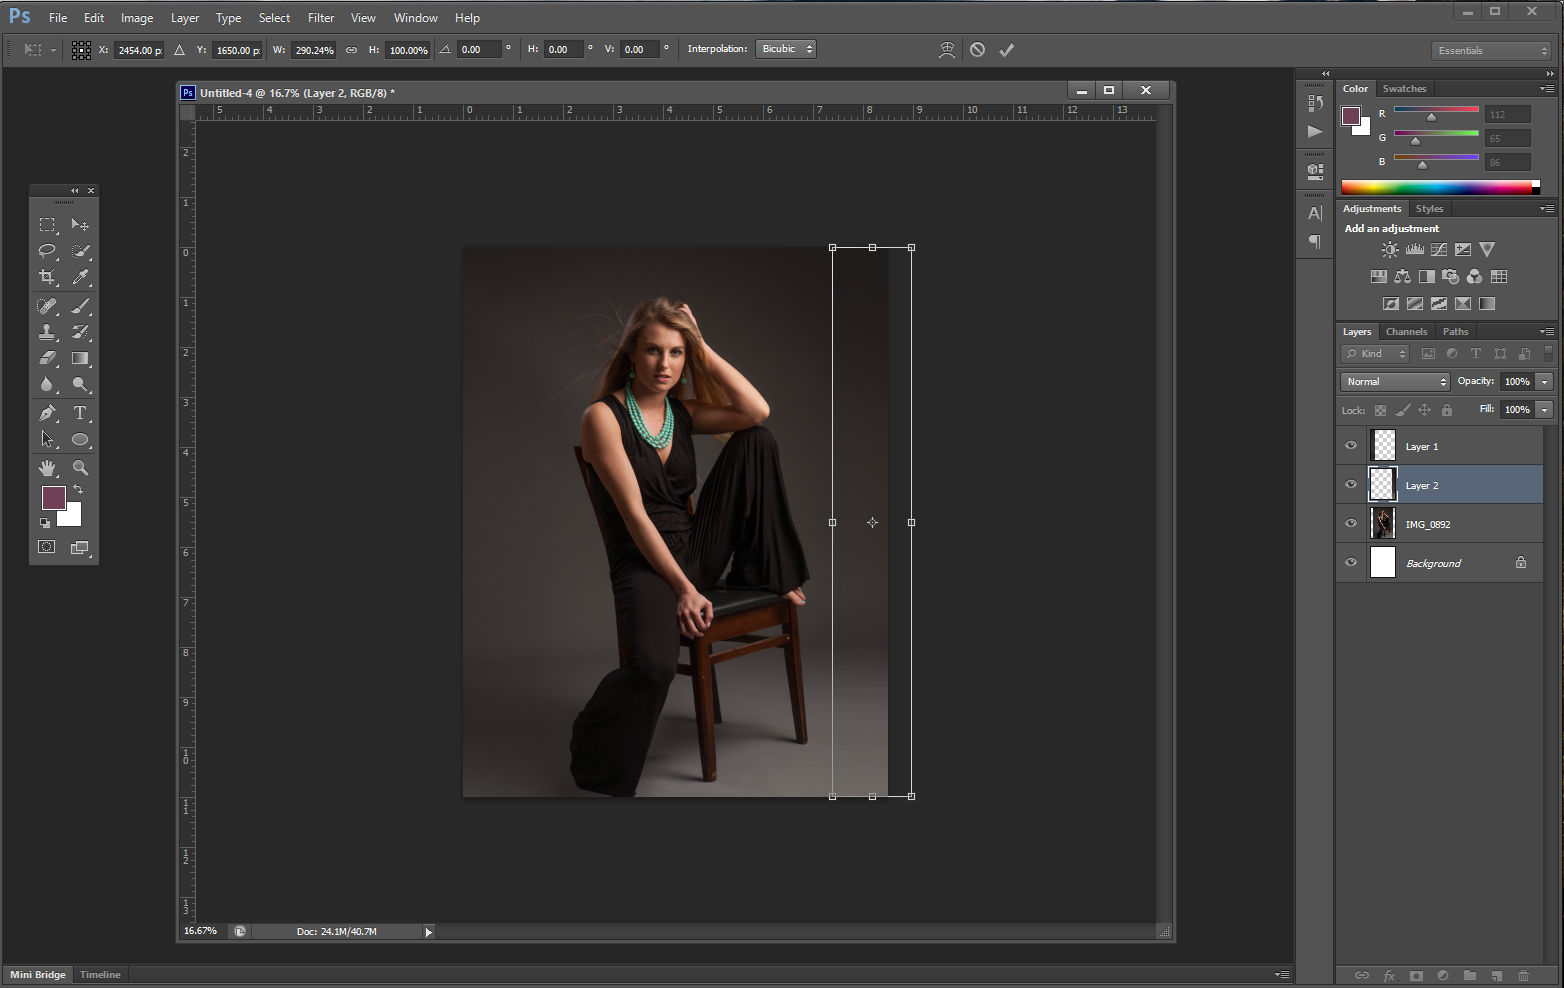
After that, you will do the exact same thing to the opposite side of the image if there is additional space to fill, there. Make sure you have the original image layer selected before you copy and paste.
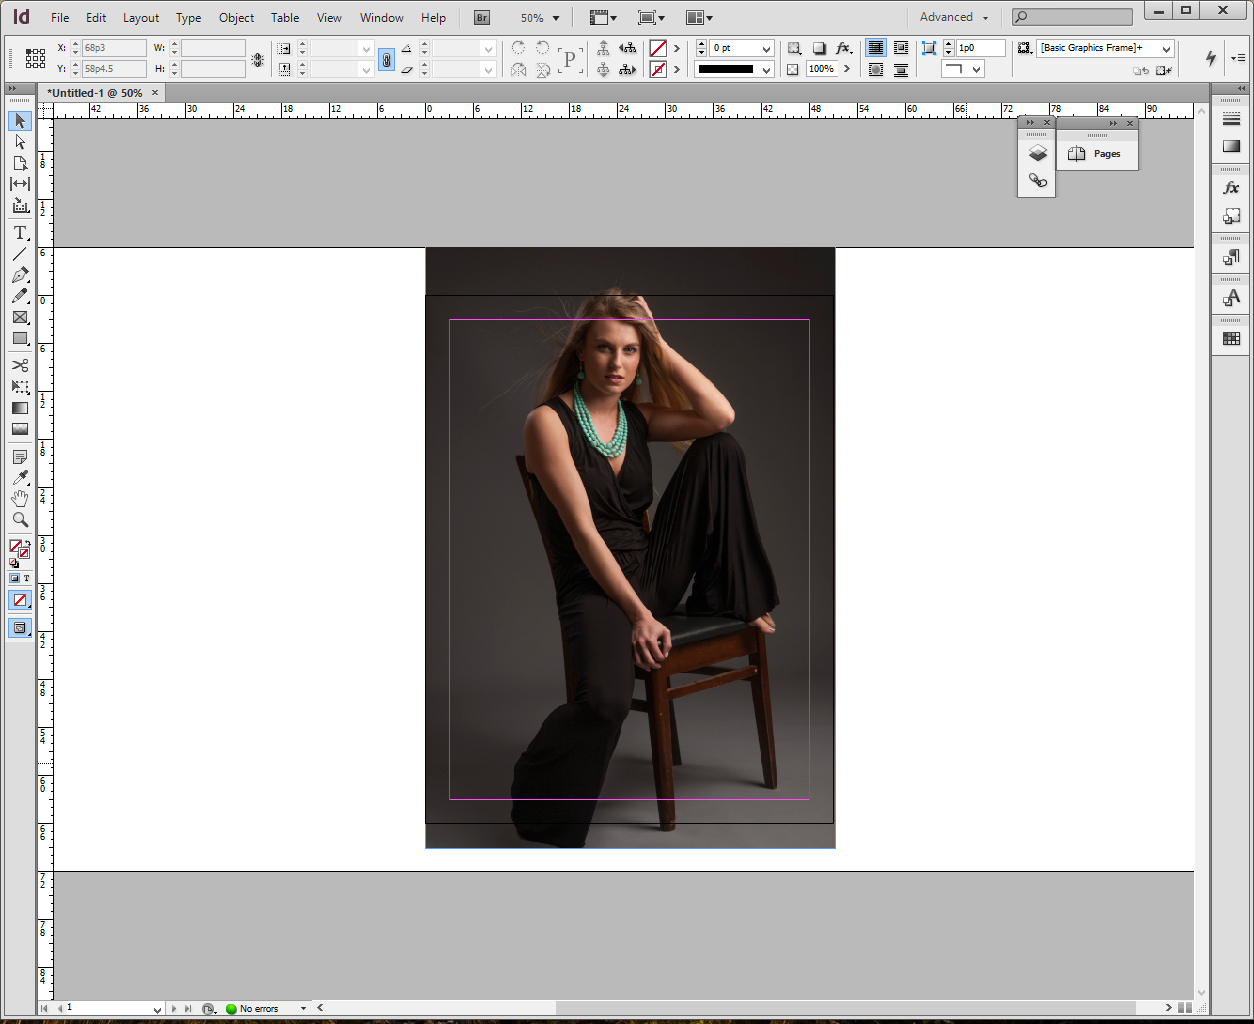
Once you have completed both of these steps, save it and place it into your document size. I test this in Adobe Indesign. You will notice that the image is now compatible for the page size you are publishing on without having to crop off any part of your photograph.
In some cases, you will notice that the portion of the image that you stretched will appear to smear or will even looked stretched. A way to correct this is to simply add a slight surface blur to the areas that look stretched, and they will magically disappear. I usually just surface blur the entire image and mask in only the areas I need blurred.
You can also use this approach to avoid cropping when adjusting ratios for client prints as well.
Join the Fstoppers community for free
-
Post comments and join in the discussions
-
Browse the site ad-free
-
Share your work and get featured in the community
-
Compete in the photo contests for fun and prizes
7 Comments
So happy someone's talked about this, I have to use a similar technique when also printing images for exhibitions
I worked at a magazine for 8 years and was always frustrated at the crop. Even to the point that I started renting medium format just for the image aspect ratio. Losing detail because you have to shoot further away to allow crop is very annoying.
Do you use Capture One? If so, have you ever tried the Overlay Tool? I am wondering how helpful that tool is.
You could also use the Content Aware resize tool in Photoshop to avoid horizontal streaks - or if your background is not as smooth.
Secondly - why do you worry so much about the resolution - especially in magazine print, where the paper and resolution is most of the time so bad that you don't need that much resolution anyway.
Yes there are some high quality printers out there who will use advanced dithering and 6-9 color processes, but normal high volume magazines do't use these technologies in my experience.
im a graphic designer / photographer and I can't stress how important it is for photographers to understand how the final image will be used. I'm constantly frustrated by people who don't understand the final use of an image as it makes my job take un-neccessarily longer. It's one thing many training courses just don't teach, technical perfect photography is one thing but a photograph that is actually usable is just as important. Not just for magazines but photography for websites it's just as important to remember how it will be used and whether or not there will be image captions and text over a picture, it can be particularly difficult photographing for a website 'slideshow' image as they are often combined with text that needs to work at multiple sizes. It's hard to stress to a photographer sometimes to put ego aside and forget how the overall composition looks, sometimes an image isn't going to look good until it is 'in-situ'. There might be blank spaces which as a photo composition don't work but will be perfect used in a design. Sure the photographer might not get a portfolio piece straight out of the camera with all the blank space around the photograph but their client, the designer or publication will be more than happy with a usable image they don't have to photograph!
Also important for wedding photographer when considering albums.