
If you are using Lightroom Classic for your photo editing, you have the possibility to use the presentation module. This module makes it easy to create a slideshow and export it as a video file. Try Premiere Pro if you want to take your slide shows to the next level.
Previously, I created a few slide shows within the Presentation module of Lightroom Classic. It is straightforward and easy to use. Just select the images in your catalog and switch over to the Presentation module.
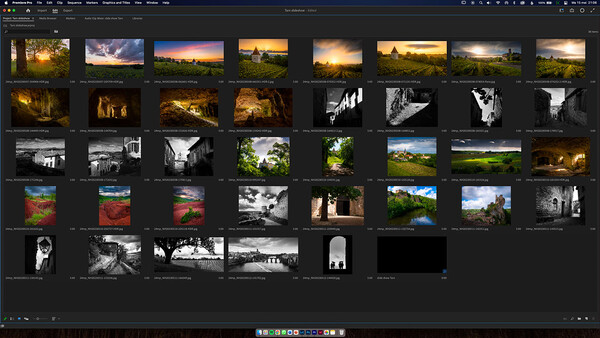
Although there are benefits, there are also limitations. Lightroom Classic only allows a 1080p resolution, and there is no way of fully controlling the output quality. Below is an example of a slideshow made in Lightroom Classic.
If you want to go beyond the possibilities of the Lightroom Classic Presentation module, a standalone slideshow program is a possibility. But you can also use Premiere Pro, which offers an almost unlimited number of options to create an amazing slideshow. Adding individual photos to a track in Premiere Pro can take a lot of work and time. But you can use a simple and easy method of adding multiple photos at once. In this article, I will explain how. This can be a starting point from which you can take it your own way.
Step 1: Select and Import the Photos in Premiere Pro
You need to select the photos you want to use in your slideshow. Export these photos in the appropriate size. If your slide show will be in 4K resolution, make sure the height of the photos is 2,160 pixels. If your slide show is in full HD, a height of 1,080 pixels is enough.
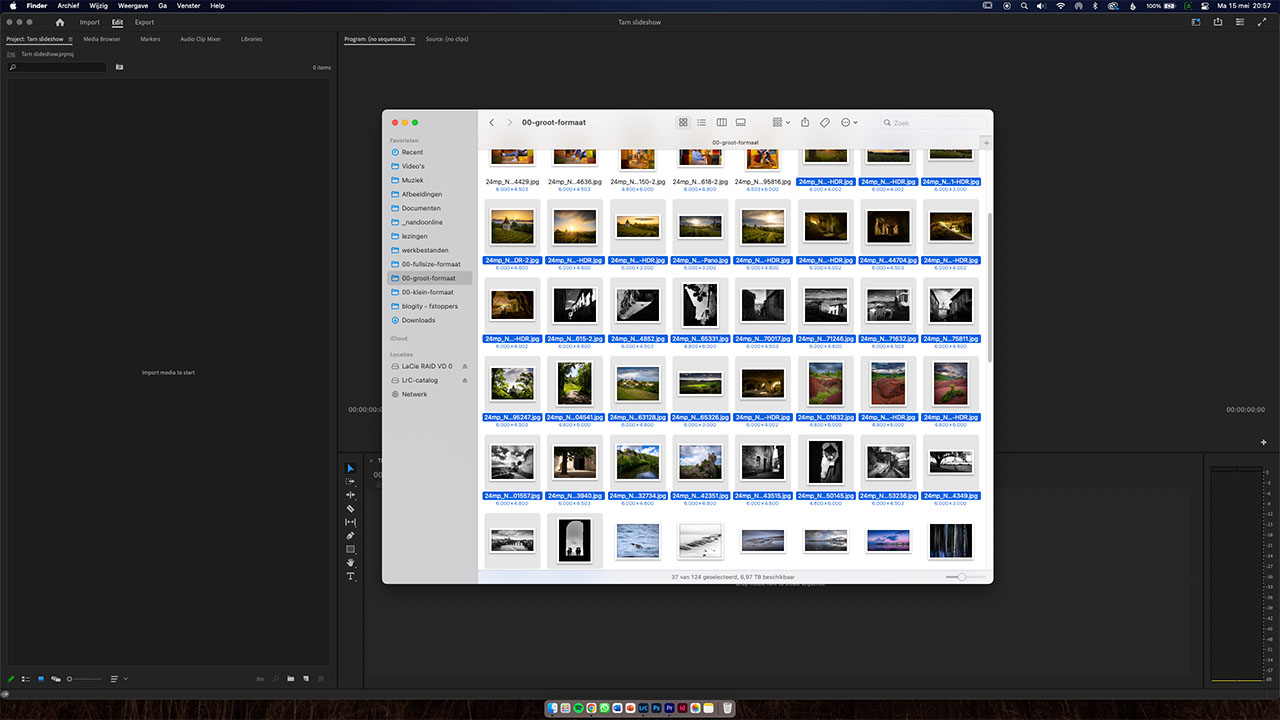
It’s no problem to use a larger resolution since you can reduce the size in Premiere Pro. But if you have a smaller resolution, increasing the size will have a negative impact on the quality and sharpness.
Make a bin in the Premiere Pro file navigation panel and add the photos you’ve selected. But don’t add the photos to the sequence yet.
Step 2: Set Display Time and Photo Order
Make the file navigation panel containing the thumbnails full screen by pressing the tilde sign on your keyboard. This will make it a lot easier to reorder the photos to your liking. Use the slider to adjust the thumbnail size and drag the photos in the desired order.

If you’re done, just press control or command + A and open the context menu. Select speed/duration and set the desired duration. On most occasions, five seconds is more than enough.
Press the tilde button again to reset the file navigation panel size.
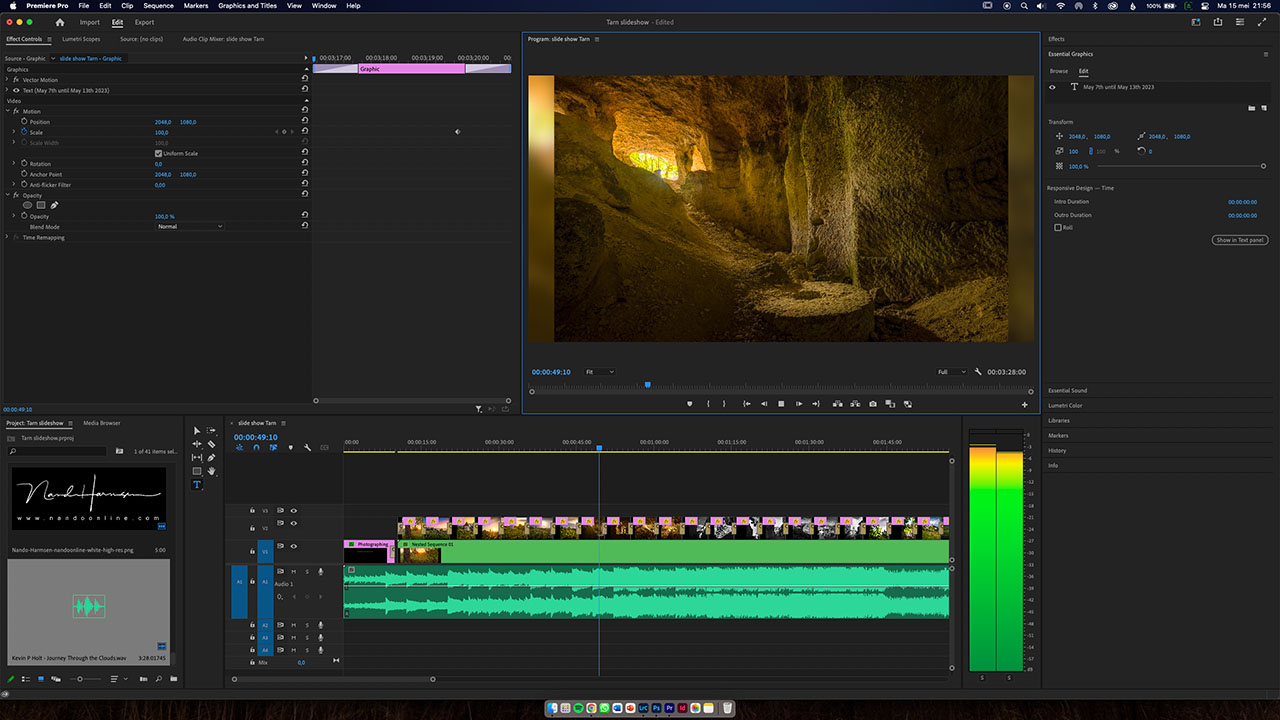
Step 3: Add Photos to the Video Sequence
Make sure you have made a video sequence with the correct size and frame rate. If you forget, the dimensions of your video will have the same aspect ratio as your photos when you add the photos. I always use 4K 25p as the basic video sequence setting, but you can also choose your own.
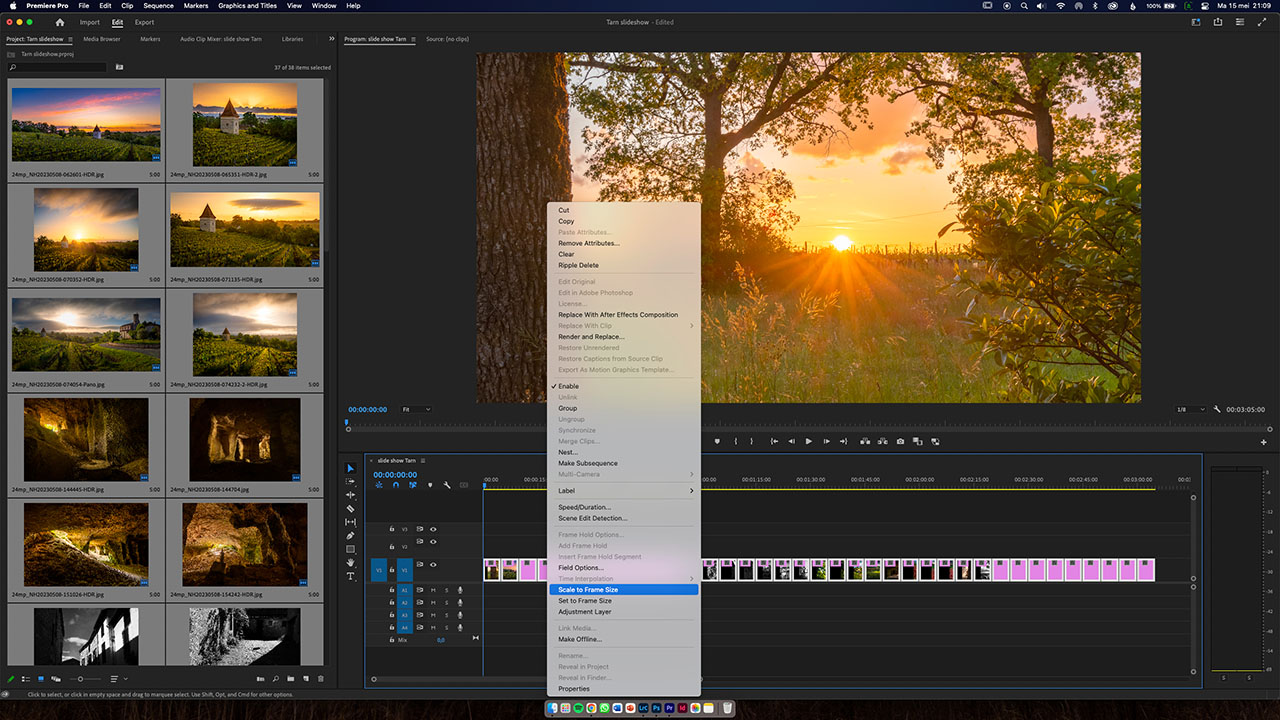
Now, it’s time to add the photos to the track. Press control or command + A to select all photos. Drag the complete selection onto the track in your video sequence.
Unless the photos have the correct resolution, you need to resize the photos. Keep all photos on the track selected and select scale to frame size from the context menu.
Step 4: Animate the Photos
Having the photos in your slideshow is not enough. Give the slideshow a cinematic look by zooming in during the time the photo is showing on screen. Keep it subtle for the best effect. Just a 10 percent increase in size is usually enough.
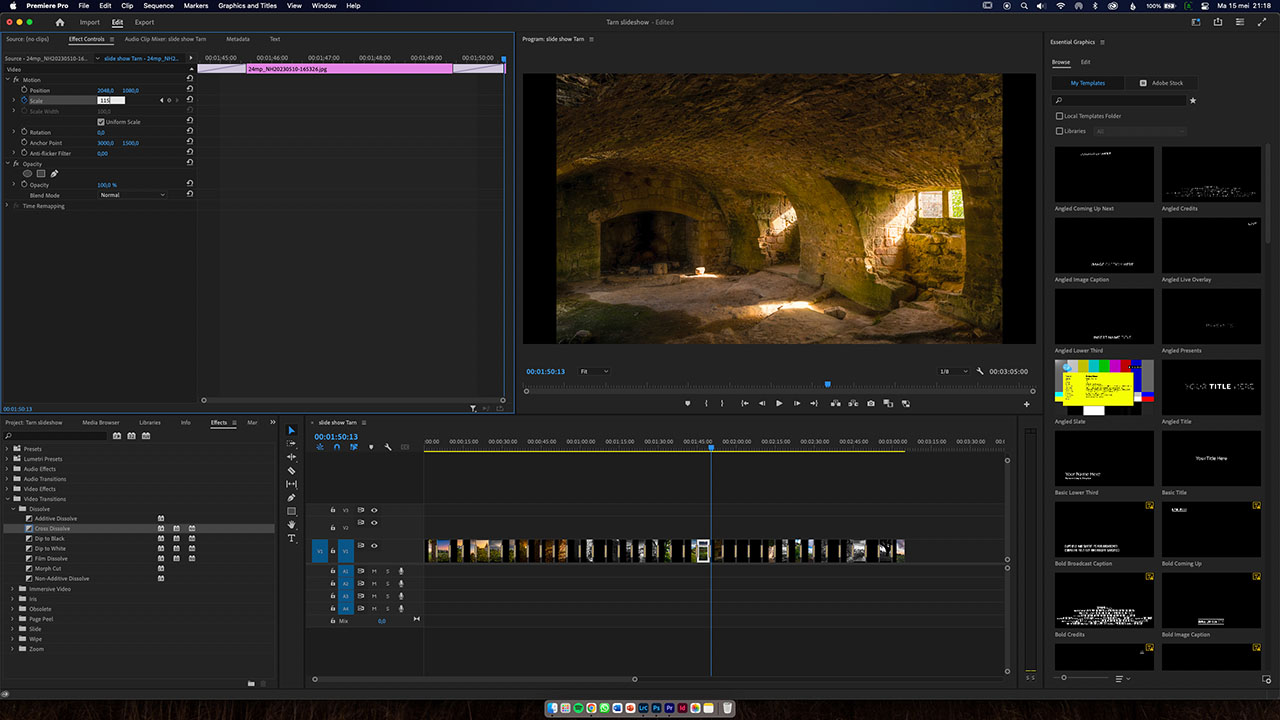
Select one of the photos to add this effect. When the motion is added, select copy from the context menu when clicking the right mouse button on the photo. Now, select all photos from the sequence and choose past attributes from the context menu. Make sure motion is selected and press OK to paste the effect.
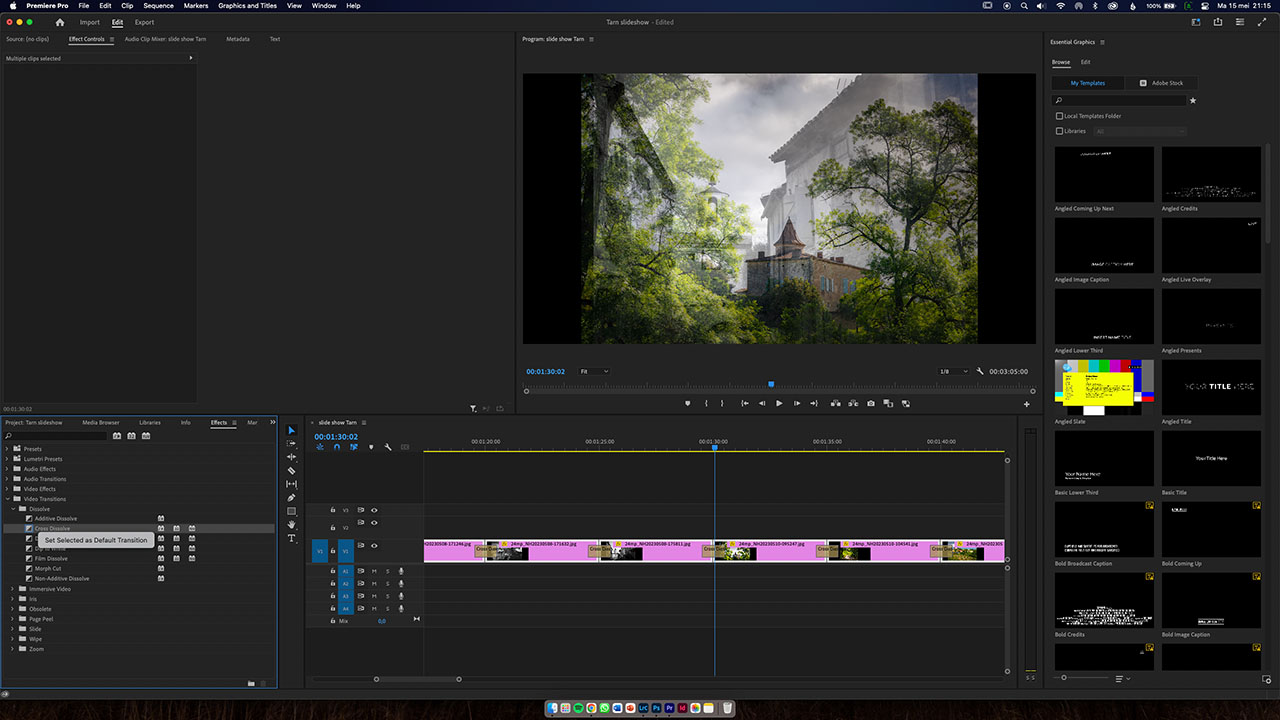
Finally, add a simple transition between each photo. If you want to use the default transition, just press control or command + D after selecting all photos on the track.
Step 5: Fill the Empty Background
When a photo doesn’t fit the 16:9 aspect ratio, the black background will be visible. If this is not to your liking, you can use the photo that is showing as a blurry background. For this, select all photos and copy these onto a second track on top of the original one.
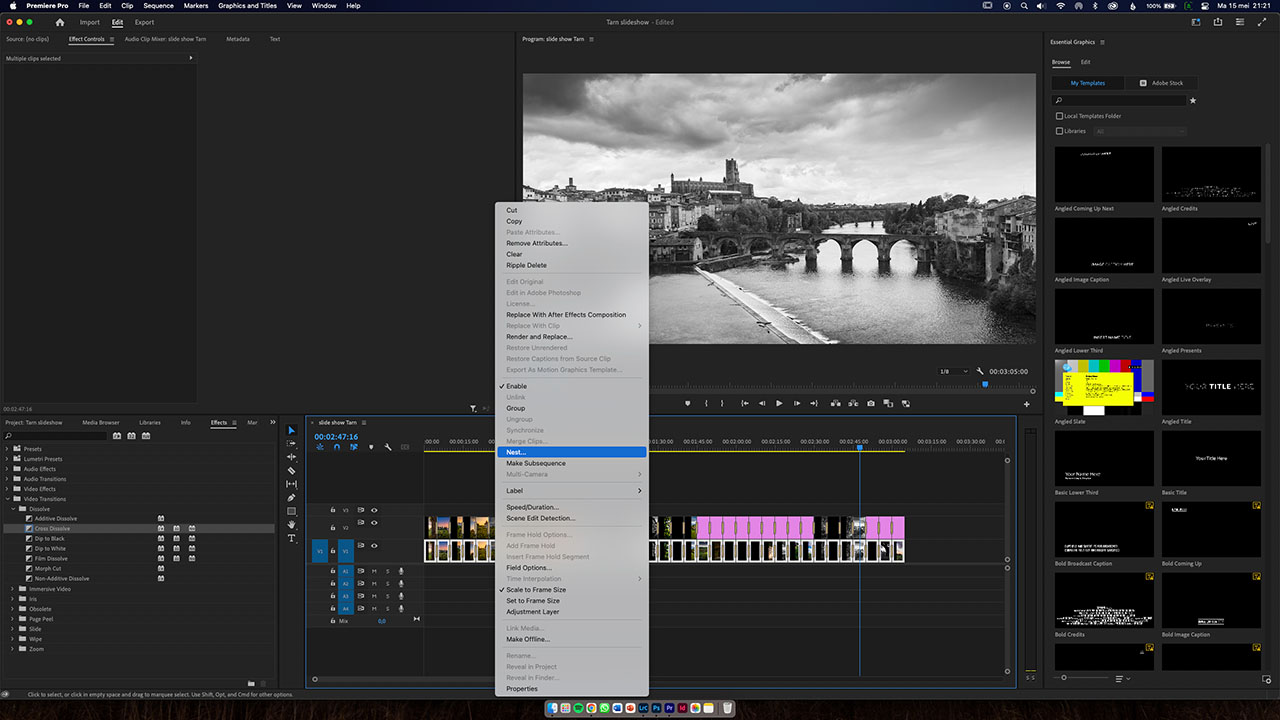
Select all photos from the underlying track and select nest from the context menu. Increase the size of the content on this track until it fills the background completely. Set the play head at a photo that has the largest black bars on the sides to know how much you need to increase the size.
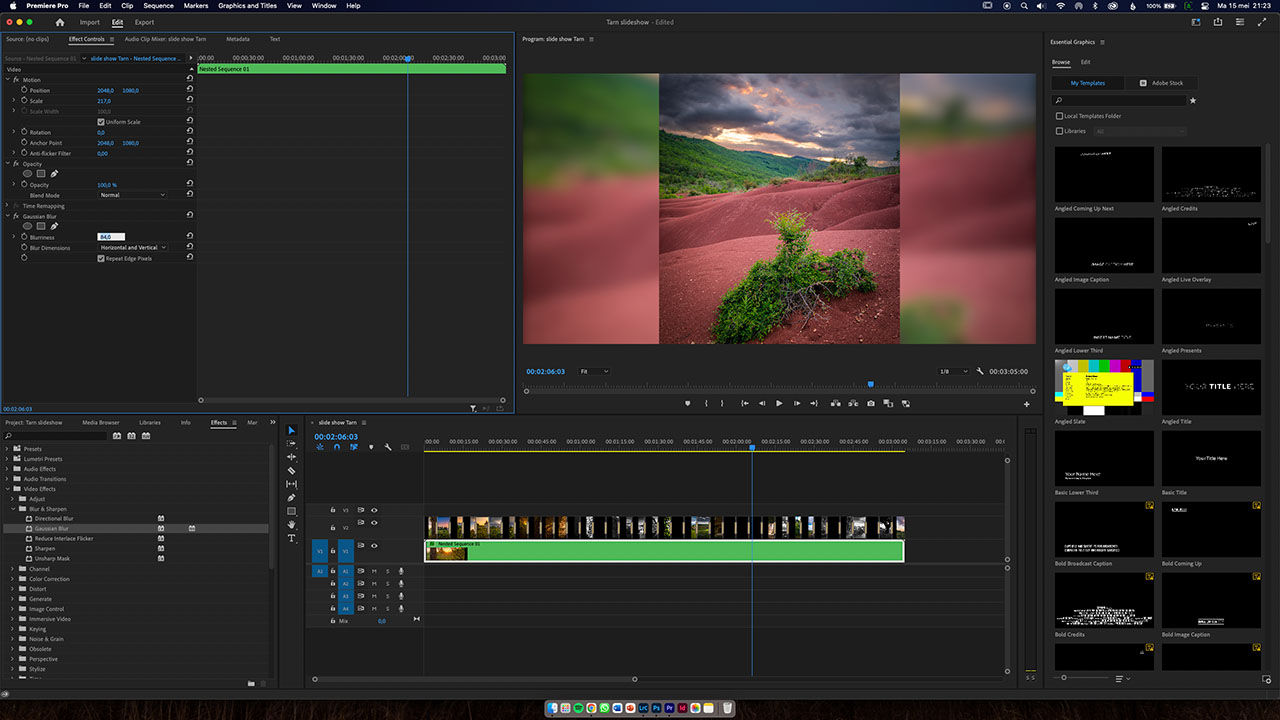
Add a Gaussian blur effect to this underlying track and set the Gaussian blur amount to your liking. Make sure repeat edges is selected. Now, you’re ready for the final step.
Step 6: Make a Title and Add Music
You want to tell the viewer what they’re looking at. A title will make it more appealing and perhaps a credit also. After all, the slideshow is basically a short film. Premiere Pro has some standard title presets available, or you can make your own.
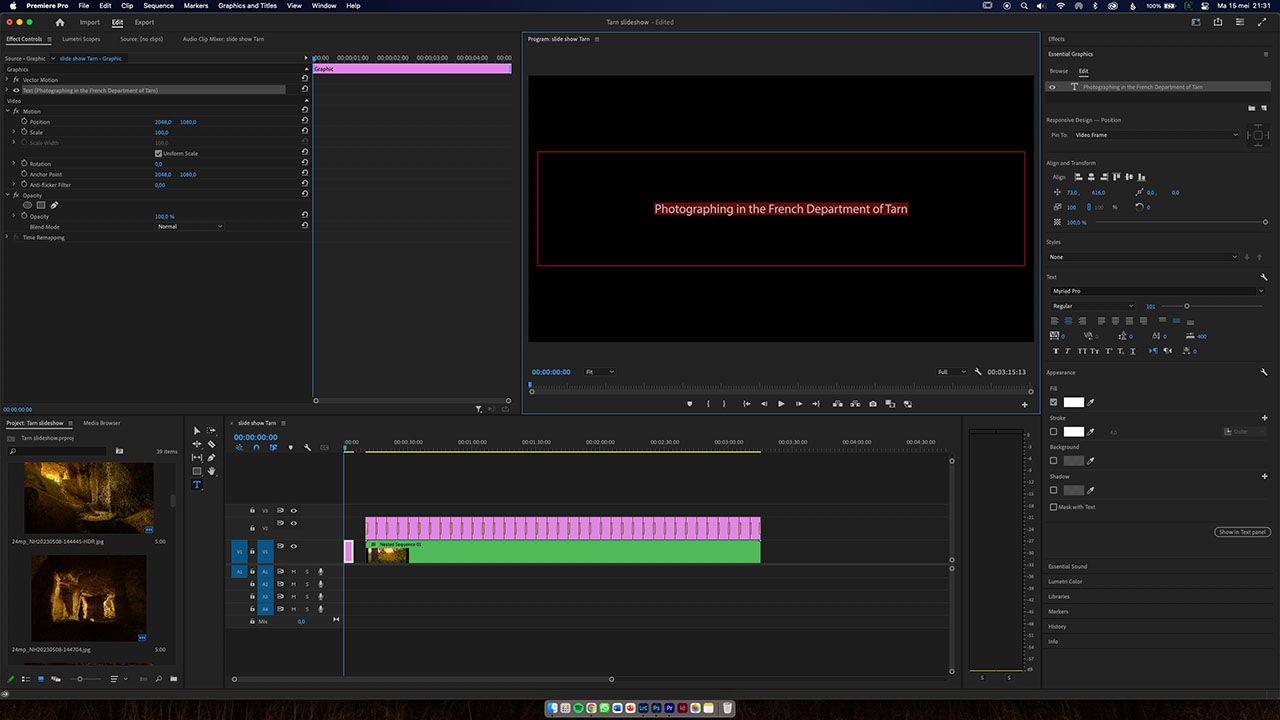
Depending on your Premiere Pro skills, you can make a title as fancy as you like. Perhaps a simple text is enough. Or combine a title with one of the most attractive photos from your slideshow. If you have video footage available, use that for your title sequence.
It is also possible to add photo information for each slide. Unfortunately, I don’t know if Premiere Pro can read EXIF data from the photo to add this automatically, just like in the presentation module of Lightroom Classic. If you know such a way, please let me know in the comments below.
The final addition, and perhaps even the most important one, is music. Without music, the viewing experience will be boring. Search for the music that fits your photos and add this to the video sequence.
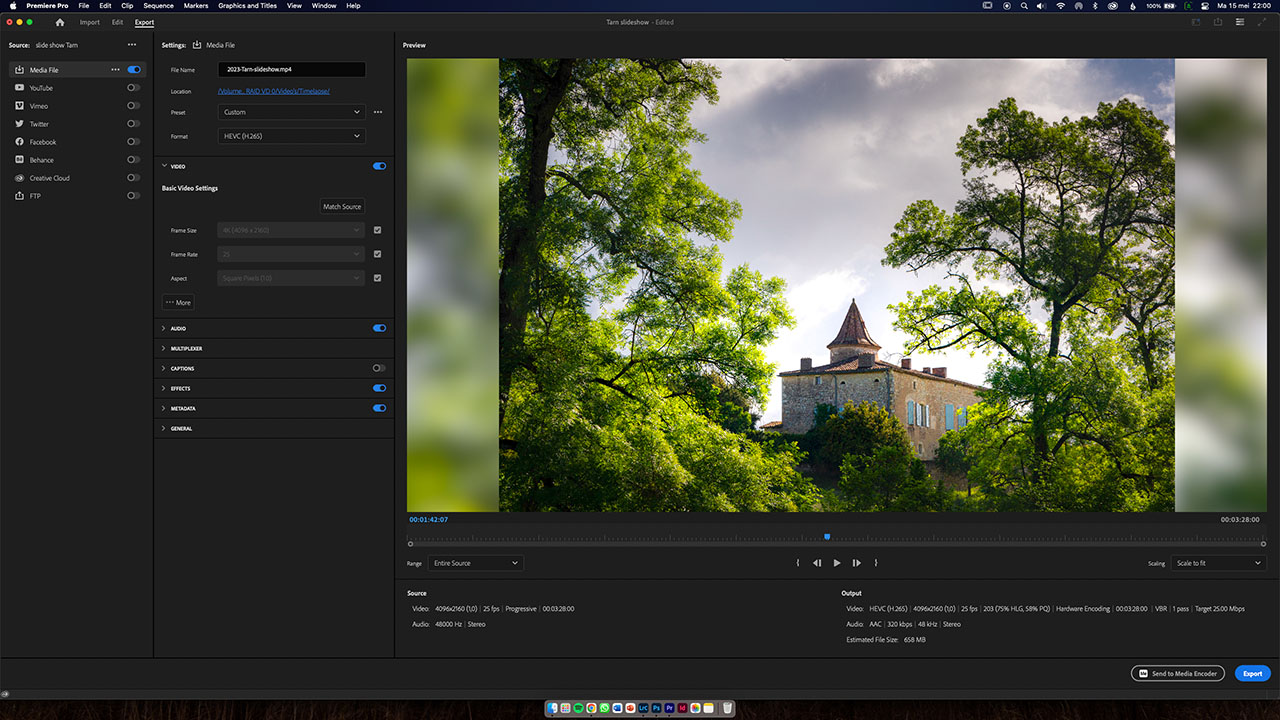
Export the Slideshow Video and Enjoy the Results
If the results are to your liking, it’s time to export the slideshow video. Keep an eye on the video file size, and adjust the bit rate if the file becomes too large. Just don't make the bit rate too small, since that affects the quality of your slideshow. Don’t forget to export sound as well.
I’ve made a couple of slideshows this way, and once you’re used to this method, it’s fast and easy. I want to invite to look at the slide shows I made in Premiere Pro on YouTube.
This brings me to one final tip. Don’t make your slideshows too long. It’s better to make a couple of episodes instead of one long slideshow. No matter how beautiful your photos are, people tend to get bored after a few minutes.
There are specialized programs for making slideshows, of course. But if you already have access to Premiere Pro, it’s easy to use it for your own slideshows. You can also combine a slideshow with video and make your own title and animated text.
Please feel free to share your own slideshow in the comments below. Mention how you made the slideshow also. I'm looking forward to seeing your work.


4 Comments
Thank you for this article, going to put it to use this week!
If you have a link to an online gallery made this way, feel free to share it in the comments.
Gotta add camera settings manually. I do it every week, real pain in the ass 😂 if you find a script or a way to do it automatically. I will legit Venmo you lol
Now I'm going to search for a method, of course
lol