
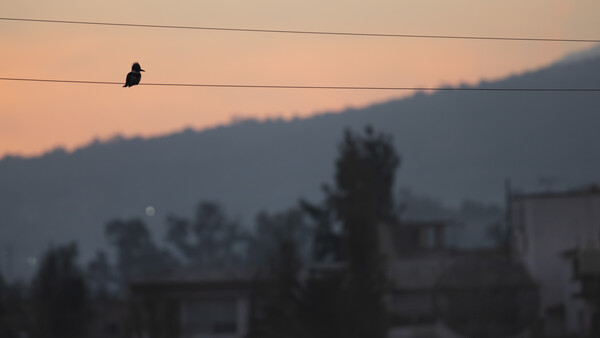
Wildlife photography is often associated with iconic species such as lions on the savannah, elephants crossing golden plains, or bears roaming in areas like Yellowstone National Park. These adventures are extraordinary, but they are also expensive and not always accessible to beginner photographers.
The good news? You don't need a plane ticket to start photographing wildlife. Nature is all around us, even in heavily urbanized areas. Photographing urban wildlife can be just as exciting and challenging as photographing large mammals in remote landscapes and, sometimes, it's even more rewarding. Here's how to begin.
Start With Research
The first step in photographing urban animals is simple: research.
Begin with a quick online search about your city or neighborhood and the species that inhabit it. Visit your local library or university to look for books or academic papers about regional biodiversity. Environmental authorities can also provide valuable information, especially if you plan to visit protected parks or reserves where permits may be required. By researching your area, you'll learn:
- What vegetation dominates your town and what species it attracts
- Where local parks, wetlands, or forested areas are located
- Which species are resident and which are migratory
- What conservation challenges your local ecosystems face
If you're particularly interested in birds, for example, you can find out whether it's legal and advisable to install a bird feeder or bath. If it is, you'll also need to understand proper hygiene practices to prevent the spread of diseases among visiting birds. Knowledge makes you both a better photographer and a more responsible one.
Observe Before You Shoot
Once you've done your homework, it's time to observe.
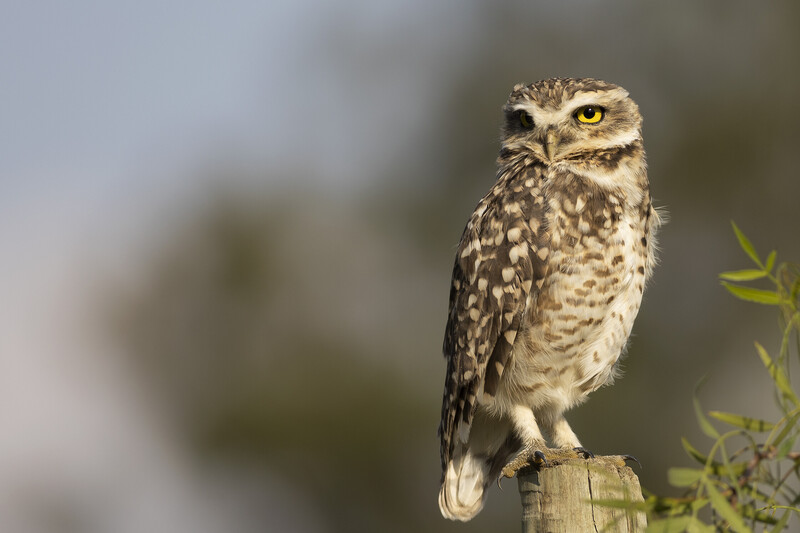
Visit local parks, natural areas, or simply spend time in your yard or by your window. Pay attention to what species appear, what times of day they're most active, and how their presence changes with the seasons. This observation phase helps you prepare your gear strategically.
If summer in your neighborhood is dominated by birds, there's little reason to carry multiple lenses, as your telephoto may be all you need. You'll also learn what kind of clothing is appropriate. Urban wildlife is often accustomed to humans, so camouflage isn't always necessary. Sometimes you can sit quietly on a park bench and wait.
That said, always assess the safety of the area before displaying expensive gear to avoid any mishaps. Alternatively, you can always shoot from home by simply peeping through your window. One of the greatest advantages of urban wildlife photography is that you can do it from home.
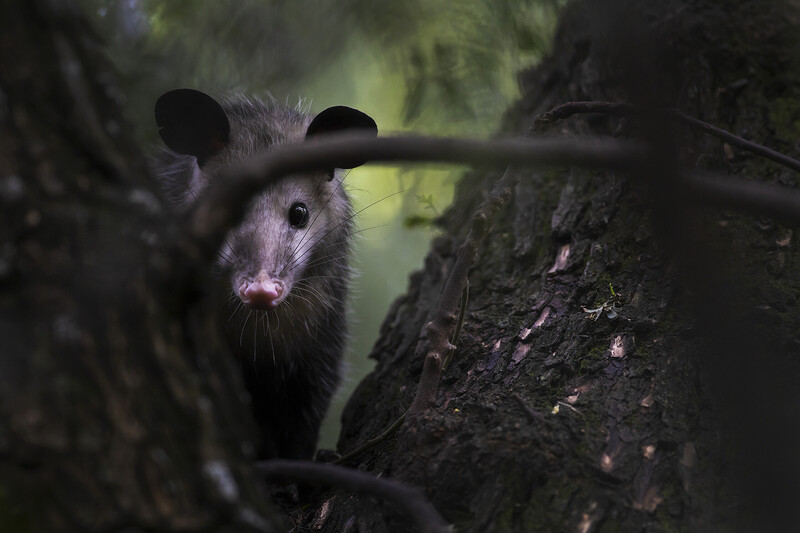
Photographing animals from your window allows birds and small mammals to behave naturally without noticing you. This often results in more authentic behavior and stronger images. This also works well if you don't have a yard or live in an apartment building but there are some natural surroundings near you. However, the joys of photographing urban wildlife also involve walking through town.
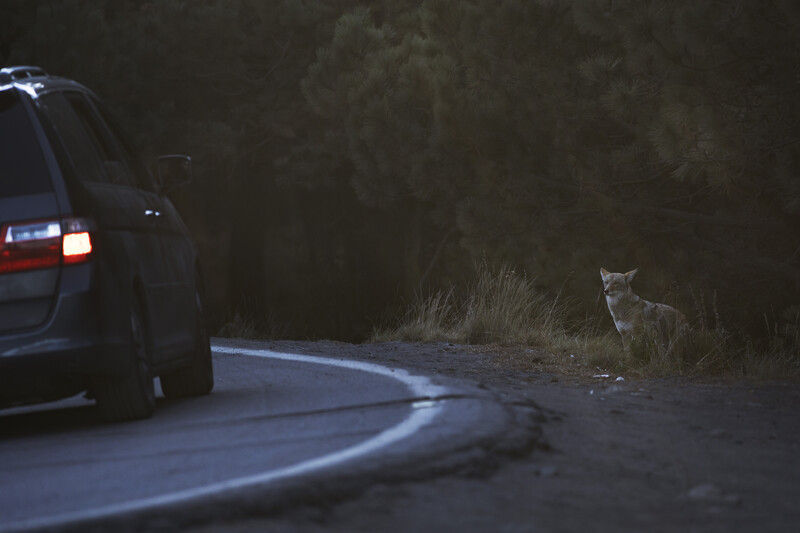
Explore your neighborhood streets (if safe), local parks, or nearby forest patches. Urban forests and fragmented natural areas often host surprising biodiversity, as already discussed. Depending on where you live, you might encounter coyotes, foxes, deer, or even some bears. But even the most common urban lizard can look spectacular under a macro lens. If you can't get close, use a telephoto lens and crop thoughtfully in post-processing.
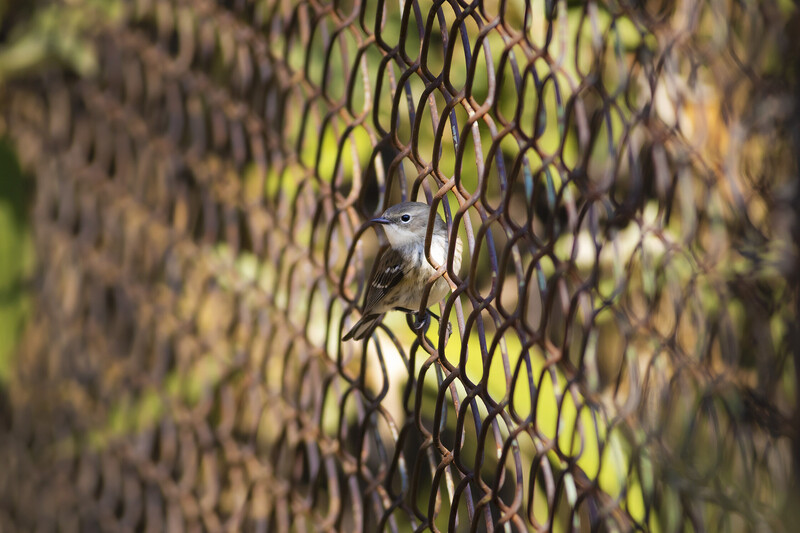
Now, birds are the most common urban wildlife subjects. From songbirds and warblers to ducks and birds of prey, cities can host remarkable avian diversity. This means that when walking around town in search of wildlife, you might want to have your gear ready to shoot some birds. As such, I advise you to rarely shoot below 1/500s and not be afraid to increase to 1/1000s or higher in bright conditions.
Use apertures around f/6.3 to f/8 for sharpness. Modern cameras allow you to play with high ISO settings without losing quality, which comes in handy considering that buildings and other urban structures can cast shadows on your subjects. Also, activate your burst mode as well as your continuous autofocus settings.
Don't Ignore Insects
Urban insects are some of the most overlooked photographic subjects. Butterflies, bees, ladybugs, and spiders are often right outside your door. You don't need a macro lens to photograph them — a telephoto lens can work beautifully too. Cropping in post-processing can compensate for distance.
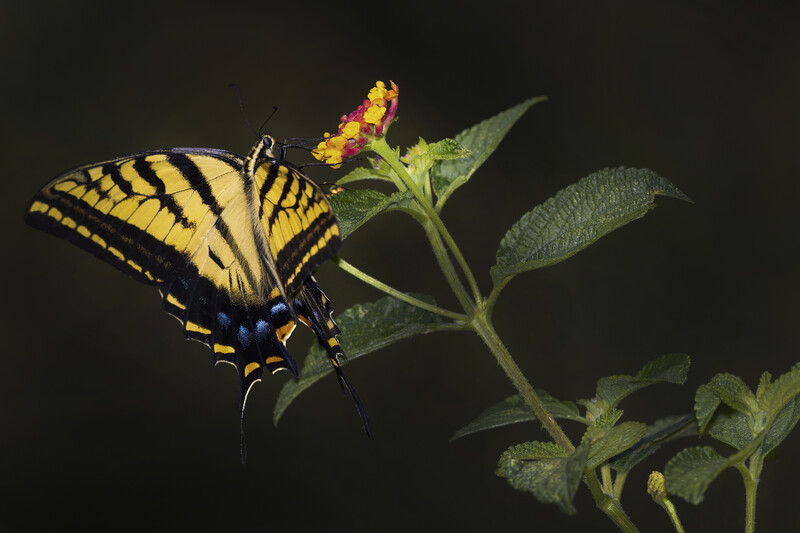
Urban insect photography has another advantage: many species are present nearly year-round, making them reliable subjects when birds are scarce. And while some bugs are more nocturnal than diurnal, the same is true of other mammals. As such, urban wildlife is also perfect for practicing some nocturnal photography.
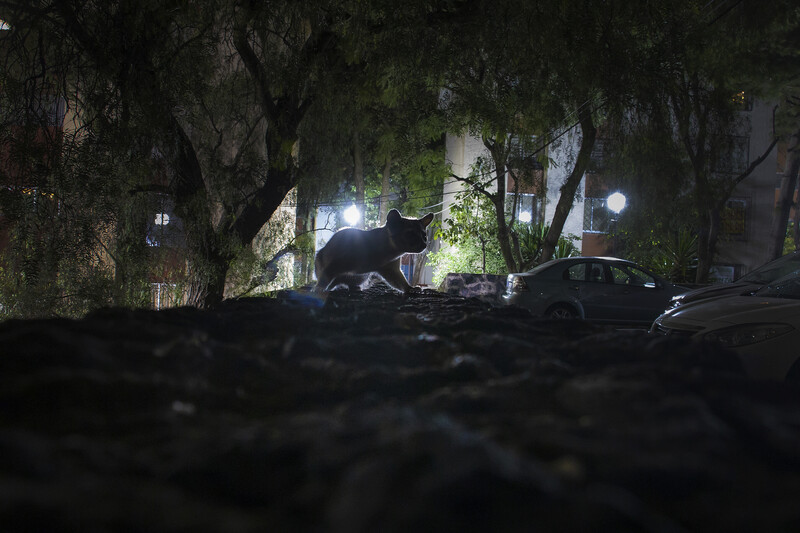
Photographing animals in the dead of night requires mastering both manual mode and manual focus, especially in low-light conditions when autofocus may struggle. Here are some tips that can help you nail your nighttime shots:
- Use the widest aperture possible
- Stabilize your camera with a tripod or solid surface
- Experiment with slower shutter speeds
- Increase ISO as needed
- Consider manual focus if you don't have any supporting light illuminating your subject, such as a streetlight. Autofocus doesn't work reliably in low-light conditions, as mentioned above, so you will have to switch to manual mode. You can also rely on a flashlight to illuminate nocturnal animals, but make sure to point the light toward their bodies and not their faces to avoid blinding them.
A Note on Ethics and Suggested Camera Settings
If you encounter trapped animals, such as raccoons or opossums caught in garbage bins, helping them safely can be more important than any photograph. Never handle amphibians or reptiles unnecessarily, as their sensitive skin makes them vulnerable to disease transmission. Wildlife photography should always prioritize the well-being of the subject. In fact, photographing animals from a distance and capturing their surrounding environment helps with storytelling and creates compelling, unique images.
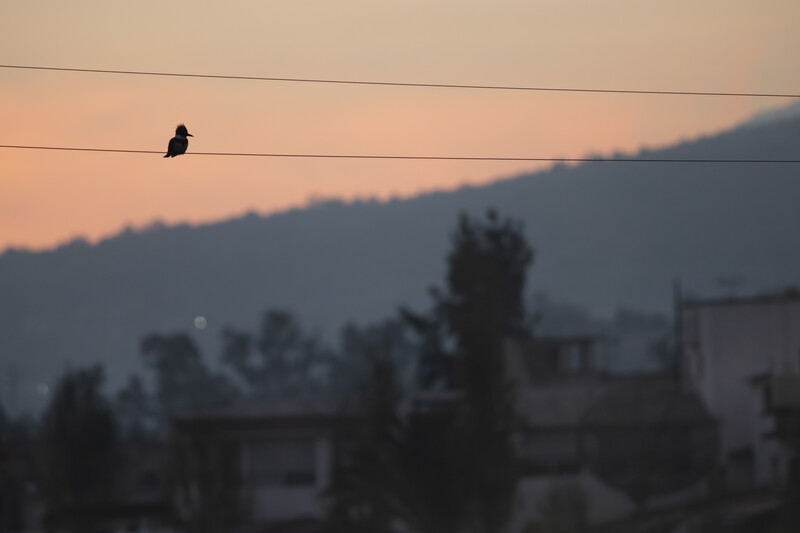
Finally, for some suggested default settings when exploring the city: try to keep medium to narrow apertures (f/5.6 to f/8) and shutter speeds starting at around 1/500s to be able to freeze fast-moving subjects like birds, lizards, and squirrels.
Don't be afraid of using high ISO settings, especially if you are shooting with a newer camera. And unless you are shooting at night, remember to enable your autofocus and make use of burst mode so that you never miss a single encounter.

1 Comment
Exotic bird visiting the local birds feeder in my garden.
Shot from my bedroom with a Nikon Z5 + Canon EF 300mm f/2.8 L USM (Non-IS) + Extender 2X + Fringer