
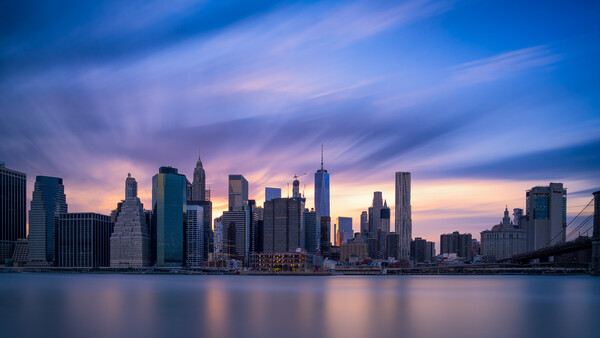
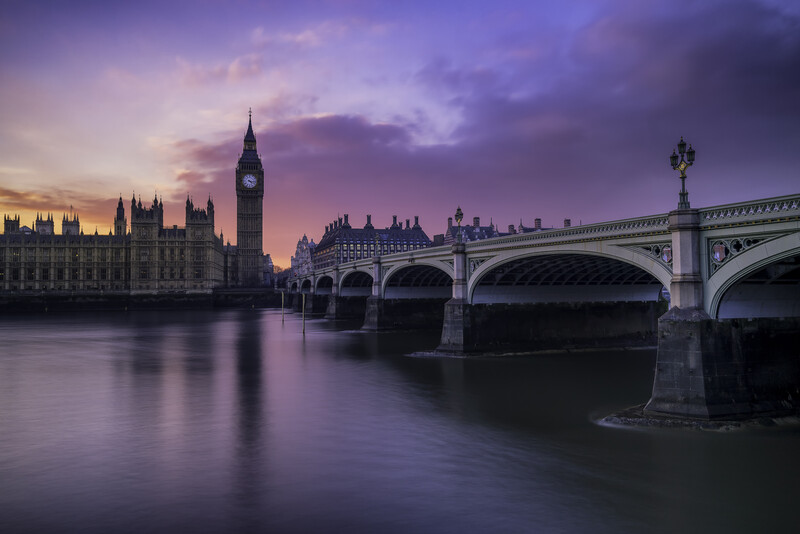
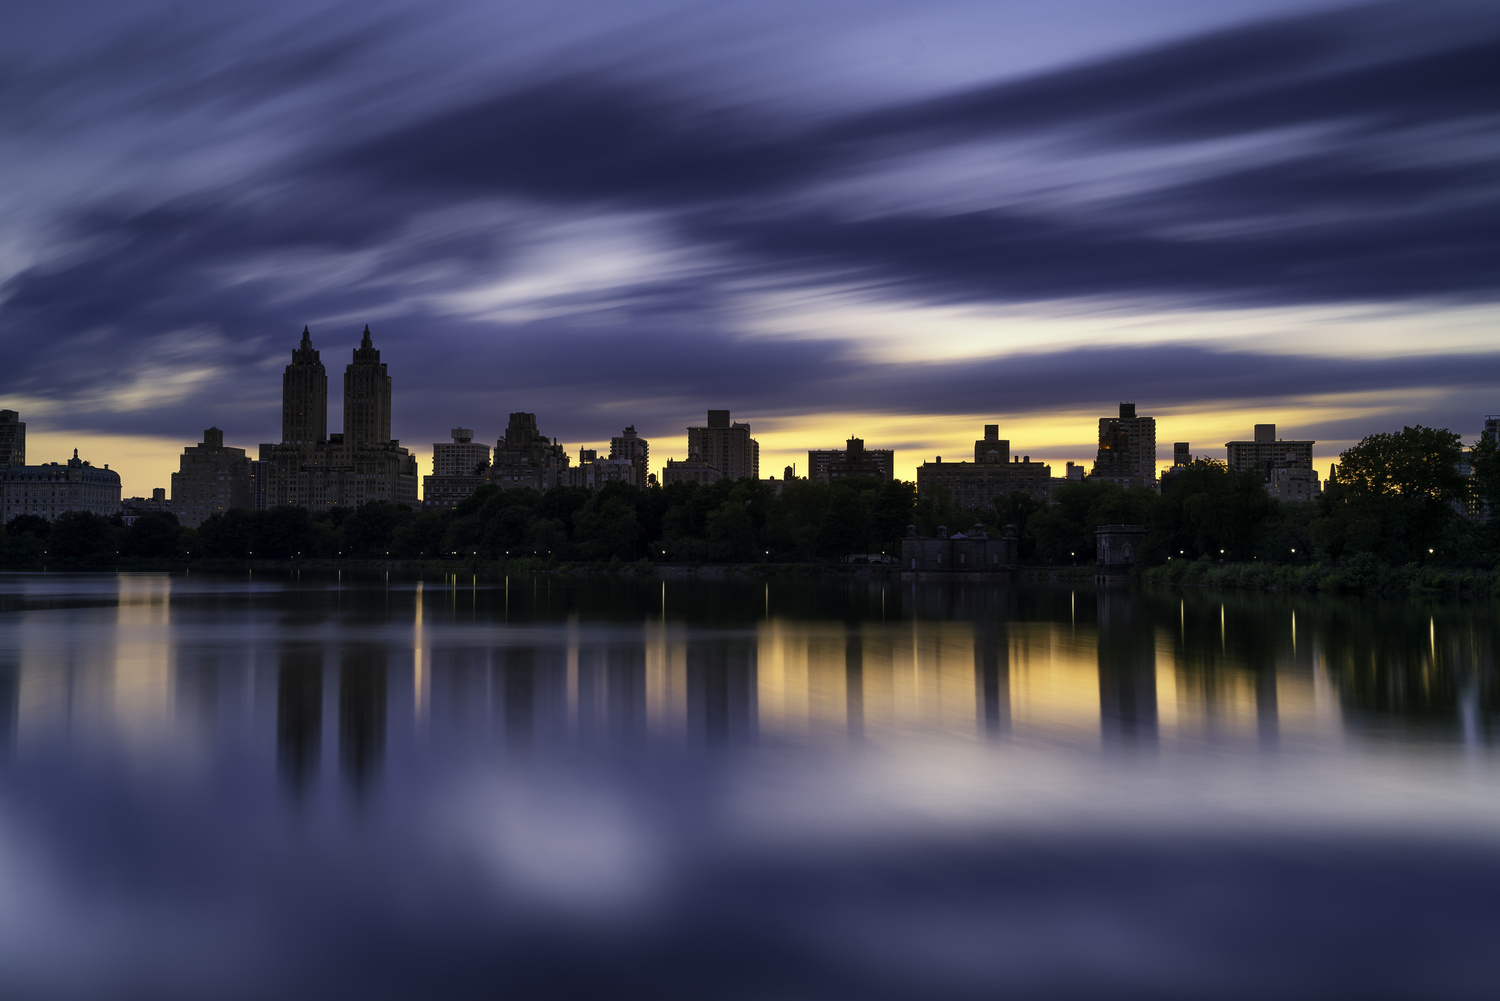
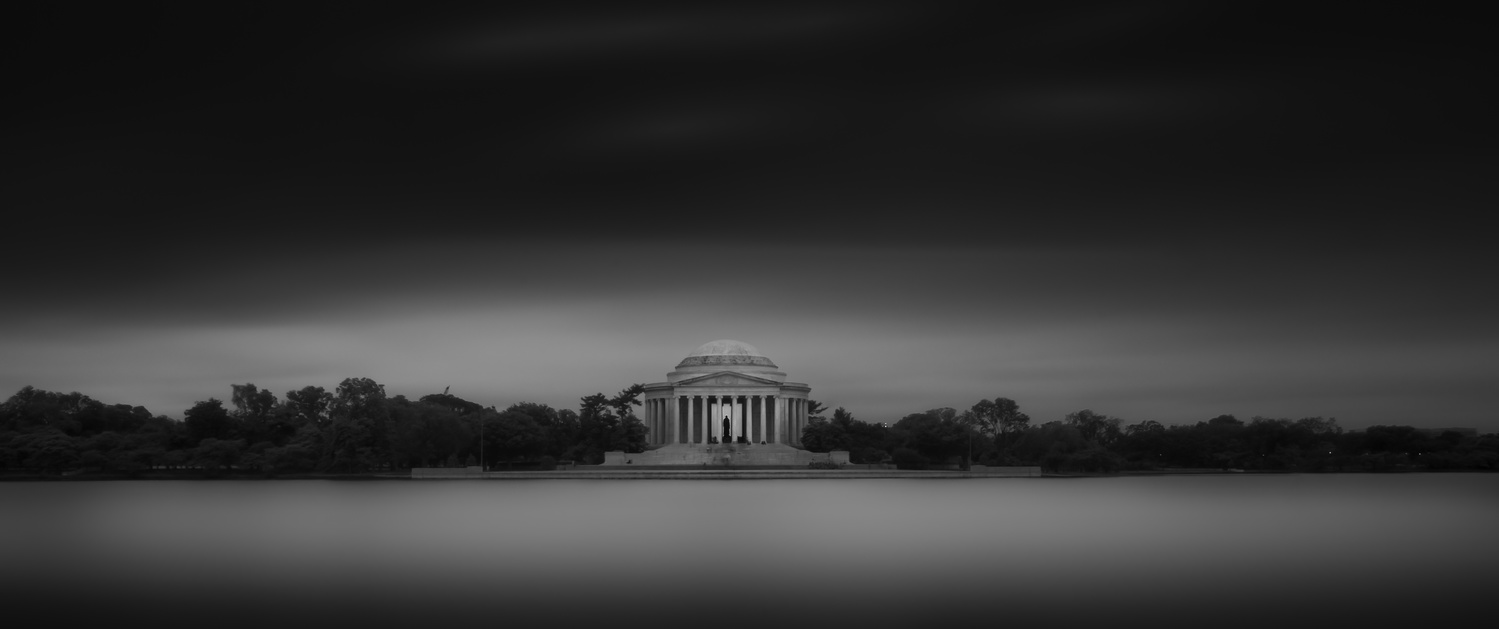
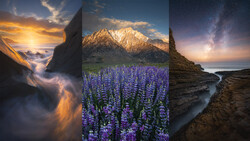
The first time I saw streaky clouds and silky smooth water, I knew I needed to learn how to do that. However, after buying my first neutral density filter, I realized it wasn't so easy to do. It was really hard to focus, and some photos were too dark, while others were too bright. And why were the middle of so many photos pink? Hopefully, this article will help you avoid some of the mistakes that I made as a long exposure beginner.
While I am not a particularly patient person, I learned quickly that long exposure photography takes a lot of patience, and that's not simply because exposures routinely reach three or four minutes (they can go much longer than that too). It's because most long exposure pictures, especially as a beginner, suck. Embrace trial and error and remind yourself that you're probably not going to get it right on your first or second try. While there are cards that will help you estimate how long an exposure should be based on the exposure length without a neutral density filter, those estimates cannot account for the many variables that often exist in long exposure work, such as moving clouds, water, light trails, or even just the dynamic range of the photo.

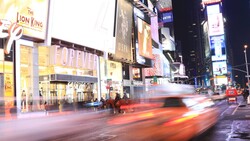
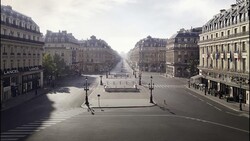
When I arrive at a location, I usually have a pretty good idea of what I want to capture. If there is water, I want it silky smooth; if there are clouds, I want them streaky; and if there are cars, I want light trails. After I set up my tripod, I compose and focus my image before I put any filters on my camera. I use a Sony a7R II and the Lee Filter System (I have a Big Stopper, a Little Stopper, and a bunch of graduated ND filters from Lee). Based on my experience, mirrorless cameras are much easier for shooting long exposures because they give you a real time preview of your shot on the LCD screen or the EVF, so you end up wasting fewer shots trying to get the exposure right. Once I have my composition and my camera is focused, I will add my filter or filters (depending on whether the sky needs a a graduated filter on top of the ND filter because of the large dynamic range).
Finally, I start shooting. To pick my initial exposure, I will usually put the camera in aperture priority mode, setting my aperture somewhere between f/8 and f/11 and letting the camera select the correct exposure. Although the camera will often get this wrong, it usually gets me close enough to start my trial and error process. After my first shot, I switch to manual mode and fine-tune the exposure. This will often require exposures that exceed 30 seconds, meaning that the camera must be in bulb mode. Bulb mode allows the photographer to choose the exposure value and allows you to expose for as long as you want. To use bulb mode effectively, you will need a shutter release cable or an infrared remote (I prefer a shutter release cable). From there, I keep shooting until I like the results, which often takes many shots. However, I always zoom in on the back of the camera to inspect the shot before moving on. Sometimes, what looks good on the LCD screen may not look so good when zoomed in close: the shot may be blurry, out of focus, or contain blown out sections. When I am back home, I process my images in Lightroom and Photoshop with Nik and Macphun plugins.
General Tips for Beginners:
- Expose for the highlights; you can recover the shadows in post, but if you blow something out (usually the sky), it's unlikely you will be able to recover it. Also consider taking multiple exposures, one for the highlights and another for the shadows, and then blend them together in Photoshop.
- Be careful of light leaks. A light leak is when light leaks into your long exposure through the viewfinder and creates a discolored (usually pink) band across the middle of the photo. This is very common with DSLRs (it doesn't happen too often with mirrorless cameras). To avoid light leaks, cover the viewfinder during the exposure. Some DSLRs come with a piece that covers the viewfinder, but if you don't have it with you, you can use tape or anything dark that will block out the light.
- Many neutral density filters will create a color cast and leave your image cooler (bluer) than expected. While I usually fix the white balance during post, you can also set a warm custom white balance before you take your shot to offset the color cast in camera.
- Keep your ISO as low as possible. Long exposures can get really noisy, and the lower the ISO, the less noise there will be.
- Use a shutter release cable to avoid camera shake. It will also allow you to operate effectively in bulb mode to get exposures lasting more than 30 seconds.


Join the Fstoppers community for free
-
Post comments and join in the discussions
-
Browse the site ad-free
-
Share your work and get featured in the community
-
Compete in the photo contests for fun and prizes
23 Comments
You need to add "get your tripod as stable as possible" to the beginners tips ;-)
Haha. Yeah, a cheapo tripod is an excerise in masochism with long exposure work.
I have horrible memories of trying to keep my camera steady on a windy day with my £20 job from amazon!
Thanks, Paul. I had hoped that was a given :)!
I forget where I heard about this trick but old CDs on your tripod feet when you're on a beach works wonders to stop movement.
What's a "CD"? lol.
Something that helped the mathematically challenged person such as myself when I started was to use an exposure calculator on my phone. Knowing that my b+w ND 10 stop filter was closer to 10 and 2/3rds of a stop I'd find the exposure (with no ND filter attached) that I liked and then I'd add the exposure settings to the calculator. Then I'd add the filter to the lens and the exposure would be perfect. The app for android I used is called exposure calculator. If you can take more exposures and use median filtering or similar in photoshop to combat the high noise and hot pixels from long exposures. Also it's a good idea to take another exposure without the ND filter for a low noise image that can be composited where no movement is. If you own a mirrorless camera, get an app that allows remote operation from your phone. This makes things much easier and is a lot of fun. Also like Paul said a professional steady tripod is a must.
I love seeing articles like this. Thanks.
"Based on my experience, mirrorless cameras are much easier for shooting long exposures because they give you a real time preview of your shot on the LCD screen or the EVF".
How do you preview a 5 minute exposure in real time? That makes no sense. I meter before mounting my ND, then adjust for the stops of exposure once I mount it. It's much easier to get good focus without the ND, especially if light is already dim.
Olympus "LiveBulb" on OM-D EM-5 Mk II, for example. But you could do that with a DSLR, they just haven't AFAIK.
Hi Kaz, for anything longer than 30 seconds (save the live bulb example cited by Seb), you cannot. However, for exposures under 30 seconds, you will get a light reading letting you know how dark your image will be.
Re. exposure, the way I do it is the following: take a spot measure on the brightest area, add 2 stops. There you have it... you will have ETTR and no blown highlights.
If you use the meter of the camera, do it with the ND on it if possible. If not possible, add the number of stops corresponding to your ND filter.
A light meter helps, but is not necessary if you know how to use the spot meter of your camera (and if your camera has a spot meter, of course).
Re. "keep the ISO low", I would also mention that since the aim is to have a long exposure, start from base ISO, then if you need to fine tune the exposure (e.g. using a 10-stop ND when perfection would require a 9-stopper), maybe - maybe - consider bumping the ISO by 1 or 2 stops max.
Always shoot a test picture with a grey card (or better yet a color checker) for WB purposes. Retest from time to time if near sunset or sunrise (light changes rapidly then).
Considering using long exposure noise reduction if your camera offers the option.
Btw, mirrorless doesn't have light-leak issues because they don't have an OVF... it's not that it doesn't happen too often: if it happens, there is a serious problem with your camera (e.g. leaky lens mount), I guess. On that subject, also note that light through the OVF can affect the measure of exposure.
The only problem with using LE NR is when you're doing shots of say 15 minutes. That's half an hour to wait (just pointing that out to any beginners who didn't realise that). But good call on the metering, I'm a trial and error kind of guy myself . I can guestimate what my exposure will be and tweak from there. Not the most efficient way to shoot but it's my process.
Everything you mentioned except turning on the on-camera Long Exposure Noise Reduction is good advice, the latter is a big don't though.
Agree with everything you wrote. One note: if exposing in auto mode, you can use the self-timer instead of a cable-release.
Night shots are fun, and everyone should try them. You camera's built-in meter is surprisingly good; just turn on the clipped highlight warning and use exposure compensation as indicated.
Thanks for your post, Dan. I just got my Little Stopper last week and found long exposures to be quite challenging. Needless to say, my first time was a complete bust. :)
Do you normally stack your Big Stopper and Little Stopper together, or is that something that'd dependent on light availability, preference, etc.?
Hi Michael, thanks for your comment. Sometimes I do stack Big and Little together, but most often I stack the Big or the Little with a 3-stop (or 2-stop) ND grad because the sky is so much brighter than the rest of the image. Especially when shooting cityscape long exposures before the building lights come on, the dynamic range between the buildings and sky is so great that you need to balance the exposure more. Let me know if you have any more questions.
Thanks so much for your reply Dan. Hopefully with enough practice I'll be able to create images as stunning as the ones you've posted.
Thanks!!! Just keep working on it. You will get there.
Personally I turn off "Long Exposure NR". It takes less time for your camera to be ready to take another shot and you can do all the noise reduction post process where you have control on where you want to apply noise reduction (ie. not in the buildings but in the water and sky for instance)
5 minutes at sunset and bluehour is a long enough time for the light levels to change. So you can go from ISO 200 180Sec @F8 to ISO 200 240Sec @F8 during the shot. I use a spot meter to see if I need to drag the shutter longer as I am taking the shots which helps a lot to nail it first time.
These are good points. I don't ever use Long Exposure NR.
I'd like to add 'mirror lock' for dslr cameras. This creates an extra step in the process but even further eliminates camera shake.
When activated, you half press the shutter for metering. Full press flips up the mirror (which introduces a tiny bit of camera shake), and ANOTHER full press captures the photo (or activates self timer). This also works with remotes. This way the camera is absolutely still while capturing.
Just don't forget the function works until switched off. I've had a couple of occasions where I forgot I had left it on and missed a great shot, thinking I was already capturing while in fact I had only flipped up the mirror :)
I read that some photographers if doing extreme LE they use a film camera that way it reduces noise
Thanks for this article—very informative. Do you have a recommendation for a filters/holder for a beginner? I would most likely use my 5DM3 and my trusty 24-70mm f2.8. I see that Lee has quite a few "sets" and "kits" on B&H. Not sure if that's the brand to start with? Thanks in advance for your help.