Many boudoir photographers starting out may be green with envy on studio owners with larger square footage. In many cases the ability to move around furniture and props without tripping every step is a welcomed luxury. However, the grass is not always greener on the other side. Having a large studio also means having more issues on controlling light, especially when it is natural light.
Years ago when I first started shooting boudoir, it was in a 12x12-foot bedroom in the back of my home. While very small in dimensions, the lighting was the easiest to control. Not being much of a huge strobe shooter on land at least, there was battles to overcome when I moved into the current studio in regards to the natural lighting. The first few months consisted of only shooting in front of the large windows. The amount of light coming in from both sides, along with at the time wall to wall white paint, felt like a pinball bouncing all over recklessly. Underexposing was just not right for every situation so rigging up some temporary ways to block light was the easiest solution.
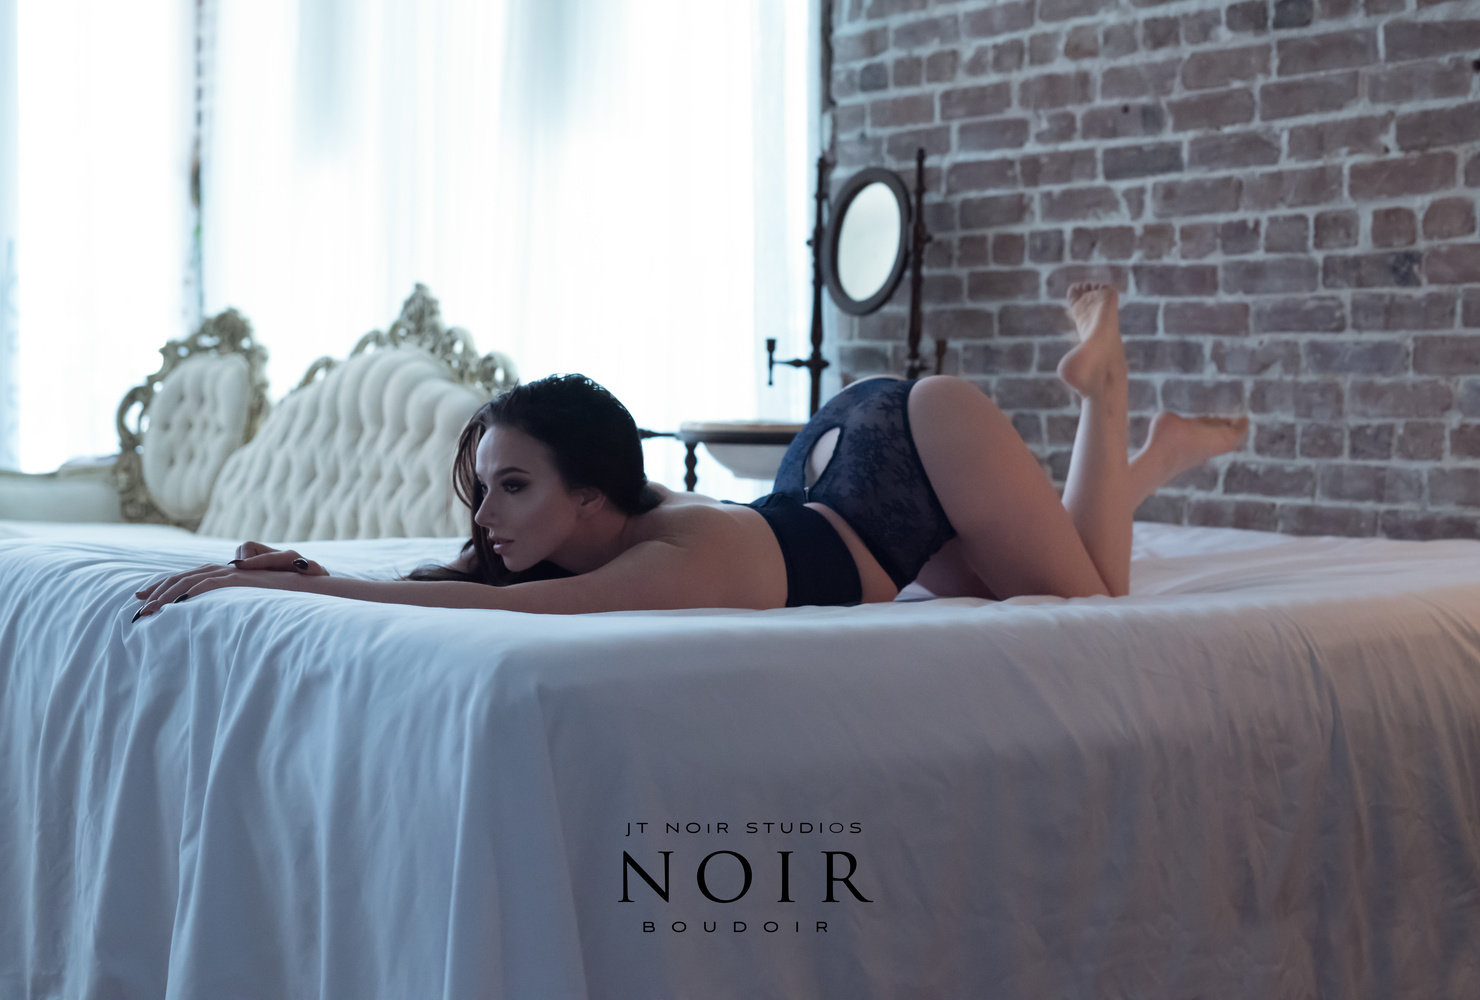
Note that there was a brick wall found behind the existing wall, so naturally that had to be exposed. While this is not the easy section of the article, as not everyone will have access to a brick wall, there are other ways to change up your wall space such as painting or even faux brick. After that, the ways to let the light be blocked was easier than expected. A backdrop holder placed in front of the bed blocked most all of the light with a sliver being let through from the window. Pulling a bedside table lamp to the other side not only gave a warmer feel to the image, but also highlighted a few key points on her body.

Moving the backdrop to cover the windows and door that were directly in front of her took the rays of sunlight and shadowing off the walls.

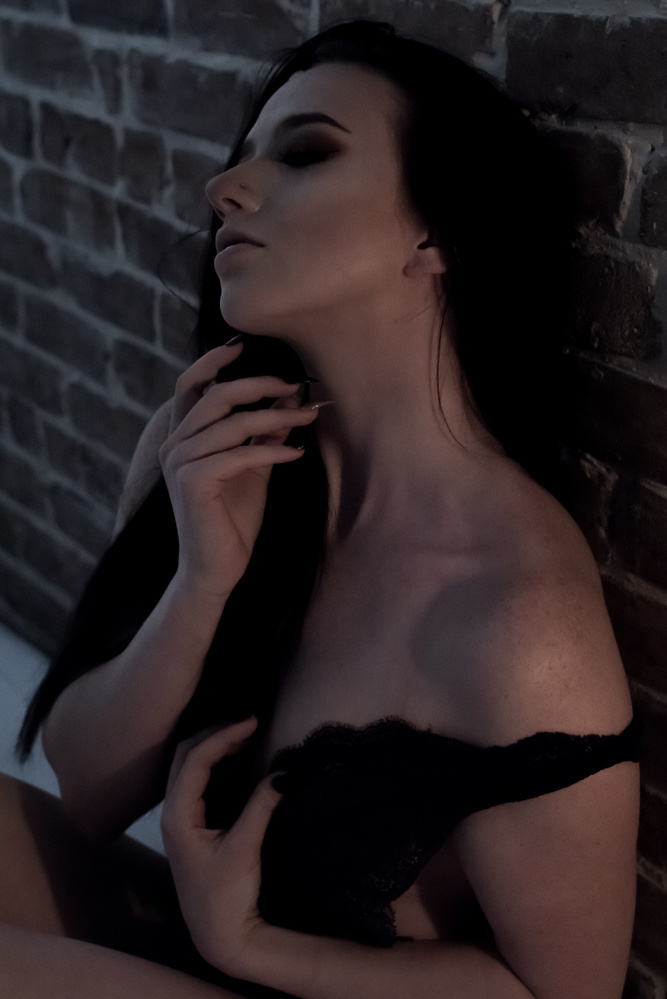
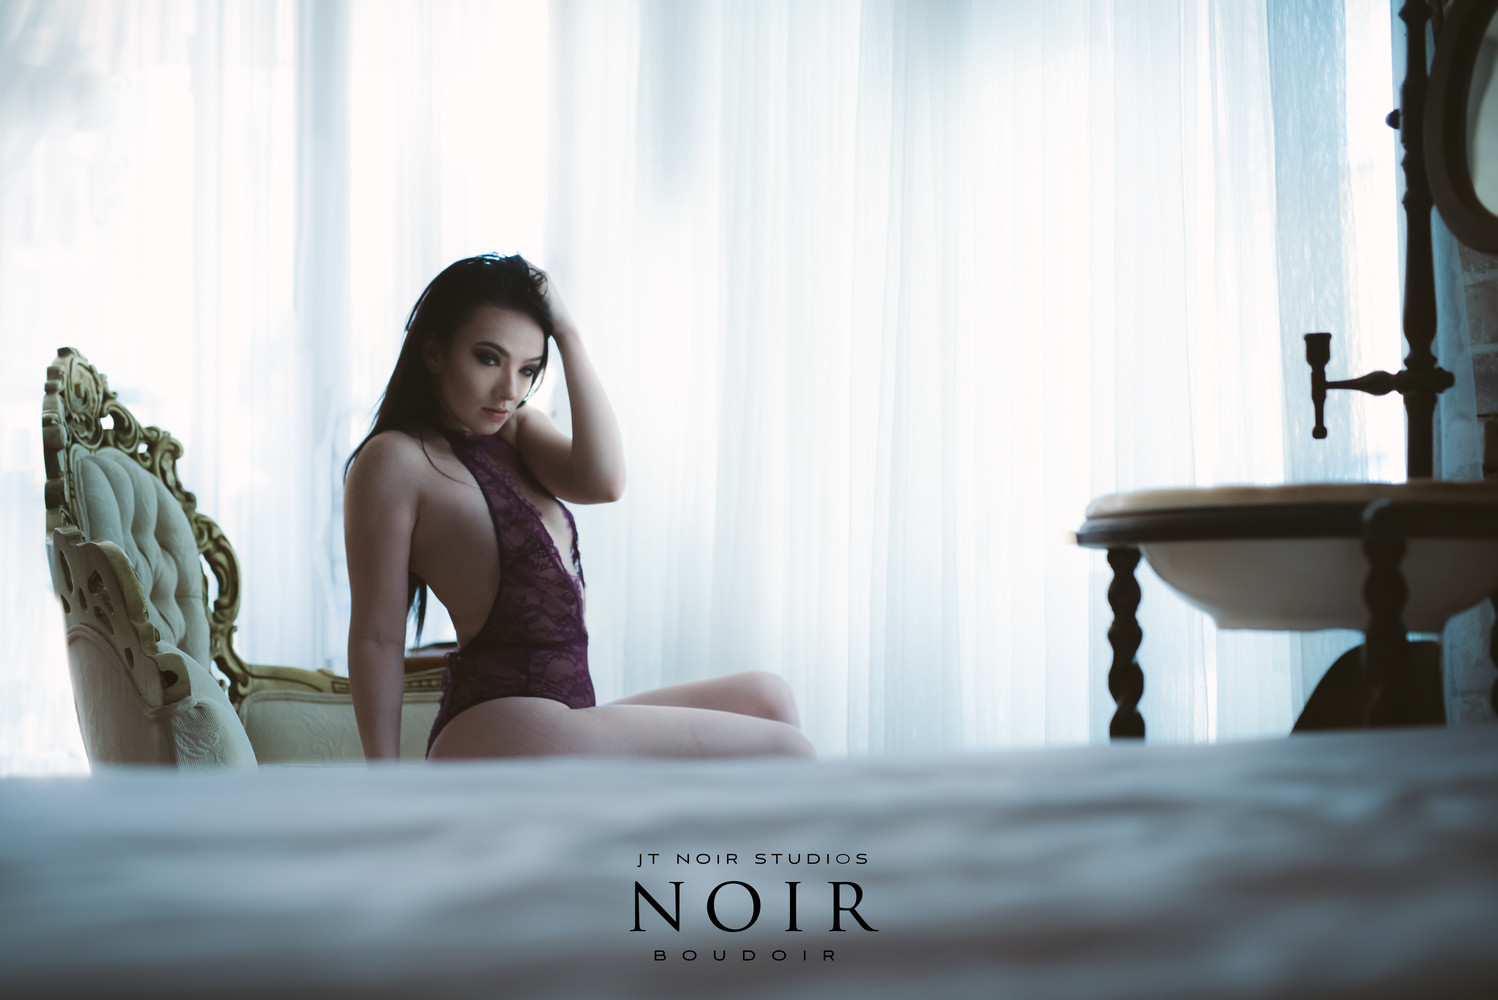
Before painting this wall and using the backdrop, this image would be impossible to get at this time of day due to the light coming in from the front doors. Simply blocking the unwanted light and adding only back in where it is needed will do the trick. A reflector feathered towards her and also leaving a small portion of the window light on the other side is all that was needed.
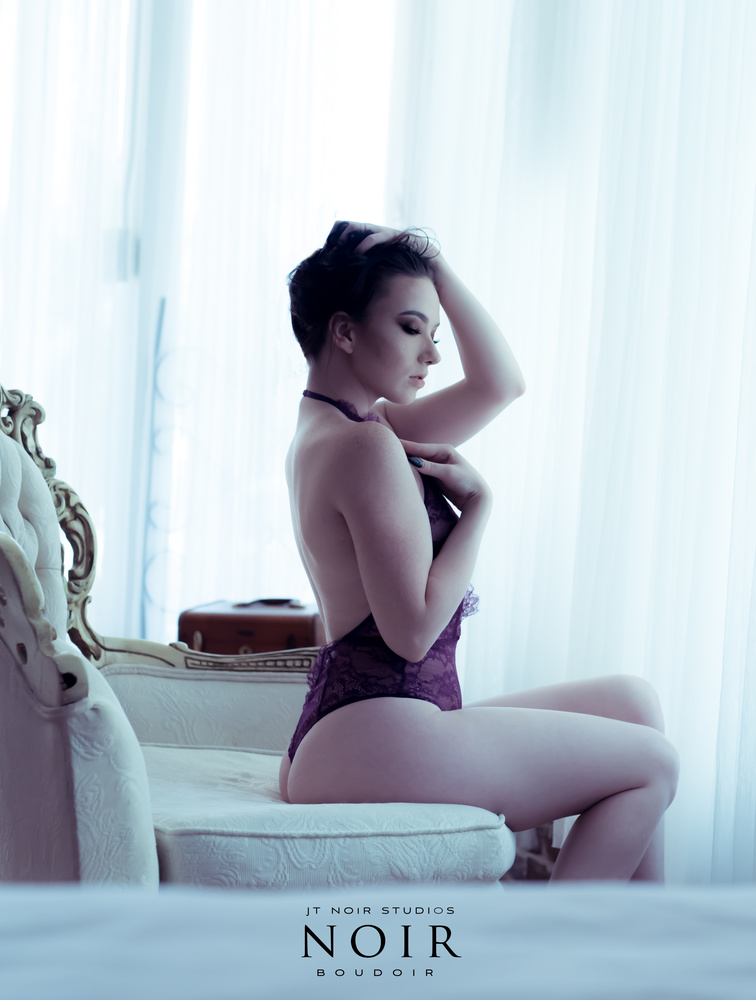
This last set the reflector was propped up against the bed on the other side on the floor in front of her. Shooting on the bed at level allowed the reflector to be disguised, yet popped highlights back into her face with the slightly underexposed settings.
Controlling light does not have to be difficult or expensive. A plain backdrop, reflectors, and some sheer curtains to diffuse can make a difference. If you have any great ways you have used simple methods to control your light leave a comment or even a link to your behind the scenes.


