
Rings can be considered one of the most important details of a wedding day. The groom may have spent months trying to find the right ring, and even longer saving up to purchase it. When the bride first announces their engagement, all of her friends can't wait to see the ring. It’s the only item from the wedding day that most couples will have their entire lives (besides the images of course). When I take pictures of the rings, I want to capture more than just the ring sitting on a table. I want something visually interesting and unique. Here is how I do it.
Generally, I can't get my hands on both rings at the same time until the reception, so the majority of my ring shots require some type of lighting. For the larger part of my ring shots, I use a combination of video light and flashlights. When choosing lighting the thing to keep in mind is that soft light has to do with the relative size of the light in comparison to the subject. Therefore, for a small ring, you don't need a giant light to have soft light.
Video Light
My main light source for these shots is generally a video light. They are small enough that I can always have it in my bag and I love the “see what you get” aspect of continuous lighting. Since all my ring shots are done with either a 95mm or 105mm macro lens, I can have the video light very close to the rings while still keeping the light out of the frame. By placing my light this way, it gives my small video light a good punch in power due to the inverse-square law. In addition, because it's very close to the rings, it's also a relatively soft light.
Flashlights
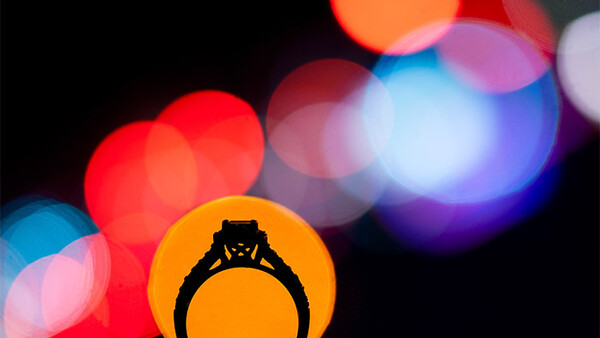
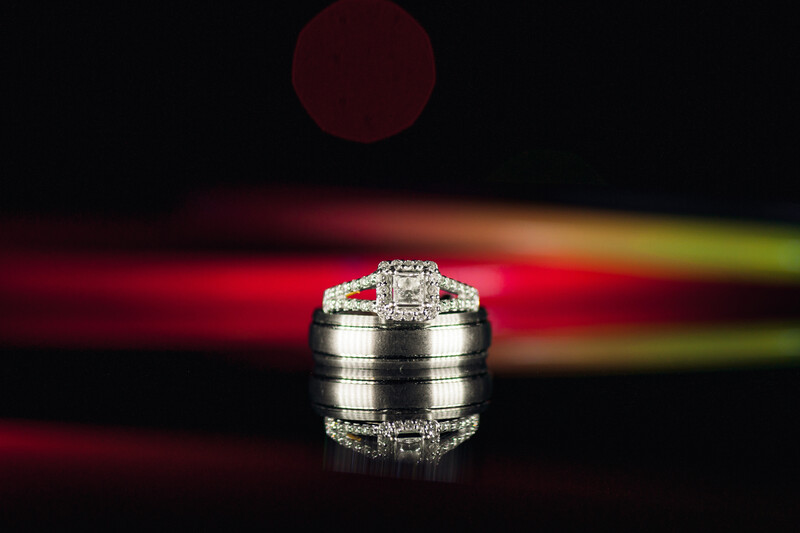
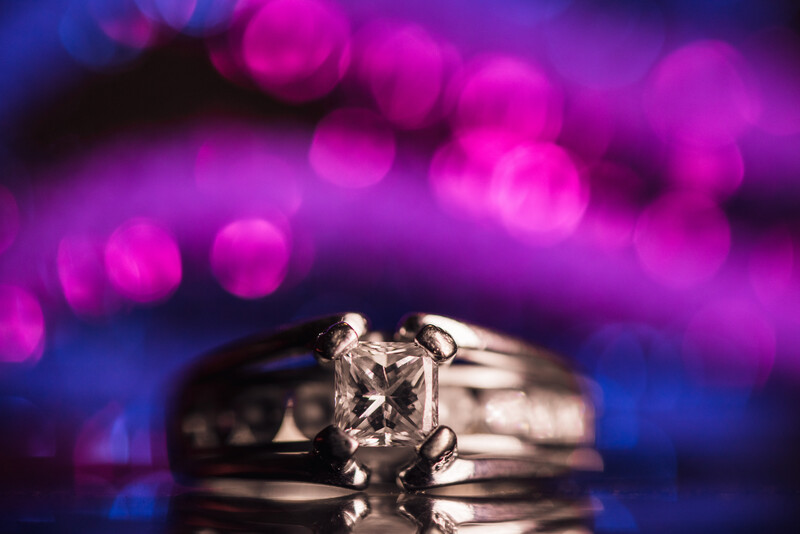
In some certain circumstances, the video light is simply too big of a light. Situations like this is where I utilize the flashlights. The flashlights I use have six LEDs in a row so they still act as a relatively soft light, but they don't spill light all over the place. They are fairly small in size, so it’s easy to get them in close while still being able to keep them out of frame. By having two lights, I can light the rings from both sides. In the below image, I borrowed two neon glow necklaces from a kid on the dance floor and used it as a background behind the rings. When I tried to use the video light, it spilled too much light onto the necklaces which washed out the color from the glow. Using the two flashlights, I was able to still have an even light on the rings and the smaller lights didn’t spill onto the necklaces.
Depth of field
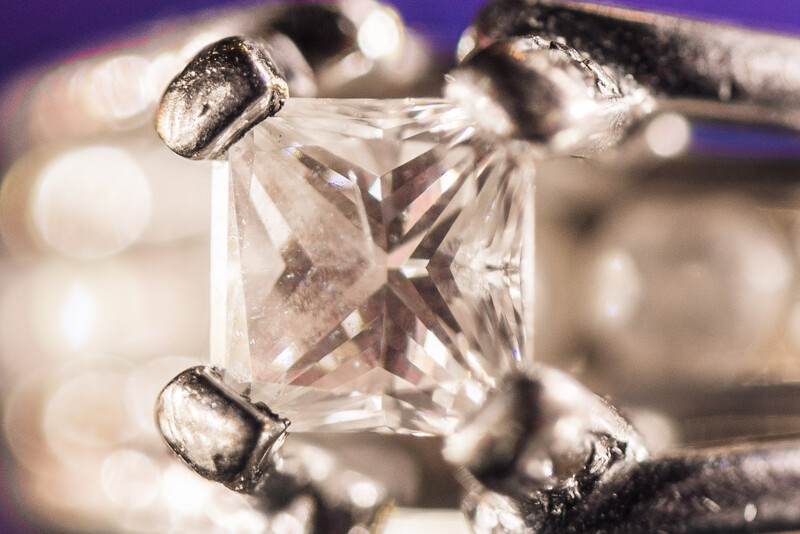
When shooting macro images, you need to consider the depth of field (DOF). The closer a subject is to the camera, the shallower the DOF will be. For example, when shooting at f/2.8, the depth of field is so shallow that the front of a diamond can be in focus while the prongs holding the diamond can be out of focus. Because of this, I try and shoot at f/5.6 or higher. Ideal settings would be around f/11, but since most of my shots are at night that’s not always feasible.
Adding Interest
One of the good things about such a shallow DOF is that we can use this to our advantage. By placing objects in front of and behind the rings, we can incorporate out of focus elements that add visual interest. The below image was a challenge I gave myself while hanging out with some friends. I asked a friend to give me any three objects to use to take a ring shot. She gave me a Diet Coke can, a brush, and a belt. I used the can behind the ring to add that silver bokeh, the back of the wooden brush to have the ring reflection, and the belt in front of the ring for some foreground interest. The key here is that it doesn’t really matter what the object is, it matters what the object looks like when out of focus.
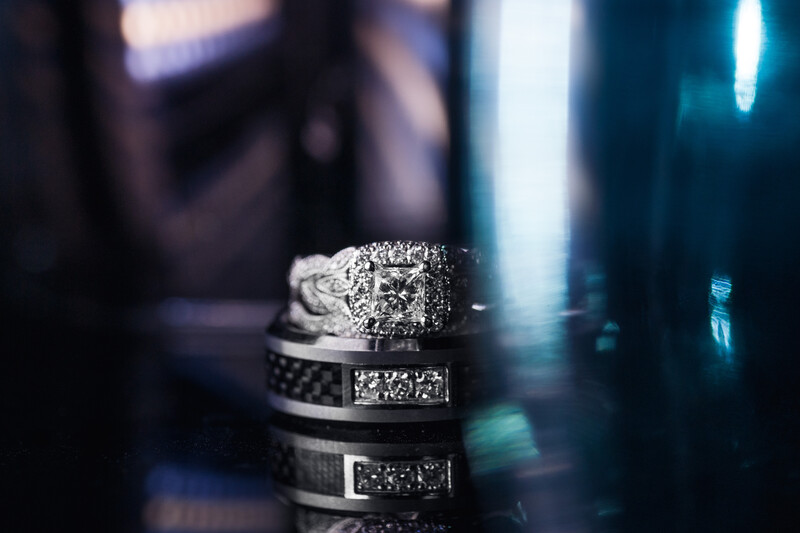
When I use this technique at a wedding, I always try and use elements from the day. Water glasses, candle holders, and anything that has some sparkle to it, like a purse or the bride's shoes. When using clear objects, I always find it best to sidelight or backlight them. The below image has the rings on the sunroof of my car for the reflection. I then placed one water glass behind the rings and another water glass in front of the rings. I have my trusty video light as the key light with the diffusion panel off. You can see all the individual LEDs reflecting in the water glass behind the rings. Then I have a flashlight from behind and to the right pointed at the water glass in front of the rings. This is what’s causing the highlights in that front water glass.

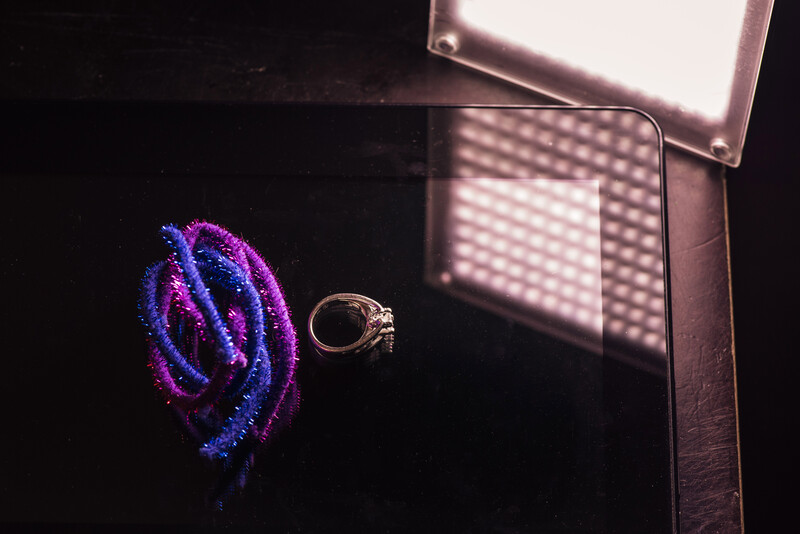
For instances where I can't find much to work with, or if I’m just not feeling creative enough, I always keep a little something in my bag to use. It's sort of a backup ring shot Macgyver kit. The below image is the ring sitting on a tablet. I placed some sparkly pipe cleaners behind the ring and then used my video light. Due to the quick falloff of focus, the pipe cleaner is nicely out of focus, even though the ring is directly in front of it.
This next shot I placed the ring on the page from a magazine that had interesting colors (I believe it was an advertisement for a scuba diving getaway). I lit everything with my video light and then placed a prism in front of the ring and rotated the prism until I caught a reflection of the ring.
Keep It Simple
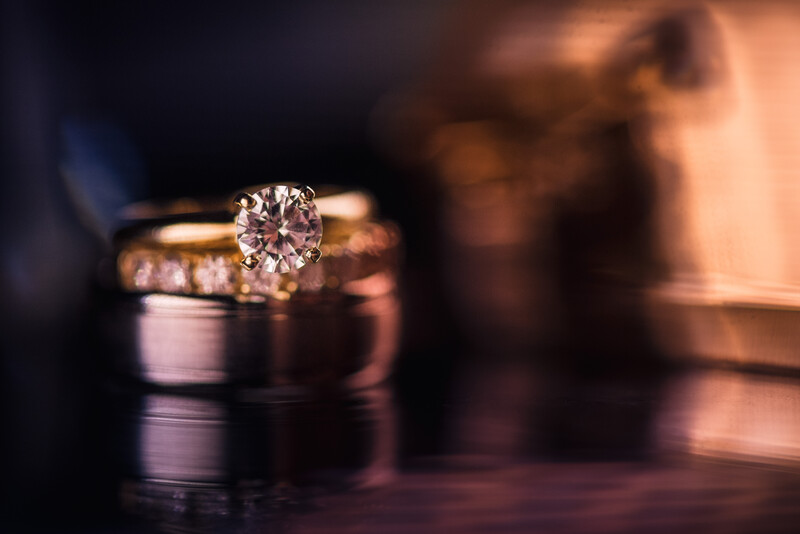
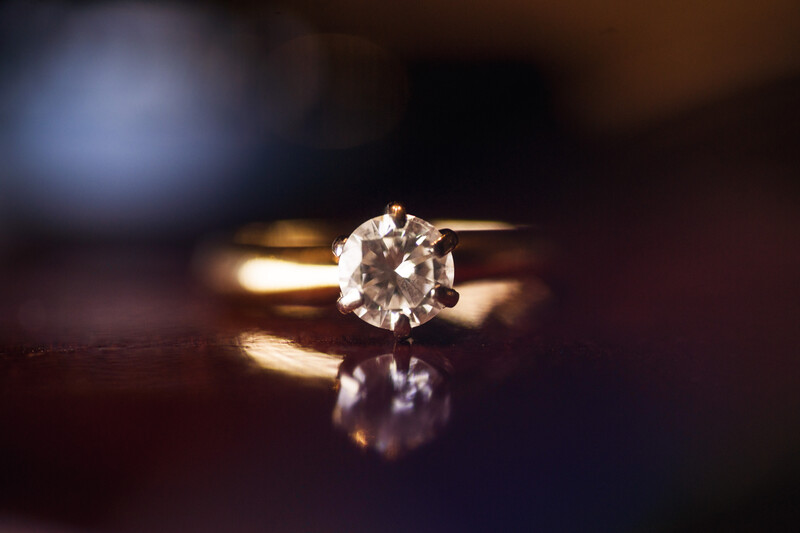
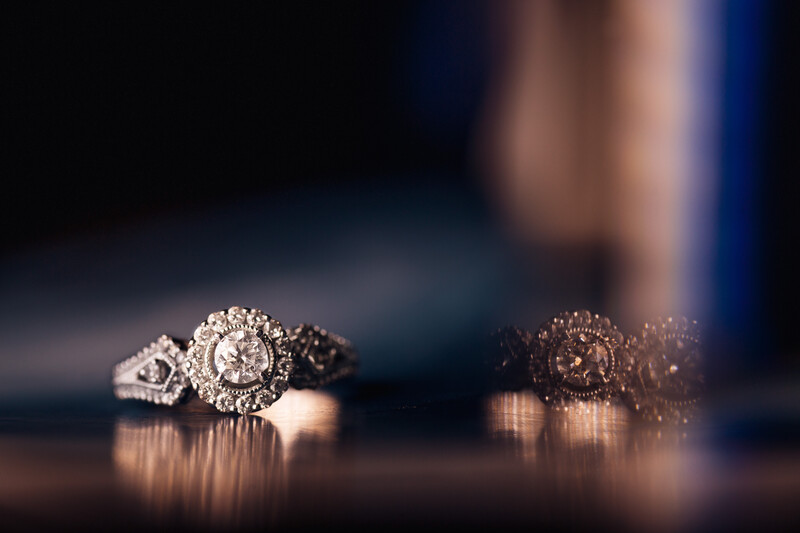
Sometimes there simply isn't enough time to play around like you want. When this happens, then it’s time to resort to the faithful and simple ring on a table shot. When it comes to this, I look for interesting light and reflective surfaces to place the ring on. The next shot was taken on the top of a piano with a large window behind it. I used my video light as the key light and used the window light to backlight the rings and the surface of the piano. From here I adjusted the color temperature of the video light in order to have the ambient light turn to a more interesting color.
What questions do you have about how I take ring shots? Do you use any of the techniques I listed above? I challenge you to give some of these a try or pick up three random objects around you now and create your own ring shot. Share your results in the comments.


Join the Fstoppers community for free
-
Post comments and join in the discussions
-
Browse the site ad-free
-
Share your work and get featured in the community
-
Compete in the photo contests for fun and prizes
24 Comments
Great stuff, Jason!
thanks Aaron!
Dude that pipe cleaner one is awesome!
thanks!!!
Really like this, especially for those days when you first show up and the brain isn't quite into creative mode yet. Thanks!
Totally! I hit that creative block wall probably every wedding!
Impressive stuff. Thanks!
great article! These shots are beautiful and creative! congrats Jason! Inspiring
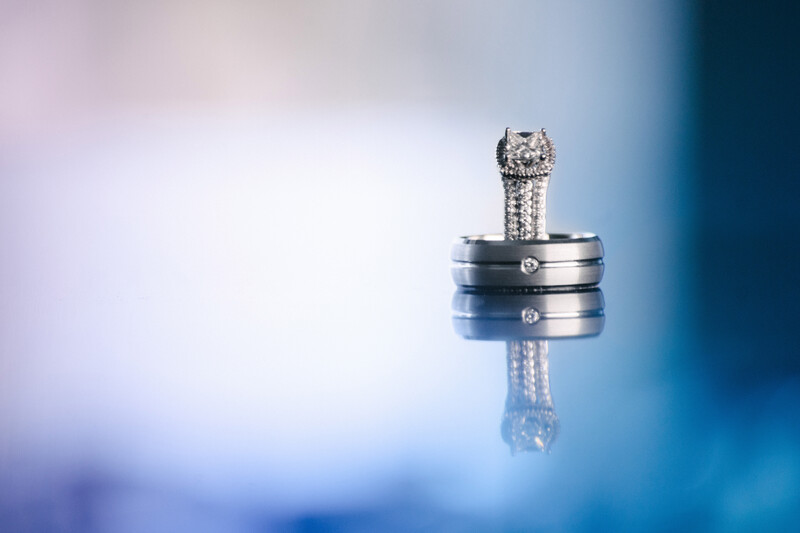
Fantastic ideas Jason. Last shot it's like the ring is floating!
The bride at this particular wedding really liked things studded with rhinestones. She had a small clutch purse studded with rhinestones that I borrowed from her and sat it behind the ring. To the left of the ring is a small glass vase with water in it placed in the foreground. I used a 100mm macro lens and a video light to brighten it all up.
Great shot Chase!
In March made this photo, I use a bride´s accesorie and this is the result, in México there is a quote, Less is Moore
one of my favorite
my signature ring shot! =)
nice Linus!
This is one of my recent favorites. Taken with a Nikon 105mm Macro and SB600 speed light.
Great tips, thanks!! I took this ring shot saturday on the flower girl basket with my 70-200 and no off camera lighting.
The link for the video light you use doesn't seem to be working for me :( Could you fill me in on that?
just updated the link for you. try again.
Much better! Thanks!
Nice. Thanks!
One of my first weddings in 2012
The wedding planner had foreseen magic sticks for the cake cutting but did not want us to light them to prevent guests to do the same too early. So we had to hide outside de reception room. We used a big window that had a curtain lighted from the inside that gave us the blue light.
nice shot!!