
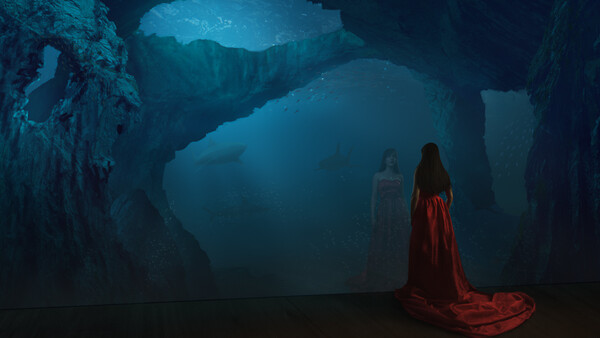
"Underwater Beauty" was an image commissioned by a local company as a part of their campaign supporting various independent artists. The image was created as a composite for obvious reasons. In this article, I'd like to walk you through the process of creating it from the initial idea to the final result.
The Idea
I have a fascination with the depths. They look frightening, beautiful, and majestic. I always wanted to have something in my portfolio related to the depths. Unfortunately, at the time of the shoot, I didn't have a couple of million in my pocket to make a custom perfectly sealed aquarium with a wooden floor, which had to be transported and placed in a sea full of sharks swimming among beautiful coral and rocks.

The Budget
I only had the budget to buy a knock-off Chinese brand red dress and photograph a beautiful girl and place her in a fantasy environment using the wonders of compositing. Speaking of dresses, it was the first time I fell into that fake-dress cr... trap. The apparel looked great in the product pictures, though. After I received it, it was a little bit different: the fabric was different, color hue was different, and the design was different. I sent it to the model to try it, and... well, it needed some Photoshop. If I had to shoot a video, I would never use that dress, but for stills, I was able to make it look good.
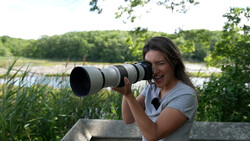
The Lighting
I used two lights for the image of the model. Behind her, there was an umbrella with a strobe with a CTO (orange) gel. In front and a little bit to her left, there was a softbox with a CTB (blue) gel.

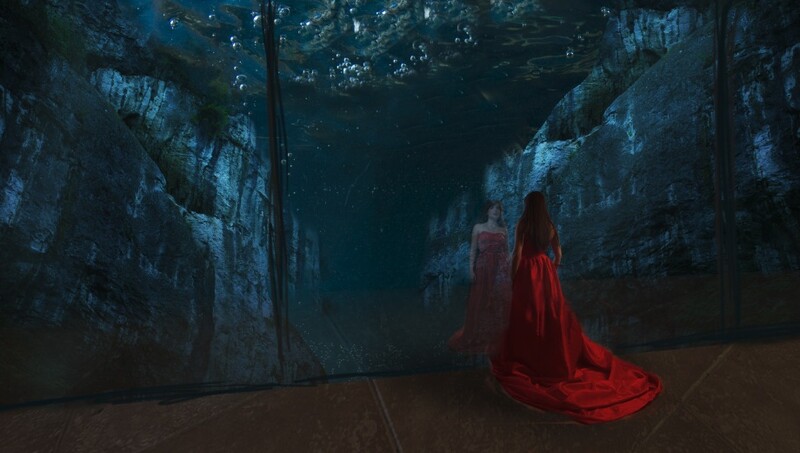
The reflection was created by simply photographing two images of the model: one from the front and one from the back.
The Other Elements of the Image
I needed glass but I didn't photograph the glass. I made it up in Photoshop and will explain that later. I needed a wooden floor which was actually the top of a desk at home. I needed rocks, so I used photographs I created in the past. I needed the depths, so I used pictures from a fish tank with blue-colored lights I made for my "Letter in a Bottle" project.
Compositing
I don't like working in Photoshop but I had to work in Photoshop. Here's how I started:
Not bad, huh? The vertical lines are supposed to be the seams of the glass. To me, it felt somewhat boring. That's why I decided to make smaller rocks by cutting out images of such into shapes I wanted.
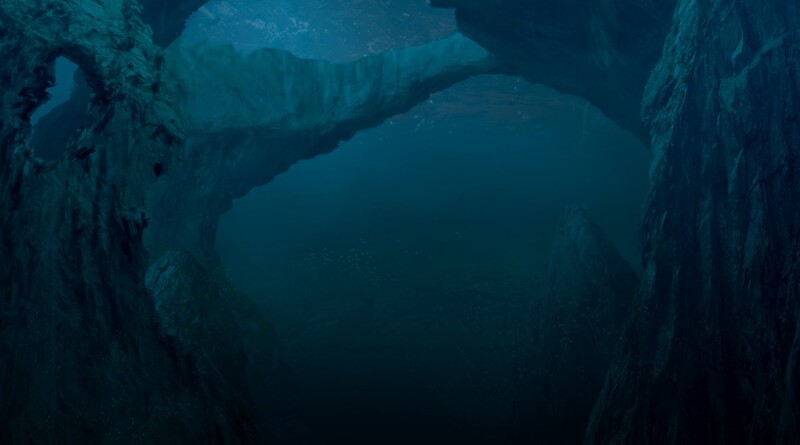
If you think it happened with two clicks while I was preparing lunch and watching a movie, you are living in a fantasy world. I was cutting and molding images of rocks for three-four hours, reworking the shape and the arrangement again and again. Finally, I decided to leave it like that.
In the software, I had an unlimited budget to make the glass of the aquarium just as I liked. I started with this idea:
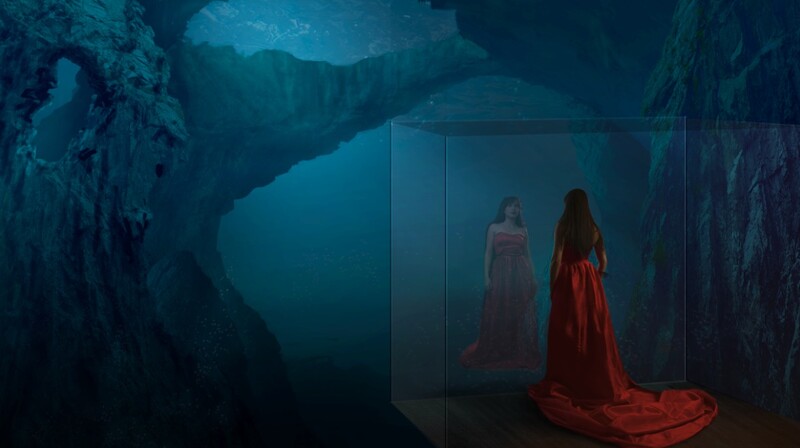
This is how you make glass. It's transparent, but it's reflecting and bending some of the light that goes through it. There can be also seams from the construction of the aquarium. See the top of the glass? That's simply a Curves layer with a layer mask with that shape. If you look at the borders, you will see a dark line and a light line. Again two Curves layers with a layer mask shaped as a thin line: one darker and one lighter. Sometimes you have to make a gradient from a lighter to a darker hue to simulate glass. This was all just for educational purposes. I didn't use that design. For the final image, I went with a big seamless glass with a slight gradient made with a Curves layer.
I like drawing, but I'm not good at it, so I try to practice it whenever I can. In this case, I got paid for that experiment. Having sharks in the frame needed images of sharks. As, according to the idea, they were further away, I decided to try to draw them by hand and hoping nobody would notice. It's easy:
Step 1. Open an image reference on your phone.
Step 2. Draw a curve.
Step 3. Draw another curve and a few lines.
Step 4. Draw dots for the eyes.
Step 5. Throw in some colors.
Step 6. Play with the scale and add some shadow below the shark.
Step 7. Repeat the above for the other two sharks.
The sharks do not have any detail. It's all about the colors that make the illusion they are "photographs." Could I just buy stock images of sharks instead? Sure, but why not do some skills honing when you get paid for that?
The rest of it was adjusting the light on the floor, making the dress longer by stitching the end part to the original dress, and color grading the final result. You can see a time-lapse of the whole process:
The Gear
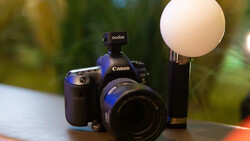
The key is not in the gear. You can shoot that with any camera you can have full manual control over. You can shoot that with any lights, even from Home Depot, because in this particular idea you don't aim for perfect skin colors or perfect color representation of the fabric of the dress. For the record, I used a Canon 7D (the first version). For the light modifiers, I used an Elinchrom Rotalux Octabox and an Elinchrom Umbrella. I used Elinchrom Ranger Quadra strobes for the very lights. However, you can use any other camera or lights to achieve the same result. I would not write that last sentence if that was an article sponsored by Elinchrom and Canon.
Conclusion
It's all about the idea, folks. You can execute it whether or not you have the budget. Use your imagination. It's the most important tool in your toolbox.
Join the Fstoppers community for free
-
Post comments and join in the discussions
-
Browse the site ad-free
-
Share your work and get featured in the community
-
Compete in the photo contests for fun and prizes
4 Comments
"I don't like working in Photoshop but I had to work in Photoshop."
Not the best way to start a project. ;-) Great job tho.
I see the title of my next article: "Want to work less in Photoshop? Get rich."
Thanks for sharing this.
You're welcome