
For months, I’ve been looking for presets that would work in most apps I use to edit my videos and photos but couldn’t find one. That was until I discovered Lutify.me and its LUTs made compatible with Capture One and Lightroom.
When I stumbled upon Lutify.me it seemed too good to be true: LUTs that works with both Capture One and Lightroom, but also as any other LUT with most video editors and with Photoshop. It meant I’d be able to color grade photos the same way I do videos. Being able to access the same presets no matter the app I’m working with is fantastic. That’s less to remember and consistent color toning made easier. But does it work this way and are the presets that good? I’ve been trying Lutify.me professional package during the last month and here are my feelings about it.
How Is It Different Than Other Presets?
I’m not sure if calling the Lutify.me LUTs presets is correct. In some ways in it is, as it applies pre-saved settings and color grading to your images or sequences, but at the same time the presets, in this case, are genuinely LUTs made compatible with Lightroom and Capture One.
The difference is subtle but has its importance. The Lutify.me presets in Capture One and Lightroom won’t move around sliders for you. Instead, you’ll have to change the color profile of your file to see the LUTs being applied to your image. In Capture One, it relies on presets to alter your ICC profile while in Lightroom it seems a bit more tedious and requires the use of soft proofing to change the color profile.
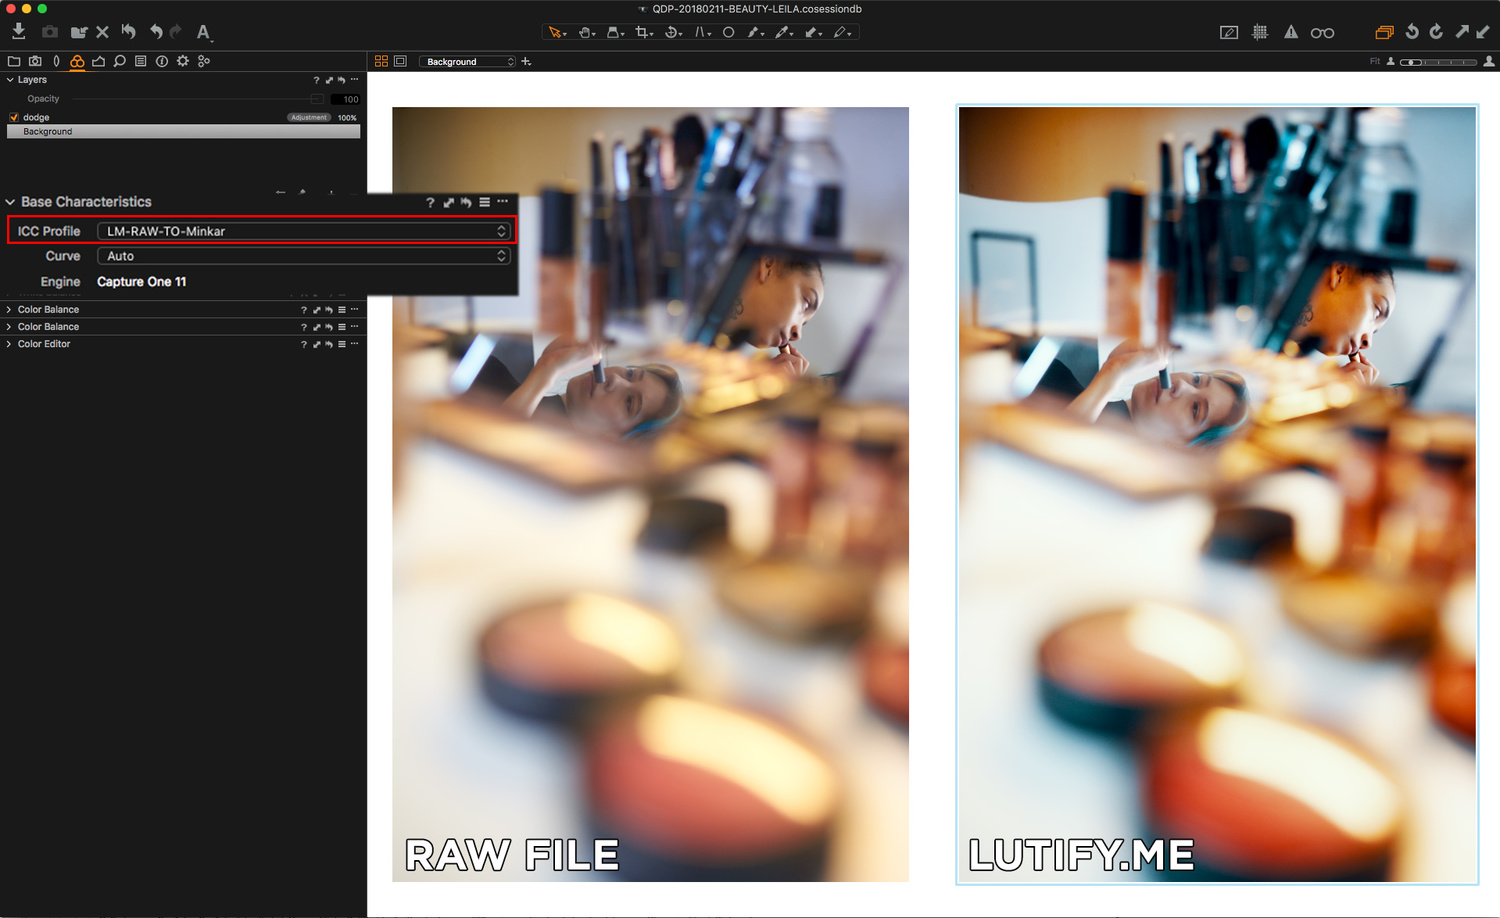
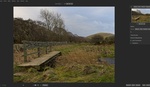
Notice the ICC profile is not that of the Nikon D750 on the Lutify.me file after a preset has been applied.
This method has both a huge advantage and a substantial inconvenient. Let’s start with the bad. With Capture One 11, I can change the opacity of my presets when applied to a layer. However, the ICC profile is applied to the image itself, it cannot be used on a layer and thus the opacity of the Lutify.me presets cannot be altered. Same goes in Lightroom, even when relying on presets to change the opacity of a preset. But, as an advantage, no slider is touched, and thus you have a blank canvas with already a beautiful color grading and contrast applied to work with. The only alternative currently available is using the 25%, 50%, and 75% ICC profiles offered by Lutify.me for Capture One to gain more control. But it's not available for Lightroom, and doesn't offer as much control as layers do.
What Did It Change for My Work?
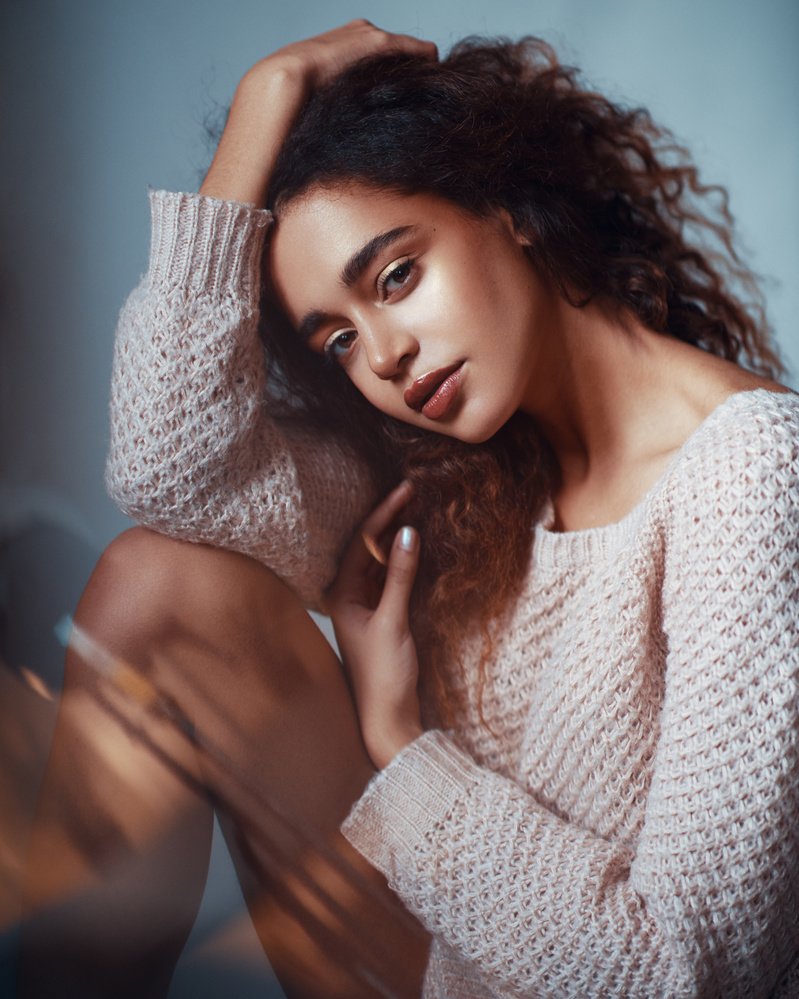
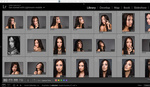
Retouching mostly beauty and fashion work, I didn’t use these presets every day as I want to keep control over everything when editing these genres. Not that the presets wouldn’t work for beauty or fashion, but I just find them quite drastic in terms of color grading, and it made it hard to maintain natural looking colors as I need. This is why I wish we could change the opacity, or alter only the colors while leaving luminosity alone in Capture One and Lightroom. But it’s not to stay I didn’t use the presets and wouldn't recommend them. Quite the opposite, they are stunning and made my work faster on many occasions.


I used them to color grade my videos ever since I’ve received them and they are absolutely perfect for this job. The LUTs are delivered with Rec709 and DCI P3 log conversions for most common profiles (Alexa, Canon Log, DJI D-Log, Fuji F-Log, Panasonic Cine-D, Sony S-Log, etc.), RED IPP2 tailored LUTs, Arri look files, and Panasonic .vlt version of all LUTs. But that’s not the only use I’ve made of them. When editing behind-the-scenes images for social networks, I’ve found them to be fantastic as they allow me to get a strong color grading and look without losing time. One click and I’m done. For on-location portraiture or even studio portraiture when color accuracy is not crucial, but giving a mood to the image is, they do wonders.
Lowering the saturation by -10 or -20 after applying a LUT in Capture One helps to keep the colors more natural
One last thing I love about LUTs is when editing in Photoshop. You can use them for color grading purposes only or luminosity tweaks just as well by playing with the blending mode of the LUT layer (hue, saturation, color, or luminosity) and thus adjust how much of an impact it will make on your image.
Do the Presets Look Any Good?
They do look fantastic. I’ve mostly used the cine looks as well as the orange and cyan packages, but the other ones are great as well. It’s complicated to say for sure each, and every one of the LUTs yields beautiful results because with the Professional subscriptions there are over 200 presets available. Even the Standard option offers 60 LUTs. Note, however, that only the Professional package comes with compatibility for Lightroom and Capture One.
Pricing
The Professional package is priced at $59 and gives access to 204 LUTs, compatibility with Lightroom and Capture One, priority support and updates, a film grain pack compatible with 4K and 50-megapixel images, RED IPP2 tailored LUTs, and a unique movies-inspired pack of LUTs. It’s a one time fee, but if you’d like to have continuous support and updates available to you, you can then pay a small price of $19.90 per year.
The two other packages are cheaper, $39 for the Standard and $29 for the Basic, but don’t support Capture One and Lightroom, and come with fewer LUTs (60 for the Standard and 30 for the Basic).
What I Liked
- Beautifully crafted LUTs
- Easy to use in Capture One
- Affordable for the numbers of presets available
- Can be used for video and stills
- Large number of LUTs
- Subscription available for continuous updates and support
- Film grain pack included with each package
- Previewing files available to have a preview of each LUT effect
What Could Be Improved
- Not compatible with layers in Capture One
- Requires soft proofing to be used in Lightroom
Conclusion
Whether you are a photographer looking for a way to give a more cinematic look to your images using Photoshop, Lightroom, or Capture One, or you are a videographer searching for LUTs that are beautifully crafted to grade your videos, Lutify.me is definitely an option to consider. They offer a small free package so you can try and decide for yourself if the investment is worth it and if you'd like to find more examples of images graded with the Lutify.me LUTS, visit their website.


Using LUTs in Lightroom via soft proofing is an interesting workaround.
But the way they implemented it gives me too little control. I also don't shoot my photos as flat as most LUTs assume.
Most of my photos go through photoshop anyway, so I apply my LUTs there and mask/blend as needed.
I really like how some of the LUTs look, but the LR workflow seems basically at odds with the process. Unless I’m missing something, you can’t sync a LUT across multiple photos the same way you can other settings as long as they are sourced through soft proofing. This isn’t a deal breaker on getting the LUT’s, but for my uses, the LR comparability is a gimmick.
Ahhhh I was excited until I read the "no layers" part. I'll definitely keep an eye on these in hopes that they're updated to be compatible with layers.
Thanks for the review!
I’m torn between this and a styles pack for C1 pro. Lutify is two fold since I can use it with fcpx but without the ability to apply it as a styled layer, you lose the option of multiple masked styles.
The C1 Styles by Phase One definitely give you much more control over the editing process. The LUTs are great, especially if you edit videos as well and can't justify buying both the C1 Styles and the LUTs. I personally have both, and use them both. For example, I wouldn't use the LUTs for a wedding, I don't feel like it's practical enough.
I haven't been in love with the sample pack by Phase One. They're more useable since the update with the option of opacity, but I've had my eye on the 1styles.pro pack. It seems pretty robust, although maybe too much so.
I love using lutify in CP1. Only downside is that it doesn't always look good since you're not applying it to a completely flat image like you would with .log but it's still great. I don't like the LR work around though. Lutify is a great product.
Have you tried chaning the ICC profile curve to linear instead of the default setting? That plus desaturating has worked fine for me :)
Holy crap! This is amazing! Thanks for the tip!!!! This is great.
Are there any particular ones that you really love and is there any video or steps that you do to achieve the look?