If you've ever wondered where photographers are getting this gorgeous colored powder for portraits, stock imagery, and dance photos, it turns out it's very easy and affordable to make at home. This powder can be used in endlessly creative ways to add an eye-catching unique and fine art element to your studio or outdoor photography. Clients and followers love seeing these fun images, and it's an absolute blast to photograph.
What You'll Need
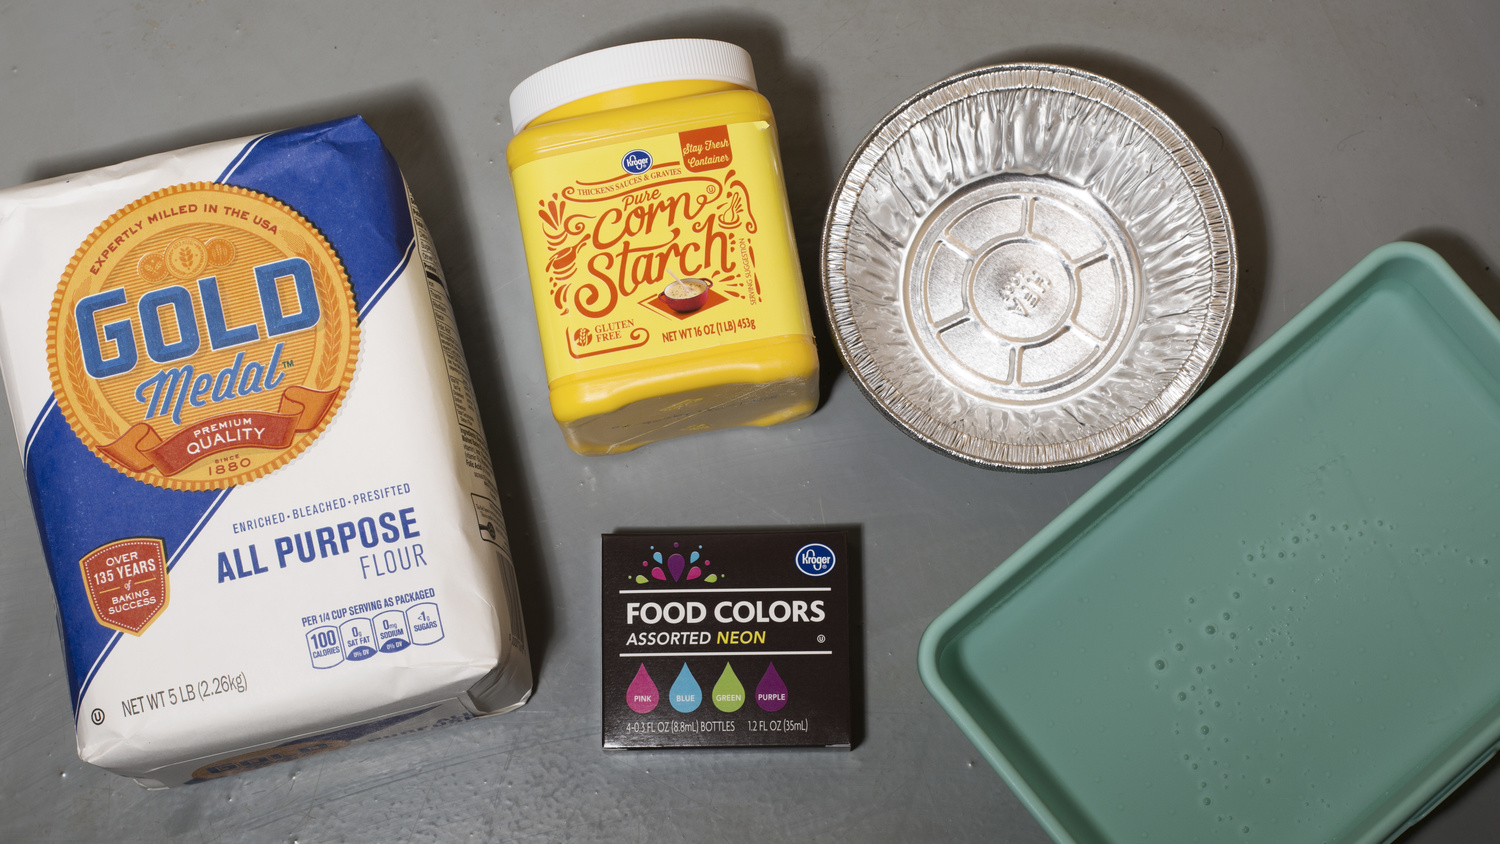
You can actually find everything you need to create these powders in your grocery stores baking aisle:
- Cornstarch or flour
- Food coloring
- Mixing trays or bowls
- Gloves
- Water
I purchased both cornstarch and flour to test the consistencies; I ended up liking the cornstarch better because it was more powdery rather than the smoky look the flour mixture created. You can mix both or use one or the other, but I would start with just one to find out what you prefer.

Supplies for making your own colored powder for photoshoots.
The Simple Process
The cool thing about this project is the process is pretty flexible; you can change the consistency and the vibrancy of the colors based on how much of each ingredient you mix with the others.
- Set up a workspace; you can lay down plastic or work outside or in your garage like I did. Just make sure you're not around anything you don't want food coloring on!
- Start with either cornstarch or flour in your mixing container. I would start with about a cup and work your way up by adding more if you're wanting a larger quantity of color powder.
- Start adding drops of food coloring. I started with 5-10.
- With gloves on, start rolling the flour or cornstarch between your fingers to break up the now clumped mixture. You will start to see the color changing as you work with the powder.
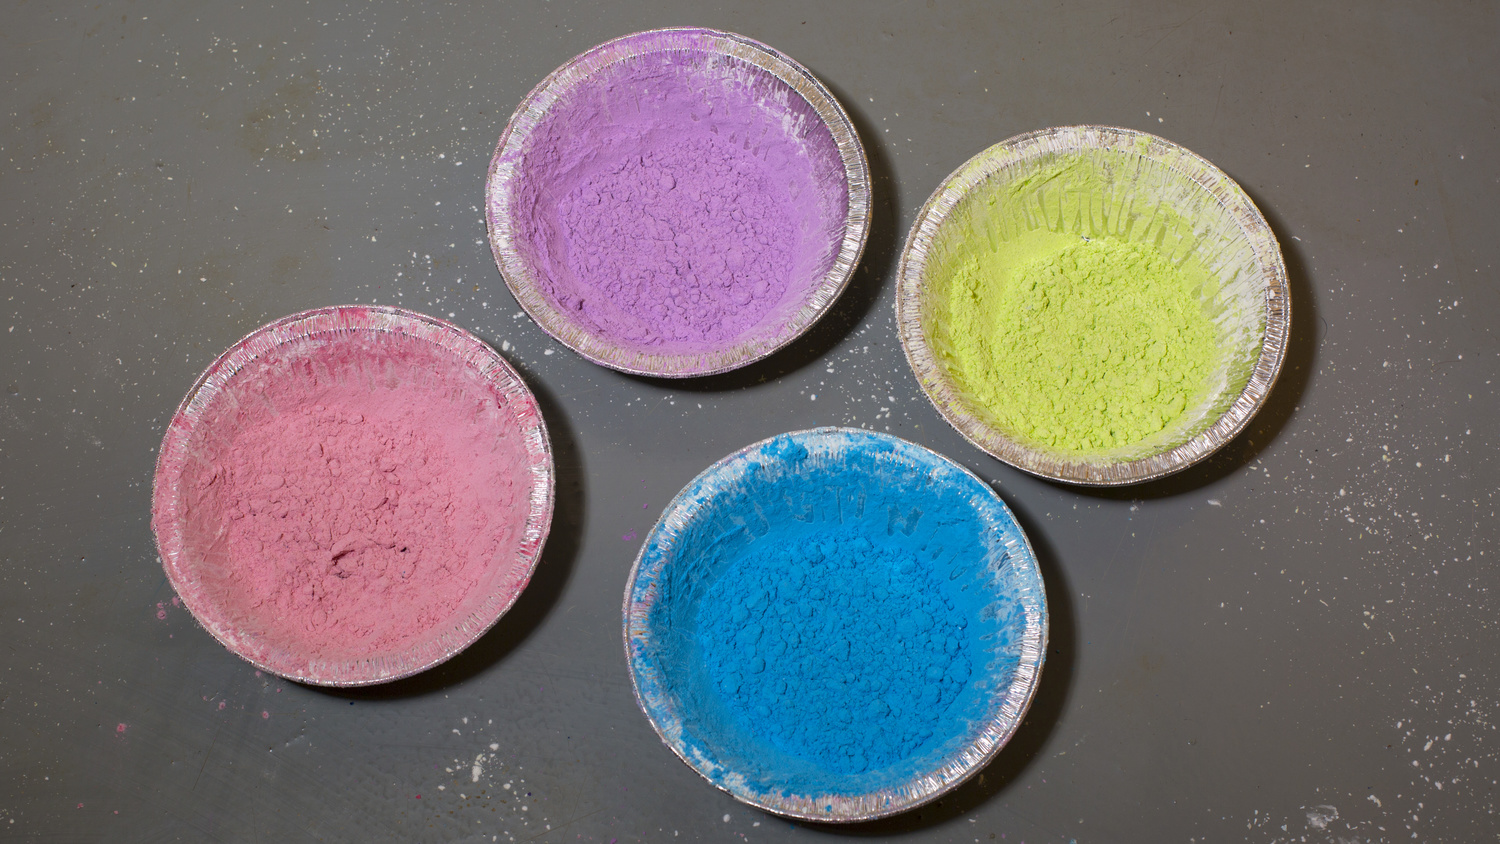
- Keep adding food coloring until you have the desired color intensity. Less coloring will leave you with pastel colors and more will create a very vivid color.
- Let the mixture dry; it only took about 30 minutes for mine. If you add water to yours, you will definitely need to allow a few hours for drying before photographing it.
Optional: You can add water to end up with a larger quantity of color powder. When you add water, it makes it tougher to mix and you have to let it dry for a few hours or even overnight, so I ended up using only food coloring and cornstarch for mine.

My results.

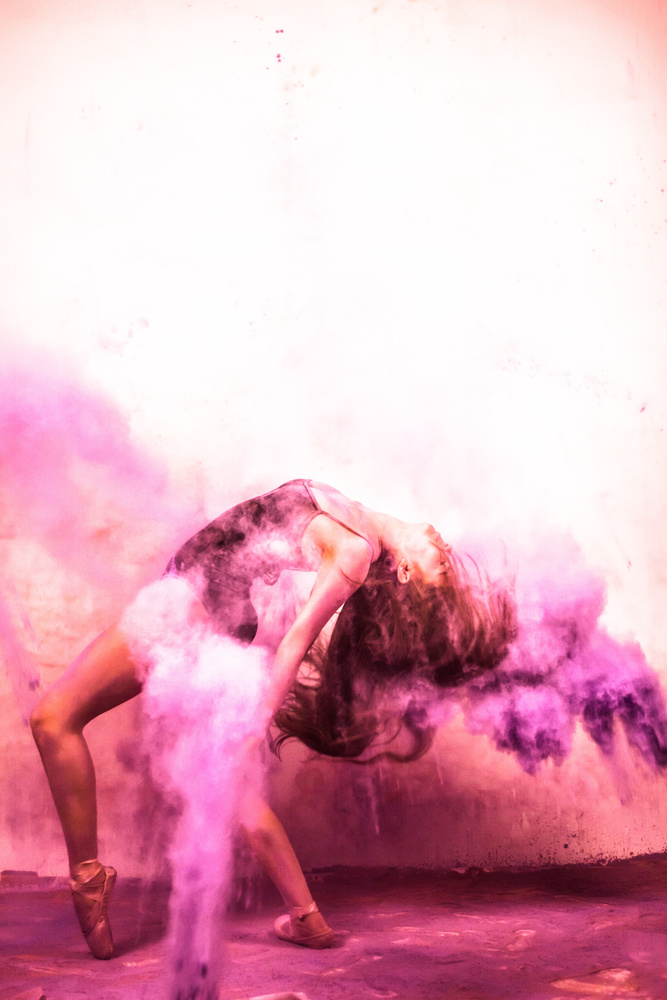
Photo by Rivata Dutta, Los Angeles.
A Few Tips for Using the Colors
- Make sure to have an assistant on set; it is not easy to get the shots you want while dispersing the powder yourself or having the model do it.
- You can simply have your helper throw the powders where you want to see them in the shot, or you can get creative in how they're thrown by using things like empty condiment bottles, party poppers, fans, plastic bags, etc.
- Make sure you're shooting with a fast continuous shutter speed and a decent amount of light so you can catch the powder as it flies in the air.
- Try your hardest not to get it in your subject's eyes; it is non-toxic but will make their eyes red, and it hurts.
- Be sure to protect your gear from the powder.

Behind-the-scenes photo from Steve Cook.

Photo by Steve Cook, Las Vegas.

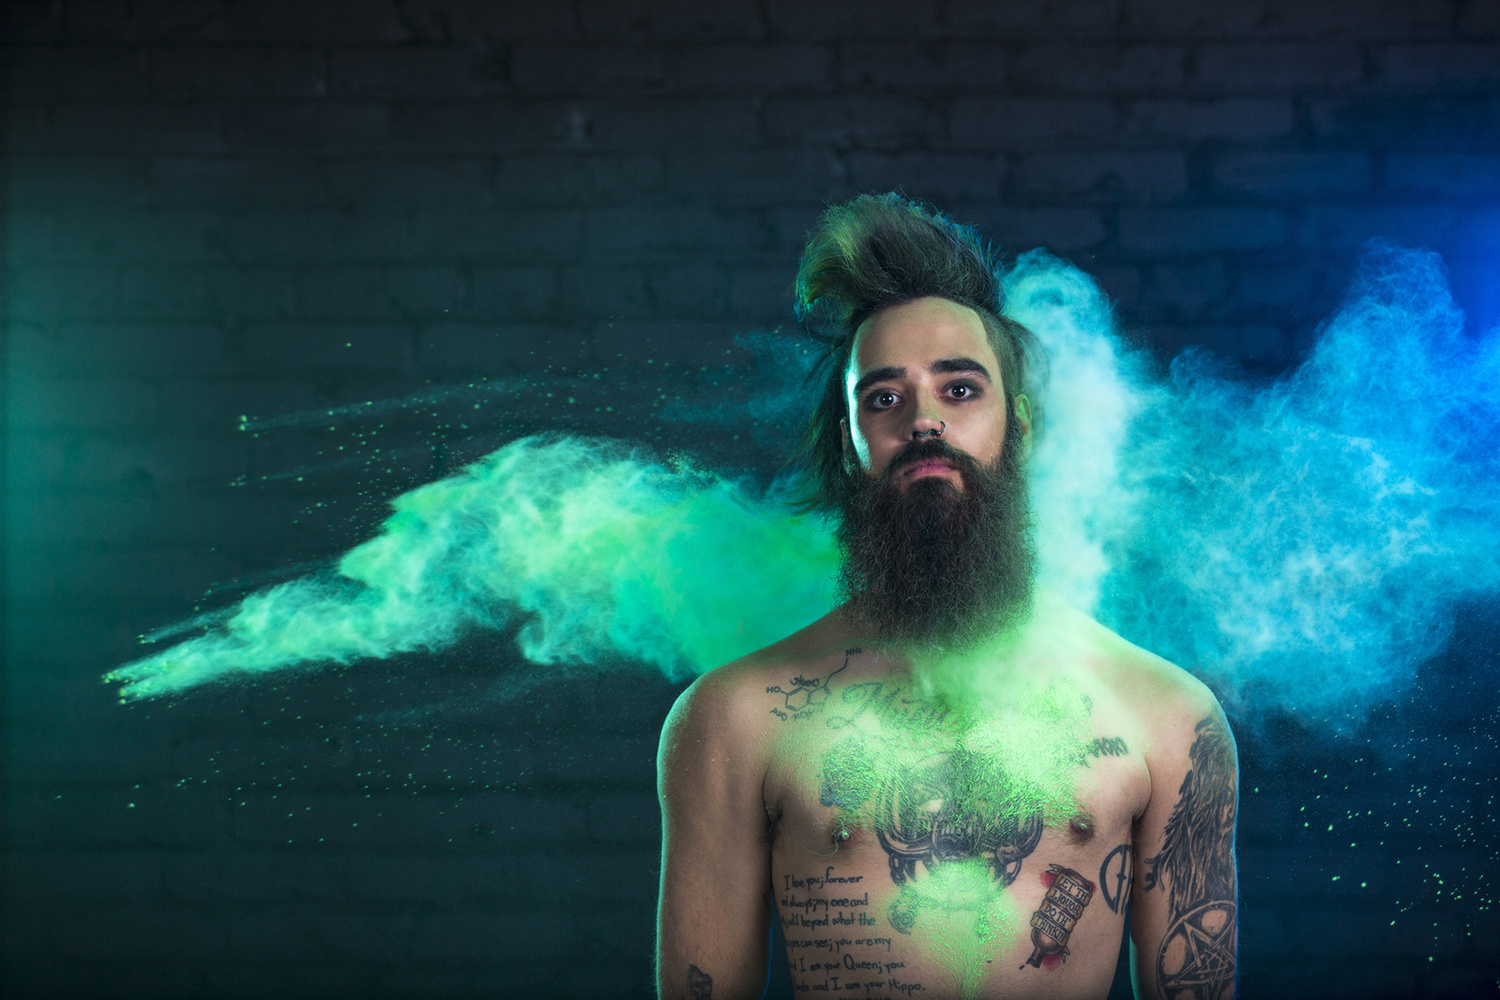
Photo by Nik Thavisone.

Photo by Ashraf Hussain.
If you try it out, be sure to share your images in the comments! And keep a vacuum nearby for when the shoot is over.
Images used with permission. Lead image by Nik Thavisone. Article images by Rivata Dutta, Steve Cook, and Ashraf Hussain.
Warning: There is a flammability hazard with airborne flour and corn starch. Exercise extreme caution and take preventative measures if you use them during a shoot.


A semi-outdoor space is ideal as the movement of air keeps the concentration of powder down.
I’ve used holi powder to Colour the flour then boost the colou in post if necessary.
Here’s a BTS from my first powder shoot:
https://youtu.be/VY7qgwNpO3s
This is great, thank you so much for sharing and for the tip!!
Did it stain clothes? Anybody try paint powder?