

Nothing beats the thrill of discovery — especially if that discovery involves a long-lost tape of your 80s era wedding, for example. You may have photographs of the beautiful venue, the ruffled bridal dress, the white balloon arches… but a video can make your memories of that day come alive in a whole new way. Now you can be grateful that someone, in the gathering of friends and family, had the presence of mind to shoot some film on a handheld camera they had recently acquired.
But as exciting as such a find can be more than thirty years after the event, it’s likely to be tempered by the realization that you don’t have the right equipment to play it. Tape-based camcorders fell out of common use more than a decade ago. And even if you happen to have one lying around, it may not be functional or even the right model to play your particular tape.
And so, like many people who have a collection of 8mm tapes lying around, your memories remain stuck in a format that you can’t easily access. But it doesn’t have to be this way.
Understanding 8mm Tapes
At the outset, it’s good to understand what we are dealing with when it comes to 8mm tapes.
The 8mm video format was developed as a way to give amateur videographers and home movie makers an easier way to record videos. The technology was first introduced by Eastman Kodak in 1984 and Sony gave it a commercial boost in 1985 when it introduced the Handycam, one of the first cameras to use the technology. After that, there was no looking back as bulkier VHS and Betamax cameras couldn't compete with the convenience and portability of camcorders.
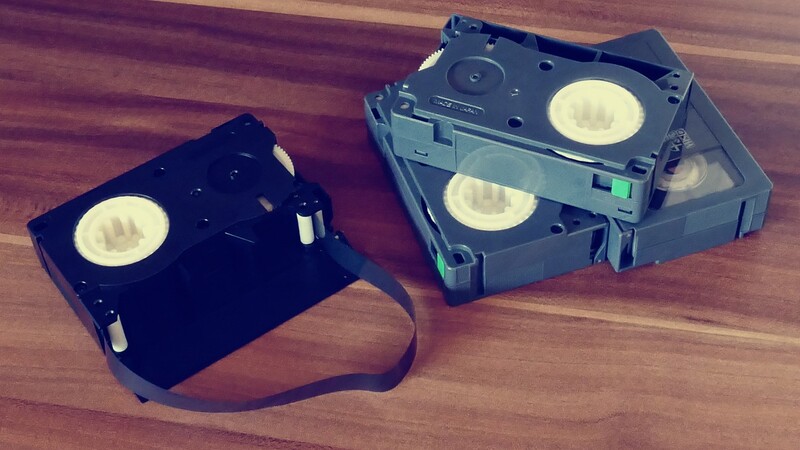
While Video8 was the original 8mm tape, it was succeeded by updated versions in the decade that followed. The second generation Hi8 — although still an analog format like Video8 — had superior resolution. The most recent 8mm video format is Digital8 with a completely digital mode of encoding and storing video. All of these versions consisted of 8mm wide magnetic tapes encased in a compact cassette. And therein lies part of the problem.
Studies show that magnetic media is particularly susceptible to deterioration. Most magnetic tapes, including VHS as well as 8mm tapes, experience 10-20% signal loss — as a result of magnetic remanence decay — after 10-25 years. A 20% loss in picture quality is not as bad as losing an image entirely but it can still mean the difference between enjoying a memory and just being able to view it. Digitization is one surefire way to preserve the contents of these tapes but time is of the essence here. The sooner we digitize our tapes, the better our chances of securing these memories before they start to degrade.
Converting 8mm Tapes to Digital: DIY
Digitizing 8mm tapes is a project that you can tackle at home, although it’s not a smooth or hassle-free undertaking by any stretch of the imagination.
If you want to soldier ahead with it, however, make sure that you have all the necessary equipment on hand. The most important piece is a camcorder to play your 8mm tapes. If you don’t have one already, you may be able to borrow one or pick up a bargaining unit online. You will also need an analog to digital converter. Connect the camcorder to the computer using the converter and you are ready to start transferring the footage from your tapes. Once the transfer is done, you can use an application such as iMovie to create a share-worthy movie complete with titles, captions, and music.
Although DIY may seem like the more economical option, you have to factor in the cost of procuring a camcorder if you don’t own one. In addition, analog-to-digital converters are not cheap. Better models are in the $400 to $500 range although there are low-end models available for around $100. There is also the value of your time to consider. This can be a slow project since you are transferring images in real time. If your film is a couple of hours long, the conversion will take the same amount of time. If you are just looking at tape or two, that may not sound too bad but if you have a boxful of tapes to convert, it’s not something you can wrap up in an afternoon.
Roping in the Professionals
You can save time and considerable effort by outsourcing your digitization project to a professional service. If you are willing to make the investment, you can expect superior results by choosing this option. An experienced service can offer a level of manual editing to ensure that your final output is clean and image stabilized. Scene by scene color correction is a useful feature, particularly in old tapes with a lot of quality variability across the length of the videos. It’s also helpful to have someone reviewing the tape during the process to ensure that flickering tracking details and blanks spots don’t make their way into the final cut. A professional service can do all this for you and deliver an optimized video sectioned into chapters, at the end. With a service, you can also opt to have your converted videos uploaded to an online storage site so that they are truly protected from data loss and degradation.
However, it's important to know that not all providers are the same when it comes to the final results. Some may advertise lower prices but compromise on quality in a few different ways. For example, some companies capture the footage on your 8mm tapes by simply projecting this onto a digital camera sensor. You are not likely to get HD-quality scans with such an approach. Also, if the transfer process used by the service is largely automated, it is less likely to catch and remove blanks sections, scratches, dust spots, and other blemishes in your original tape. So, reassure yourself on aspects related to process and technology when evaluating providers.
The Final Sweet Payoff
Digitizing 8mm tapes opens the door for telling stories and creating other shareable pieces with your converted videos. With all the multimedia tools out there, it’s now easy to string photos and video clips together for visual mementos that can brighten someone's day. For instance, you can compile images and videos of holiday celebrations from the recent and distant past and share it with extended family. It will revive some beautiful festive memories and is guaranteed to spread cheer over the holidays.
So, why delay your 8mm tape digitization project? Get to it today and start making a splash with the memories you uncover.


Join the Fstoppers community for free
-
Post comments and join in the discussions
-
Browse the site ad-free
-
Share your work and get featured in the community
-
Compete in the photo contests for fun and prizes
3 Comments
I remember carrying a two-part VHS system around with me to get noisy black-and-white video. Hi8 was like 4K by comparison.
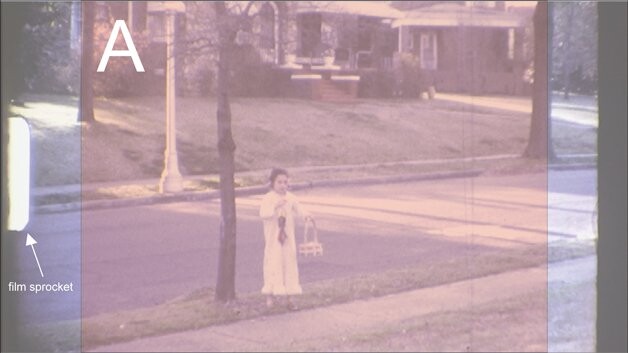
3 pictures in article and 2 of them are for super 8, not 8mm magnetic. Confused me anyway. Not to mention the link in the last paragraph to an article on 8mm FILM conversion.
I found my old hi8 8mm vedios. i bought an old camcorder from a guy. when i stick the tape in an press play all i get is a black an white fuzzy screen. iv been through them all, all the way through an its the same black fuzzy screen. Its like there is no vedio there. What could be the problem? TIA