
A lot of modern cameras allow you to create multiple exposures. Not many photographers are using this function. At first, I forgot about it, thinking it was just a gimmick. But it turns out to be a very creative tool. Perhaps this article will inspire you to try it out.
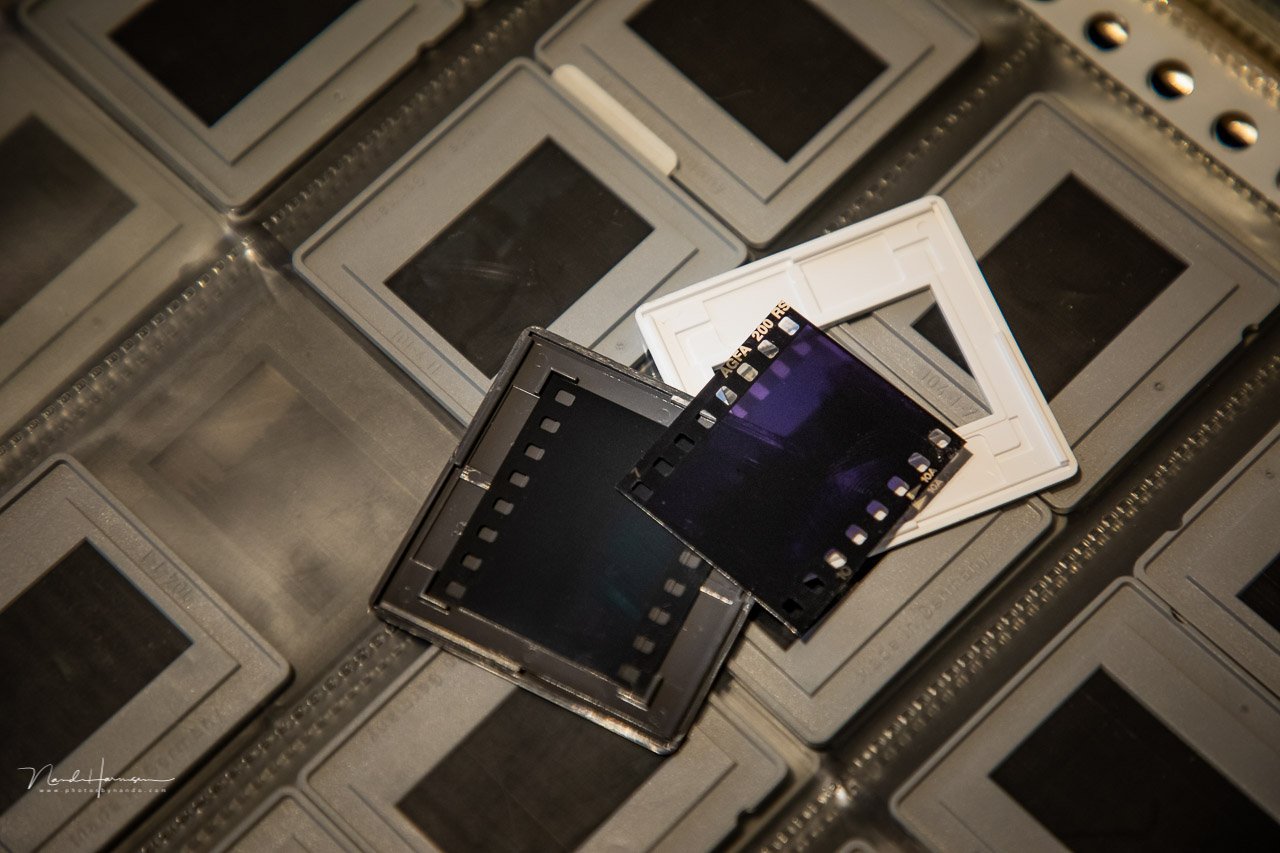
Multiple exposures are nothing new. Back in the days of analog photography, it was easy to make sandwich slides. By placing two slides into one frame, it was possible to achieve nice effects. With a bit of planning and creativity, you could even expose one negative multiple times in camera.
With software like Photoshop, the combination of more than one image is also very easy to achieve. There are many ways to combine more than one photo, and the results can exceed the effects that were possible with slide film and negative film. But it becomes much more fun if you can achieve multiple exposures in camera.
Not Every Camera Offers Multiple Exposures
I first discovered the multiple exposure function on my Canon EOS 5D Mark III. It felt like a gimmick not worth looking into. But after a while, I started to experiment with the possibilities, just for fun. I also noticed how other cameras offered the ability to shoot multiple exposures.
Canon EOS cameras can shoot raw footage with the multiple exposure feature. The Nikon Z fc can also do multiple exposures, but after the merging of two or more exposures, the result is an in-camera JPEG.
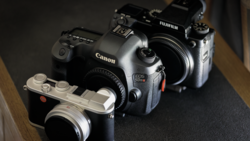
For my experiments, I used the Canon EOS 5D mark IV and the Canon EOS R5, which both can shoot multiple exposures and produce a raw file. I also have some examples from the Nikon Z fc, but these are all in-camera jpeg, as previously mentioned. The possibilities will differ for each camera, of course.
The Multiple Exposure Settings
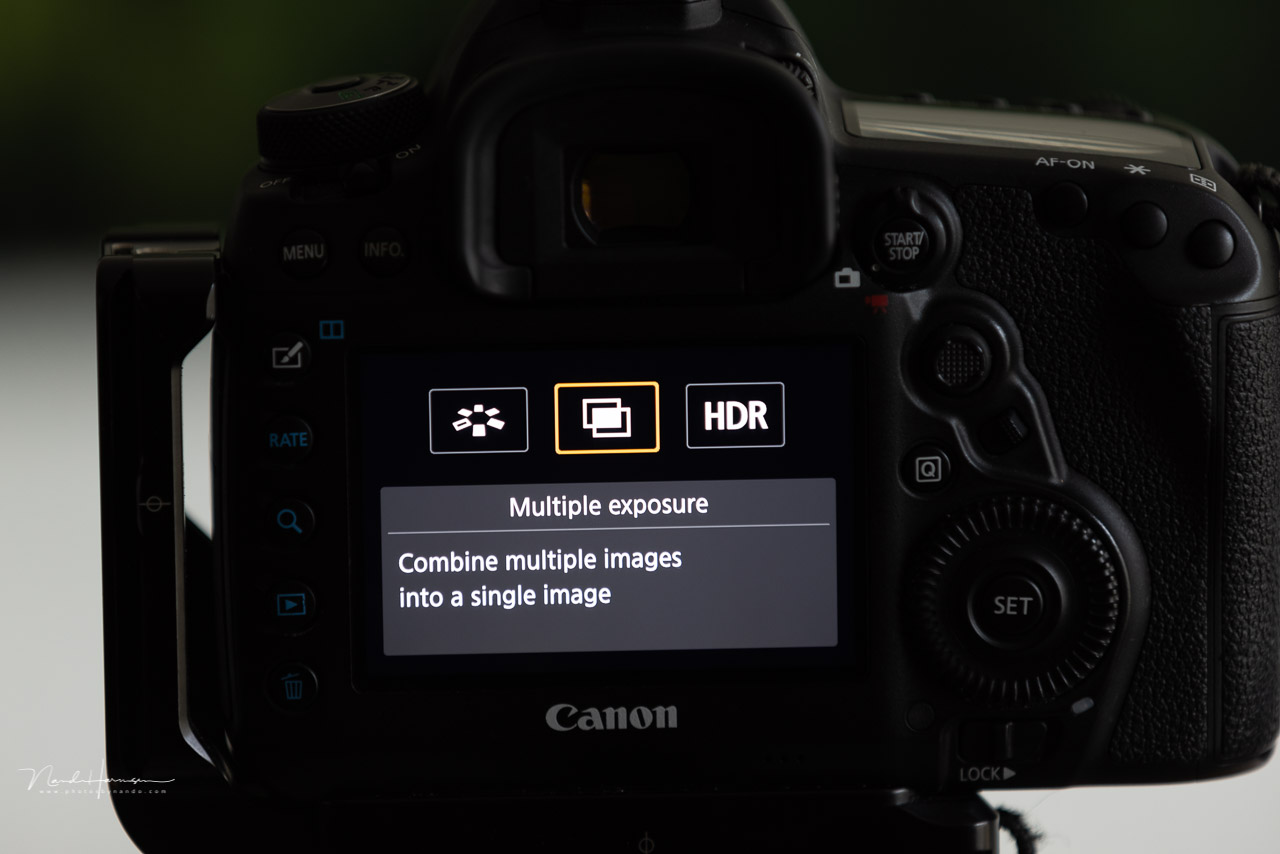
With the Canon EOS 5D Mark IV, the feature is accessible with the button that also allows you to choose the picture profile and HDR functions. For the Canon EOS R5, you have to dive into the menu. I have placed the function on the My Menu page for easy access.
Canon offers four different ways of combining multiple exposures: additive, average, bright, and dark. If you’re familiar with the blending option in Photoshop, you will notice the similarity. This setting will determine how the different images are combined. I found additive to be the best choice for any occasion, especially when there are a lot of dark areas in your images. For dark subjects against a bright background, dark could be a better choice. You would have to experiment yourself to find out what works best.
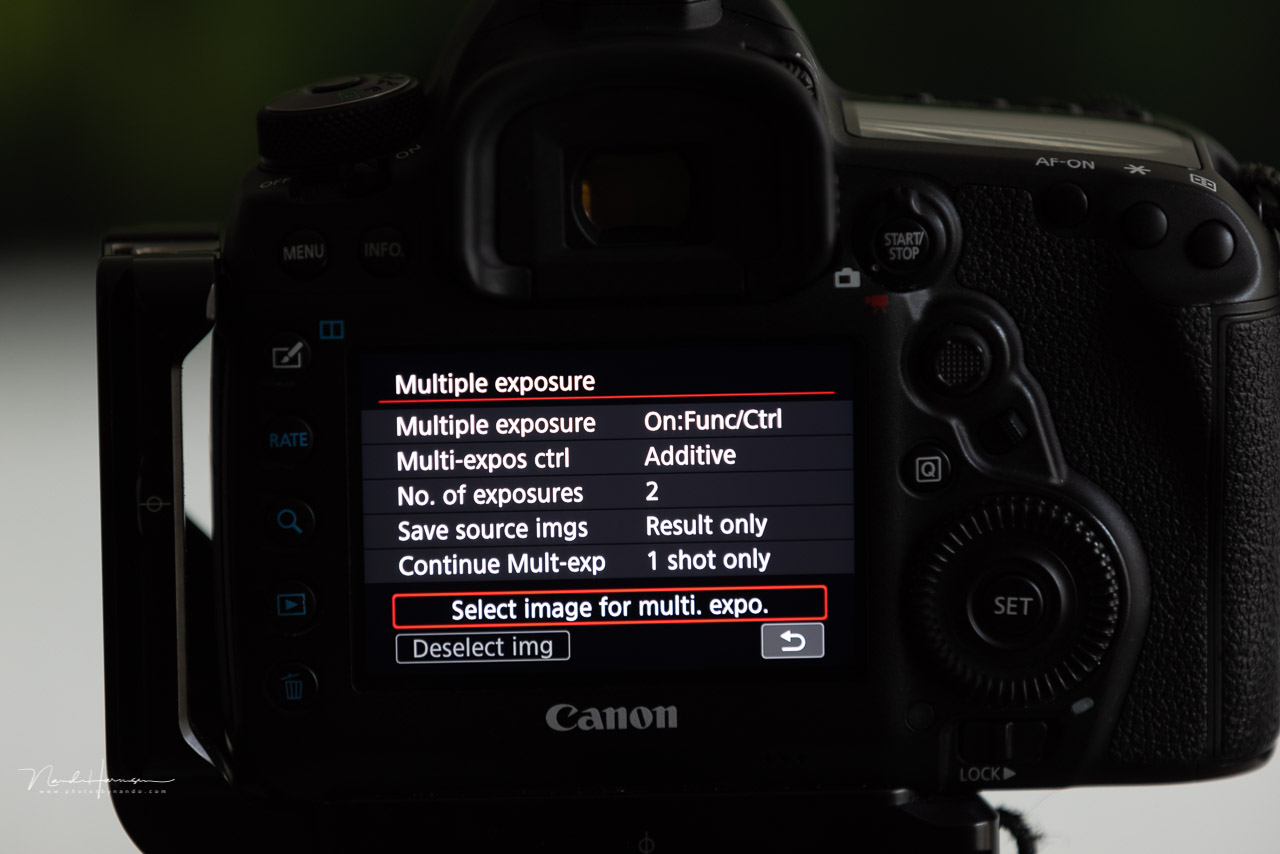
The remaining settings speak for themselves. It might be wise to save the source files as well if your camera offers the ability, especially when it only produces a JPEG result.
Most cameras that offer the multiple exposure feature allow more than two images to combine. Canon has a limit of nine images. This is perhaps too much, but it all depends on your subject. With more than two images, there is a significant risk your image becomes too crowded.
Shooting Both Images on Site
Now comes the fun part. If you’re on site, it is possible to activate the multiple exposure feature and shoot both images one after another. It all comes down to your creativity. You can change focal length between shots, or aperture, or exposure. Even the focus itself can be changed.
If you’re using a DSLR, I would advise you to activate the live view feature. Both with Canon and Nikon, the first images are projected on screen, with the live view image on top of that. Now, you can make the new composition to blend both images perfectly. For mirrorless camera users, both the LCD screen and the electronic viewfinder will show the overlay.
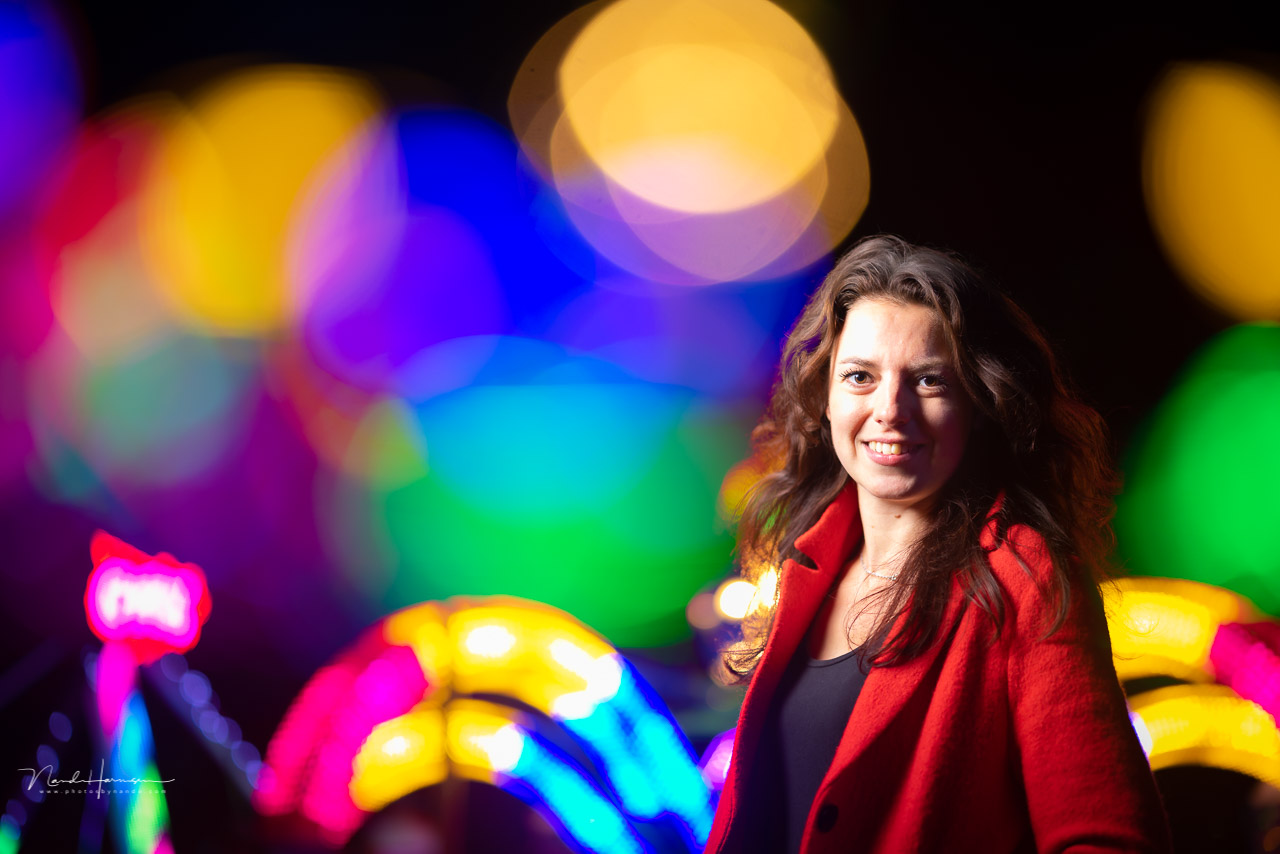
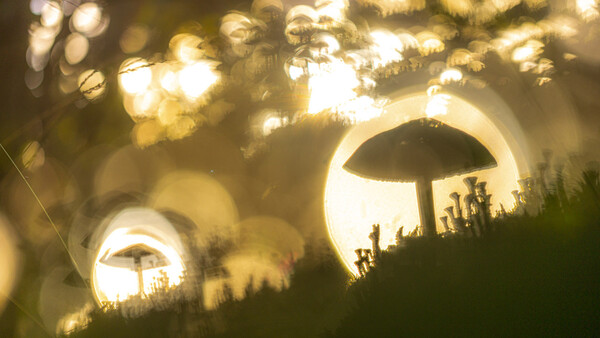
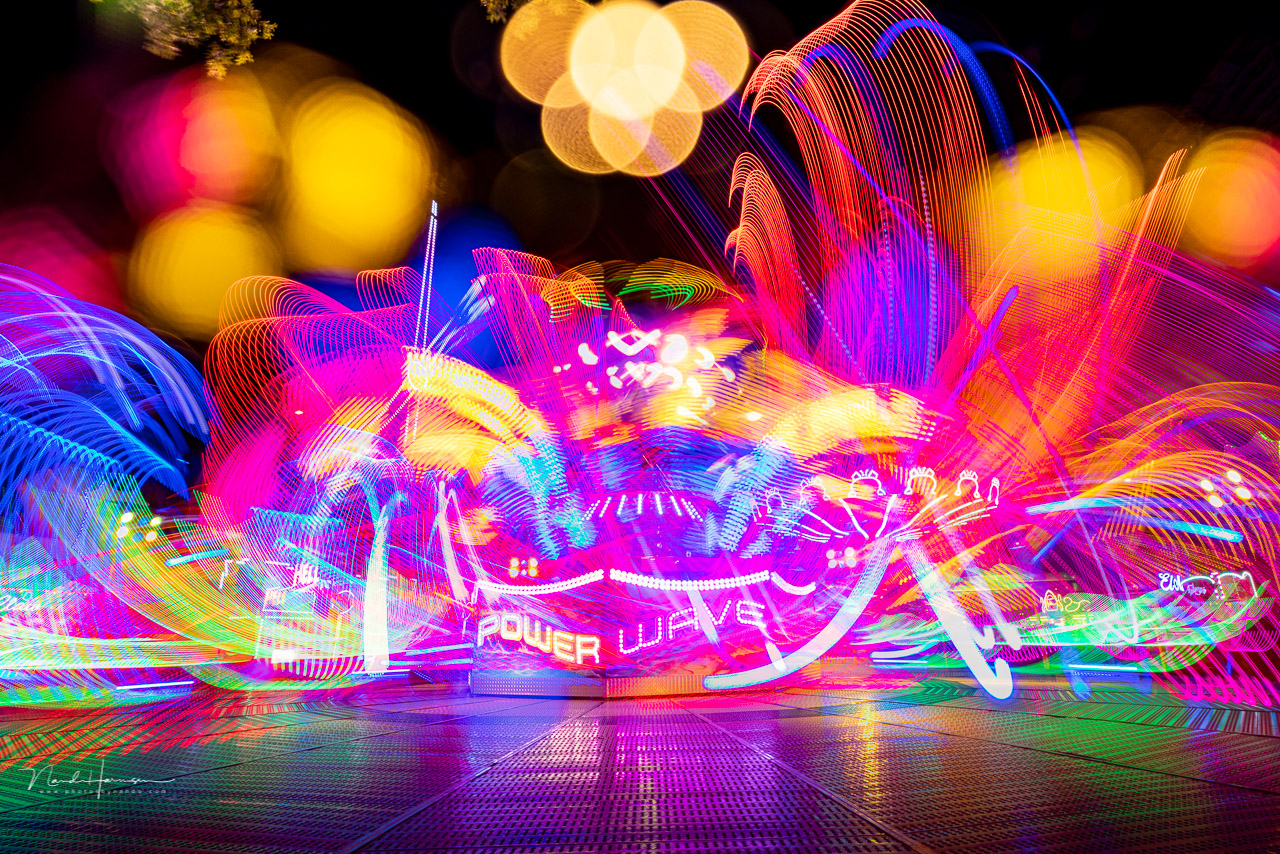
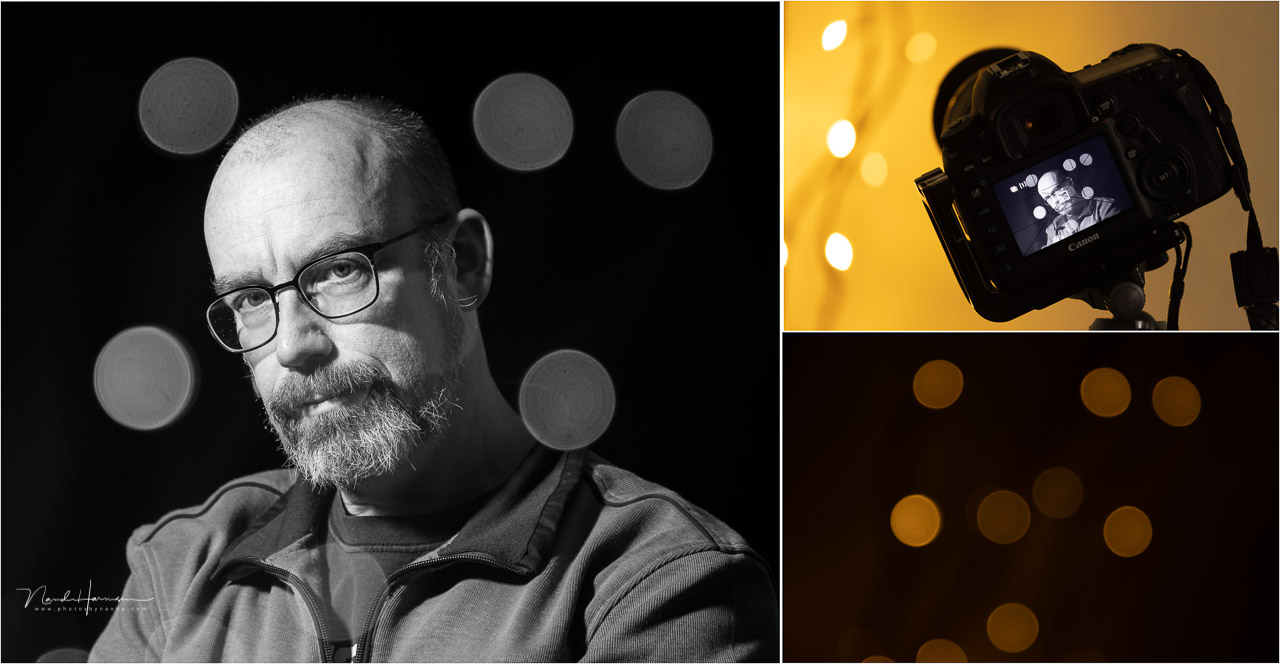
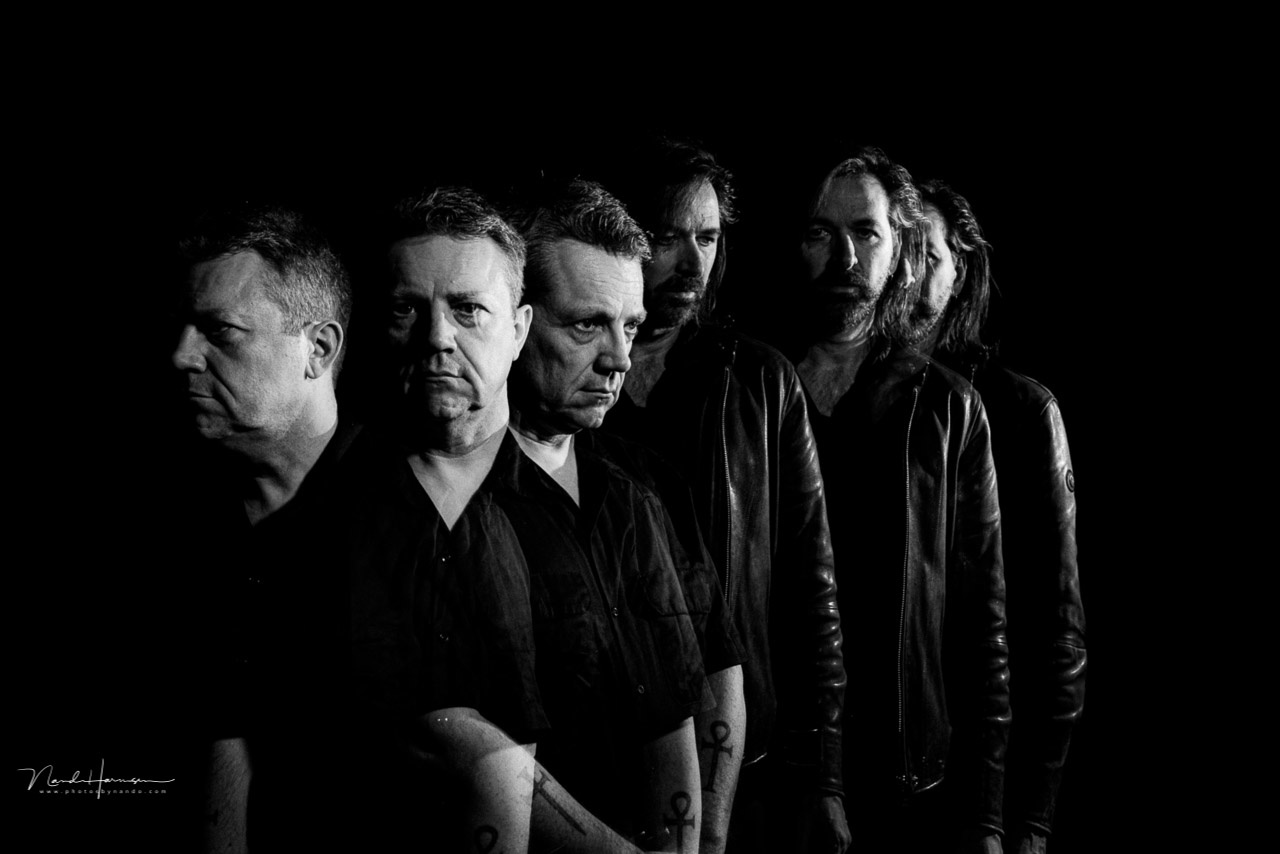
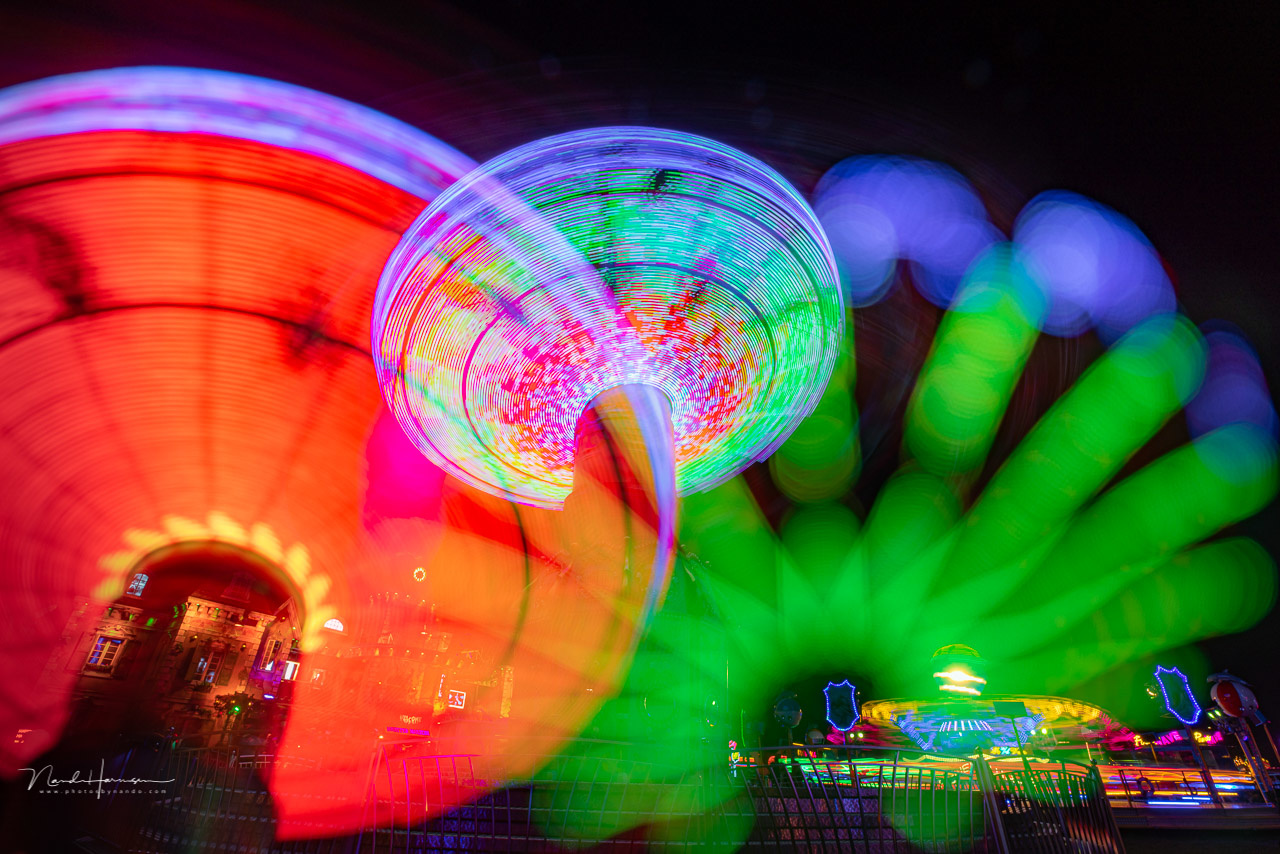
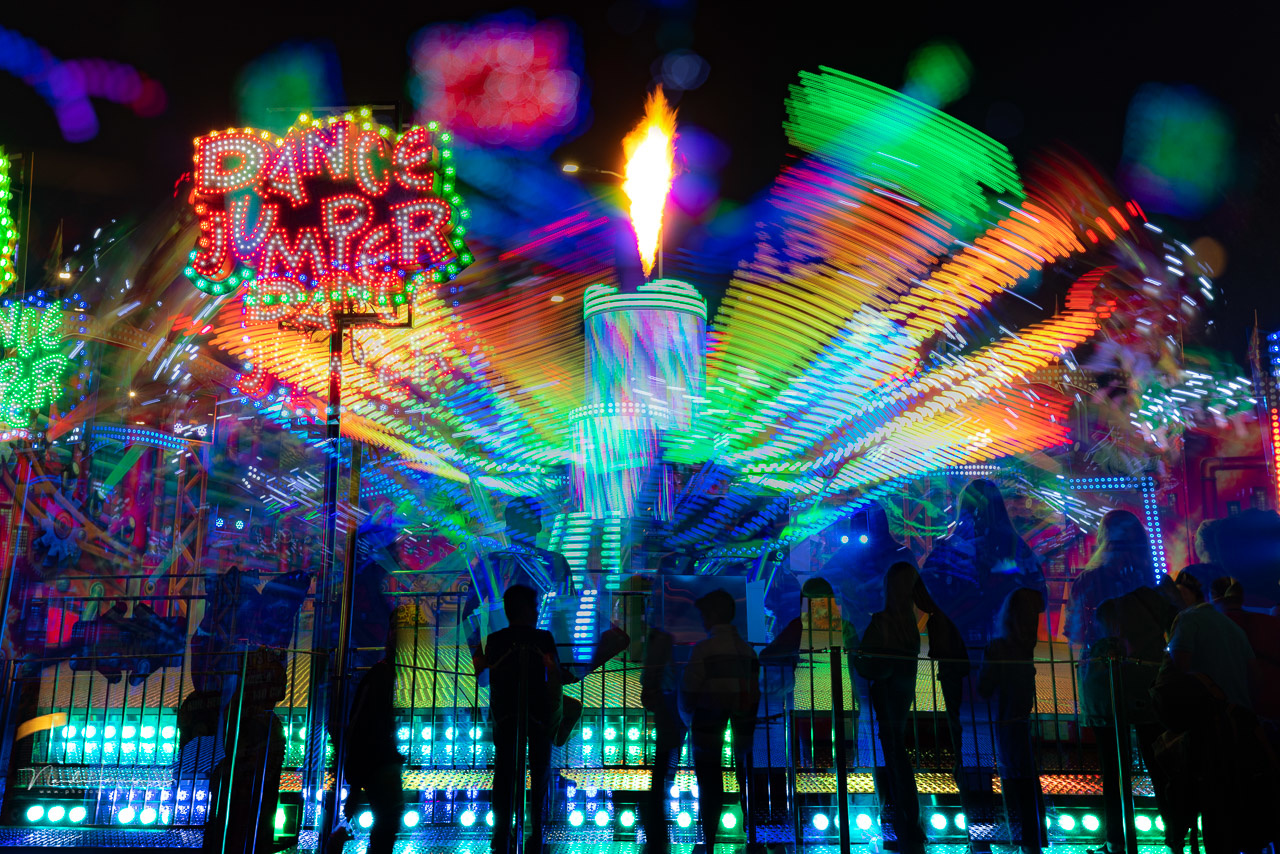
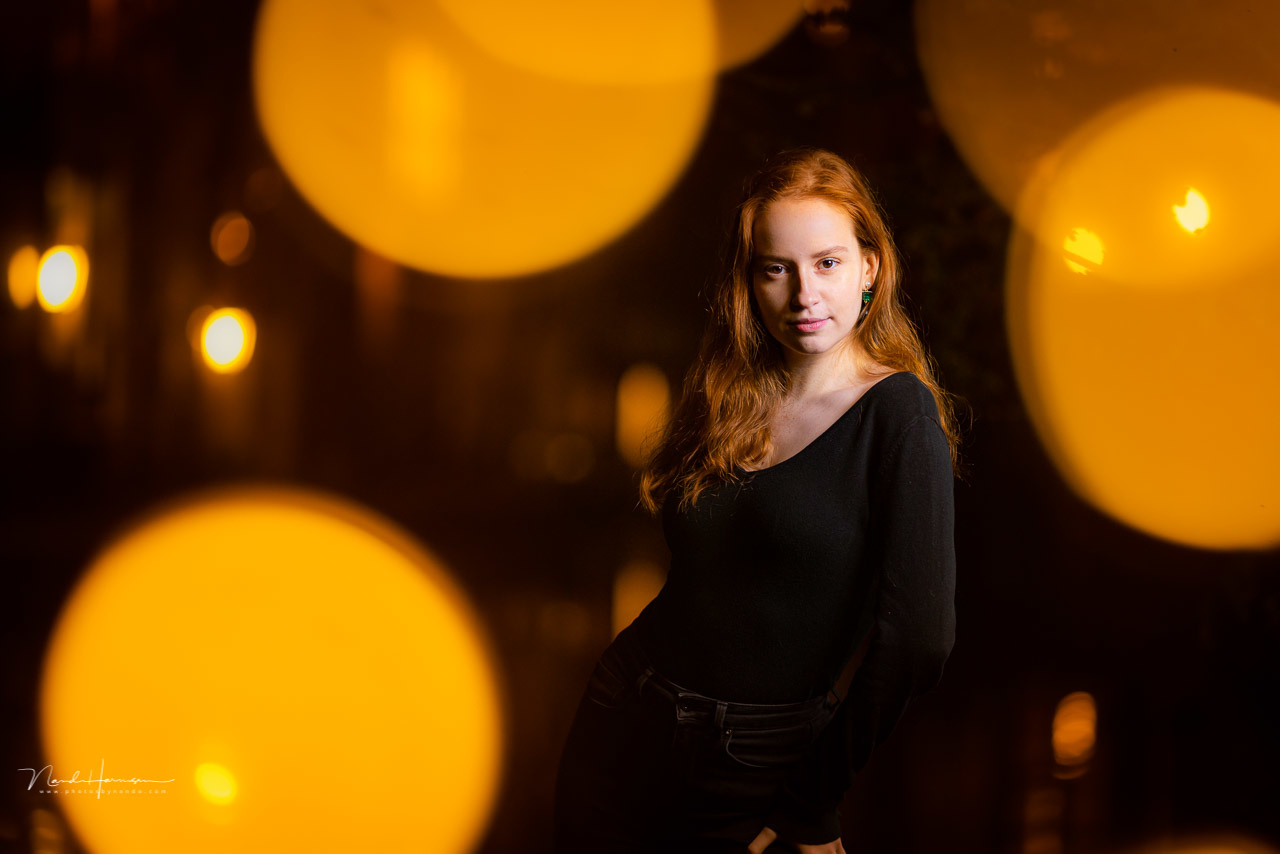
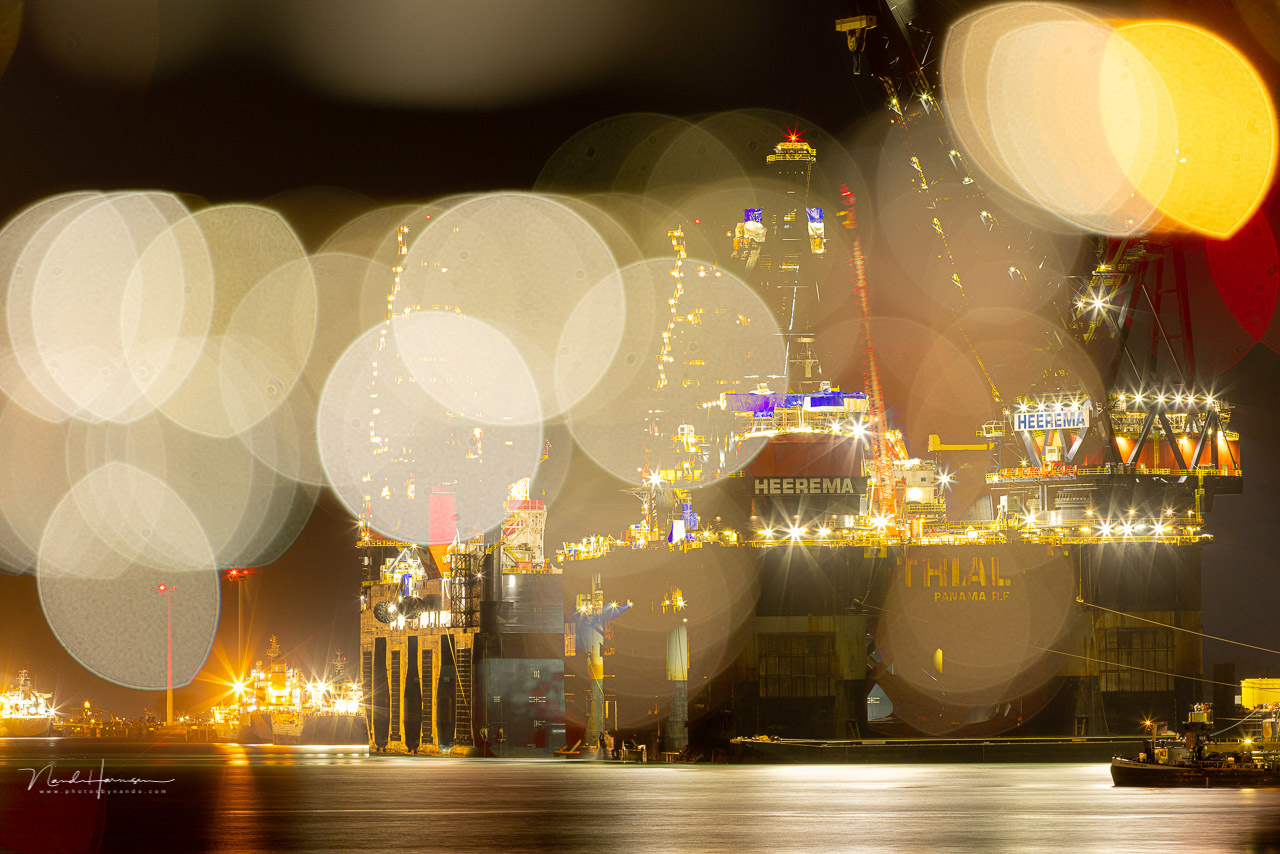
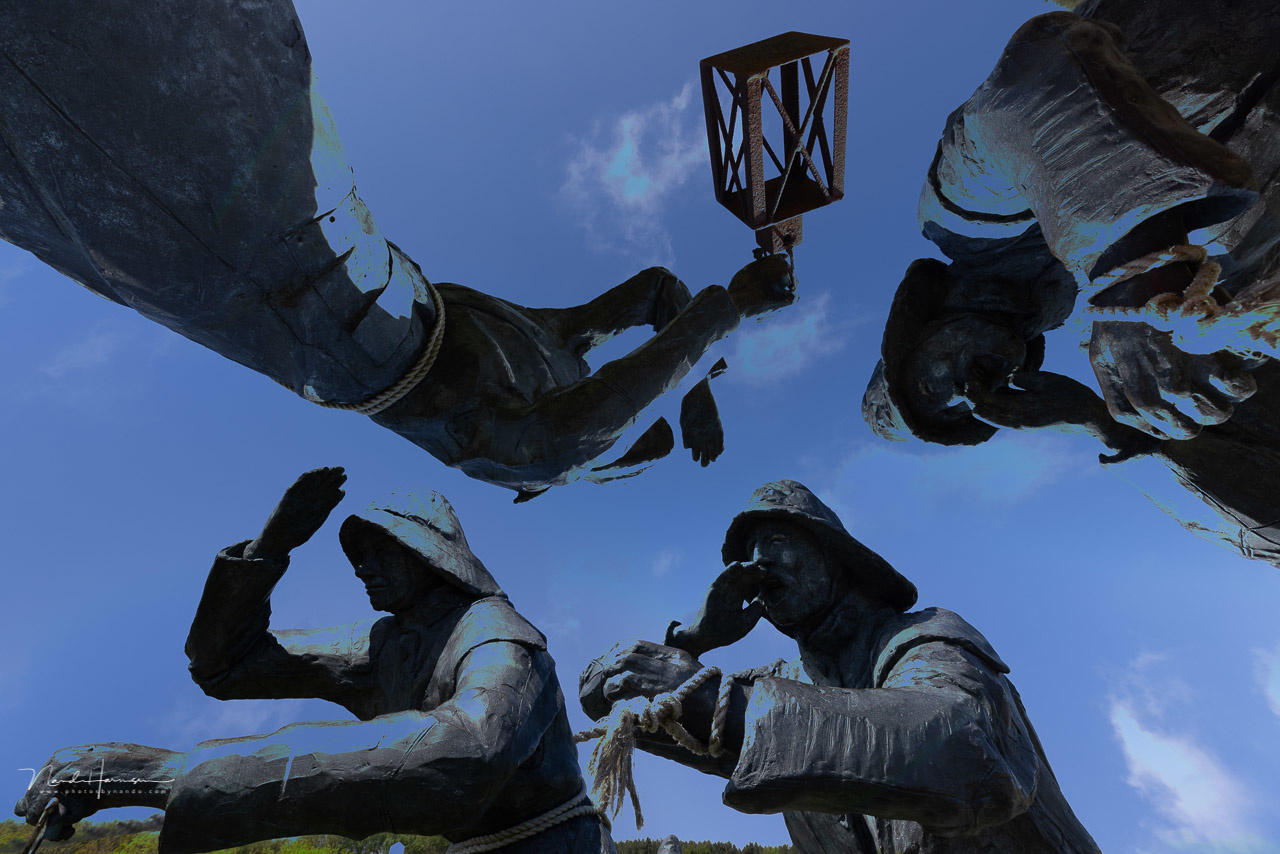
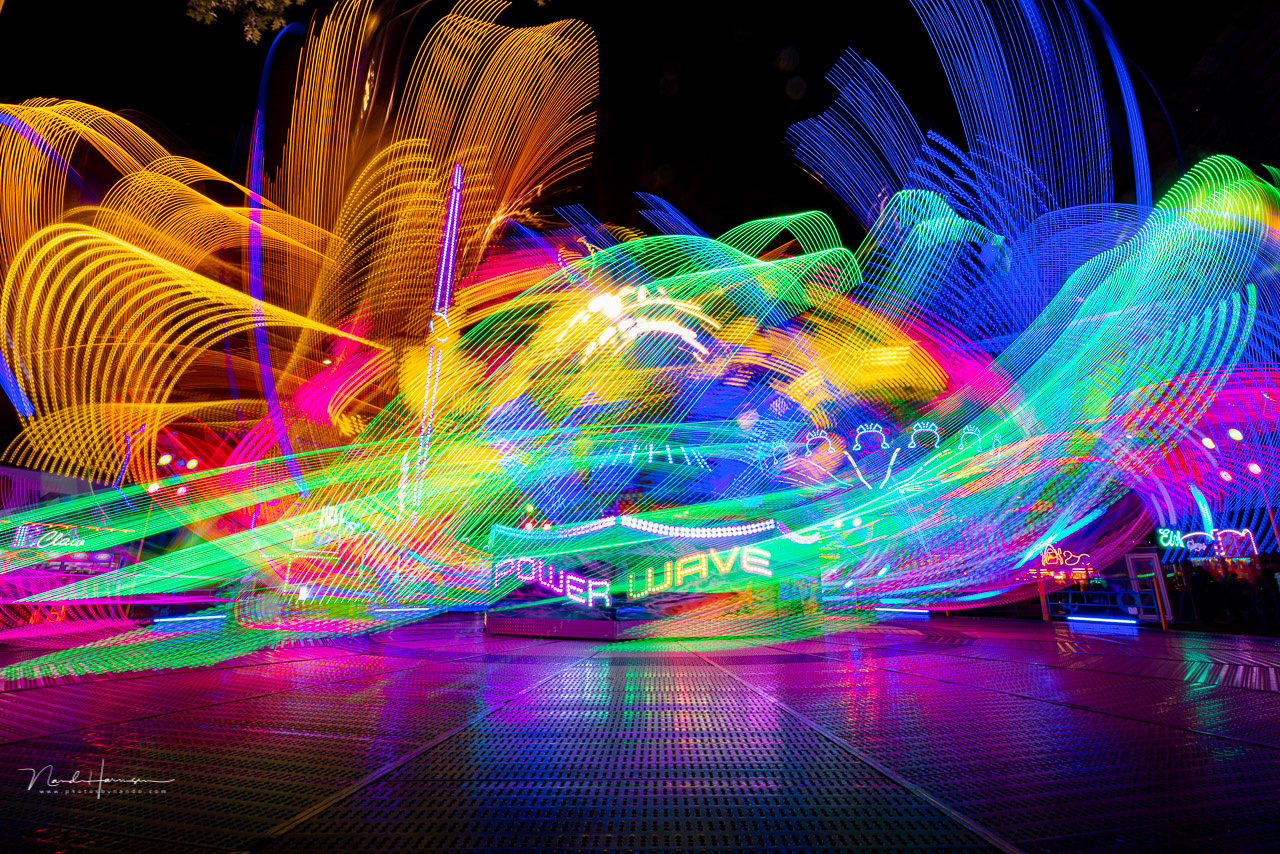
Most of the time, multiple exposures work best with a lot of dark areas in the image. I have used it with night photography at a fair at night, but also with portraits on location and in the studio. The first image would be the portrait, while the next image could be out-of-focus lights. By using a large aperture, it is possible to change those lights into nice large bokeh rings.
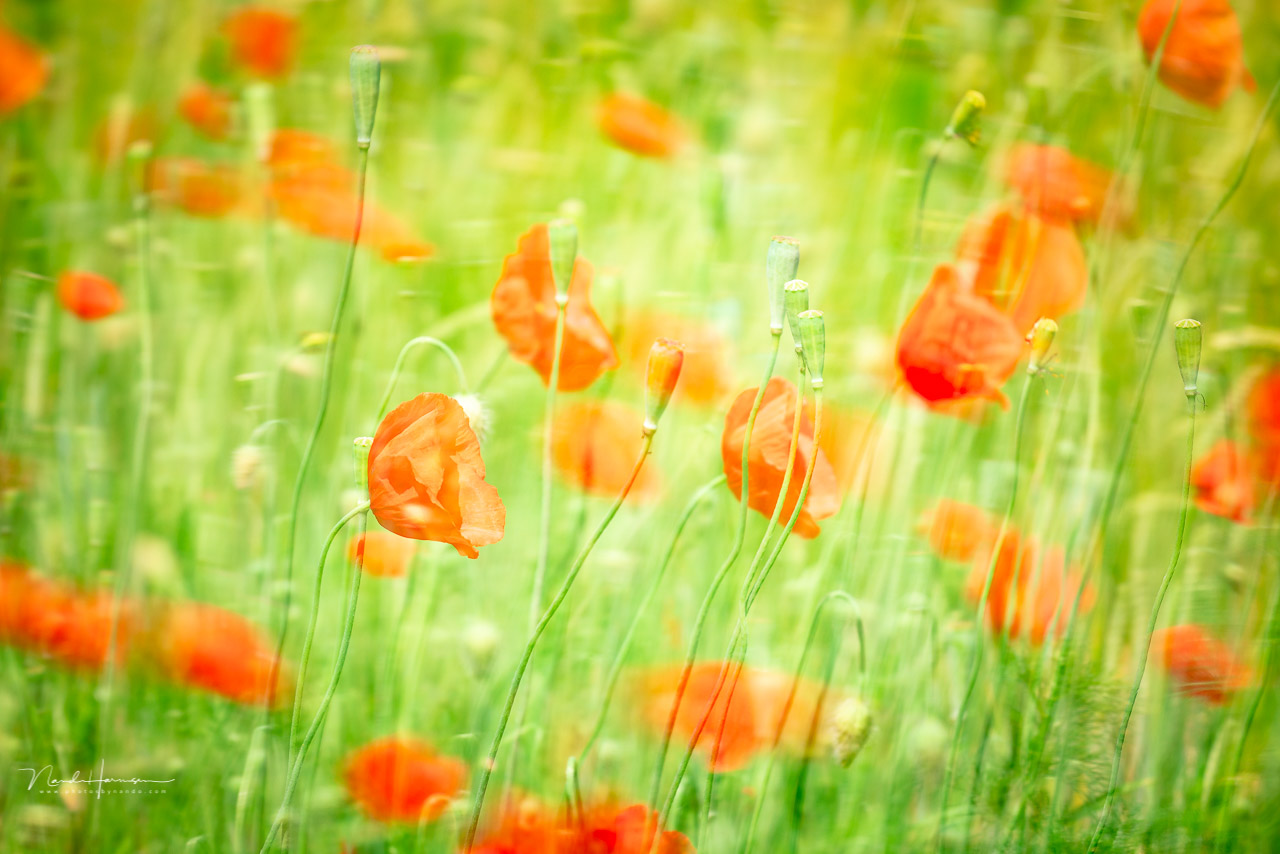
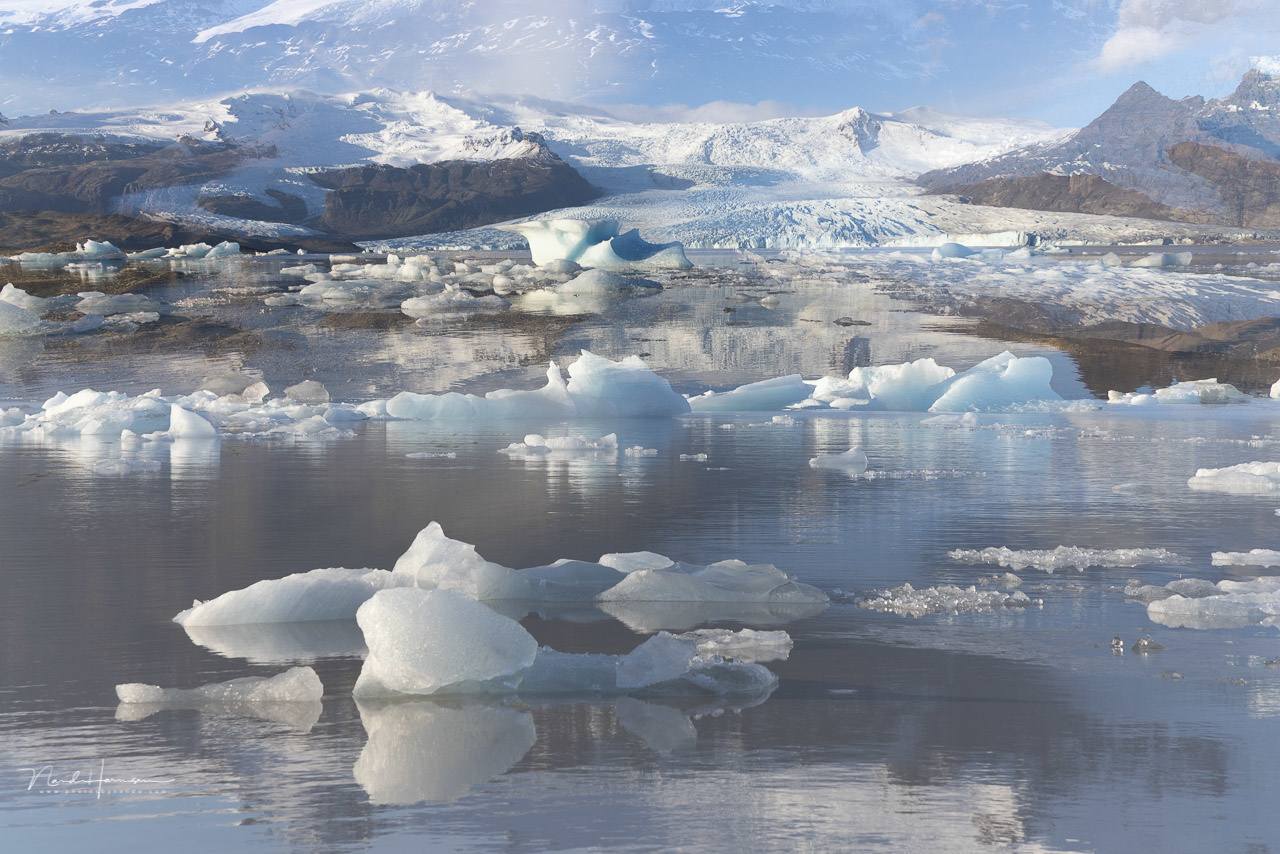
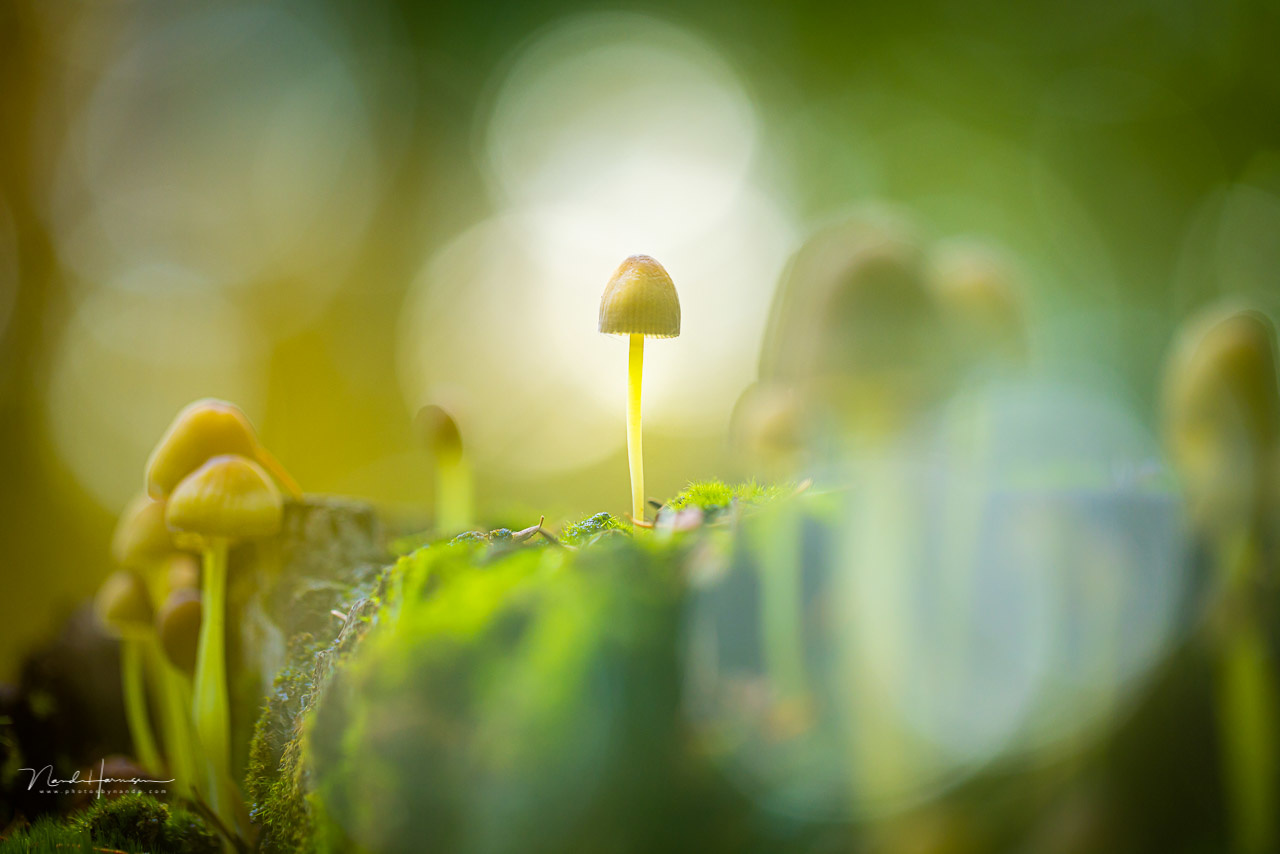
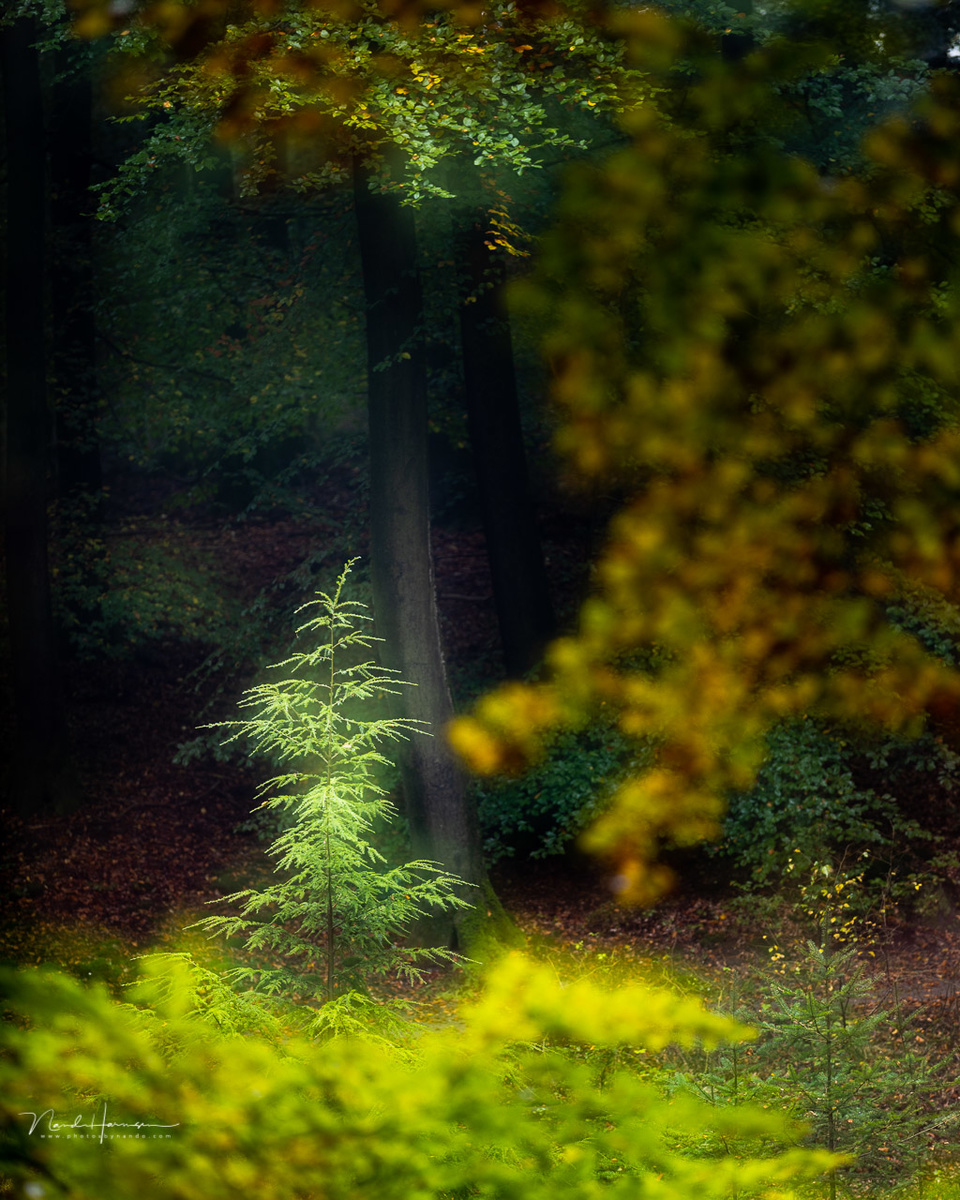
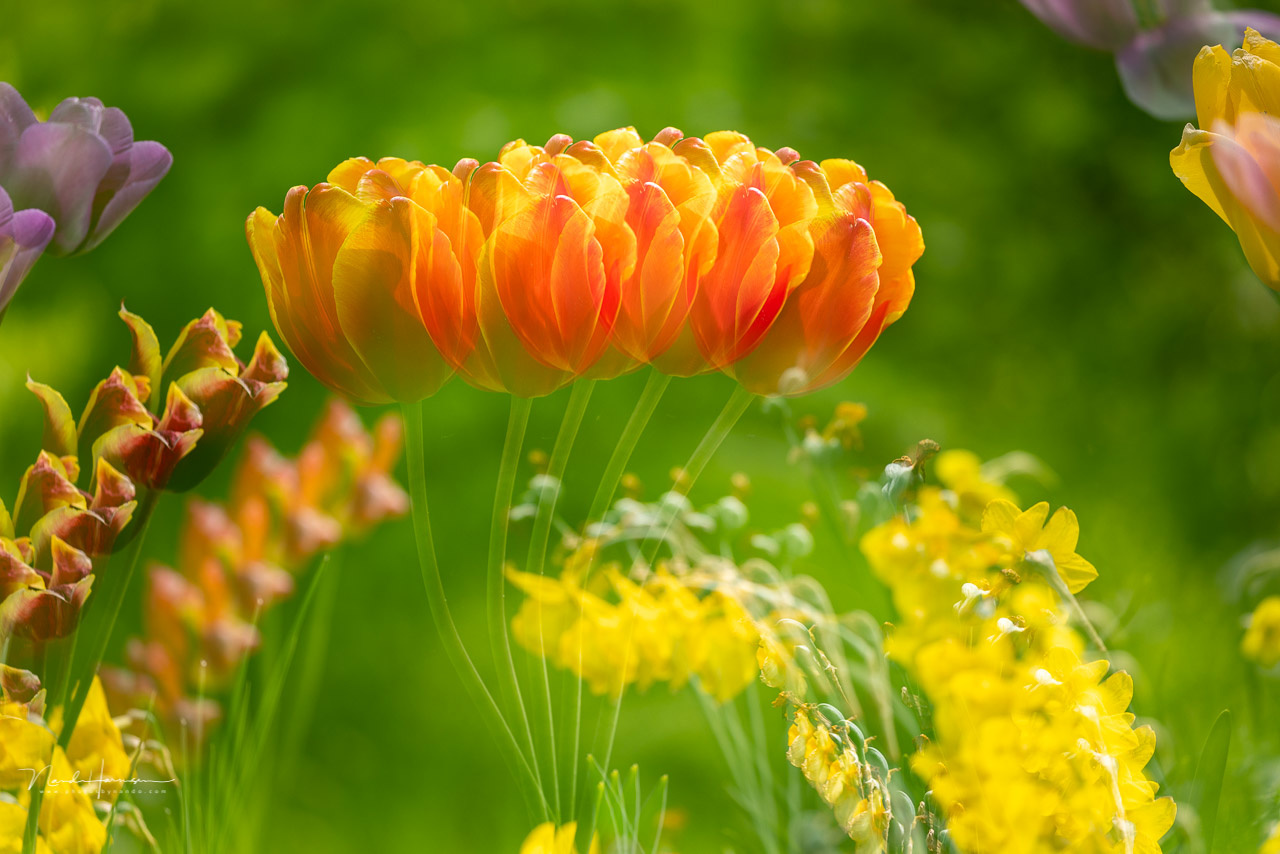
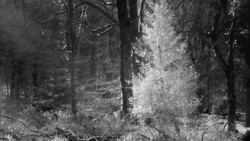
This is just one example of using multiple exposures. Another could be a field of flowers. By adding a second blurred image, you could get a nice Orton effect without the help of Photoshop. Another option is the use of deliberate movement in one of the images by adding a neutral density filter to get a longer exposure.
Using an Existing Image
With Canon, is it also possible to select an existing image on your memory card to act as the first image. It brings a bit more flexibility to your multiple exposures since you don’t have to shoot both images one after another.
Select an image on your card that suits your wishes. Then, you can shoot the second image on top. The live view function will be very helpful to make the best possible composition and change the settings of the second image to your liking.
Why in Camera and Not in Post-processing?
You might wonder: why not use Photoshop for making multiple exposures? My answer is surprisingly simple: just because you can. It offers you a way to shoot creatively with both the possibilities and limitations of your camera. If you get a great result, it’s quite rewarding.
With Photoshop, it is much easier to combine multiple images to perfection. But this is photo manipulation instead of photography. That is why in-camera multiple exposures are often accepted in photo contests. I will continue to experiment with this great feature because there are many more possibilities to discover.


Have you ever tried multiple exposures? Or do you have another application for this feature I haven’t mentioned? Please tell me in the comments below. Good luck with your experiments.


Join the Fstoppers community for free
-
Post comments and join in the discussions
-
Browse the site ad-free
-
Share your work and get featured in the community
-
Compete in the photo contests for fun and prizes
2 Comments
It's fun.
Creating abstracts ...
https://www.flickr.com/photos/richardkralicek/43897600140/in/album-7215…
https://www.flickr.com/photos/richardkralicek/45338331984/in/album-7215…
https://www.flickr.com/photos/richardkralicek/50393935557/in/album-7215…
or orton effect:
https://www.flickr.com/photos/richardkralicek/51694552293/in/album-7215…
https://www.flickr.com/photos/richardkralicek/51694552233/in/album-7215…
I love your examples. Very inspiring.
Thank you for sharing