Grids are probably amongst the best pieces of equipment a photographer using flash can own. Alas, they are often either underrated or misunderstood. On one of my recent shoots, I decided to create a lighting setup with grids on every single strobe. My goal was to create a somewhat complex setup, that once broken down step by step would be easy to recreate by any photographer starting out in studio photography.
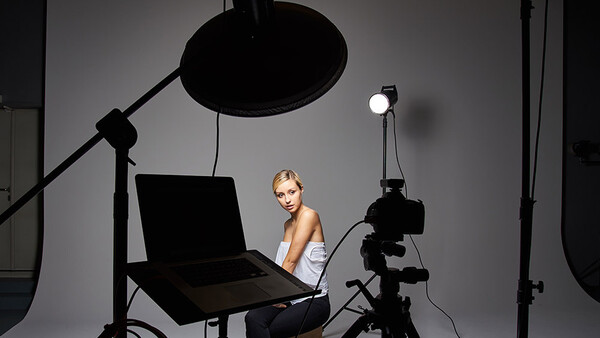
Let’s begin with a simple white beauty dish. The light of a white beauty dish is crispy, yet not as hard as a simple reflector or contrasty as a silver beauty dish. To soften it slightly, I added a sock. Note that a deep octa with a deflector could have done the trick as well, but later on I’ll add a grid, and it’s something I, unfortunately, do not own for my deep octas.
For a first shot, with a single light, it looks quite decent. Depending on the look we are going for, this could work just as it is. However, I found the model’s iris to be a tad too dark, and the shadow in the neck could use a bit of fill. A fill light will also reduce the visibility of any skin’s imperfections, making my work in postproduction much easier and faster.
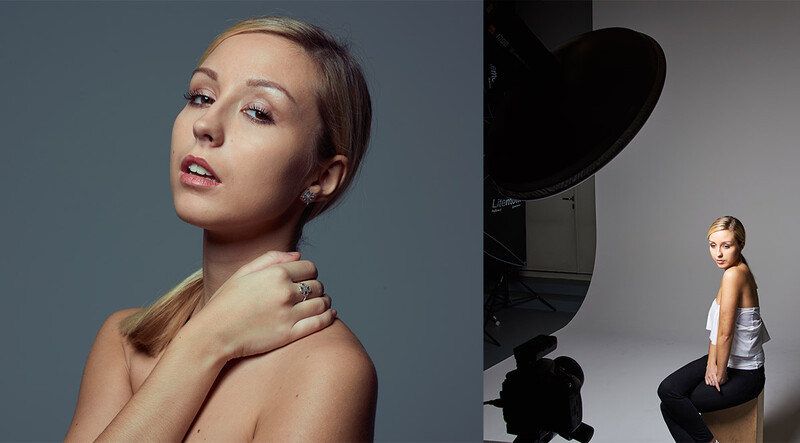
For the fill light, we have multiple solutions. An additional strobe could be placed below the key light, in a clamshell fashion. I didn’t choose this option because I wanted to keep all catch lights round. So a circular reflector could be the answer if its placement wasn’t limited by the main light’s angle. Also, when adding a grid on my beauty dish later on, this option wouldn’t work anymore. So I added another flash unit right next to the main source, and pointed it down towards a circular reflector. It will do the same as placing a reflector and using my main’s spill, but I’ll have a lot more control over it. For the fill light, I used a grid tight enough to limit the spill of light to just the size of the reflector — in this case, a 20-degree grid.
The lighting is much more flattering on our model’s face. However, I feel like we achieved something anyone could have done in a pinch. It lacks depth and looks like any studio shot out there. To give more depth to the model’s face and the image, a hair light would be great. Just like the fill light, I used an 18 cm reflector with a 20-degree grid to give my model some room to move but avoid any flare.
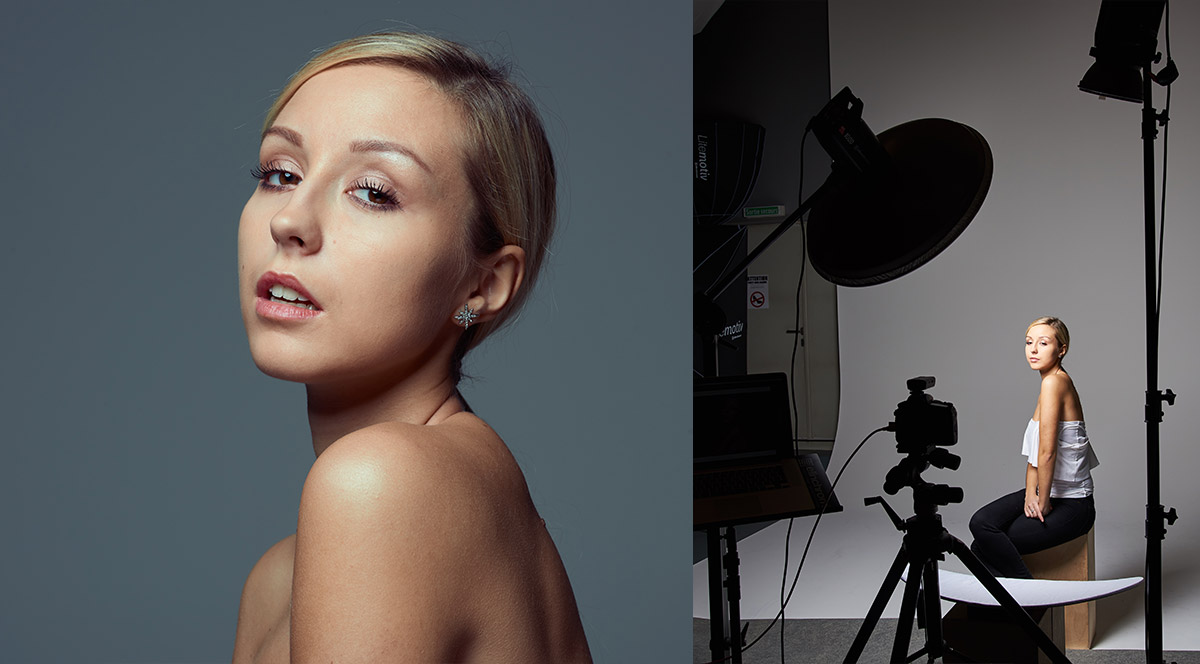
Our lighting is getting better, but the background is not adding anything to our image. A simple background light, again, with a grid to control the spill, would make it just that much more interesting.
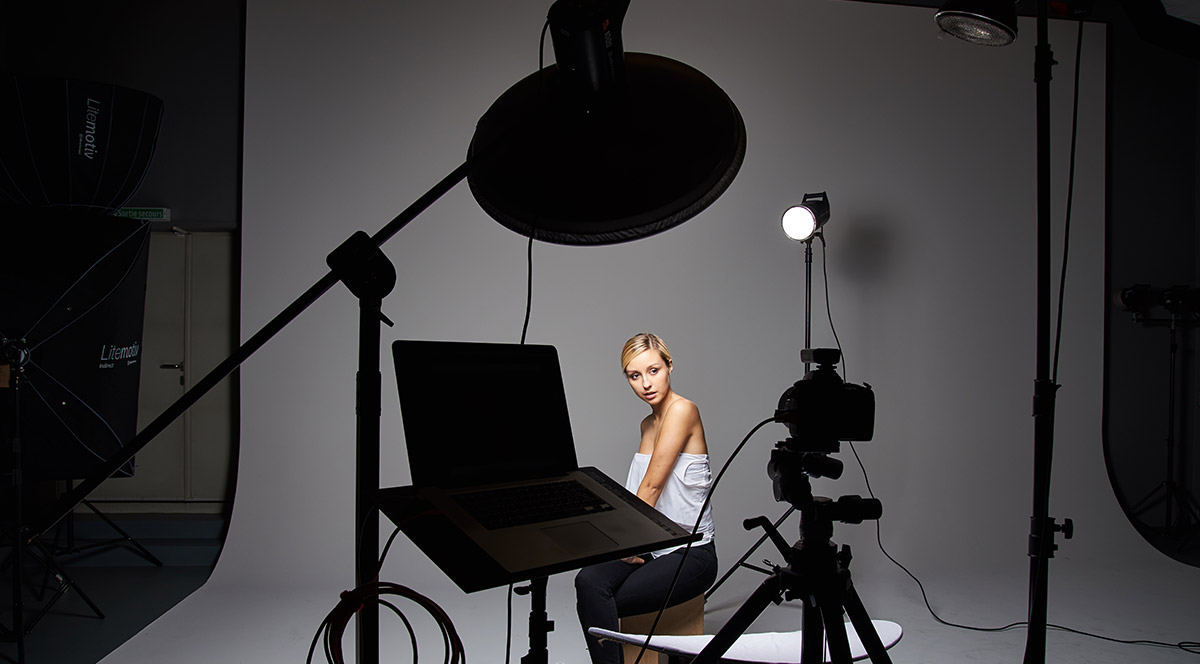
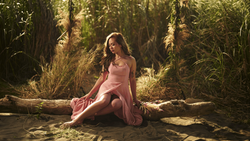
Now, we are getting somewhere. And because I love drama, I want my background to be darker. To make that possible, a simple grid on the beauty dish will cut any spill.
And because I'm sure a few of you would love to see a lighting diagram of the final image, here it is:
When starting studio photography, flashes, grids, and light shapers can be intimidating. But truthfully, they are not. All you have to do is add one light at a time. Place the first one and see what’s working and what’s not. Add a second one if needed and repeat the process until you find the perfect lighting setup for the look you are shooting.
If you want to learn more about grids, visit Elinchrom’s website where you’ll find the same setup as above along with another one, and a full article showing the differences between different grid degrees.
I’d love to hear your opinions on grids and multiple light setups. Do you guys often rely on grids when shooting with flash? Is it something you don’t own, but wish you could try? When shooting in studio, do you limit yourself to one light or do you go crazy from time to time?


Join the Fstoppers community for free
-
Post comments and join in the discussions
-
Browse the site ad-free
-
Share your work and get featured in the community
-
Compete in the photo contests for fun and prizes
10 Comments
I LOVE grids and have them on nearly all my modifiers, but damn if they're insanely pricey, costing nearly as much as the modifiers themselves. There's no way i could shoot the things i do without them.
the worst are the grids for Elinchrom Strips. As they are not designed by elinchrom you must get the lightTools ones, they come with a grid and a frame and they are actually more expensive than the strips themselves. That being said, the idea of the frame means it's easy to take them on and off, but for 400$ the grid, it is a steep road.
This is a great setup quentin, nice work again, and great article.
I feel your pain (I own an Elin rectangular and a strip) Why fabric has to cost that much is beyond me- and they specifically designed their boxes so that you have to use their grids (Lighttools and i believe HoneyGrids, knows this- and they also charge an insane amount) Waiting for Cowboy studios to do a knockoff for $20, which is what they should be costing. Btw, Interfit carries softboxes and strips with Elin speedrings, but at a fraction of the cost of an Elin modifier. *And*, they come with grids. The only downside is they aren't umbrella folding, so unless you keep it in the studio, it's going to be a little pain to take it on location. http://interfitphotographic.com/product-category/modifiers/modifiers-so…
*Sigh* Grids are awesome, but so fricking expensive. (Profoto user)
the trioPack hurts the wallet for sure, with each brand. :D
Loved the article but, having only shot amateur subjects, find it impractical to "add one light at a time." So I always use one or two lights at most and try to tweak them before the subject gets bored/tired/frustrated. On those occasions when I can use a stand-in, I'll spend more time with commensurate results.
Oh yeah... Love my grids!
Very informative, thank you.
Can you tell me what grid you used as the background light and how fat it was from the backdrop?
Thanks.
I believe it was a 30° grid and the strobe was about 2 meters away from the backdrop.
How does the grid on the beauty dish relate to the diffusion sock? Which goes on the BD first?
The Elinchrom beauty dish design requires the sock to goes first, so it's not really a question for me. But putting the sock over the grid would kind of defeat the purpose of the latter in my opinion.