ACDSee Video Studio 2 is a software specially designed for those looking either for a simple video editing tool or a way to record their screen and create content out of it. In my recent review, I mentioned a couple of times how effortless the process is. However, I thought it only be wise to show you through an example how it works and how simple the app truly is. People just getting started in the video world or those of you looking for a way to record and edit educational content, be sure to read the full article.
ACDSee Video Studio 2 is truly one well-designed piece of software. I started filming and editing video no more than three months ago, and it took me a while before getting used to the most known tools such as Adobe Premiere, Final Cut Pro, or DaVinci Resolve. With ACDSee'sACDSee's solution, it was a whole different story. The interface is clear, simple, and offers exactly what most people will need for simple productions.
In this tutorial, I’ll show you how I edited a short makeup behind the scenes video for my makeup artist to help her promote her work like explained in a previous article. My goal when producing these is to get it done as quickly as possible while retaining a decent quality. So a software such as ACDSee Video Studio 2 is the perfect solution! Let’s dive in!
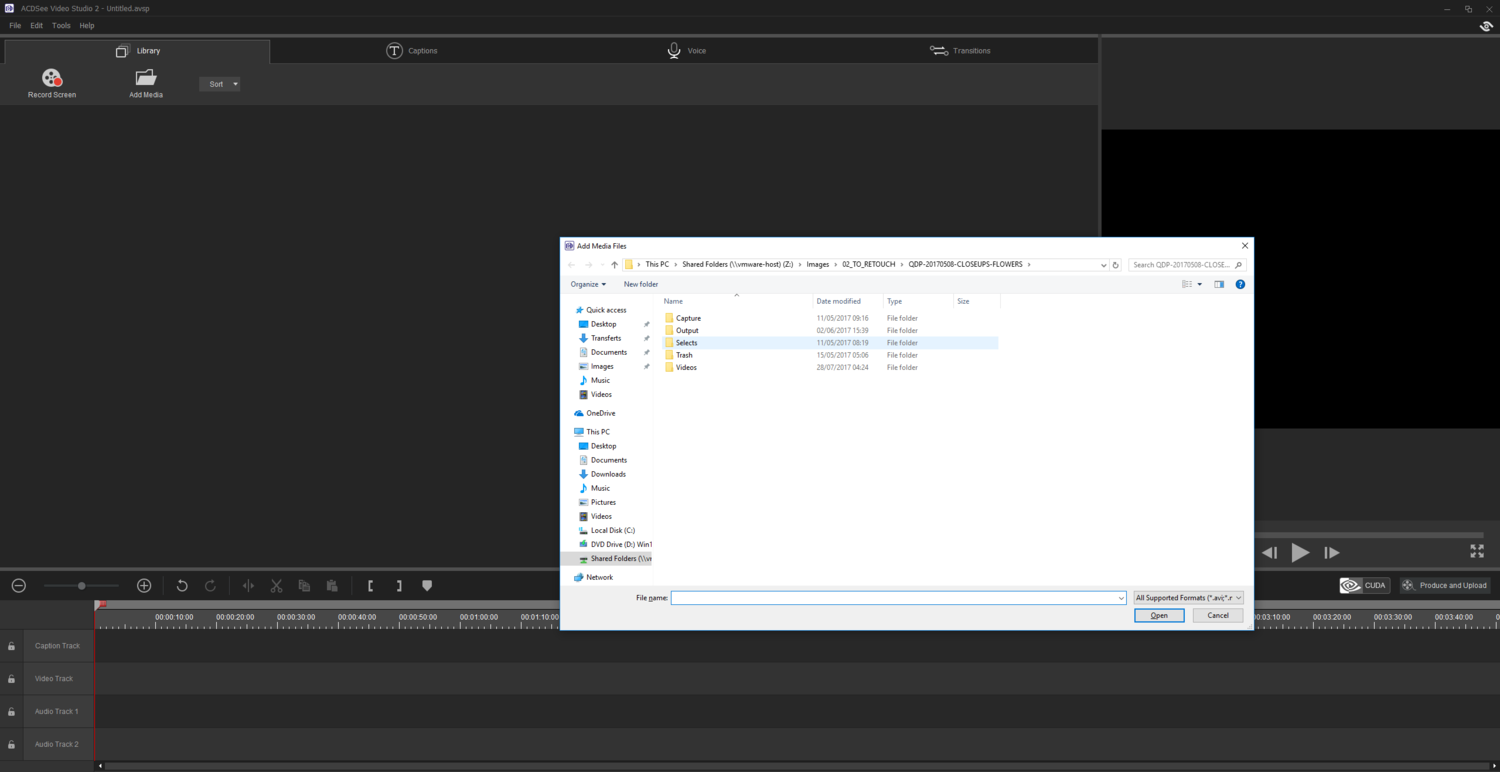
To get started, we first need to import our video files. Press Add Media at the top of the window, select your files, and click Open.

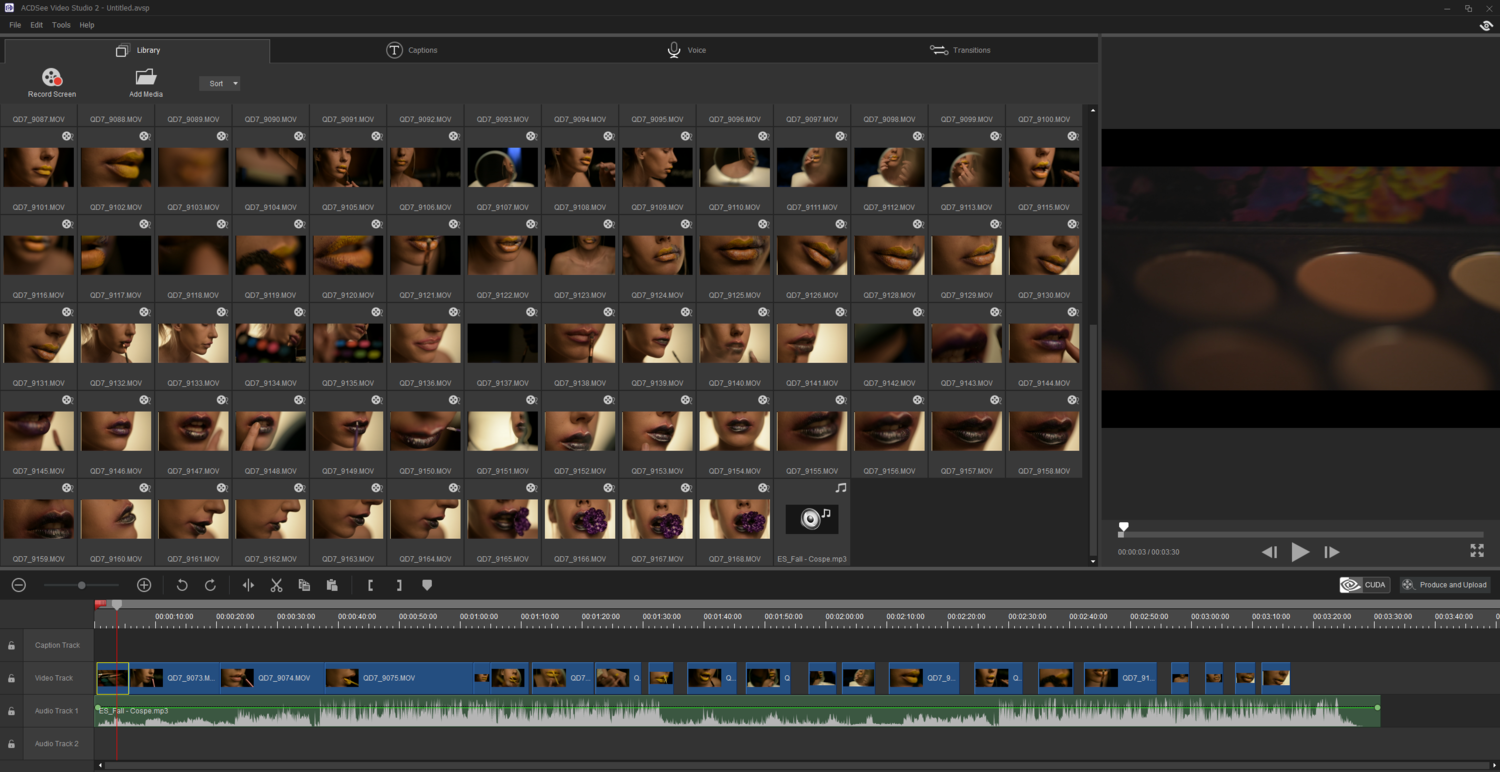
When editing video, I want to make sure all the clips that are worth it make it to the timeline. So before even adding or looking for any audio track, I’ll check every sequence from this session and import the one I like to the timeline on the video line. To add new clips to the timeline, a simple drag and drop is all you need!

As you may have noticed, there aren't two video previewers windows like in most video editing software. To keep it simple and give you access to as many files as possible in one view, ACDSee Video Studio use only one. To preview a clip, right click on it, and choose Preview. The clip will then display on the right. If you then click the timeline and press play, it will render what the final output would be.
With all my clips selected, I’m now going to add the audio track I found on Epidemic Sound and remove the audio of my clips as the ambient noise, in this case, is more of a distraction than anything else.

Notice that I don’t remove any clip from my library. I don’t want to be looking for a particular clip to fill in a part of my timeline later on and have to reimport everything. By keeping everything in place, I’m sure to save a bit of time later on.
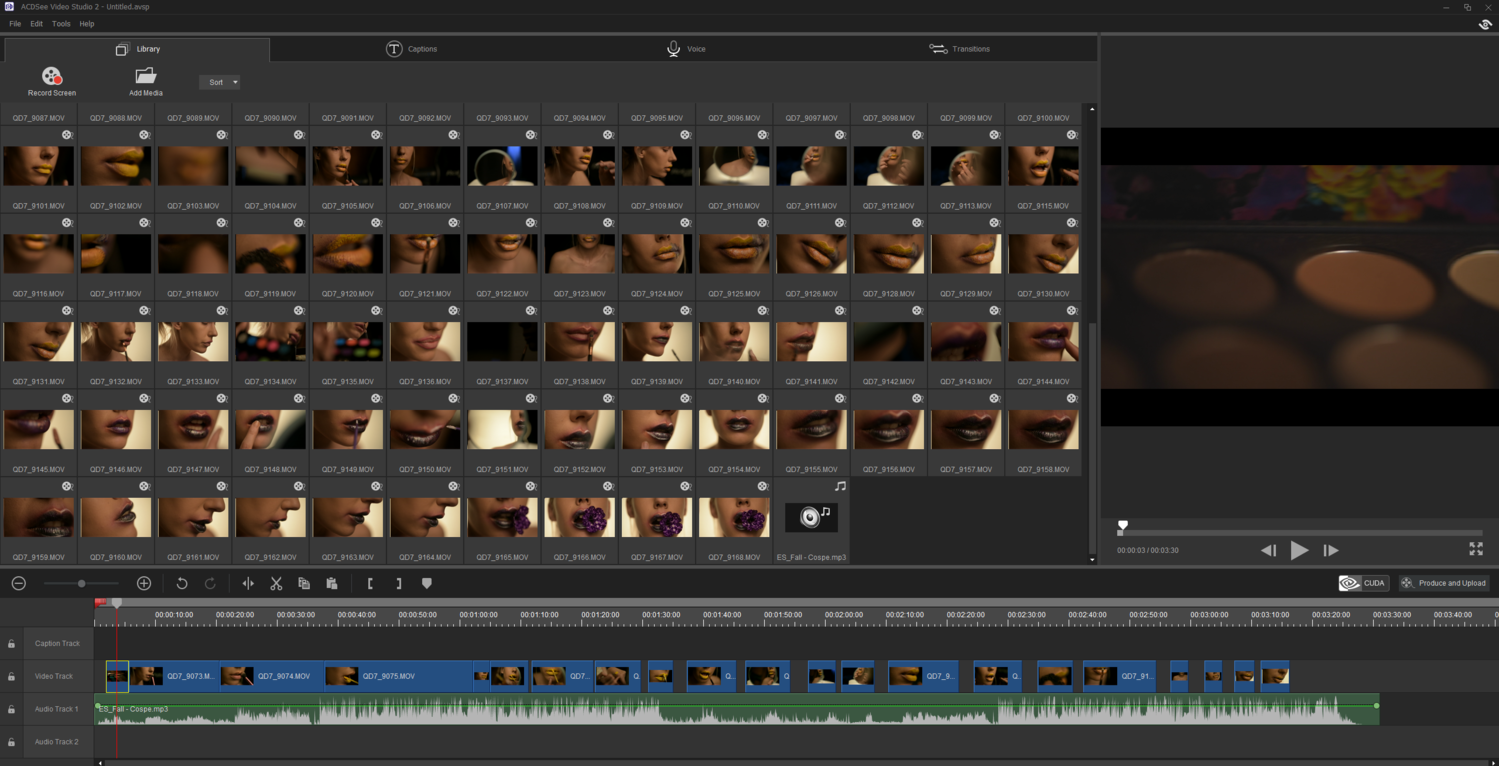
I’m now left with simply cutting and moving around my clips. This is yet another effortless part of ACDSee Video Studio 2. I can either make a sequence shorter by pushing in from either of its sides, or I can use the split tool if I want to cut at on exact place and then delete the piece that I don’t need anymore.
Between some of my clips, I also want to add a transition. No need to look for a complicated menu option, accessing the transitions tab is easy and self-explanatory. Then, again, to add something to the timeline, I’m going to drag it and drop it where I want it to be.

Then by slowly moving around my clips, cutting, them, and adding the transitions that I need, I eventually end up with the video you can find at the top of this article. And if you want to go further into your editing, you can even color grade your clips with the software of your choice before importing them into ACDSee Video Studio 2 just like I did for the clip above. It will allow you to create more polished films without complicating your workflow too much.
There isn't any feature that is going to revolutionize your world within ACDSee Video Studio 2, but it’s not what this software is all about. It’s meant to have an easy learning curve so that anyone can edit, share, and publish their videos. You won’t even need to invest money or time into learning; it’s that easy!


Good to know. Looks easy enough.
Actually, I thought your video would follow through with screen capture and voice-over of how you did the video. This would not only show the finished video in the beginning, but a perfect example of not only the screen capture capability of ACDSee Video Studio 2, but how supposedly easy it is by visually showing the editing process, in motion, from start to finish. Kinda dropped the ball there. ;-)
Sorry Mac users. This is windows only...
The same can be done with ScreenFlow on MacOS ;)