
For years, I have heard good things about Davinci Resolve as a powerful industry-standard video editing software. Despite all the positive things I have heard, I was reluctant to make the shift from Adobe Premiere Pro, fearing the entire process of relearning new software from scratch. However, motivated by the frustration of frequent crashes, I have finally made the call for the long-needed switchover.
As someone who recently made the switch from Adobe Premiere Pro to Davinci Resolve 18.6 for video editing, I find myself struggling to fully understand Davinci Resolve, especially in the color grading section. This is mainly because Davinci Resolve uses a node-based editing system that offers unparalleled control and flexibility in color grading but may be overwhelming and pose a steep learning curve when you look into the software at first.
If you are like me, new to Davinci Resolve and looking to speed up your color correction workflow so you can get projects done faster, this list of keyboard shortcuts that I have recently learned and compiled will help you make color correction faster, easier, and more efficient without having to dig into the menu every single time.
Here are 15 essential keyboard shortcuts that will turbocharge your color grading process in Davinci Resolve, which are divided into three main categories: handling nodes, working with previews and comparisons, and lastly working with qualifiers.
In Handling Nodes in the Color Editing Page
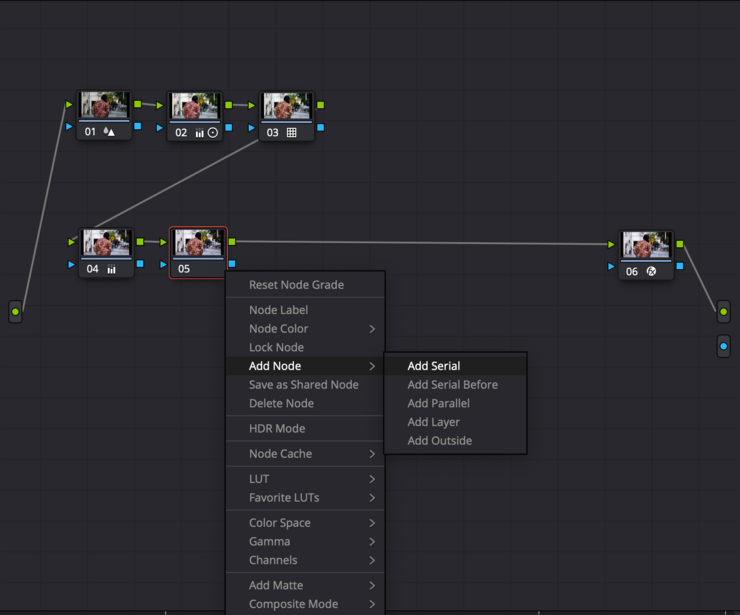
1. Adding a serial node - “Alt + S”
This will help you add a serial node for sequential adjustments. A serial node is basically a layer where you can start performing nondestructive color corrections on it or stack different adjustments one after another.
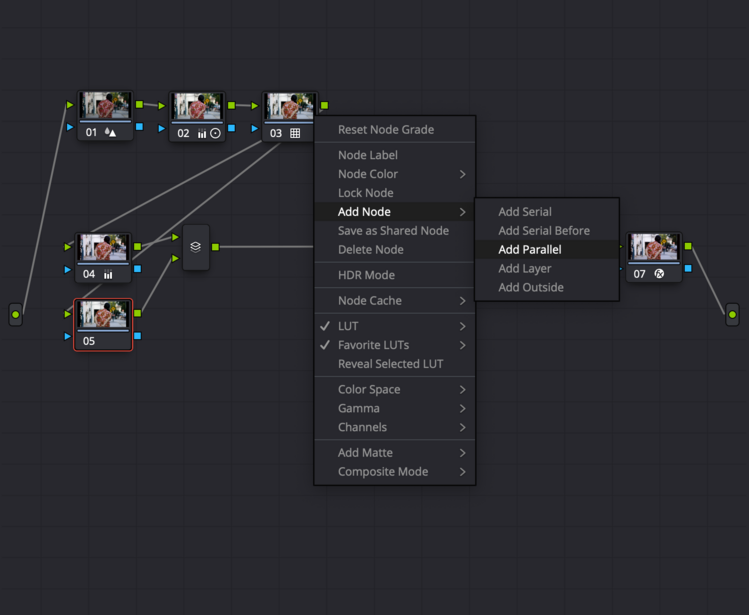
2. Adding a parallel node - “Alt + P”
This will help you create a parallel node for independent adjustments. A parallel node allows multiple corrections to be made simultaneously on the same image.
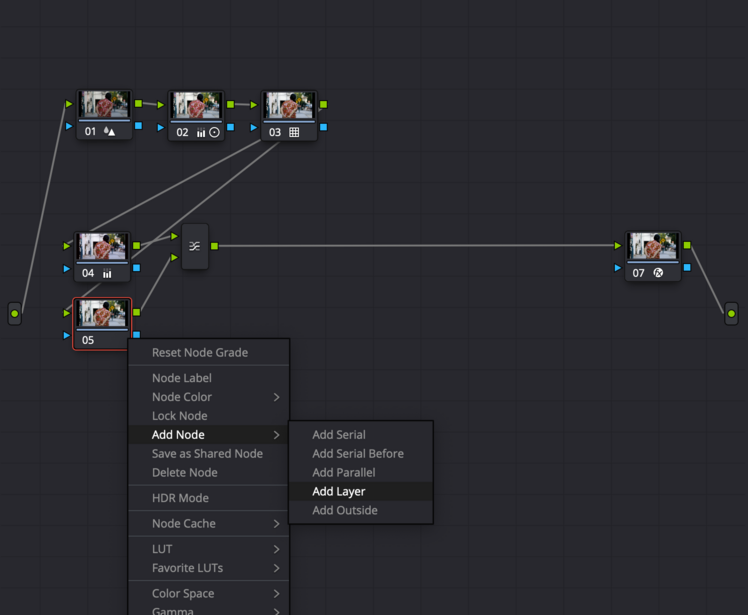
3. Adding layer mixer - “Alt + L”
This will add a layer mixer to your existing serial node. Layer mixers allow you to control how multiple nodes are blended together all at once, rather than sequentially. Think of this as a blend mode in Adobe Photoshop.
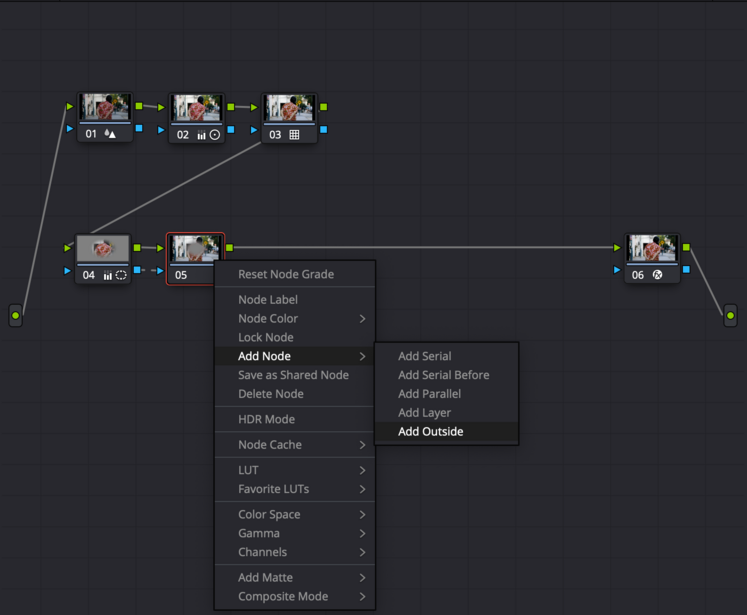
4. Adding an outside node - “Alt + O”
This will add an outside node from the power window you created on your previous serial node. Think of this as a fast way to invert your mask for the next editing node.
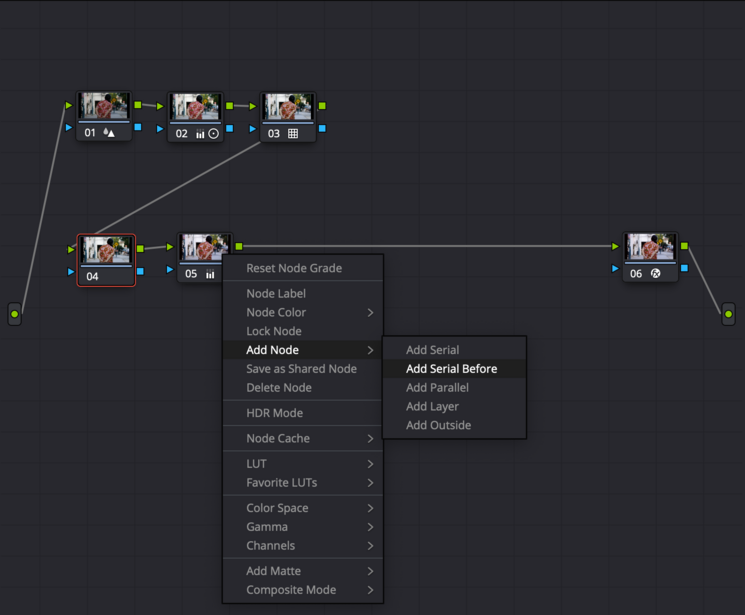
This will add a serial node before the current selected node. This shortcut will allow you to instantly create a correction node prior to your current node without having to click, drag, and relink the existing node.
Working With Previews and Comparisons
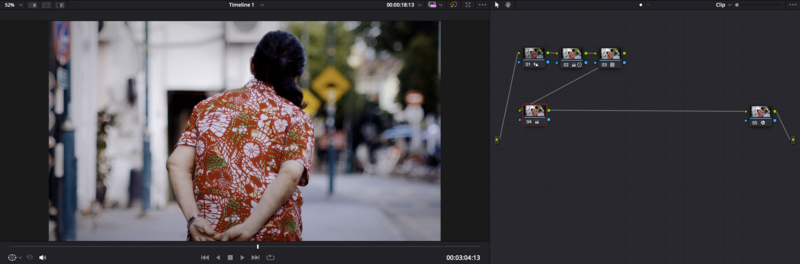
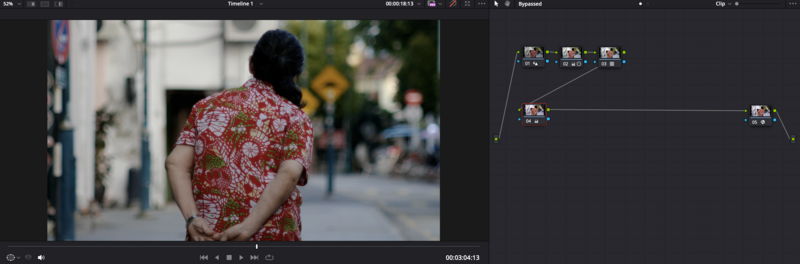
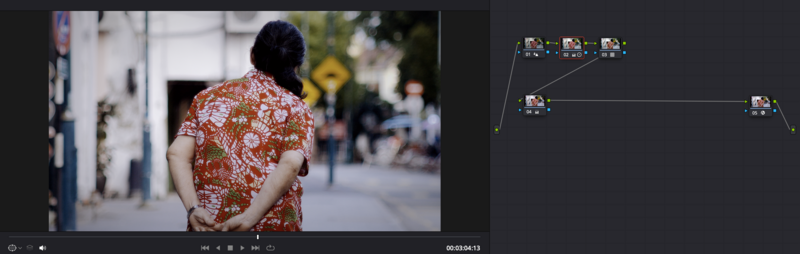
6. Bypasses all nodes - “Shift + D”
This will quickly bypass all the effects and corrections done on the nodes for you to view the original footage.
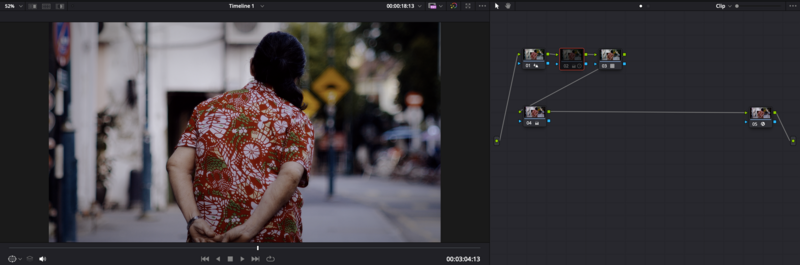
7. Turning off the selected node - “Cmd + D”
This will help you turn off the selected node. This is usually used to compare and track the progress of the effects of the editing done on a single node.
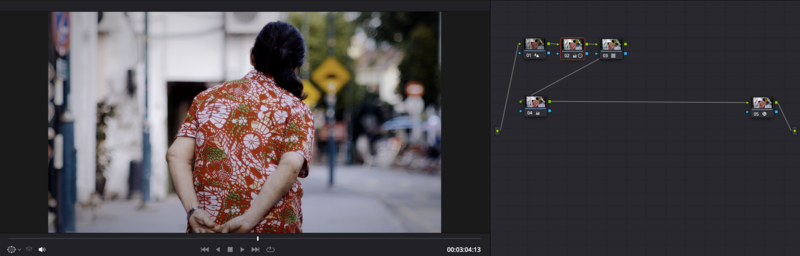
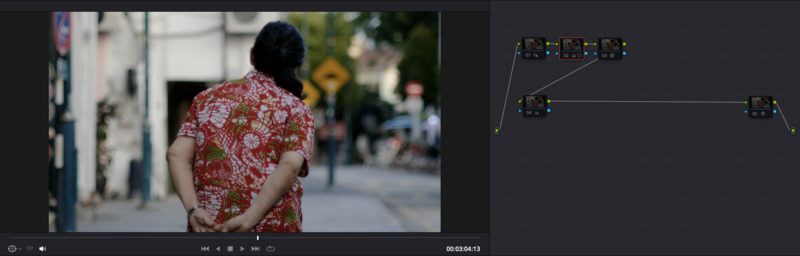
8. Turning off all nodes - “Alt + D”
This key combination is pretty similar to “Shift + D,” which bypasses all the effects done on all nodes. In this case, it works by turning off all nodes for a clean preview.
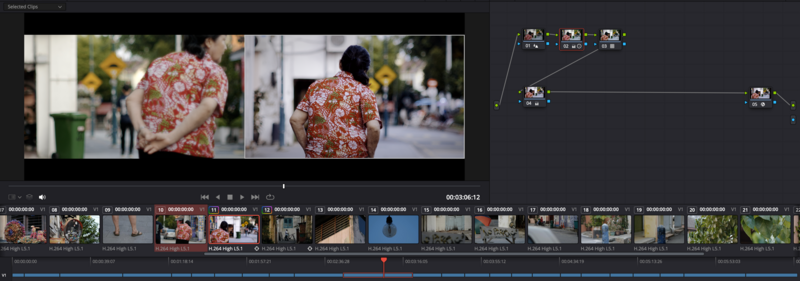
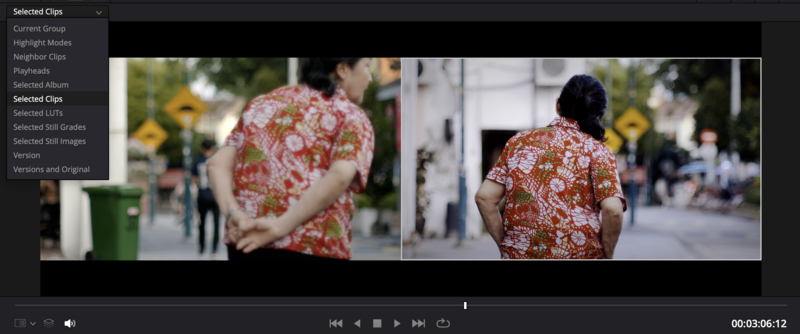
9. Split screen preview - “Cmd + ALT + W”
This will help you activate the split-screen view for easier comparison. Note that if nothing happens to your preview screen, you may need to select from the dropdown menu on the upper left (shown in the example below) and select your desired comparison screen.
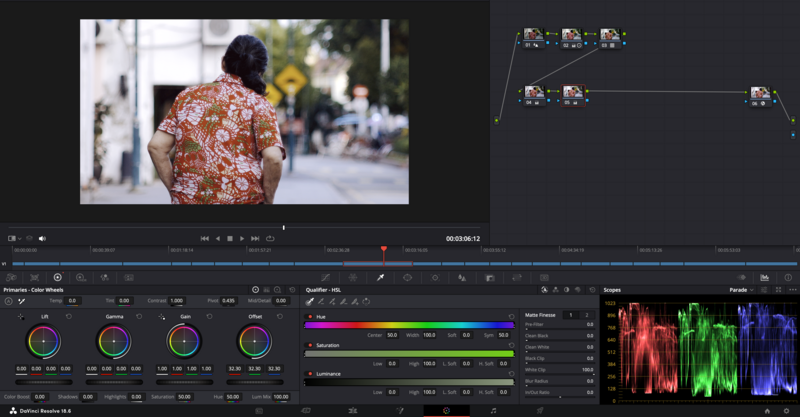
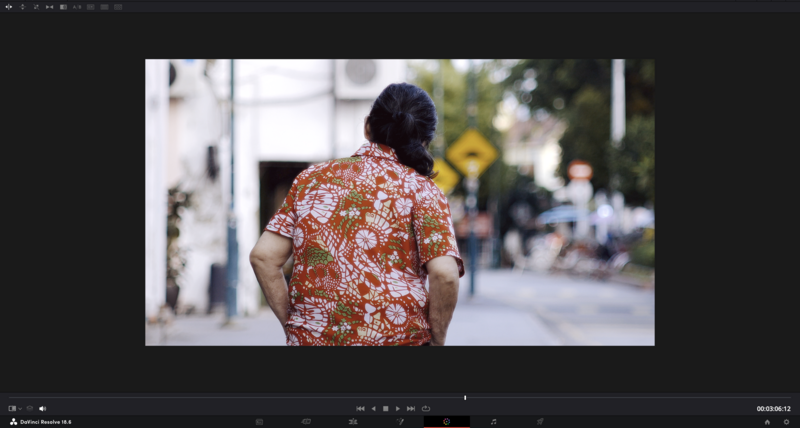
10. Entering full-screen mode - “Shift + F”
This will bring you to a full-screen preview of your work. This will allow you to see your editing and footage more clearly, especially if you are working with a smaller screen size.
11. Adding version - “Cmd + Y”
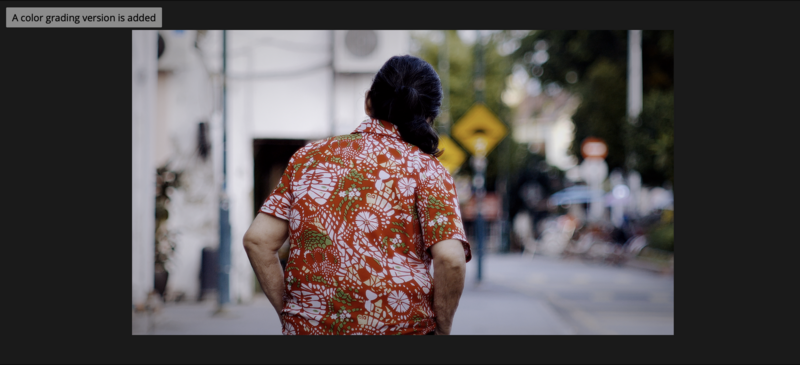
This will allow you to save a version of your current editing together with all the nodes. This can be used for quick before-and-after comparisons or jumping back and forth in your editing work non-destructively. If done right, a short message stating “A color grading version is added” will appear on the top left of your preview screen. Pro tip: If you have multiple versions saved, you can also preview all the different variations of color grades at the same time with the split-screen version preview selected.
This will allow you to access the previous version that you have saved, possibly using it for a quick comparison or even reversing your adjustments back to where you want them to be.
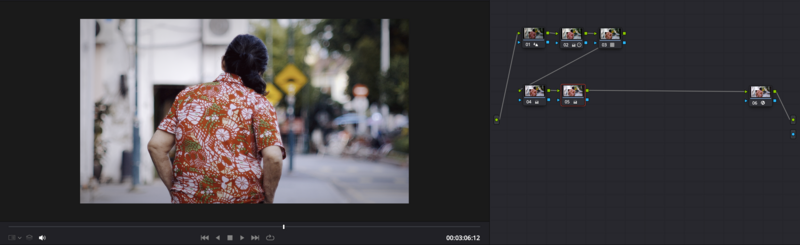
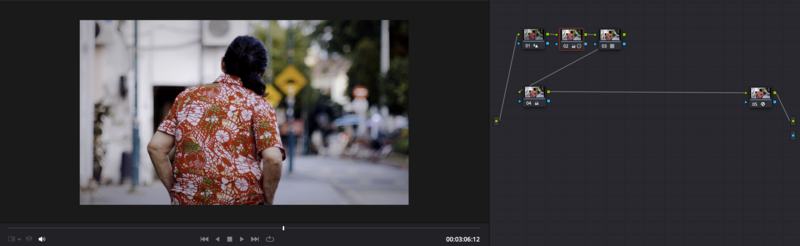
13. Next version - “Cmd + N”
This allows you to access the next version from the current version you are in. Note that this can only work if you are in the previous version. It will also not work if you do not have a prior or next version saved in your editing.
Working With Qualifiers
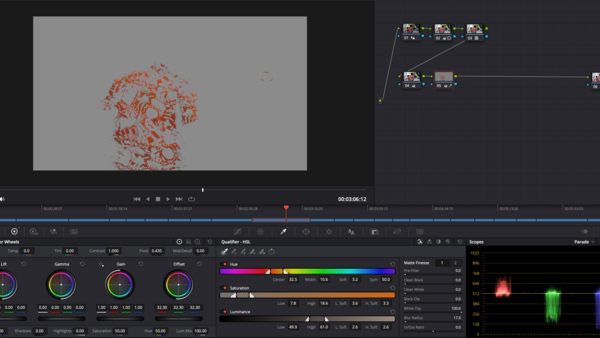
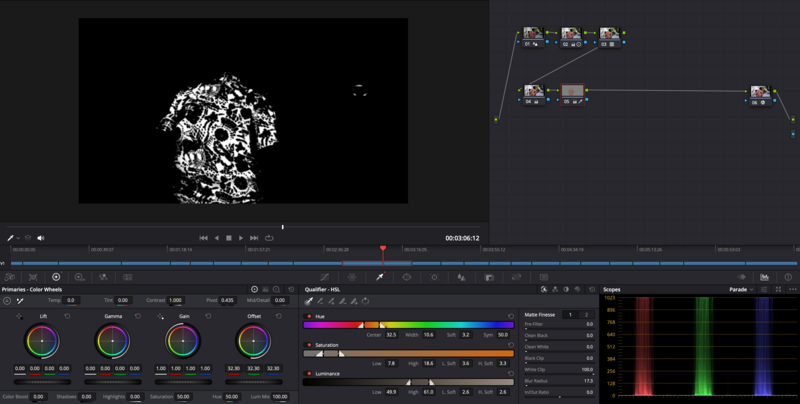
14. Showing highlights of selected colors - “Shift + H”
This combination will show you the selected colors on the preview screen by dimming the other areas to gray. This allows you to better fine-tune the parameters using “Matte Finesse” in the qualifier for more precise adjustments.
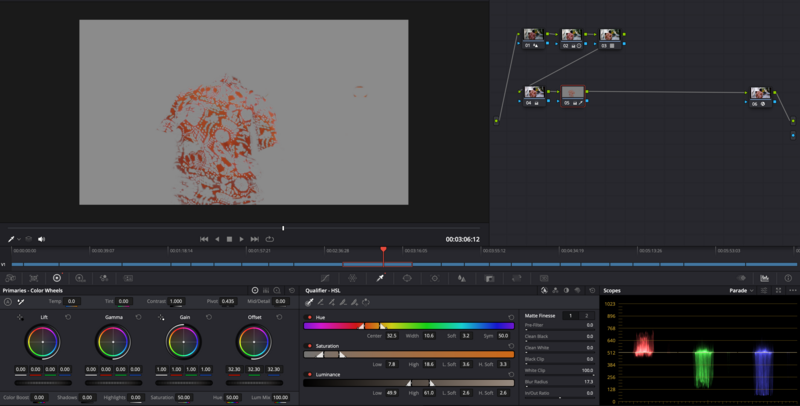
15. Showing highlights of selected colors in black and white - “Shift + ALT + H”
This will show you the selected colors on a black and white preview screen. This function is particularly useful for light or bright color selection where the normal highlights function is insufficient for you to correctly judge the selected color.
Whether you're a seasoned editor or new to the world of color grading, I am pretty sure that these shortcuts will be able to help you seamlessly navigate Davinci Resolve's powerful color grading tools, saving time and enhancing your creative output in no time.
In conclusion, Davinci Resolve stands as a robust and efficient platform for color grading, and these shortcuts are just the tip of the iceberg in unlocking its full potential. What other techniques have you found helpful in optimizing your color grading process?





Join the Fstoppers community for free
-
Post comments and join in the discussions
-
Browse the site ad-free
-
Share your work and get featured in the community
-
Compete in the photo contests for fun and prizes
No comments yet