
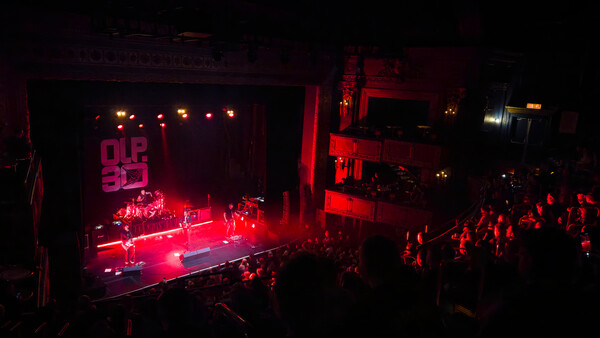
The best concert photography happens in the pit and around the stage, with dedicated cameras and strict access. But when we go, most of us are just fans in the crowd. With a little intention, your phone can document the experience surprisingly well without turning the night into a photo shoot.
I recently had a chance to put this intentional approach into practice when I went to see my favorite band. The venue had a strict no-bags policy, and only smaller compact cameras were allowed. Rather than bringing mine along, I chose to leave the gear at home and instead photograph the night with my phone.
Part of that decision was practical. Part of it was also about the experience. As we all know, it's easy to become fully absorbed by thinking about shots and possible compositions. Using a phone kept things simple. I could take a few intentional images throughout the night, without a camera pulling my attention away from the music. The challenge I faced is that I'm not usually much good at using my phone as a photographic tool.
Thankfully, even for those of us who aren't concert photographers, a lot of the habits we already have translate well to this chaotic environment with challenging lighting. Attention to composition and framing, waiting for good moments or movements, and awareness of what the lighting is doing are all still important. All I needed to do was learn how to use my phone's cameras better.
Here's how I approached photographing this concert with my phone. It allowed me to stay present and enjoy the experience, while walking away with a few photos as memories.
Using the Environment to Your Advantage
The biggest mistake I see with phone photos at concerts is a total obsession with proximity. We've been conditioned to think that a "good" photo has to be a close-up, so we spend the night pinching the screen and fighting a losing battle against digital zoom. But a phone in a dark club is never going to beat a professional setup in the photo pit. What your phone is actually good at is capturing the scale and the light of the entire room. When you stop trying to isolate the performer and start documenting the environment, the photos actually start to feel like the night you're having.
Work the Angle You’re Given
There's no sense in complaining about your seat or your spot on the floor. Every position in a venue offers a different set of shapes to work with, and the best shot is usually the one right in front of you.
If you're off to the side: stop trying to get a "straight-on" shot. Look for profiles or the way the stage lights catch the instruments from the side.
If you're in the back or the balcony: lean into the scale. Use architectural elements like the railings, the ceiling pipes, or the rows of seats as leading lines that point toward the stage.
If you're stuck in the middle of the crowd: don't fight the height of the people in front of you. Use the silhouettes of heads to frame the performers. It grounds the photo and shows what it was actually like to be in the thick of it.
Look Beyond the Stage
Some of the most interesting frames happen when you turn your attention away from the performers entirely. This is where you find the texture of the night that most people ignore while they're staring at the band.
One way to do this is to use the crowd's own phones to your advantage. During a big chorus or a ballad, hundreds of screens usually light up at once. Instead of trying to shoot past them, include them. That sea of glowing rectangles creates a pattern that adds depth to your frame and makes it clear just how massive the moment felt.
Another option is to wait for moments when the stage lights wash over the crowd, giving them a clear connection with the performance. This allows you to photograph the fuller environment while maintaining good visual balance and relationships between the elements in your frame. Plus, after the night is over, this will remind you of what it was like sitting or standing where you actually were.
It's also worth looking at the peripheral details like the glow of the soundboard, the way the lights interact with the architecture of the space, or even a discarded setlist on the stage. A grainy, zoomed-in photo of a singer's face is just a record of a person, but these wider, environmental shots are a record of the experience.
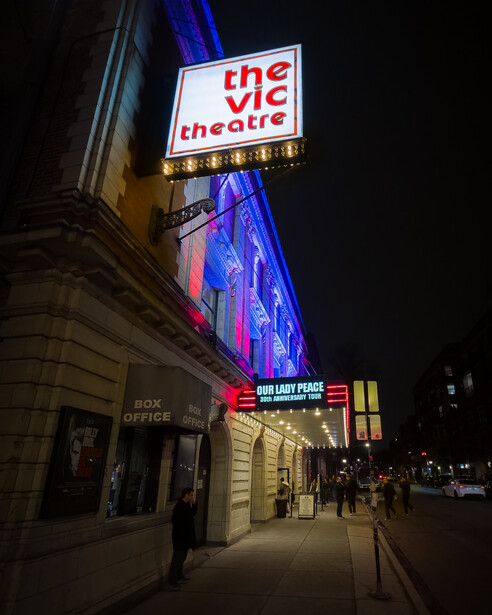
Managing the Chaos of Stage Lighting
Concert lighting is designed to be dramatic, not camera-friendly. You're dealing with high-intensity spotlights, deep shadows, and colors that shift frequently. It pushes a small phone sensor to its limit, but you can usually get a cleaner shot if you leverage your phone's strengths.
Choosing the App for the Moment
Most of the time, the standard camera app is your best bet because it's designed to react instantly. It also has a burst mode. If you hold down the shutter (or slide it, depending on your phone), you can fire off a sequence of frames during a high-energy moment. Use this for the majority of the concert when the lighting is changing and the band is moving around. Out of a dozen shots, you're much more likely to find one with the right light hit or a sharp expression.
During the slower moments of the show, switch to Pro or Manual mode. This is mainly to get raw files, which offer more latitude during the edit. Dial in a manual shutter speed around 1/180 s or 1/250 s to keep the movement frozen, and let the ISO stay on "Auto" so the phone handles the fluctuating brightness for you.
This is also where you can take control of your focus and exposure independently. Most stock apps let you long-press to lock both at once, but many "Pro" modes allow you to separate the AF and AE locks. You can lock your focus on the microphone stand where the singer is standing, then move your exposure target to a different part of the stage to keep the spotlights from blowing out the highlights. It stops the camera from "hunting" for focus every time the lights shift, so you're ready to hit the shutter the second the frame comes together.
Protect Your Highlights
The biggest issue with phone AI is that it tries to "see" into the shadows, which usually results in the performer's face being completely blown out by a bright spotlight. Once that detail is gone, you can't get it back.
To fix this, simply tap on the brightest part of the scene and slide the exposure icon down. It's better to have a photo that looks a little too dark than one where the performer looks like a glowing white ghost. You can always lift the shadows later in an editing app, but you can't fix "white" pixels that have no data.
Kill the Night Mode
Most modern phones will try to force "Night Mode" the second the lights go down. This is great for a static landscape, but it's a disaster for a concert. Night mode works by taking a longer exposure or stacking multiple frames, which results in a blurry, ghostly mess if anyone is actually moving.
If you see that little yellow moon icon pop up, turn it off. You want a fast shutter speed to freeze the action. A slightly grainy, sharp photo is always better than a clean, blurry one.
Don’t Lean on Digital Zoom
It's tempting to pinch-to-zoom when you're in the back, but digital zoom is just cropping your photo before you even take it. In low light, this destroys whatever image quality you have left, leaving you with a muddy, "painterly" mess of pixels.
Stick to your phone's native lenses (the 1x, 2x, or 3x buttons). If the subject is still too small, take the high-quality wide shot and crop it later. You'll end up with a much sharper and cleaner result than if you let the digital zoom degrade the file in-camera.
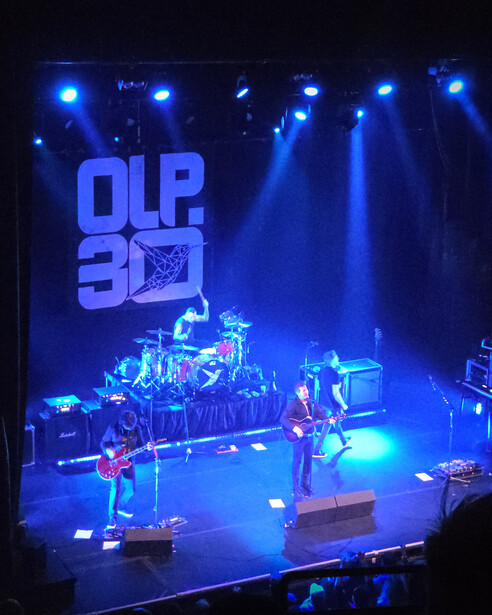
Refining the Files After the Show
The work doesn't end when the house lights come up. Phone files are fragile in low light, but they respond surprisingly well to the same tools you use for images from your dedicated cameras. The goal is to pull the atmosphere out of a file that might look a little flat or overwhelmed straight out of the camera.
Use a Standard Workflow
It can be tempting to slap a filter or some basic edits on in a mobile app and call it a day. The best thing you can do for these images is to move them into your actual desktop workflow. Whether you use Lightroom or another editor, having access to granular tools allows you to treat the phone file with the same intentionality as any other project. It also sets you up to handle the difficult stage colors that usually ruin a quick mobile edit.
If you want to dig deeper into Lightroom's full toolset, Mastering Adobe Lightroom: How to Use Lightroom is a thorough place to start.
Taming the Stage Colors
Stage lighting often involves heavy magentas, deep blues, and aggressive reds. These colors tend to oversaturate and blow out skin tones. If you look at a photo and a performer's face looks like a solid block of neon purple, the global saturation slider isn't the answer.
The most effective way to handle this is to dive into the individual color channels in the HSL or Color Mixer panel. Dropping the saturation and simultaneously raising the luminance of that specific color works wonders. It pulls the "glow" out of the skin and restores the actual features of the face without losing the vibe of the stage lights.
Embracing the Texture
Low-light phone photos are going to have noise. You can try to scrub it out with heavy noise reduction, but that often leaves the image looking waxy and artificial. It can end up looking like a watercolor painting gone wrong.
Instead of fighting the noise, try to unify it by adding a little bit of grain. In Lightroom, try adding a small amount of grain without touching the size or roughness. Even a small amount like 15 is enough to mask the digital blotchiness of the phone sensor. It turns the digital limitations into a deliberate aesthetic choice and gives the final photo some texture that helps our eyes see detail.
Straightening the Perspective
If you were shooting from a balcony or the side of the stage, your vertical lines are probably leaning. This is a small detail, but using the geometry or transform tools to pull those lines straight can instantly make a photo feel more grounded. It takes away the "snapshot" feel and gives the composition more weight.
Give the Images a Purpose
Concert photos have a habit of dying in the camera roll. Once you have a handful of favorites, consider doing something tangible with them. You might turn them into a small digital spread, physical prints, or even a simple personal zine. Turning these shots into a cohesive set makes the experience feel permanent. It moves the project from a collection of files to a real record of the night you had.
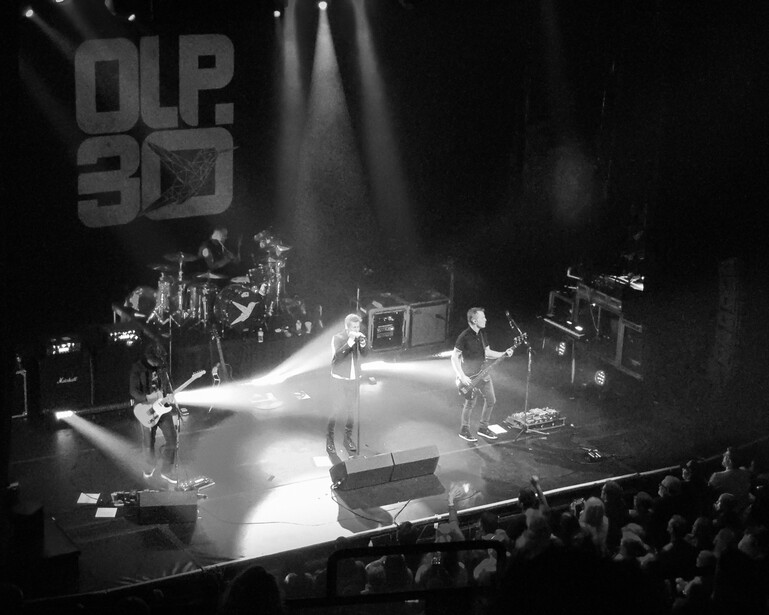
Beyond the Snapshot
The goal here isn't to replicate a press-pass portfolio or to spend the entire concert staring through a screen. When you stop fighting the camera's limitations and start using the environment to your advantage, you can actually produce a set of images that meet your standards without turning the photography into the entire focus of the night.
A phone isn't a replacement for a dedicated setup, but it is a tool that allows you to document the scale and the energy of a show without the bulk or hassle. By protecting your highlights, choosing the right app for the moment, and taking the time to refine the files in your usual workflow, you end up with high-quality mementos that actually feel like the experience you had.
Ultimately, these techniques are just a way to bridge the gap between a quick snapshot and a deliberate photograph. It's about getting the shot you want while still leaving yourself the space to actually be part of the crowd.
Do you have any other tricks for taking concert photos on a phone?



No comments yet