Every time I go to a theater I can't help but admire the images I see in movie posters, especially those in action and superhero movies. I've wanted to try and take an image in the style of some of my favorite Marvel movie posters but wanted to make sure I could find a model with the right suit to pull off the look. Fortunately, I found just that and more.
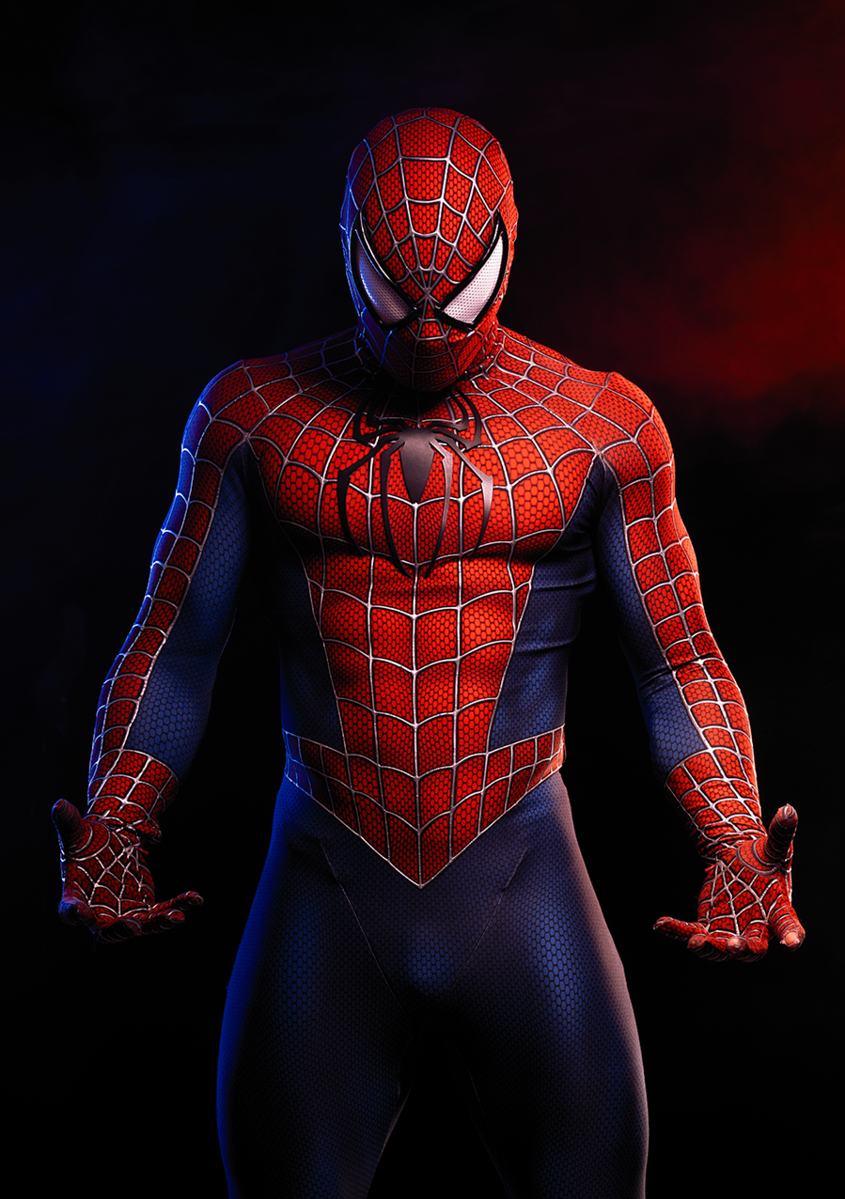
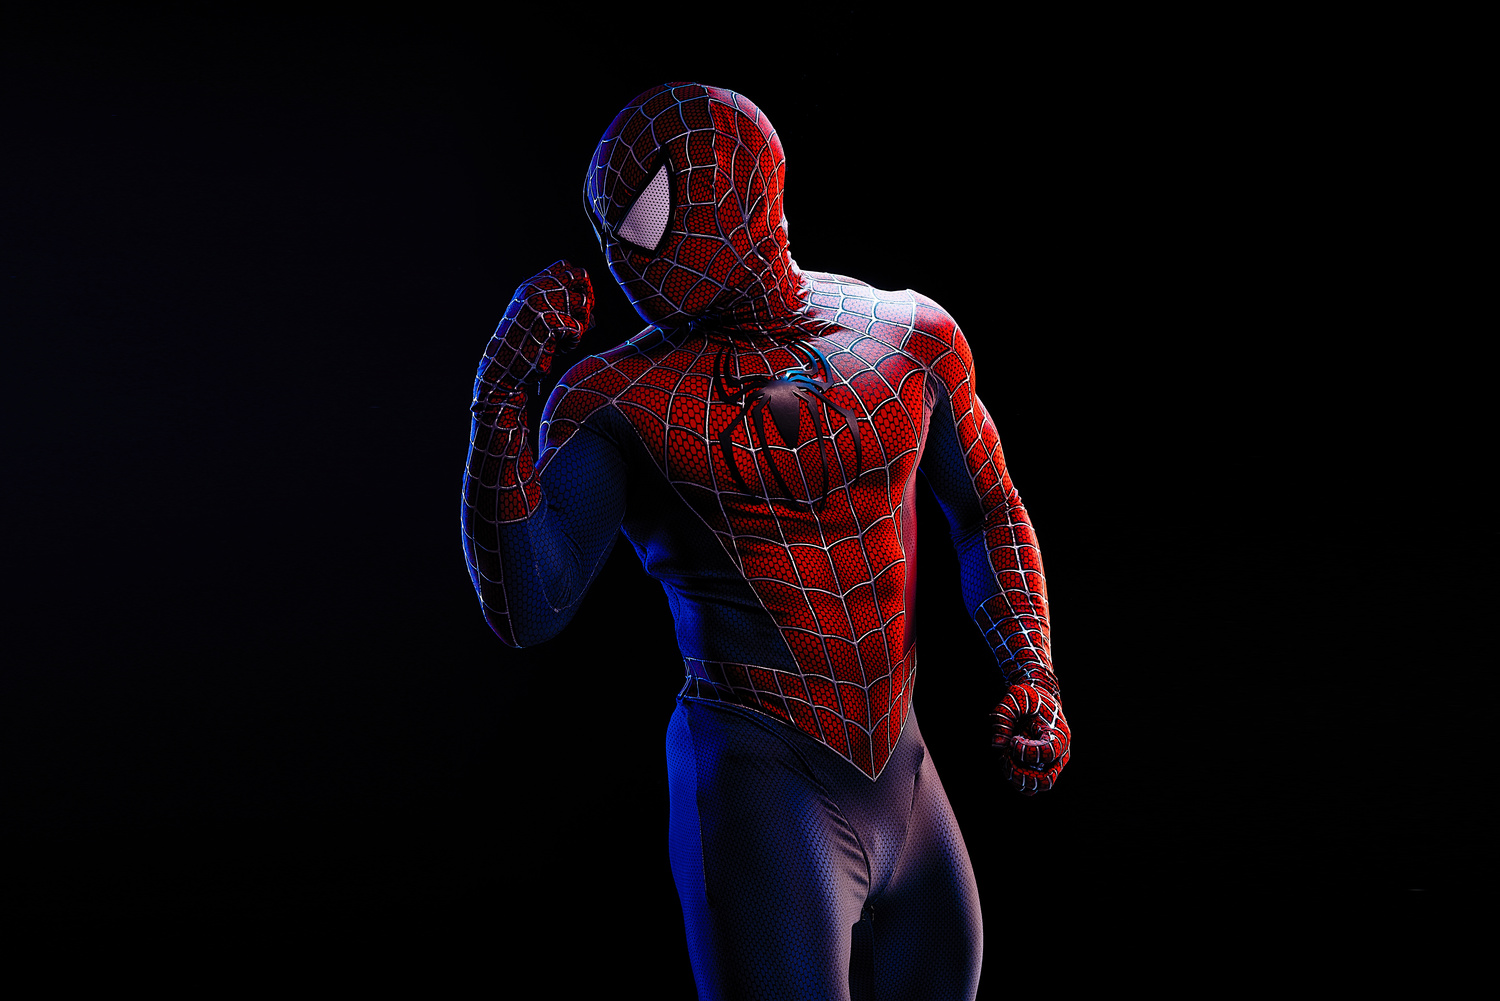
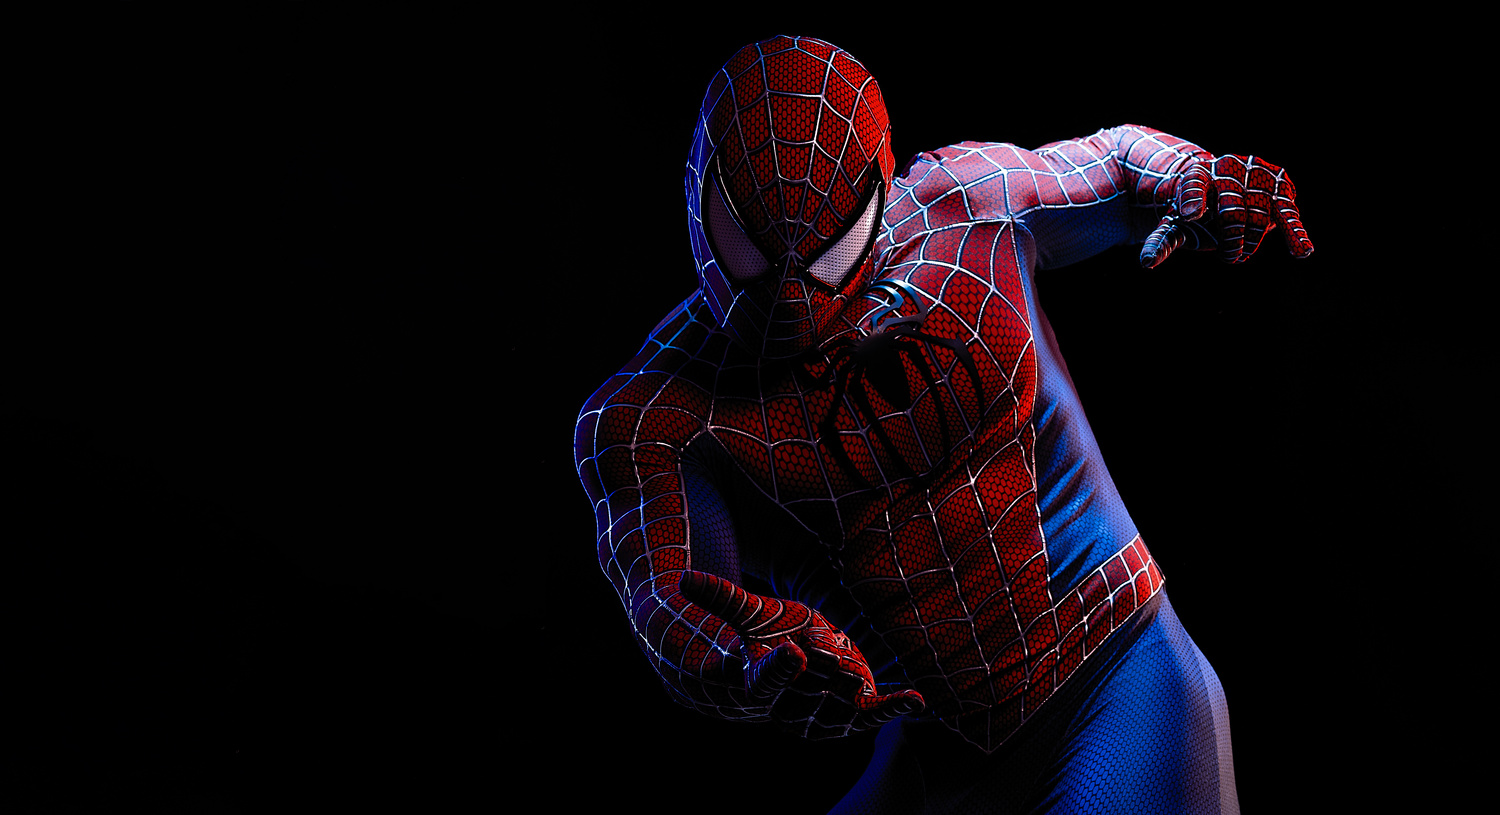
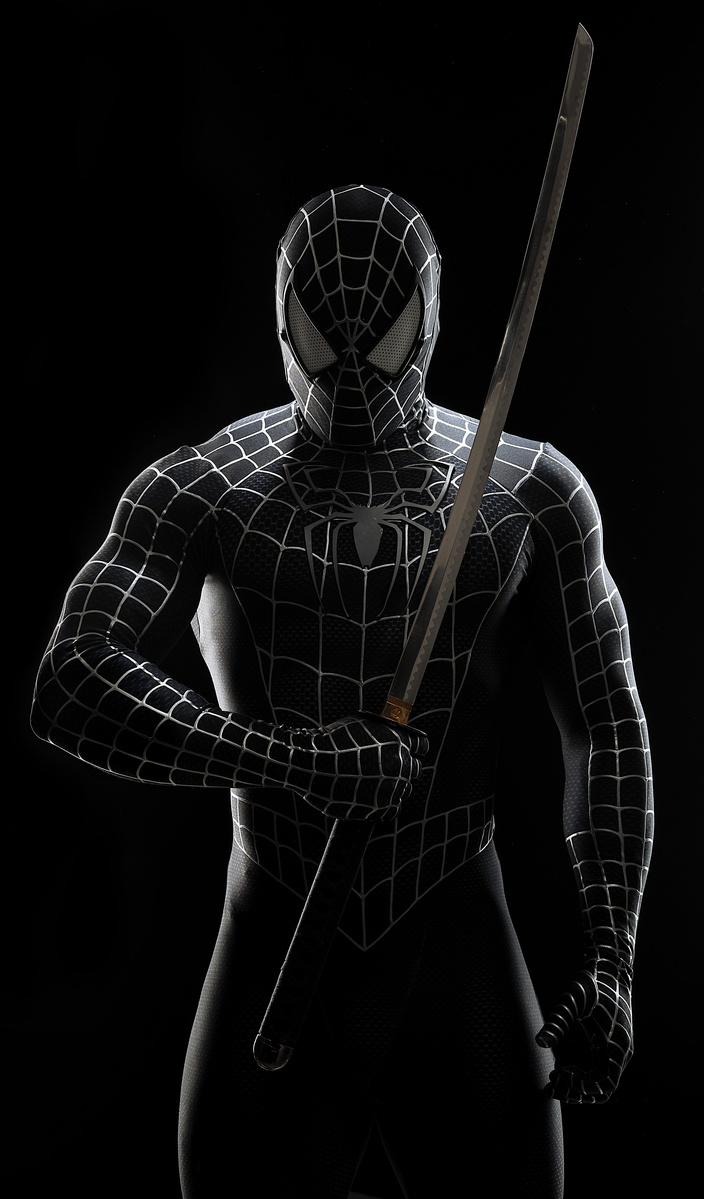
In my latest episode of "Breakdown" I set out to try and make a movie poster-style image with my model Trevor Bell. The inspiration for the lighting came from one of my favorite photographers, Marco Grob, and the work he did for the movie "Black Panther." While I didn't try to make my images exactly the same, I used that lighting as a starting point to try and make something original and fun.
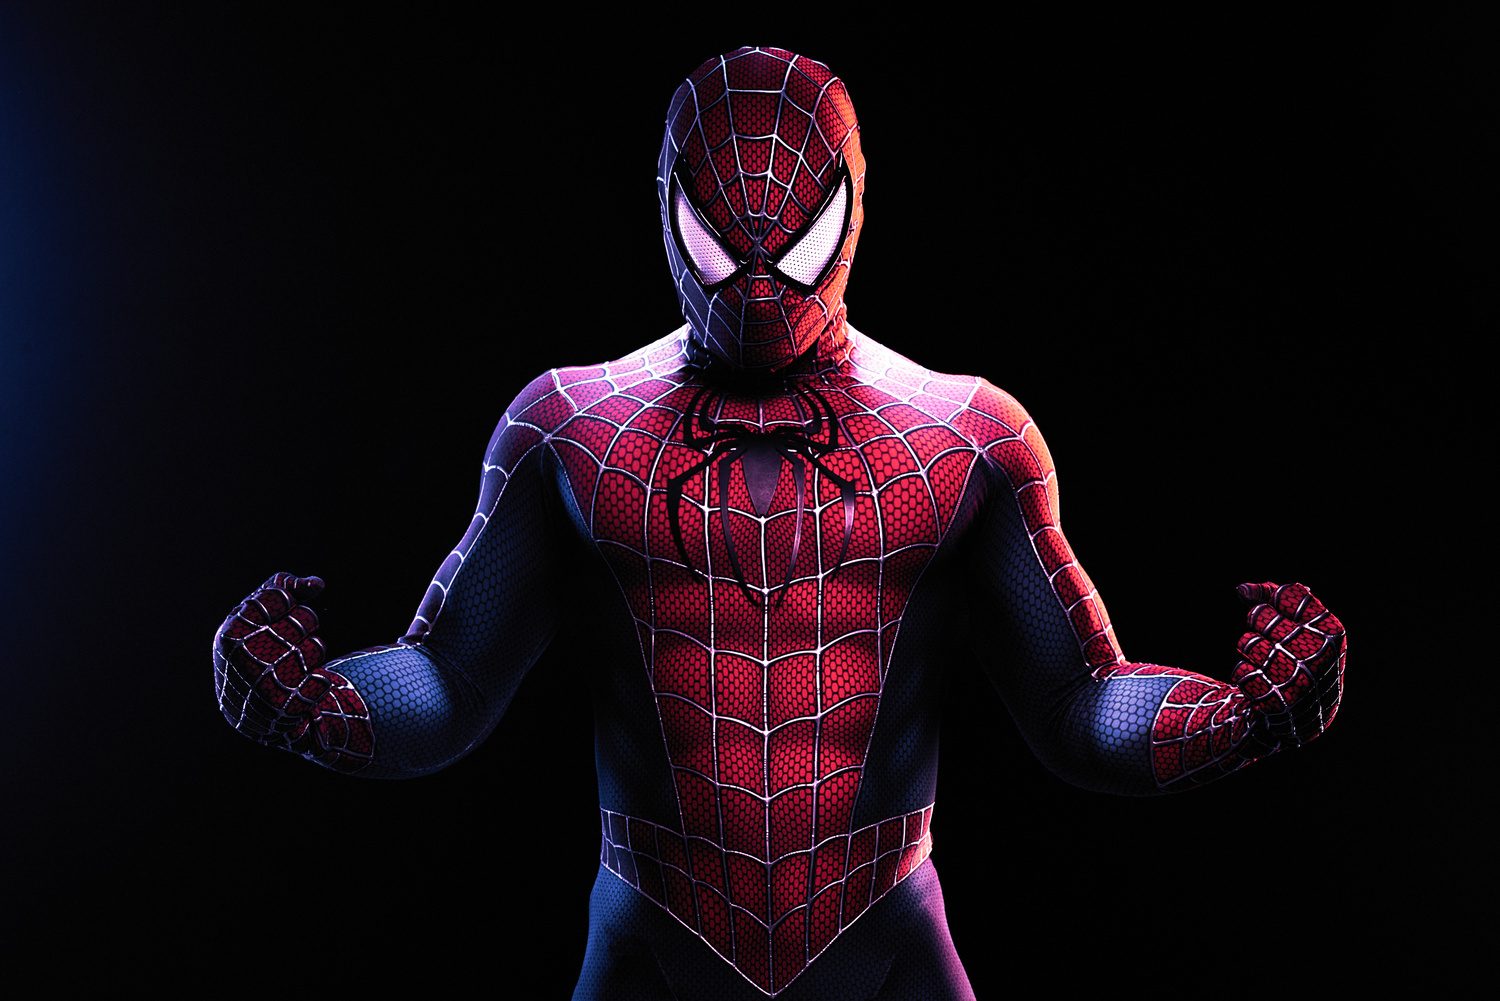
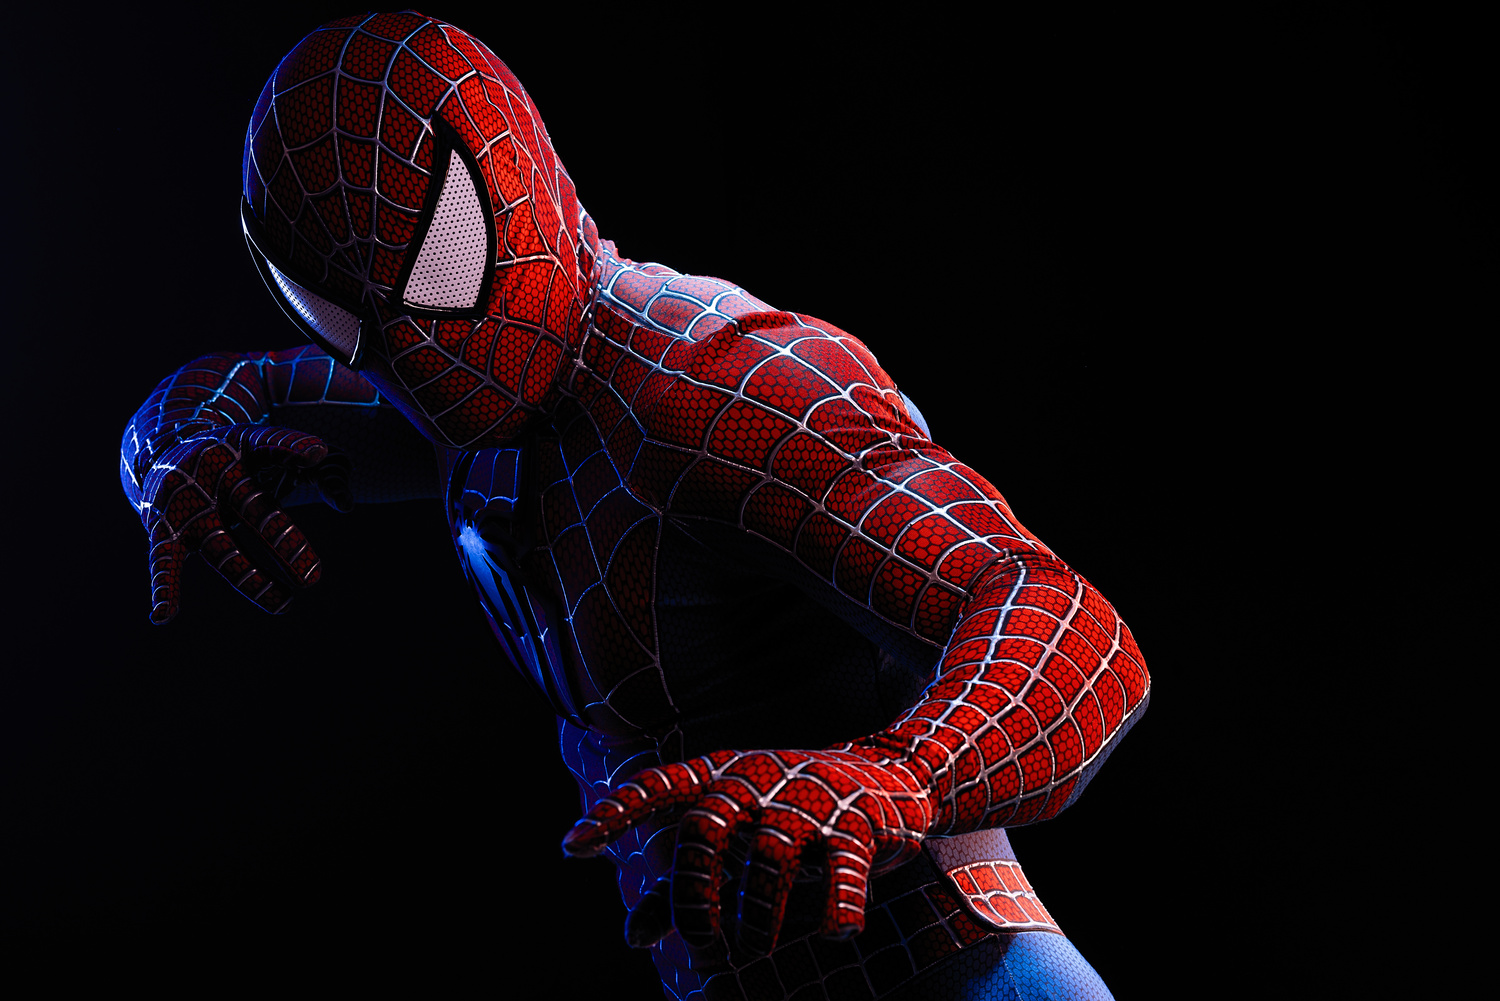
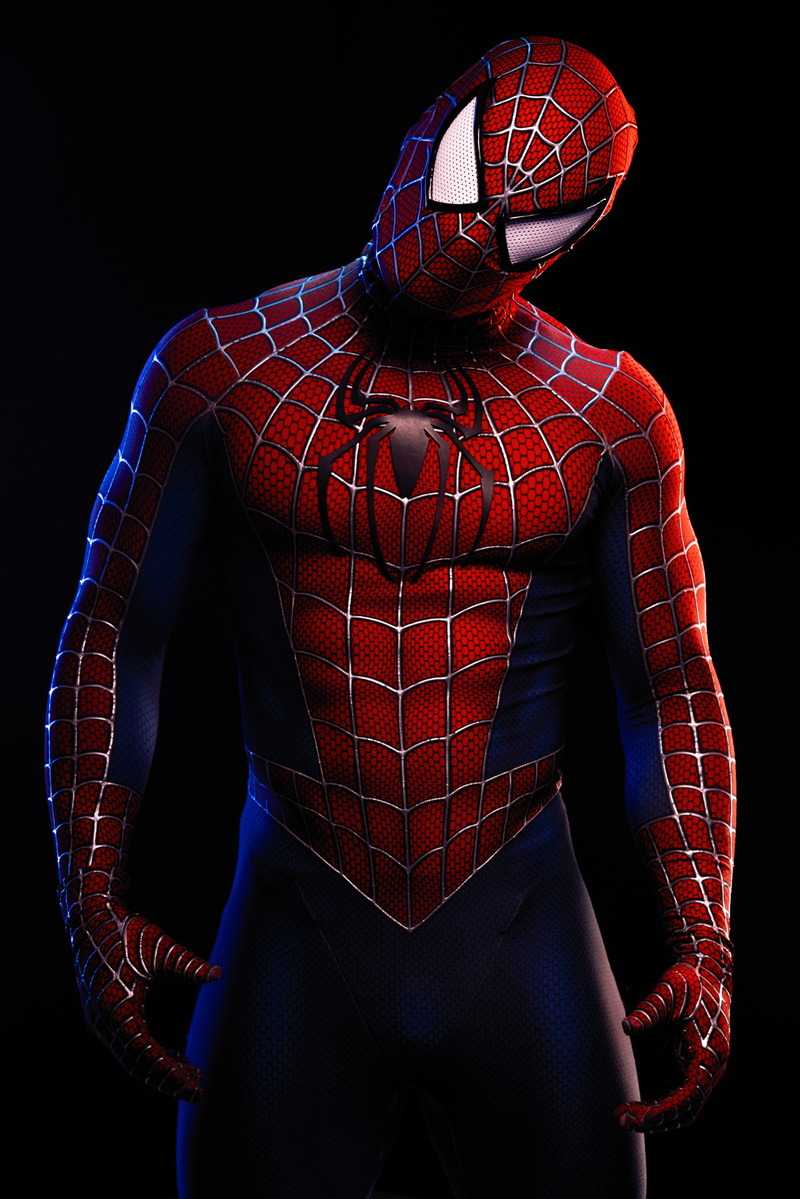
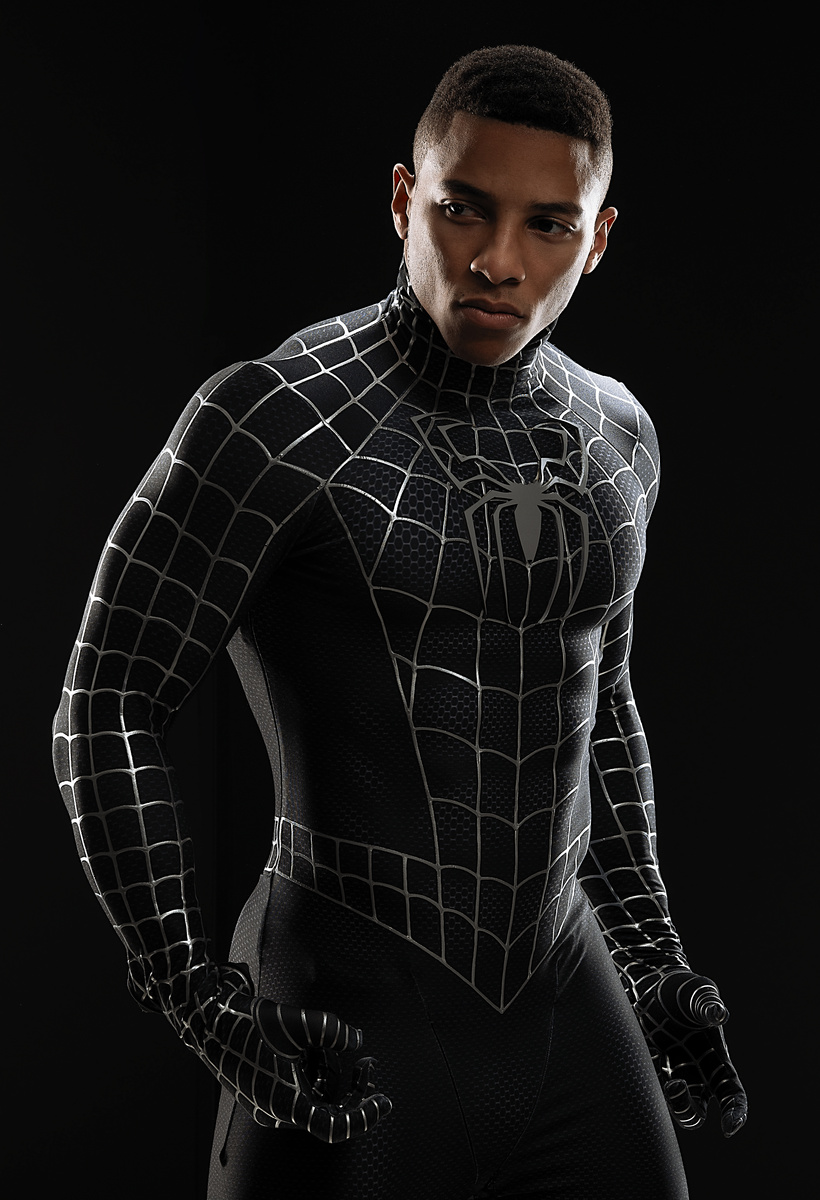
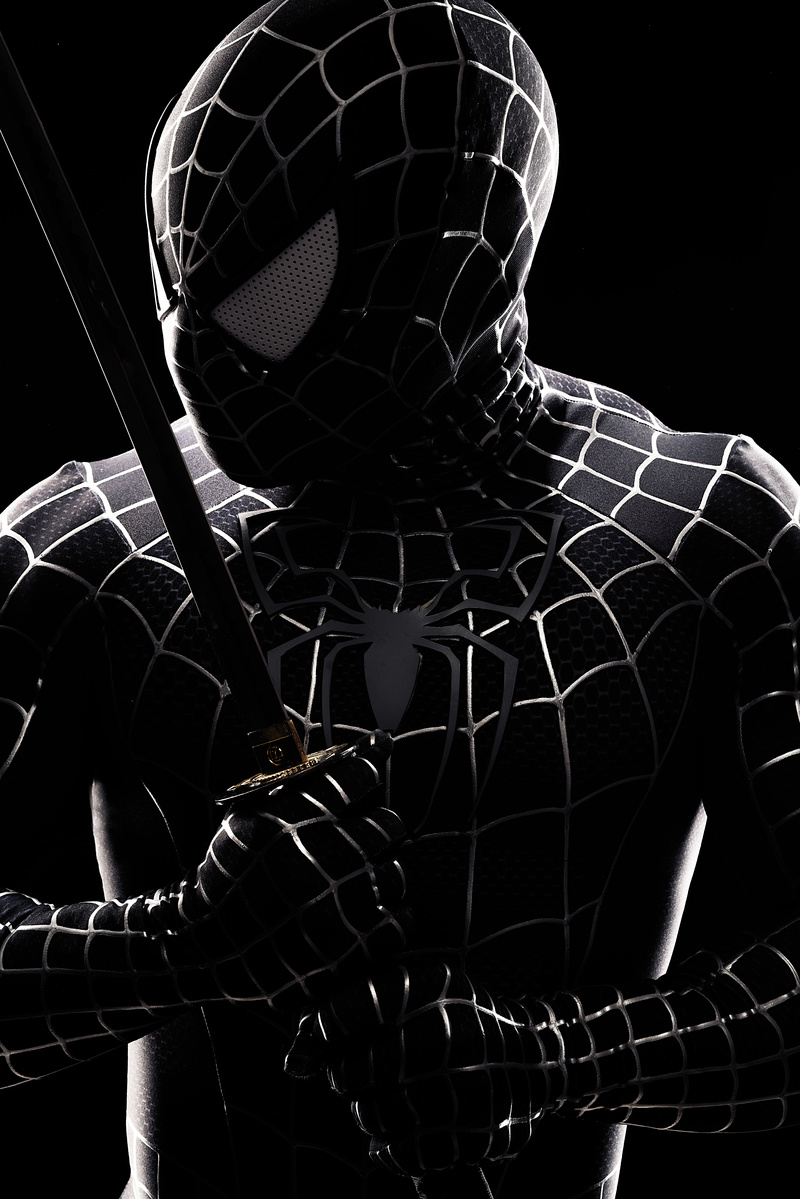
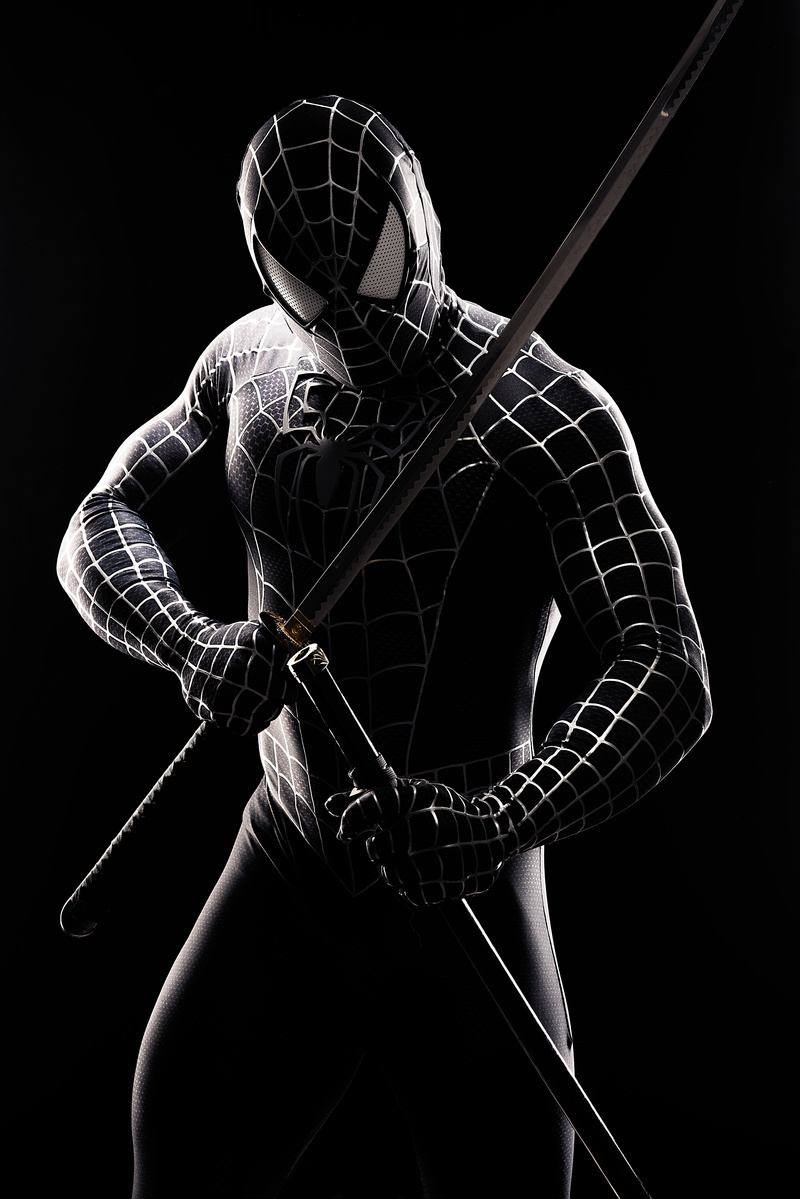
For all of these shots I used a combination of Profoto D2 1,000 watt strobes along with a lone B10 which would serve as a hair light. I used the D2 strobes inside of two 1x6-foot gridded stripboxes and positioned them to the left and right behind the model. These would serve as edge lights that would allow me to get a strong highlight on his suit and give me the option of easily cutting him out from the background and adding him to a new scene (if I chose to do that at a later point). For the main light I chose a Profoto beauty dish with a grid to bring out the texture in his suits. Finally, the B10 was positioned above the model with a grid to concentrate the light on the top of his mask and shoulders.
For my camera and lens I used the Sony a7R III paired with the Sony 85mm f/1.4 GM and 50mm f/1.4 lenses. I would have preferred to take these images with the Sony 90mm f/2.8 Macro G, but unfortunately the lens was dropped and required service. Tethering was a big part of this shoot, as I needed the model to see how he was posing from one shot to the next and hopefully try and capture that Spider-Man vibe. In order to do that we used the latest version of Capture One and tethered it to my favorite laptop, the HP ZBook x2.


All in all we had an amazing time taking these images, and I hope to do some more cosplay sessions in this fashion in the near future. Have any questions about the shoot? Feel free to leave a comment and I'll do my best to answer. Hopefully this will be a great jumping-off point for you to go out and create your own movie poster-style cosplay images!

Join the Fstoppers community for free
-
Post comments and join in the discussions
-
Browse the site ad-free
-
Share your work and get featured in the community
-
Compete in the photo contests for fun and prizes
7 Comments
That is a lot of expensive gear for simple stripbox rim light shots. And you forgot the bad Photoshop they use all the time in posters.
Indeed it is! Thankfully business is good and I can afford to get the good stuff. 😉 As for Photoshop, I didn't forget, I just chose not to do it for these images based on the inspiration shot.✌️
My take-away is your lighting set-up... I am savvy enough to understand that the brand names mentioned are not the reason your images have the look they have!
Happy to hear it! Sometimes commenters here blow my mind with their sillyness and trolling. You give me hope! 😁✌️
greatest comment ever. i love your work. and dotn concern yourself with the opinions of sheep. seems Photoshop is an issue ? lol your work is amazing i love it.
Great job on the lighting!
But unfortunately you used Profoto and non-Profoto users just can't make those images regardless of the tutorial ;)
Really nice use of shadow. I especially like the bw one with his back to the camera. For everyone complaining about the expensive strobes, you can do the same thing with three $50 Yongnuo speedlights and $100 in Godox stripboxes.