
Let’s learn about common filter mistakes in landscape photography and find out how to improve your images without creating unwanted artifacts. Are you making any of these filter errors in your photography?
Landscape photography filters, such as polarizers, neutral density (ND), and graduated neutral density (GND), are invaluable tools for achieving perfect exposure and vibrant colors in your images. While they can significantly enhance your photographs, improper use can introduce undesirable artifacts. These include color casts, hard-to-remove vignettes, or under- or overexposed photos.
Knowing when not to use a filter is just as important as knowing how to use one. This guide highlights a few critical “don’ts” of landscape photography filters to help you avoid common mistakes.
Don’t Combine a Polarizer With a Wide Angle Lens on Clear Skies
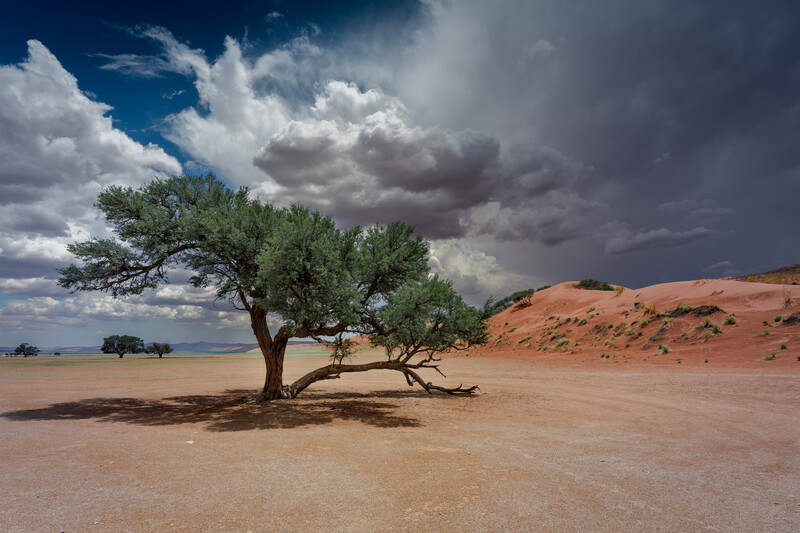
I always tell my students that if they could choose only one filter for their landscape photography, it should be a polarizer. It blocks reflections from surfaces like water, leaves, and rocks, and makes blue skies and colors such as greens and yellows stand out by reducing unwanted atmospheric light. However, when a polarizer filter is used on a wide angle lens for clear blue skies, the broad field of view means the angle of the sun’s light hitting the filter varies significantly across the frame. This results in the filter having a strong polarizing effect (dark blue) in one part of the sky and a weaker effect (light blue) in another, creating uneven blue banding that looks completely unnatural.
The Fix: This behavior should not prevent you from using a polarizer filter on a wide-angle lens, however. Rotate your polarizer to minimize its effect or choose a composition with clouds covering the sky. Clouds are a great way to hide the unevenness of the polarization.
Don’t Use a Hard Graduated ND Filter on an Uneven Horizon
While I use exposure bracketing more frequently in my current landscape photography and therefore rarely use graduated ND filters, they remain in my kit. These filters are still a valuable tool for achieving correct exposure directly in the field, avoiding the need to create HDR images later.
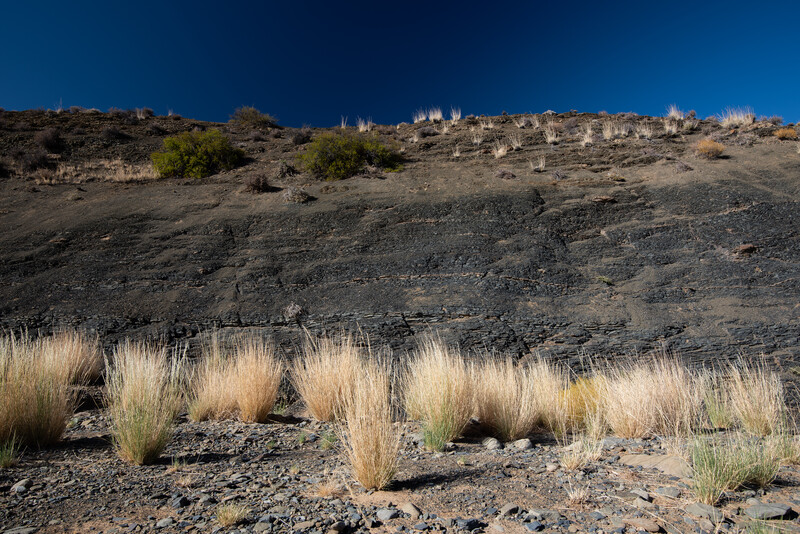
If you still use a grad filter, here’s a tip: Hard graduated neutral density (Grad ND) filters have a sharp transition between the dark and clear sections. If your horizon is uneven, such as a skyline interrupted by mountains or buildings, the hard edge of the filter will fall across the scene, creating an unnatural, visible dark line.
The Fix: Instead of a hard filter, use exposure bracketing (taking multiple shots at different exposures and blending them later) or switch to a soft graduated ND filter, which has a much smoother transition zone.
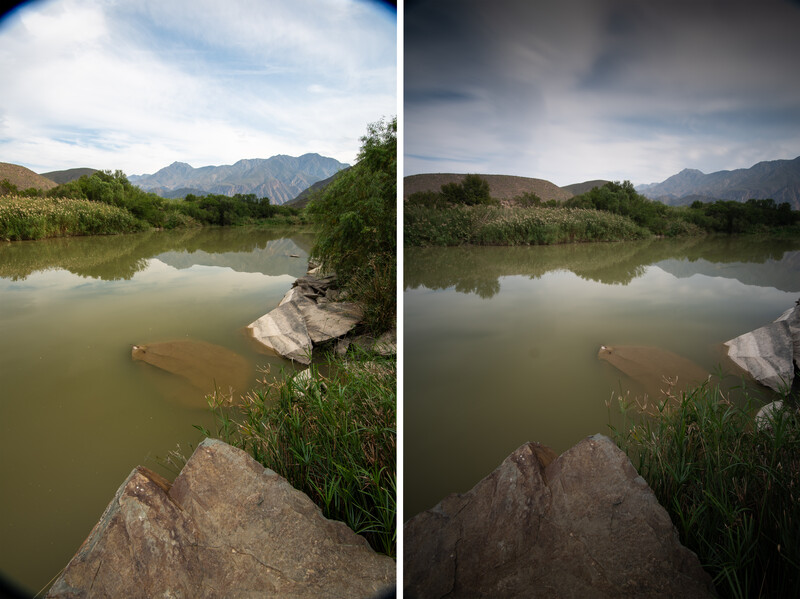
Don’t Rely on Long Exposure Filters at Sunrise or Sunset
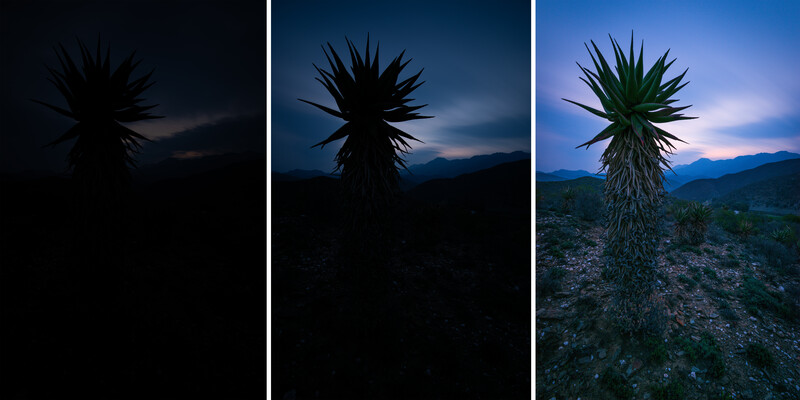
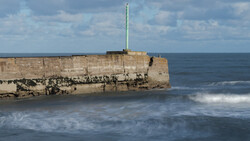
If you enjoy long exposures with 6-stop, 10-stop, or 15-stop ND filters, be careful when shooting during the golden hours. The light changes quickly at sunrise and sunset, which can make your calculated exposure time inaccurate. This rapid light shift often results in underexposed photos at sunset or overexposed photos at sunrise. Below are two of my attempts to capture streaks of clouds in the sky with long-exposure photography at sunset. Each time I calculated the exposure time and took a photo, the image came out too dark as the light was fading rapidly. Even when I extended the exposure time beyond the PhotoPills app’s recommendation, the resulting images remained underexposed.
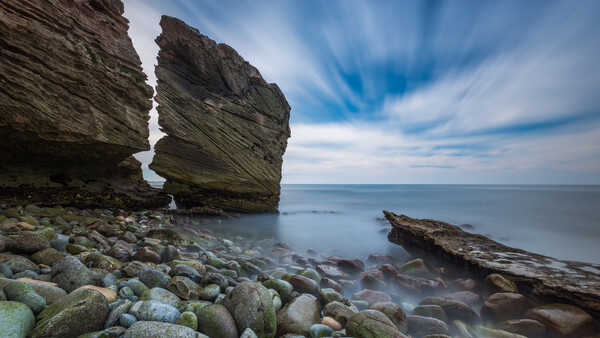
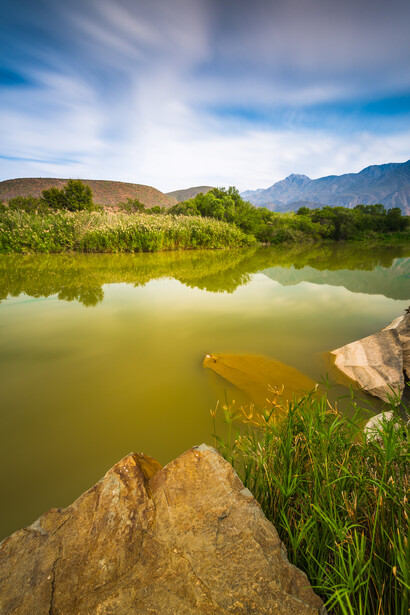
The Fix: Opt for much shorter exposure times to keep the scene properly exposed. Alternatively, use an ND filter with less strength. Below is another image of a sunset long exposure, where I used a 3-stop ND (ND8) instead of a 6-stop or 10-stop ND, and kept the exposure time as short as possible.
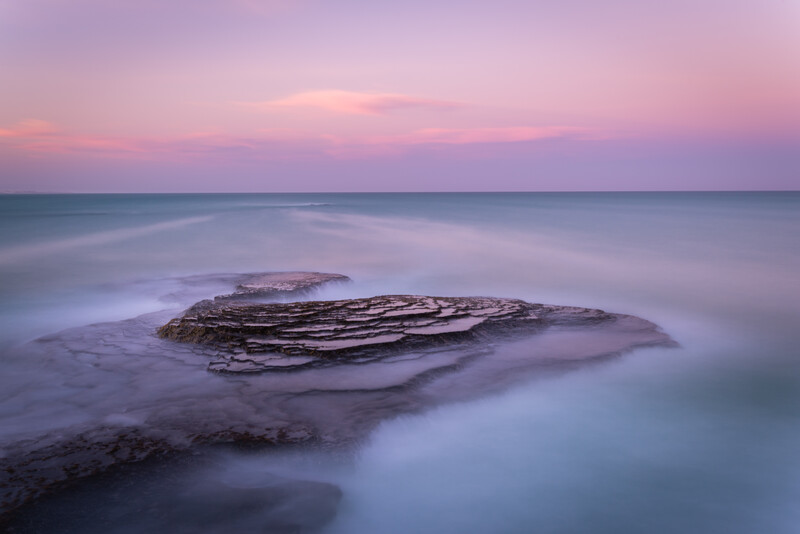
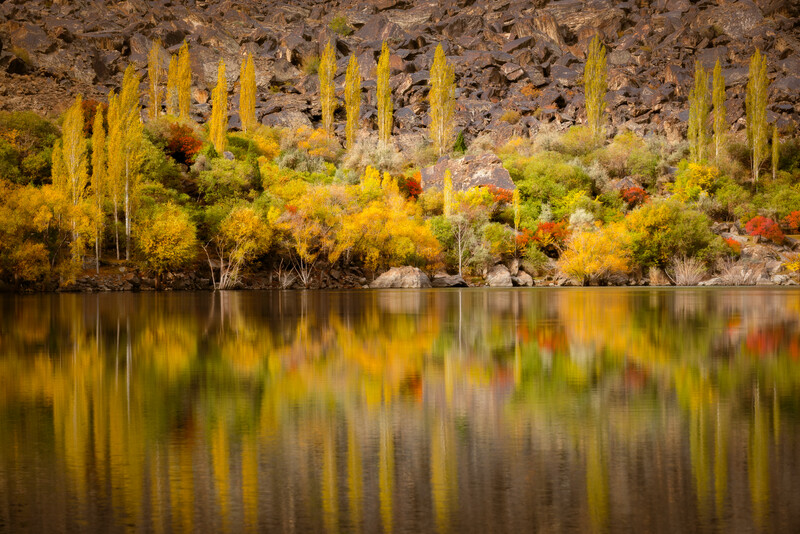
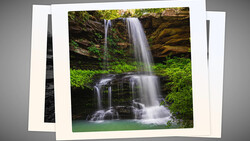
Don't Use a Polarizer if You Want Reflections
As discussed above, polarizer filters reduce glare and reflections, particularly on wet surfaces, glass, and water. However, if your photo relies on reflections in a body of water for visual interest or symmetry, using a polarizer will diminish or eliminate that effect.
The Fix: Remove your polarizer filter, or rotate it to reduce its effect.
Don't Over-Stack Filters
Be cautious, or avoid the temptation, to stack multiple filters (like NDs, a polarizer, and a graduated ND) at once. Stacking multiple layers of glass in front of your lens significantly increases the chance of image softening, making it less sharp. This practice also easily introduces issues such as vignetting or even the filters themselves becoming visible within the photograph.
The Fix: You can easily eliminate vignetting if your lens has an internal zoom mechanism (where the lens’s physical length doesn’t change when zooming). Zoom in slightly, and the vignette should disappear. However, for lenses with a zoom mechanism that extends the lens’s physical length, you have two options: avoid stacking multiple filters or plan to crop out the vignette in post-processing.
Below is the final image of the stacked filters after some adjustments on location and post-processing in Lightroom.
Don’t Leave Filters Screwed On
Leaving filters, particularly thin screw-in circular polarizers or even just the filter ring, attached to your lens when storing your gear may not be a good idea. Fluctuations in temperature or moisture can cause the filter ring to seize or jam onto the lens or filter holder, making removal extremely difficult or sometimes requiring tools.
The Fix: Always unscrew your filters and store them separately once you are done shooting.
Conclusion
Filters are available either individually or as part of a kit, with a wide range of prices and quality levels. Some filters may introduce color casts, while others do not. To ensure you make a worthwhile investment, it is recommended that you conduct thorough research and read reviews before committing to a specific brand or kit. Ultimately, these tools are essential for landscape photographers to achieve their creative goals. However, mastering the technique of adding, removing, or adjusting filters on-site relies entirely on practical experience and the specific shooting conditions. Practice is key, and don’t forget to enhance your results in post-processing to make your images stand out.


Join the Fstoppers community for free
-
Post comments and join in the discussions
-
Browse the site ad-free
-
Share your work and get featured in the community
-
Compete in the photo contests for fun and prizes
No comments yet