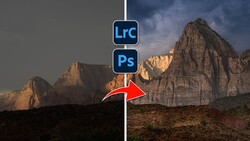
Mastering post-processing tools like Lightroom is as crucial as capturing the perfect shot, and it often starts with the tone sliders. This helpful video tutorial will show you everything you need to know get started.
Coming to you from Colin Smith with photoshopCAFE, this useful video tutorial will show you how to use the tone sliders in Lightroom and Camera Raw, particularly the shadows and highlights sliders. Smith demonstrates how these sliders, often termed recovery sliders, play a pivotal role in bringing out details in images that might otherwise be lost. For instance, moving the highlights slider to the left can recover color and detail, especially in overexposed areas like the sky. However, it is important to remember that if the highlights are truly blown out, there is no way to save them.
Moreover, the video emphasizes the importance of balancing detail retrieval with maintaining the image's overall punch or visual impact. Techniques like adjusting exposure, contrast, and the use of the blacks and whites sliders are discussed. Modern editing tools are tremendously powerful, and it takes a careful eye to ensure you are using them in a tasteful manner and not going overboard. Check out the video above for the full rundown from Smith.


Join the Fstoppers community for free
-
Post comments and join in the discussions
-
Browse the site ad-free
-
Share your work and get featured in the community
-
Compete in the photo contests for fun and prizes
No comments yet