

Photographing live music can be an amazing experience once you embrace the idea that you have no control over any of the elements in your frame. So how do you create great pictures when you have limited angles to shoot from, terrible lighting, and no control over what your subject will do next?
Introduction
In this age of digital streaming with every type of media available on demand, attending a live show still has an incredible and irreplaceable magic all its own. In our family, we are all avid live music and comedy junkies and take the opportunity to go out and see live shows whenever we can. It’s great to support artists by going to see their shows in person when they go on tour. In my case, my passion for live performance also carries over to my photography.
There’s usually a great deal of thought and effort behind the scenes that goes into making a live performance visually compelling. Whether it’s music or theater - the lighting, the costumes, and the drama unfolding on the stage all contribute to the visual spectacle of the scene. These visual elements are the obvious starting point when capturing a live performance as a still photographer, but a great photograph can also capture its emotion and energy. Despite being a snapshot of a single moment frozen in time, a skillfully executed photograph can even convey the dynamism and movement of a performance.
Check out the work of some of the legendary music photographers like Jim Marshall, Deborah Feingold, Ross Halfin, and Danny Clinch, and you’ll see what I mean. Some of their amazing images make you feel like you’re there in the crowd, taking in the atmosphere and experiencing the concert for yourself.
While we mere mortals of the music photography world might aspire to one day have the opportunity to photograph artists of the stature of Bowie, Hendrix, and Queen, there are plenty of lesser-known but incredibly talented musicians and bands out there touring and performing, who need photographers to come and capture their shows and create the kind of amazing images that they can use to promote their own careers. Coincidentally, these images can also be a great way to promote our own careers as photographers!
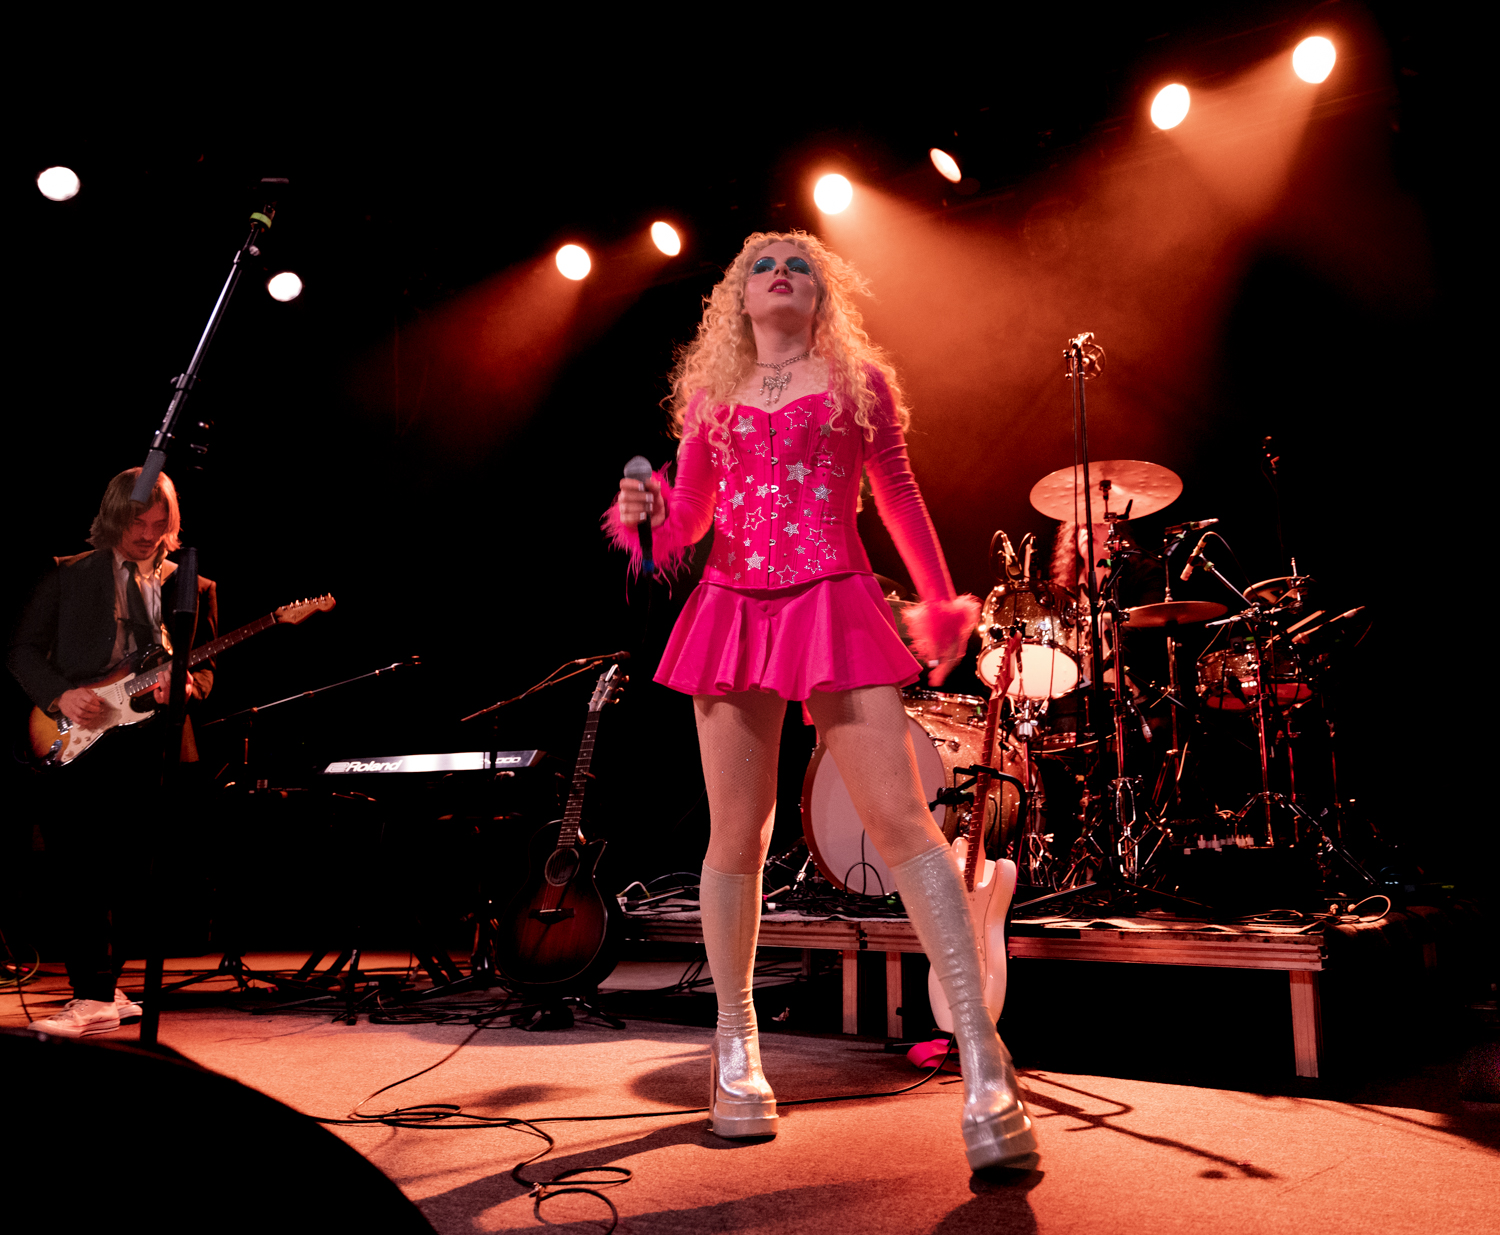
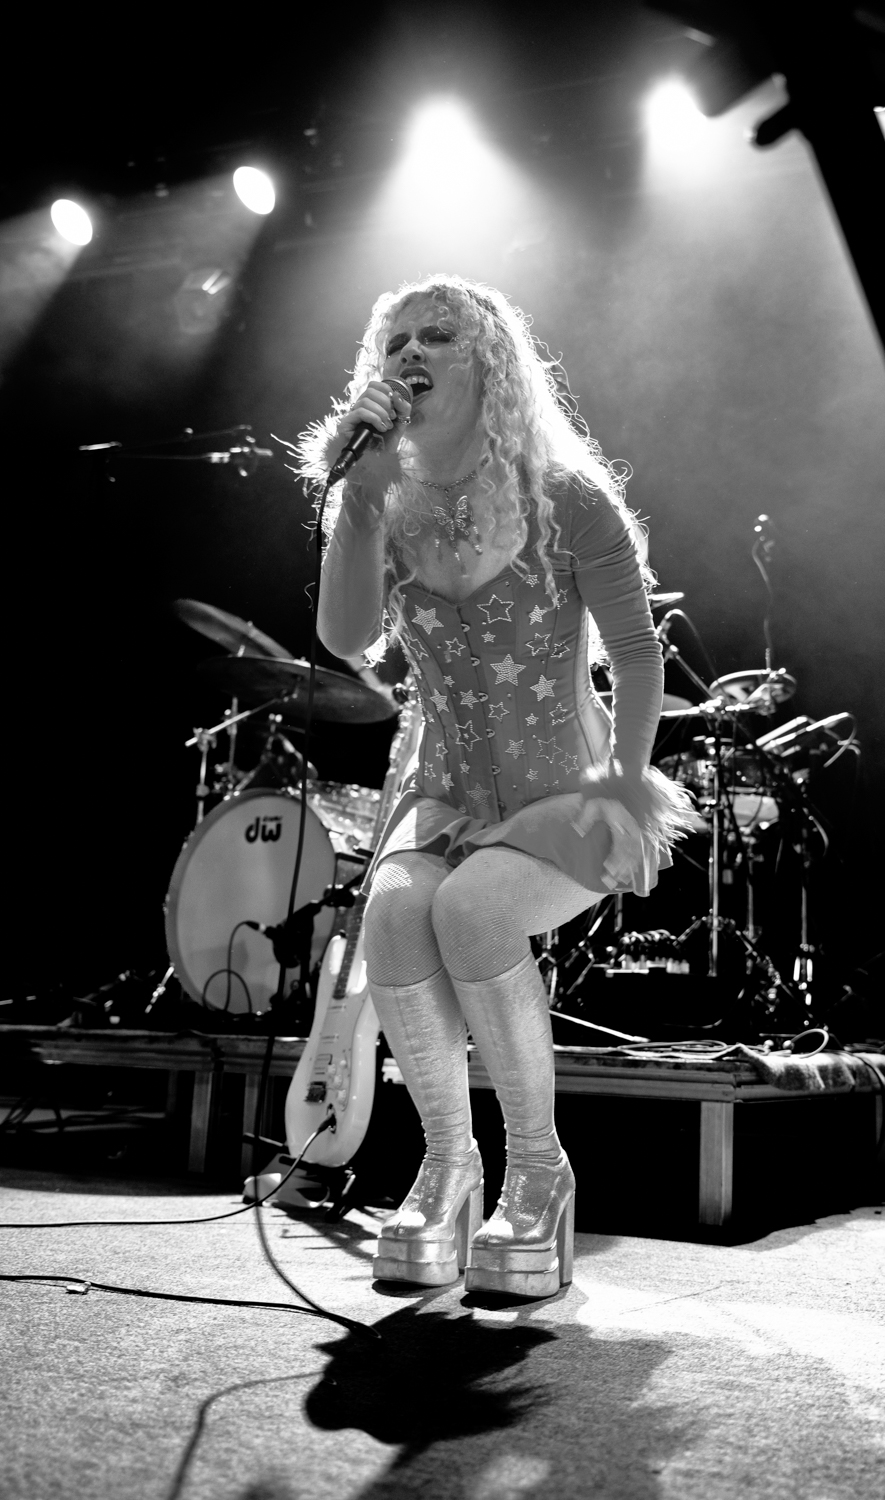
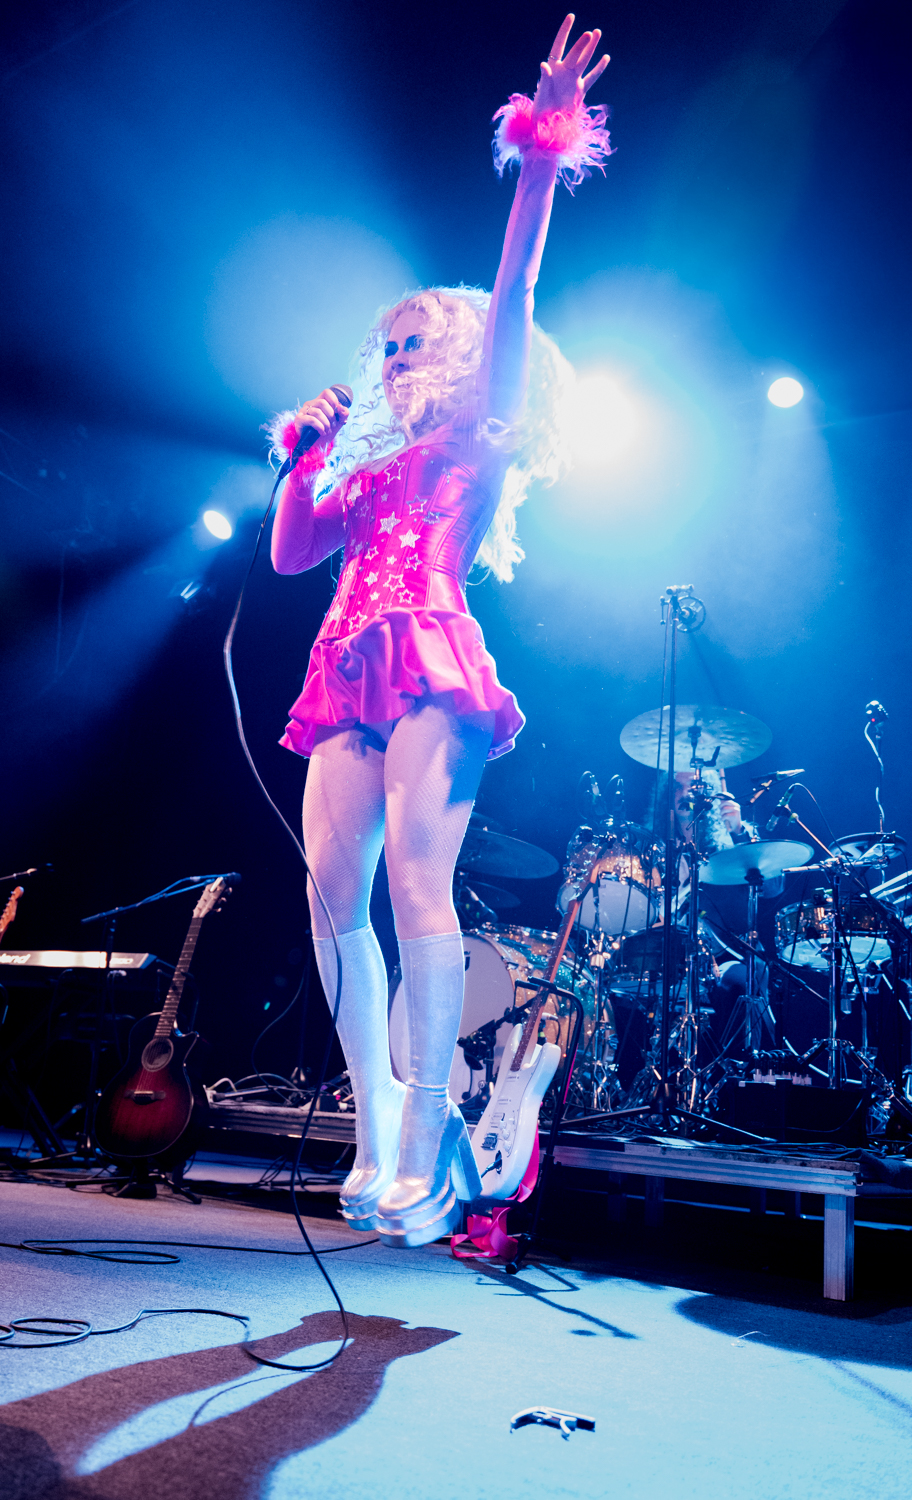
Before we go any further, I would like to give a big shout-out to the artist who appears in these photographs. Meg Smith was recently featured in Rolling Stone as a rising young star in the music scene, and I was thrilled when she invited me to come and photograph a set that she was performing at a local concert venue The Sinclair, as part of her nationwide tour.
What follows are what I hope will be some useful tips for getting great images when you’re photographing live music. I don’t profess to have all of the answers about how best to shoot live music, nor do I want to give anybody the impression that my way of doing it is the right way or the only way. This article is a distillation of my own experience photographing live music - a recounting of some of the many mistakes that I have made along the way, and the approaches and techniques that I have found to work well (and not so well) for me when it comes to getting good concert photographs.
Big Pixels Are Your Friend
I don't want to spend too much of this article talking specifically about gear, but a lot of people ask what kind of camera is best for concert photography, so I feel that I should at least address this question parenthetically.
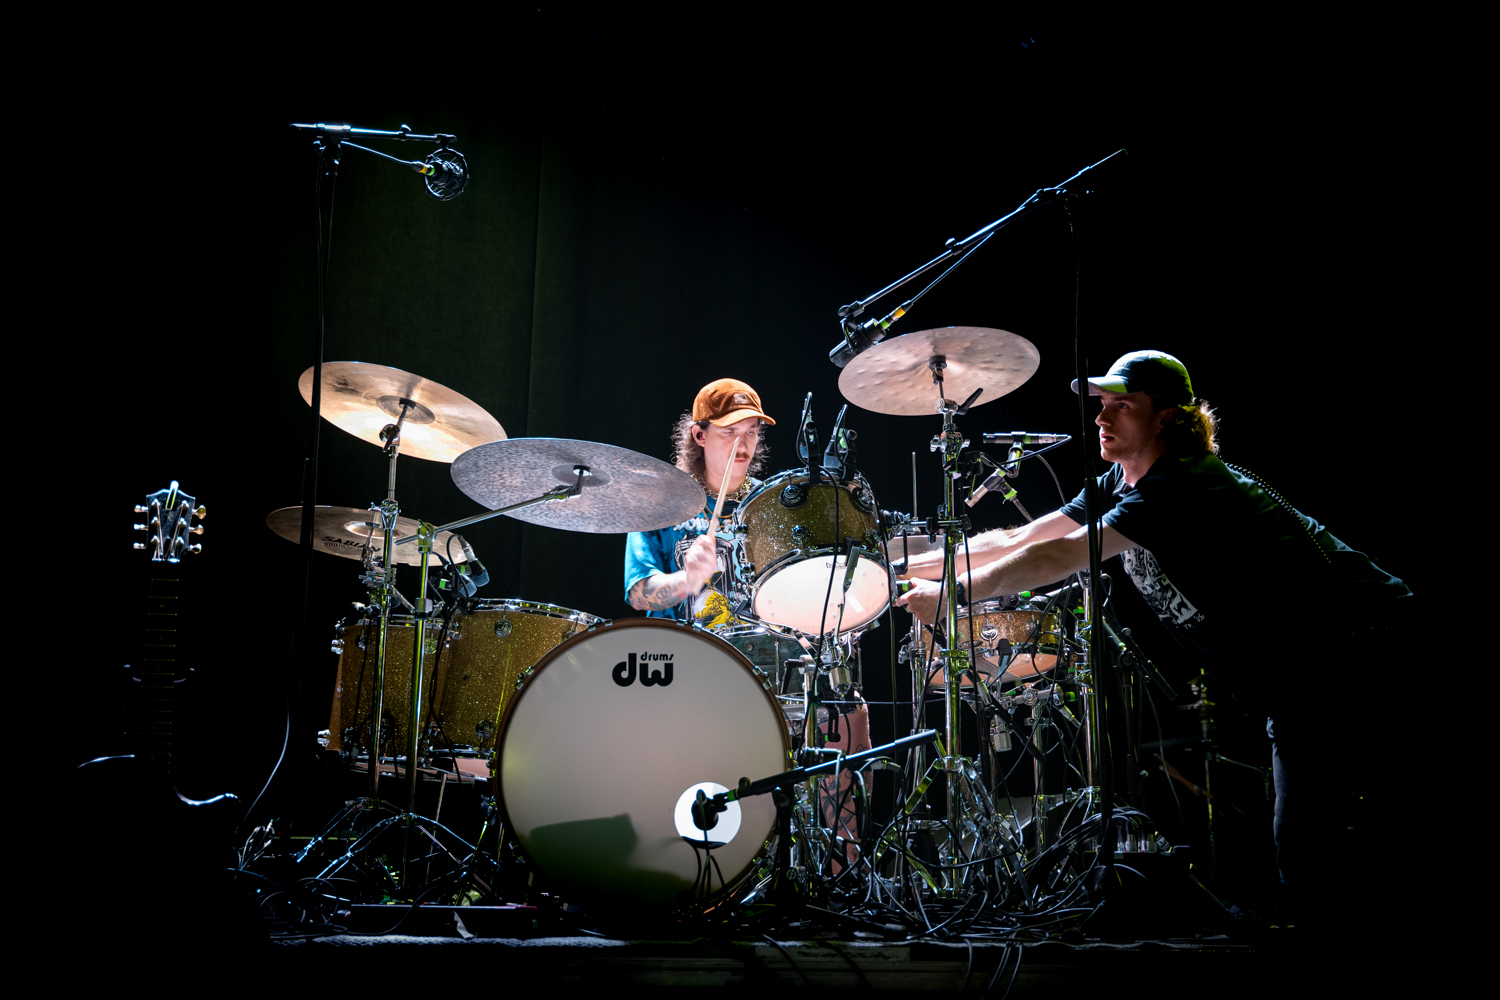
You can photograph live music with pretty much any camera, but some types of cameras are definitely better suited to the job. Compared to even twenty years ago, we have a lot more choice today when it comes to gear, but I would say that one of the most advantageous features a camera can have when it comes to photographing live music is its ability to create nice, clean images even in low light. The lighting in most concert venues is terrible, and in contrast to studio photography, you usually have no control over it. Furthermore, the artist - your subject - will probably be moving around, flitting between differently illuminated areas of the stage. Sometimes they could be bathed in the harsh glare of a spotlight, sometimes they could be in deep shadow. Your camera is going to need to be able to deal with a wide range of generally suboptimal light conditions.
It’s a basic law of physics that bigger pixels will be better than smaller pixels when it comes to gathering light - that is to say, a bigger pixel will have a better signal-to-noise ratio than an equivalent, smaller pixel. Sure, the electronics of sensors and image processing chips are constantly improving, but these components of your camera’s imaging pipeline need to work a lot harder to extract a clean image from smaller, noisier pixels in low light. There’s also the argument that AI-driven denoising algorithms have changed the game when it comes to cleaning up noisy images. Again, you can rely on this technology up to a point, but there are limits to what these algorithms can do, and your chances of getting a great image are improved if your image is already in pretty good shape straight out of the camera.
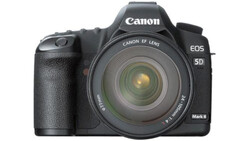
In spite of all the firmware and software wizardry that we have at our disposal to clean up noisy images, you really are better off getting a clean image straight out of your camera if you can achieve it - and the bigger your pixels are, the easier this will be. For this reason, I feel that some of the lower-resolution full frame cameras are a good choice for concert photography. I really like using the Leica SL2-S and Panasonic Lumix S5IIX cameras that have “only” about 24 megapixels on their full frame sensors. This is more than enough resolution for almost any photographic scenario, and their larger pixels give them superb low light performance.
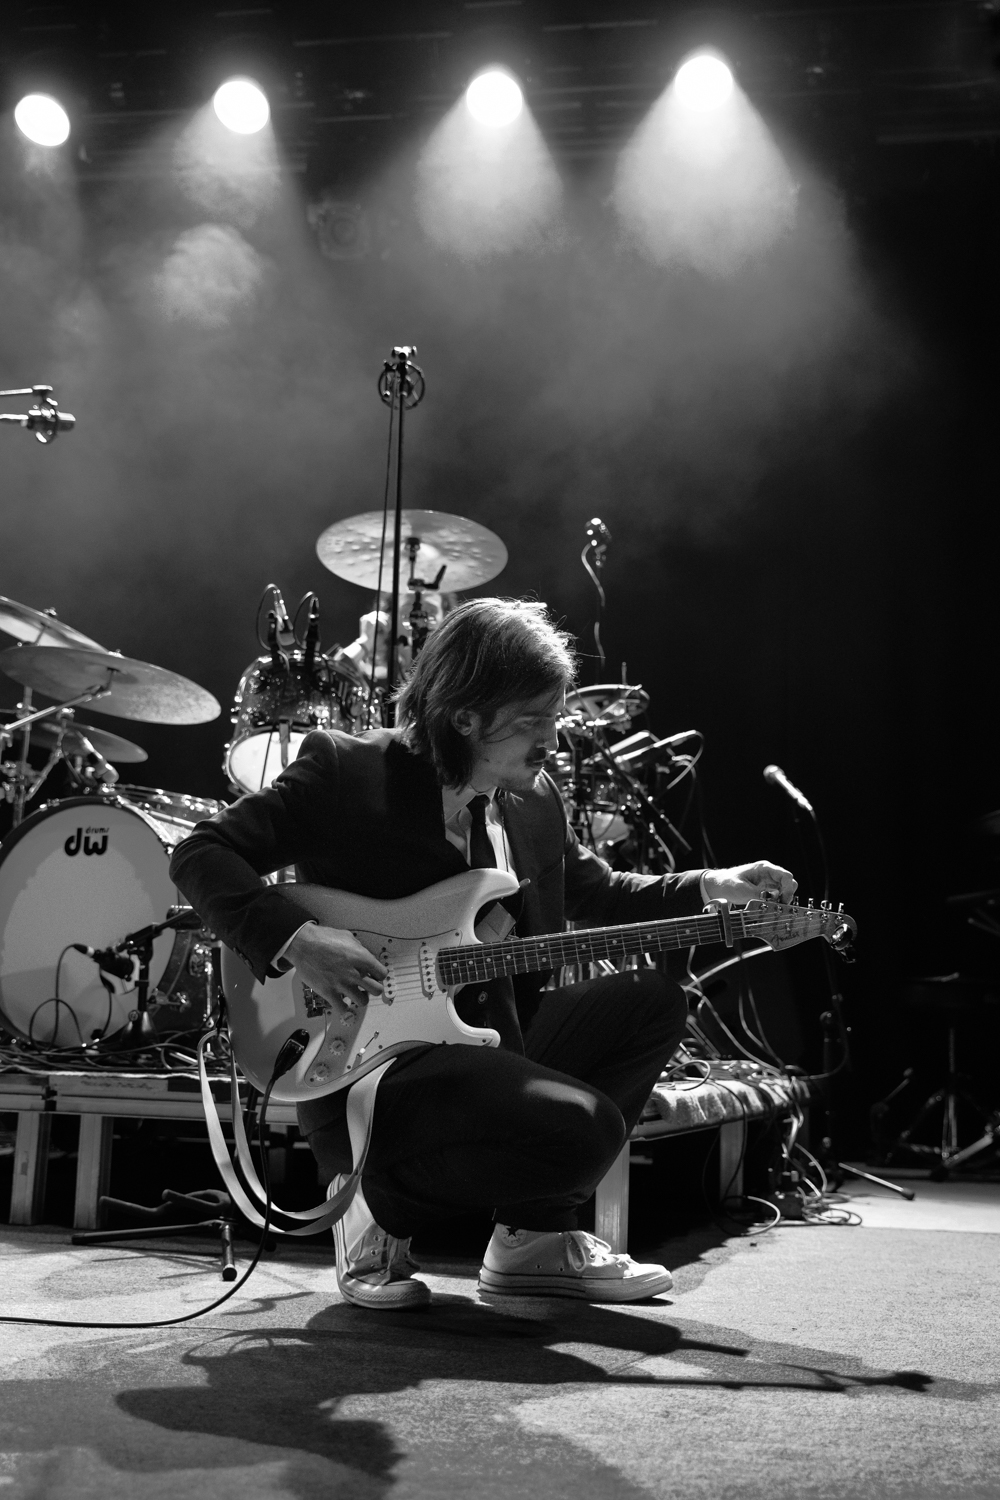
If you don’t have a large sensor camera with big pixels, don’t worry. There are plenty of photographers out there shooting concerts with Four Thirds and even smaller sensors. You work with what you’ve got. More time spent with the denoising algorithms in post-processing may be necessary if your images are really noisy, and one good tip if all else fails, is to convert your noisiest concert images to black and white. The sensor noise is much less intrusive and bothersome in monochrome images and can give the image a kind of film grain look. A gritty black and white image might even be the perfect format if you’re shooting a moody music genre.
I made the deliberate choice not to apply any noise reduction (either AI or manual) to the images in this article, to illustrate how well lower resolution, full-frame sensors can handle low light conditions. All of the photographs were shot using the Leica SL2-S and the Panasonic Lumix S5IIX at auto ISO settings up to and including ISO 12,800.
Exposure
I like to have full manual control of my camera when I’m shooting in general, but especially for concerts. I want a shutter speed high enough to keep motion blur down when the artist is moving - and if my lens allows it, a wide aperture to gather as much light as possible, which enables me to keep my ISO setting lower and reduce sensor noise.
One thing that you can’t spend too much time on when you’re shooting a live concert is futzing with your exposure settings. I have learned this from bitter, personal experience, having missed some great shots because I was caught unprepared - busy with my head down, fiddling with my camera settings when some amazing action was happening just a few feet in front of me.
What I like to do, therefore, is to set a wide aperture and a shutter speed that will keep the motion blur to a minimum, and then use the automatic ISO setting to ensure the appropriate exposure for that particular shutter speed/aperture combination. I usually shoot concerts with my shutter speed set somewhere in the region of 1/100 second. This is a compromise insofar as it isn’t fast enough to prevent motion blur when the artist is moving rapidly, but it works in most scenarios while still allowing me to shoot at lower ISO, and I always have the option to quickly increase the shutter speed for the more dynamic moments of the performance (more on this in a moment).
I usually cap my maximum ISO setting depending upon the limits of the camera’s low light performance. On my full frame cameras, for example, I’m happy to let the ISO go as high as 12,800 since both cameras can easily produce excellent images at that gain. In a pinch, I could probably go to even higher ISO settings on those cameras if I was willing to tolerate a little more noise and a tad more work processing the images.
Focus
I have found from experience that the best approach to handling focus for concert photography also depends on what camera you are using. Cameras with the latest and greatest phase-detect autofocus like the S5IIX are ideal and can even be (mostly) reliably used in continuous autofocus mode - locking onto the subject and tracking them automatically as they move. My SL2-S with contrast-detect autofocus definitely struggles a little more than the S5IIX in low light, but it still gets the job done.
With continuous autofocus, even if you have AI face or eye detection, it’s sometimes possible for the camera to lose track of the artist’s face if they are using a handheld microphone or if there are other objects such as guitar necks, microphone stands, or the artist’s hands crossing their face in your frame as they move. This is another lesson that I have learned the hard way. If you think this might be happening, it’s sometimes worth switching back to single autofocus mode and reducing your focus zone size so that you have more precise control over getting the artist’s face in focus.
It is possible to use manual focus for concert photography if you have good dexterity, and the focus assist tools like focus peaking can be really helpful for this. The technique of zone focusing used a lot by street photographers can be more difficult to take advantage of in the kind of low light that is typical in concert venues since we are already being pushed towards shooting with wider apertures, and zone focusing works best with narrower apertures. Using a wide angle lens can help in this case, since it will have a wider depth of field at any given aperture than the equivalent longer focal length lens.
Use the Stage Lighting to Your Advantage
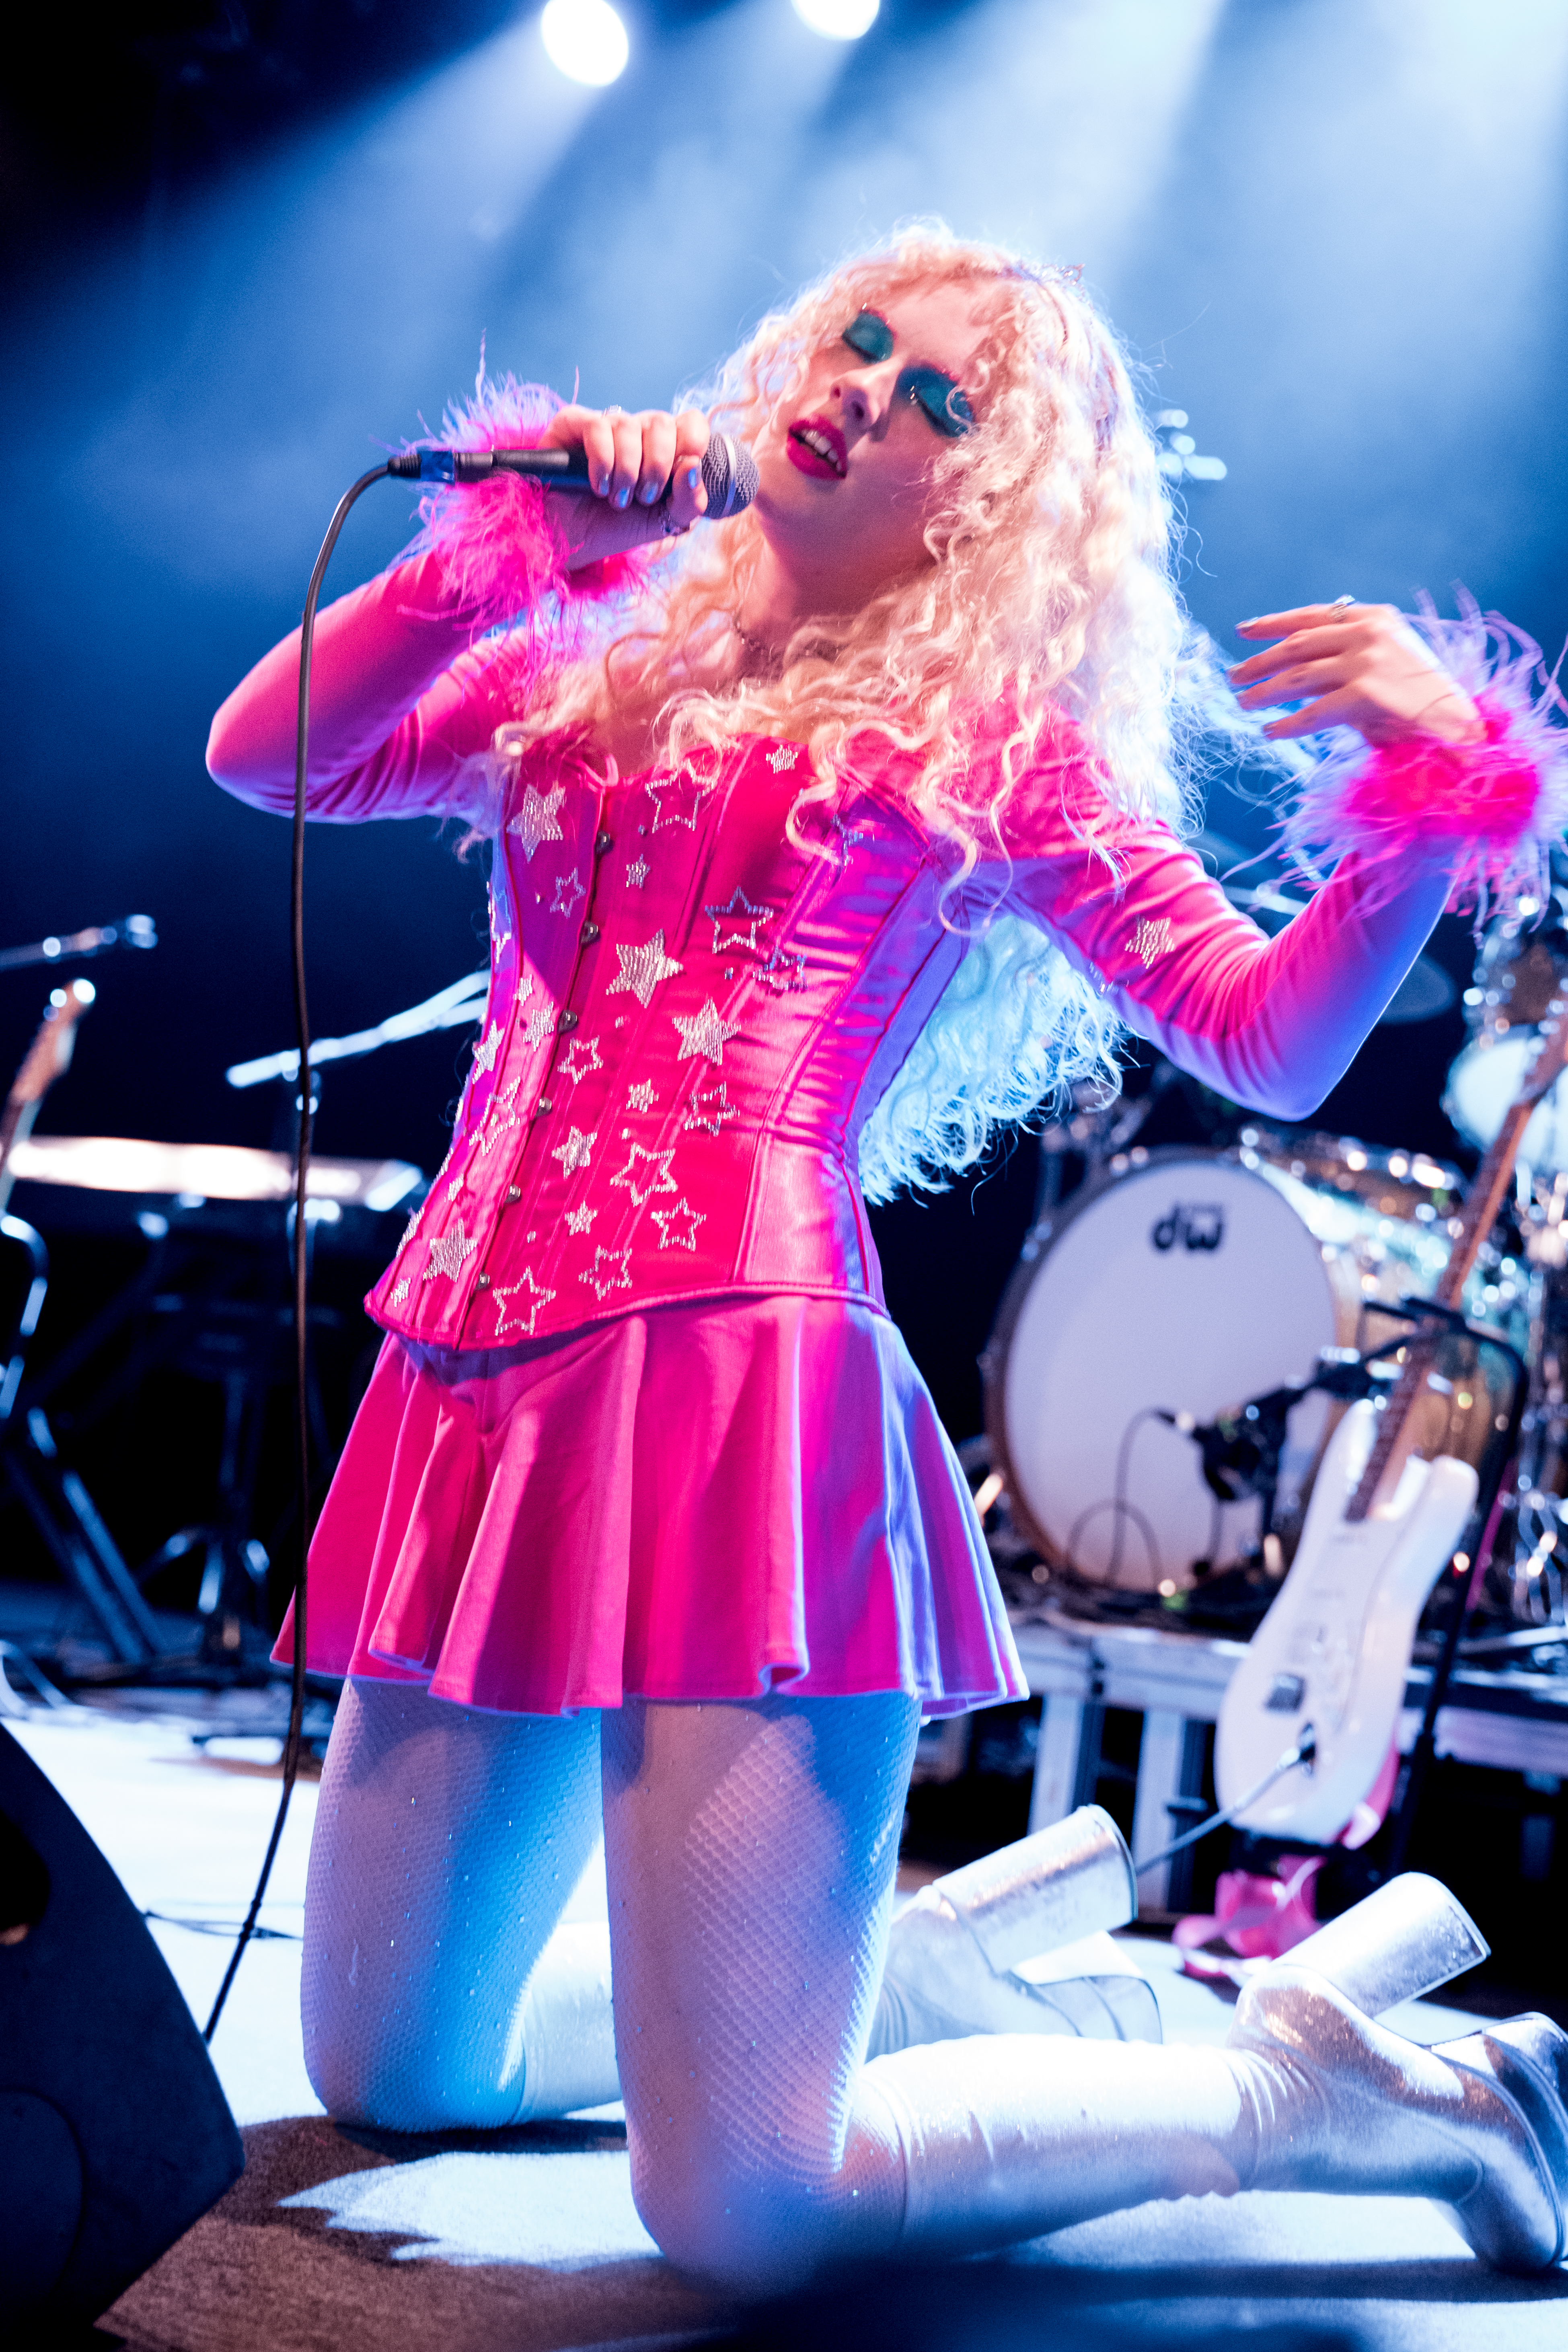
If the concert venue has a professional lighting setup, there are usually plenty of opportunities to use the stage lights to crank up the drama in your shots. A technique that can give you wonderful, dramatic concert shots is to position yourself such that the artist is occasionally eclipsing one of the rear spotlights. If you are prepared for it, in moments of “total eclipse,” you can get a dramatic silhouette of the artist outlined by a gorgeous rim light. This effect can be even more dramatic if the artist has a lot of hair for the light to shine through.

My preference though is to try to catch the “partial eclipse” and nail the exposure somewhere between the brilliant backlight and the deep shadow of the artist’s silhouette. This allows some details of the artist’s features to stand out from the shadows, making for a more interesting shot.
In some of my concert shoots, I found that if I missed my timing on the artist’s movement and took a full-on blast of the spotlight into my lens, what I ended up with was often just a mush of washed-out glare and lens flare from which it was very difficult to recover any interesting details. This is not so much a problem for stage lights that are not angled directly toward your camera, but you really need to try to time your shot to capture at least the “partial eclipse” if you are shooting straight into a spotlight.
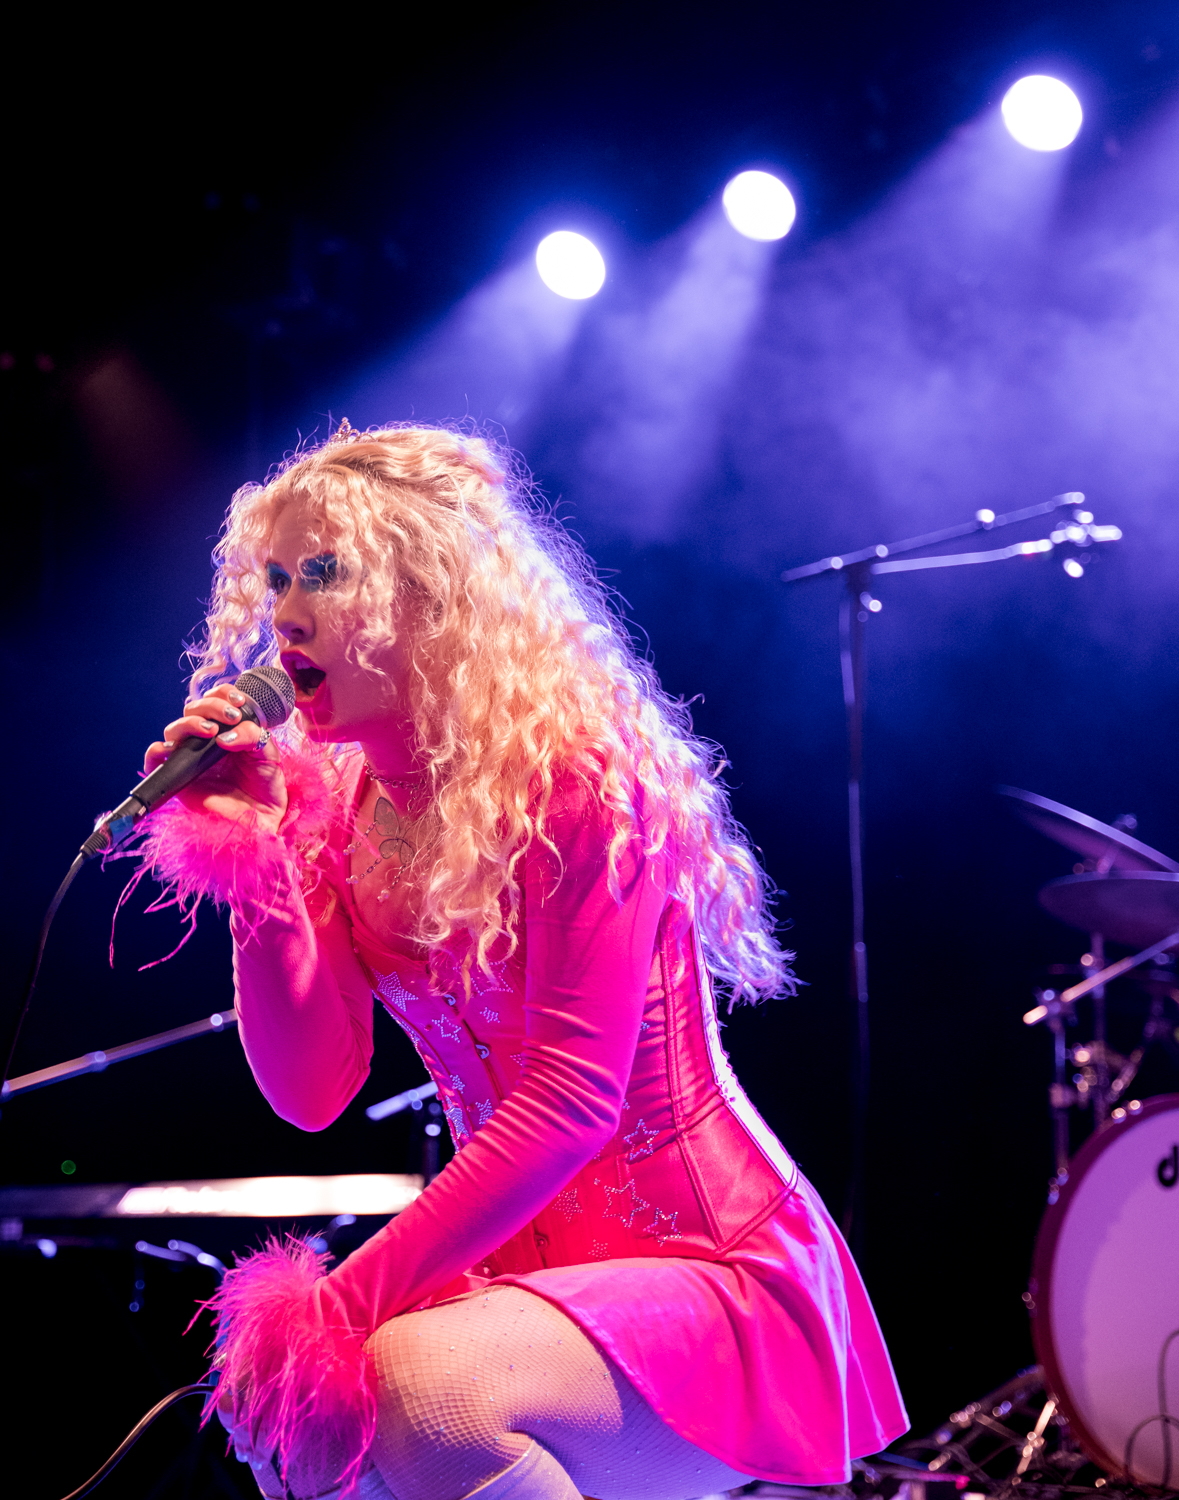
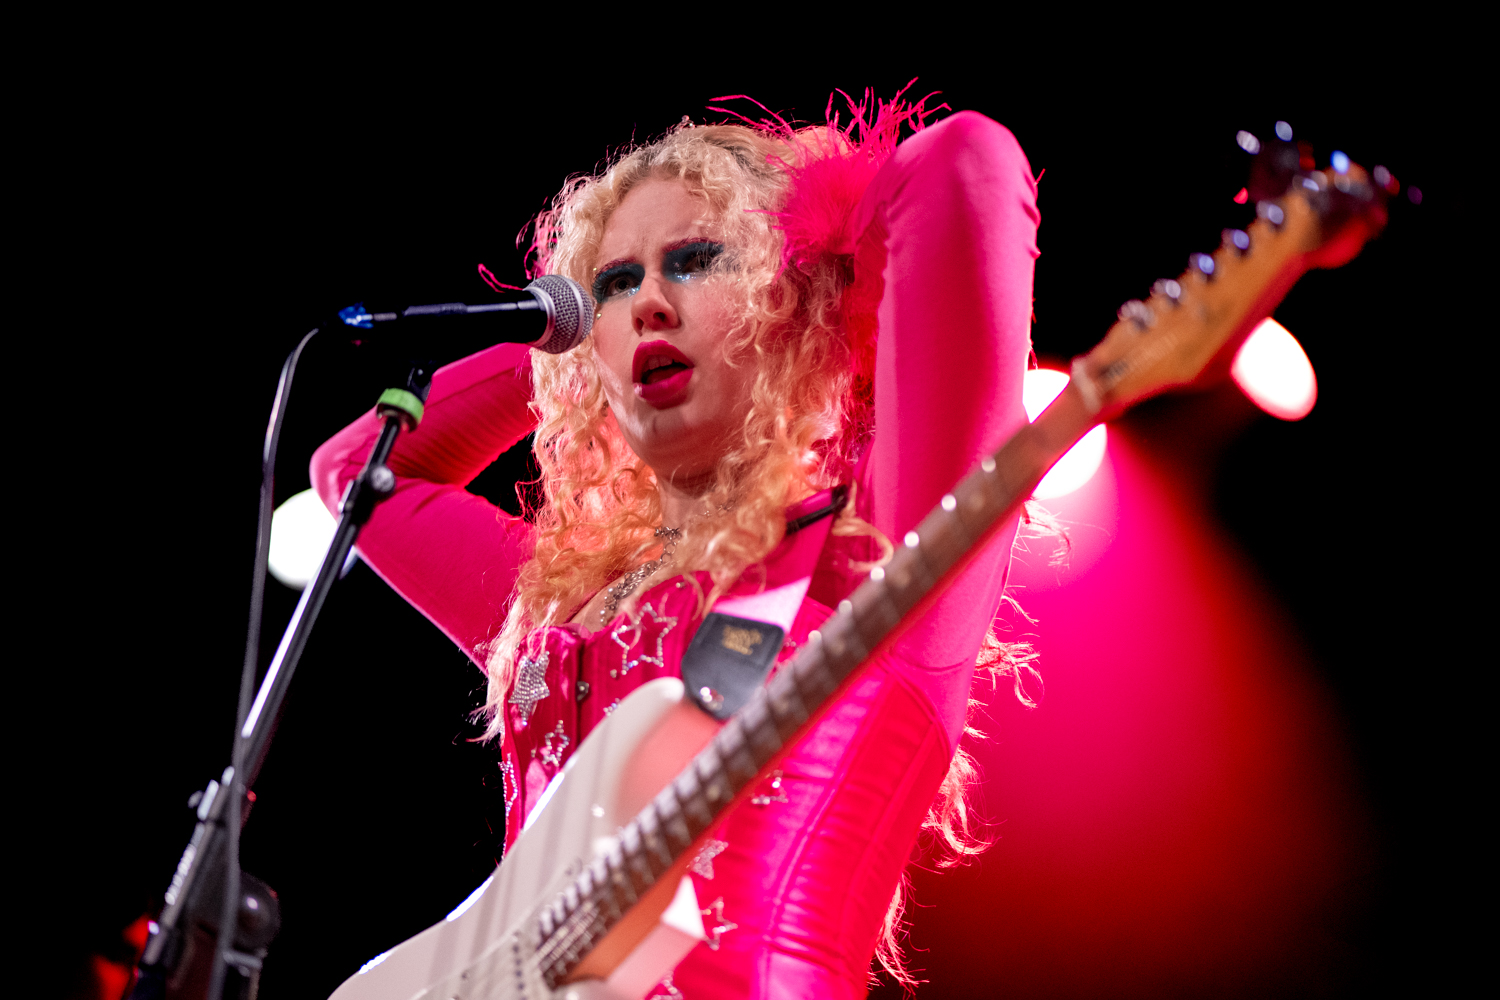
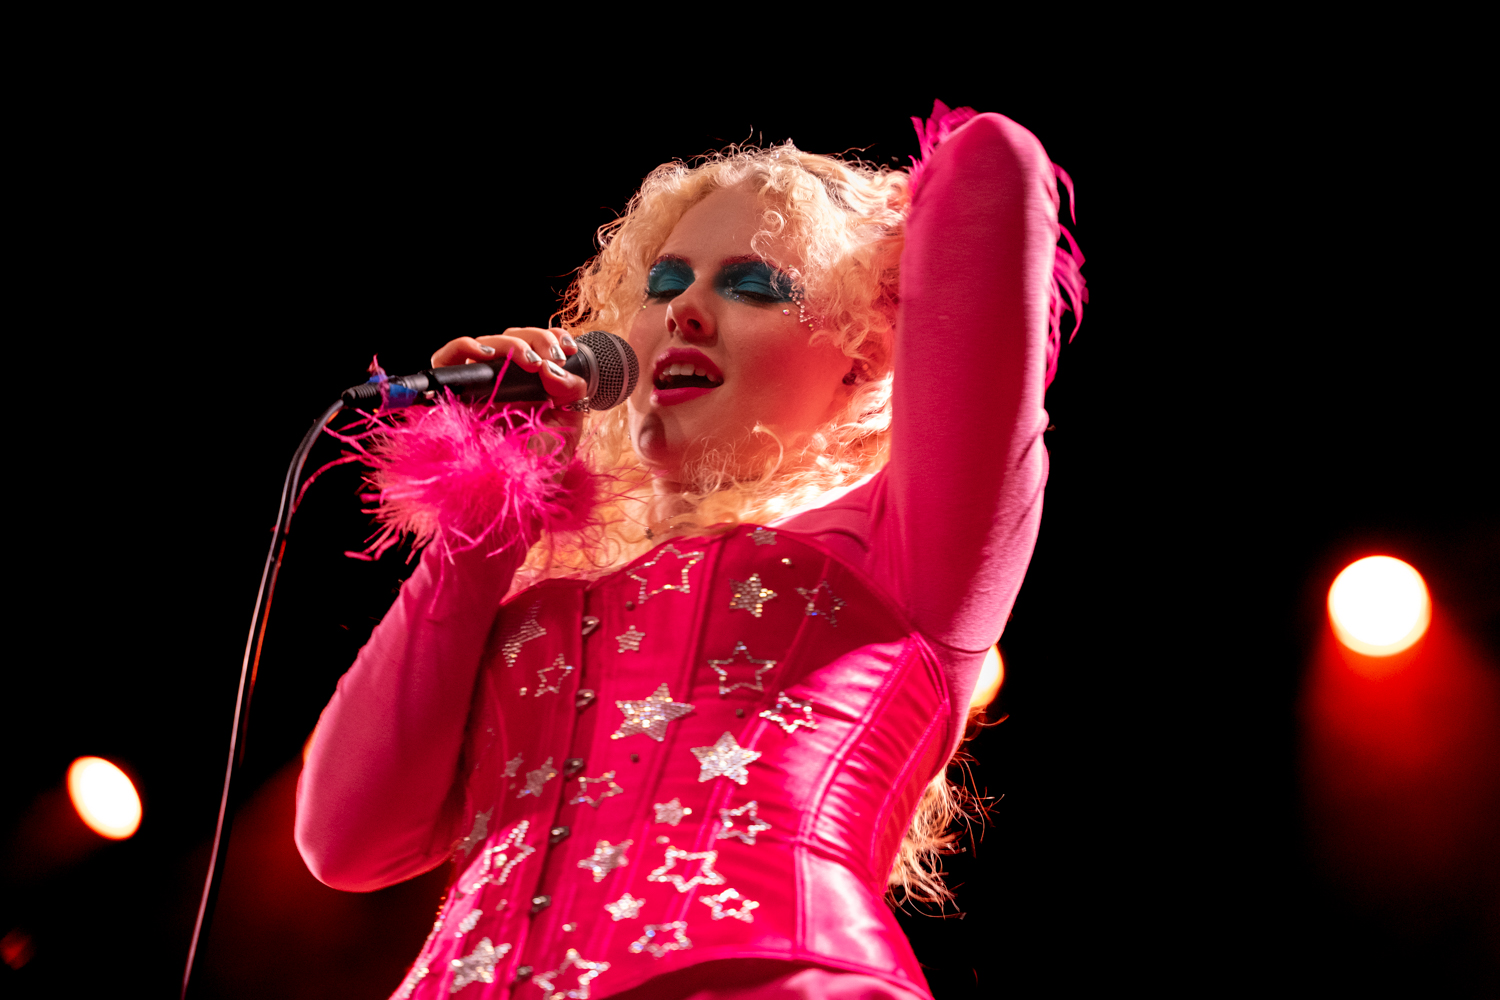
Colored stage lights can also add a lot of extra drama to a shot, and it’s a matter of personal taste how you choose to handle them when you are managing your white balance in post-processing. One approach I like to use with colored lights is to mask the performer and the background separately, and then set the white balance on the performer to achieve somewhat more realistic skin tones while leaving the background colors as they are for dramatic effect. I find that this can also make the performer stand out better, especially if the stage behind them is bathed in a sea of red or blue light.
Anticipation
Beyond being very comfortable using your camera and familiar with its settings and performance, I would say that the most important skill for concert photography is anticipation. Getting great pictures of a performance does require some luck, but as the French scientist Louis Pasteur once observed, “Chance favors the prepared mind.” It really helps to be able to anticipate where the performance is going to go next.
One obvious preparatory step that you can take as a concert photographer is to familiarize yourself with the artist’s songs before the performance. Even better than just listening to the songs is watching videos of previous performances if they are available. This is great for getting a sense of what the artist likes to do at different points in a song, how they move, and what gestures they use. Does the song have any emotional moments in which the artist may do something particularly dramatic? Is there a punchy chorus or an instrumental riff where the artist likes to dance?
I previously said that I don’t want to have to mess with my camera settings during a concert, but the one setting I might change is the shutter speed. If I know that a particular song has a more energetic beat and the artist is going to move about more, or if there’s a particular moment in a song where the artist likes to dance, I will sometimes increase my shutter speed just for those moments in the performance.
One other tip that somebody once gave me that might seem obvious but that I have found to be incredibly useful is to shoot in burst mode - at least during the more energetic parts of the performance.
Respect the Audience
Finally, although you might be working when you’re shooting a concert and feel that you have a job to do, it’s worth remembering that everybody else is there to have a good time, and unlike you, they have paid for the experience. I’ve seen some rather self-important concert photographers continually blocking the view of the audience to get their shots and even pushing their way in front of people to do this.

I think it’s very important for a concert photographer to be considerate of the audience. Shoot quickly and move out of the way whenever possible. Being the "official" concert photographer doesn’t make you more important than the other people in the audience, or give you the right to be a jackass just because you think you’ve got a job to do.


Join the Fstoppers community for free
-
Post comments and join in the discussions
-
Browse the site ad-free
-
Share your work and get featured in the community
-
Compete in the photo contests for fun and prizes
5 Comments
I'm not seeing a practical advantage to "bigger pixels".
Here's a comparison of S5II, a7III, a7IV and a7RV images made at ISO 12,800, with the latter two (33MP and 61MP) downsampled to 24MP. Noise with the latter two is only slightly more noticeable, and since it's mostly color noise it's easily removed by any competent noise reduction tool. Interestingly, the 61MP a7RV downsampled image is crisper. Likewise, Sony's 42MP a7RIII yields noise similar to the 24MP a7III, which is of the same sensor generation, when downsampled. I shot corporate events with a7III and a7RIII side-by-side for about a year and found their noise performance essentially equal.
https://www.dpreview.com/reviews/image-comparison?attr18=lowlight&attr1…
Downsampling is a form of noise reduction, so I’m not surprised at your conclusion.
I don’t see why one would need ‘bigger pixels’. I do mainly (paid) concert photography for almost 10 years, regularly in low light classical music environments, with Olympus / OM System M43 cameras combined with zooms like the pana 10-25 f 1.7 and 25-50 f1.7, Oly 75 f1.8, Oly 150 f2.0, etc. and I never have a problem with a lack of light.
My customers are happy with the results and book me repeatedly.
And all FF photographers that approach me and ask “are you doing it with THIS?” while they point at my M43 cameras, I see them once and never again.
On a rainy day, place two bowls to catch the rainwater, but one with a diameter of, for example, 25 centimetres and the other 40 centimetres. After a few minutes (the same amount of time for both) measure the amount of water in each bowl. Which received the most water?
Larry,
Even if you're right - so what? The examples I linked above demonstrate that you can get the same level of noise in an image of a given output size from higher- and lower-rez sensors.
(For some reason, the "Reply" option below your post is grayed out, so I'm responding here.)