
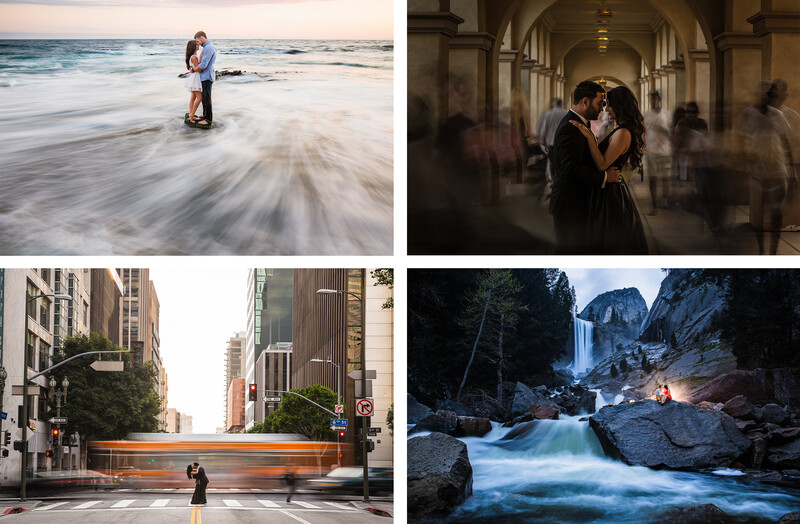
We call this the "environmental shutter drag portrait." A shutter drag portrait is a portrait that uses slow shutter speeds to capture the motion around the subject. This technique is best done in a big grand scene full of action and detail. The eye-catching nature of these shutter drag portraits makes them perfect for impressing clients and serving as the highlight photo for every album and event. Today, I'll be walking through 10 easy steps on how to photograph your own shutter drag portrait.
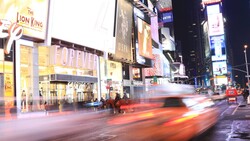
Let's start with some examples I've taken over the years of shutter drag portraits in various settings such as cities, beaches, mountains, etc. You can do this just about anywhere that has constantly moving elements. Let's get started on the 10 steps.
Step 1: Choosing the Right Time of Day
I highly recommend doing this at dusk (or dawn for the bold and brave). The main reason is that at sunset or the moment after sunset, the light gets low enough to slow down your shutter speed to 1/4 s or 1/2 s, which is the optimum range. To get the same speed midday, you'll need to use an ND filter or close down your aperture.
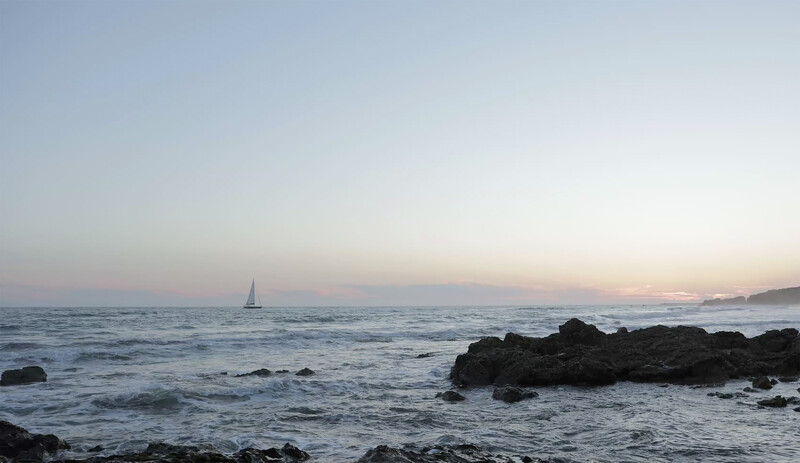
Step 2: Scout Your Angle
Before bringing your subjects into the frame, you're going to want to scout the location to be sure of the following. First, be sure that the client will be in a safe place. Here, I was looking for a spot where the water would gently roll over the surface of the rocks and not pose any safety risks.
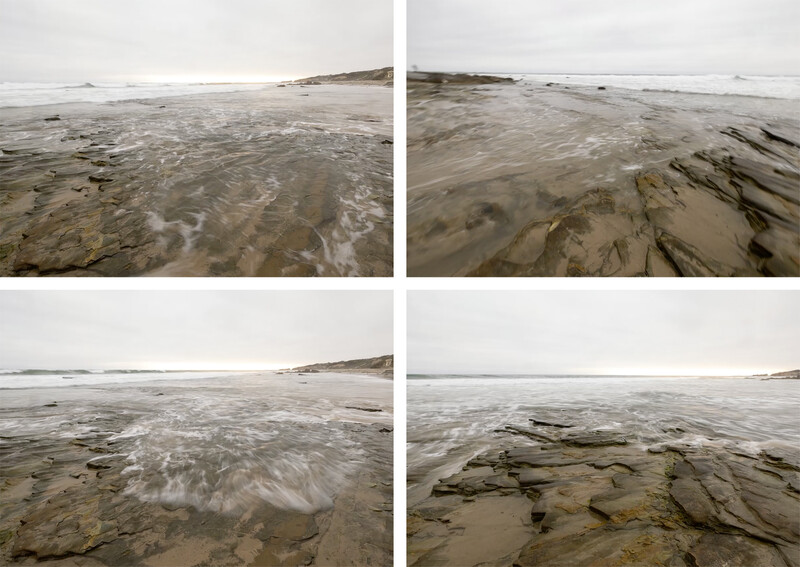
Second, find an angle with good and interesting motion. At my original location, I took these sample images to determine which exact angle would provide a good direction of motion. I wasn't happy with the way the water moved over the rocks, so I instead moved to the sand where I knew I'd get smooth and clean motion.
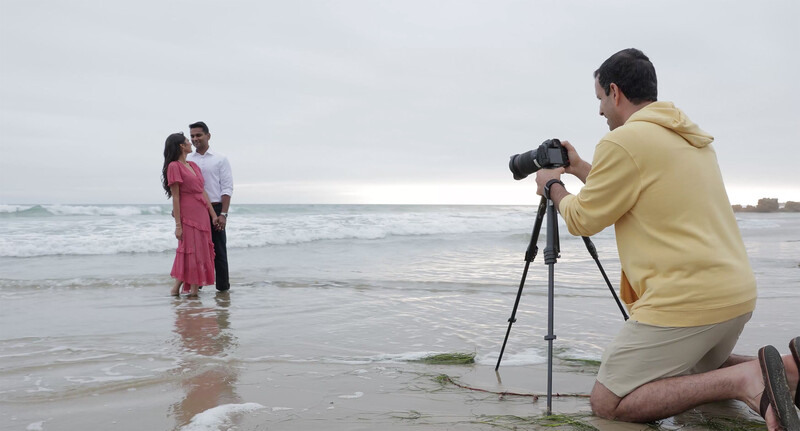
Step 3: Place Your Tripod
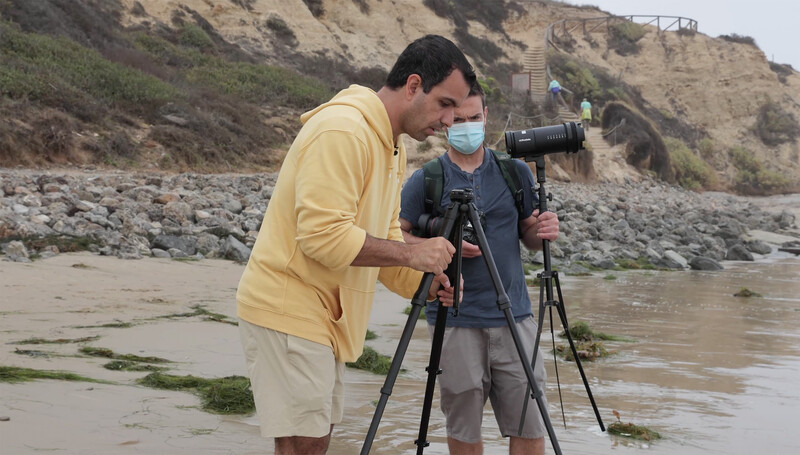
Before you set down your tripod, make sure that only the bottom extension will be going in the sand. This will make for easy clean-up and prevent water or sand from ruining your tripod. If you're working with wet sand, give your tripod a push down once you set it on the ground. Pushing it down into the sand will give it some stability. This way, the waves won't cause the tripod to sink further during or between shots. Here, I'm using my trusty Peak Design Travel Tripod.
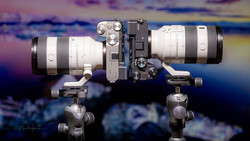
Step 4: Secure Your Camera
Secure your camera to a stable tripod head. A stable head is especially important if you aren't using a cable or remote shutter.
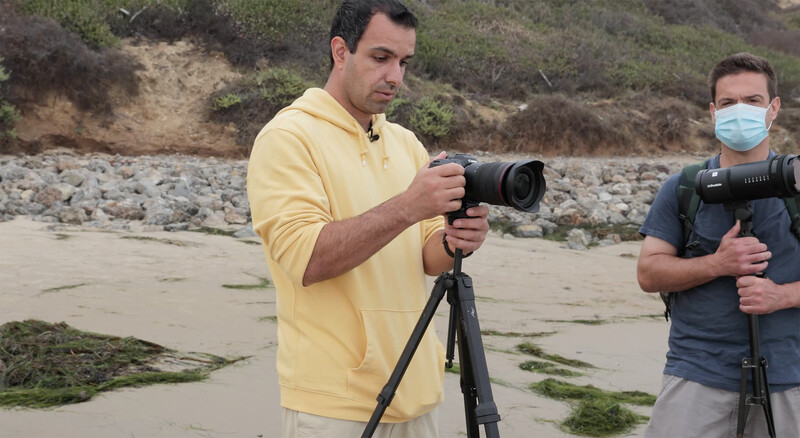
Step 5: Use a Wide Angle Lens
My top lens for shutter drag portraits is the Canon RF 15-35mm f/2.8L. A wide angle lens is perfect for exaggerating the movement.
Step 6: Finalize the Composition
When I'm composing an ultra-wide image, I like to keep my subjects centered in the frame. This is due to the edge distortion caused by ultra-wide angle lenses. I also like to exaggerate the motion coming toward the lens by tipping the camera slightly down. Lastly, I lowered the camera altogether to keep my subjects' heads well above the horizon line.
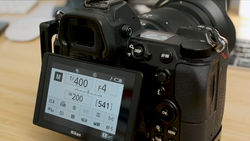
Step 7: Set the Long Exposure Settings
Set your camera to the proper settings. As I've mentioned before, we want to aim for about 1/4 to 1/2 seconds. Any faster and you might not capture enough motion. Any slower and your subjects may have difficulties staying still.
The goal is to get as neutral of a histogram as possible. Be sure you're shooting raw to capture as much information. Lastly, use your highlight alert to avoid clipping the image in bright areas such as the area around the sun. My final settings were ISO 50, f/16, and 1/4 second.
Step 8: Bring Your Subjects Into the Frame
Be sure to explain to your clients the nature of the shot and what you're envisioning. Direct them to hold a little more still than they usually would.
Step 9: Shoot Through the Motion Using a High Frame Rate
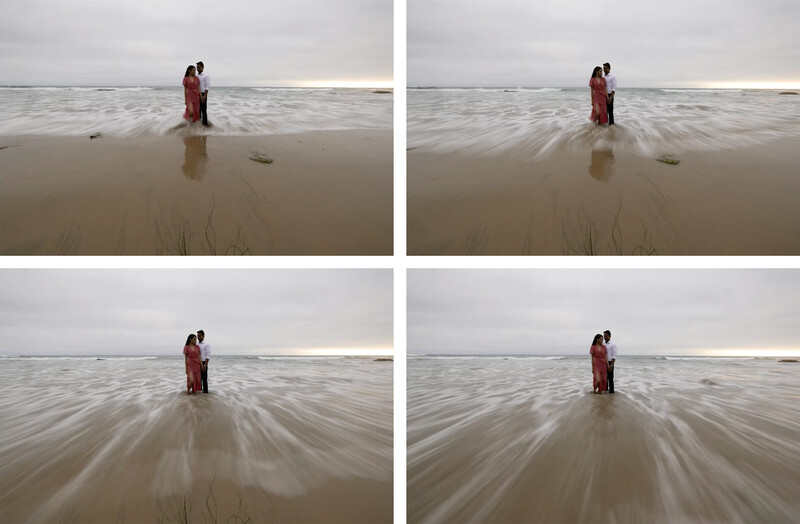
When the motion begins, such as the waves, hold the shutter and shoot through the entire motion. Make sure your camera is at its highest frame rate setting. Doing this will give you a better chance of capturing the perfect movement in at least one of the images.
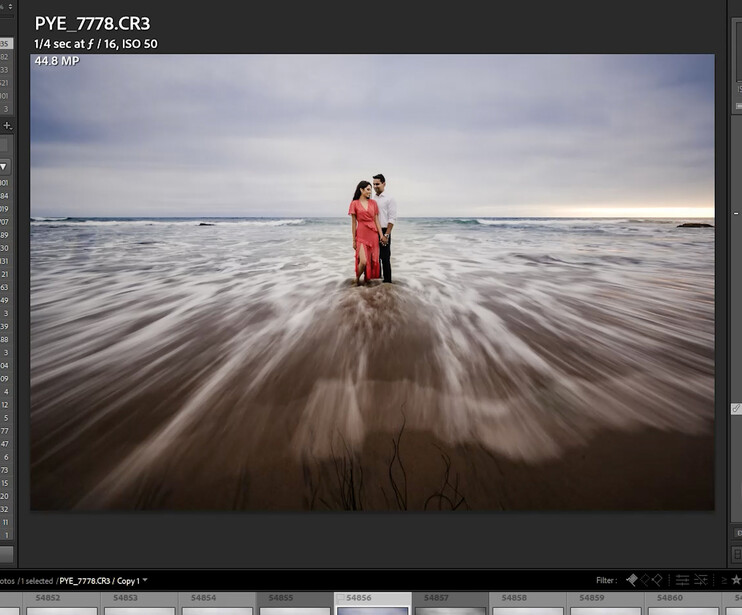
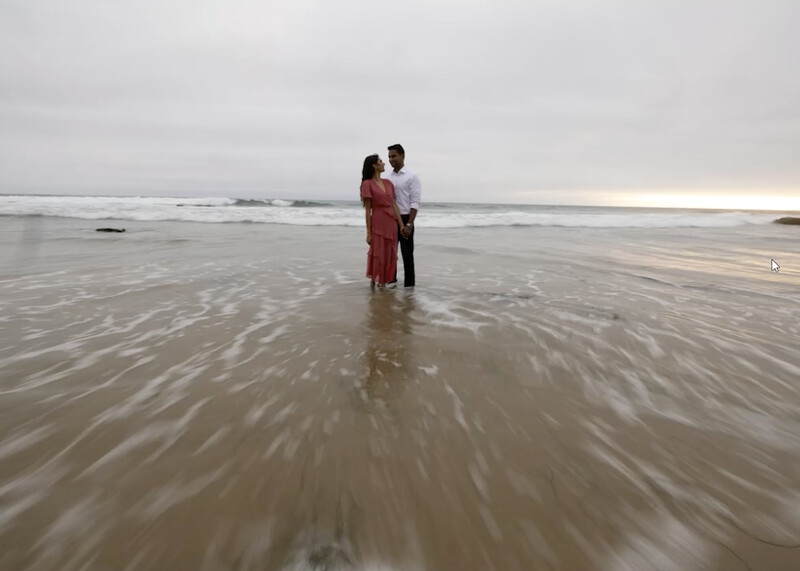
Here is my favorite from this sequence.
Step 10: Verify Before You Move On
Before you move onto your next scene, verify the shot in your viewfinder. Zoom in and check for sharpness and that the exposure settings were correct. Only when things look good, should you move on to your next shot.
Conclusion
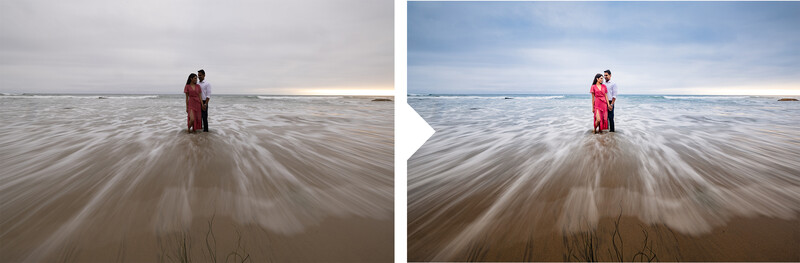
I hope you enjoyed this article! Next week, we'll be editing the final raw image. I'll be showing you all the steps, settings, and adjustments to get this final look. If you'd like to learn all about exposure settings and how to use them creatively like we did here, be sure to check out Photography 101 from the SLR Lounge Premium Library. We'll see you next time!


Join the Fstoppers community for free
-
Post comments and join in the discussions
-
Browse the site ad-free
-
Share your work and get featured in the community
-
Compete in the photo contests for fun and prizes
5 Comments
"Shutter Drag". As silly as "landfill".
Just say slow shutter speed.
This is phrasemongering: mosquitoes are inflated to elephants in the process.
Thanks Pye! I like the way that you write a proper article rather than just saying "watch this video". It's also useful to be reminded about putting the subjects in the centre to avoid wide angle lens distortion.
Like the previous comment, I do wonder where we got the phrase "dragging the shutter" from. I remember being confused by it in my early days as a photographer - until someone said "it just means using a slow shutter speed".
Great article. 👍
Wide with the subject minimized in the scene would probably be fine, but even a 1/4 sec exposure time can land soft results due to unavoidable movement. Is there a version of this where you compose the shot, take several shots at appropriate shutter speed to reduce movement, then adjust setting to capture motion and composite?