Adding props is a simple and effective way of adding production value to your photographs. Not only do they add additional points of interest, they also can add to the story you're trying to tell. In this video and article, I'll be walking through the creative process of how an image evolves to the final version. To do this, I'll begin with a basic "walk-up" shot. From there, I'll be walking through the step-by-step changes to the shot until we get to the final image using various props.
Our model today is my friend, Kiara, so be sure to give her a follow on Instagram here. I'll also be using my favorite camera setup: the Canon EOS R5 with the RF 28-70mm f/2L. Later on, I'll be switching to my Sigma 35mm f/1.4 Art lens. Let's dive right in.
The Before Shot
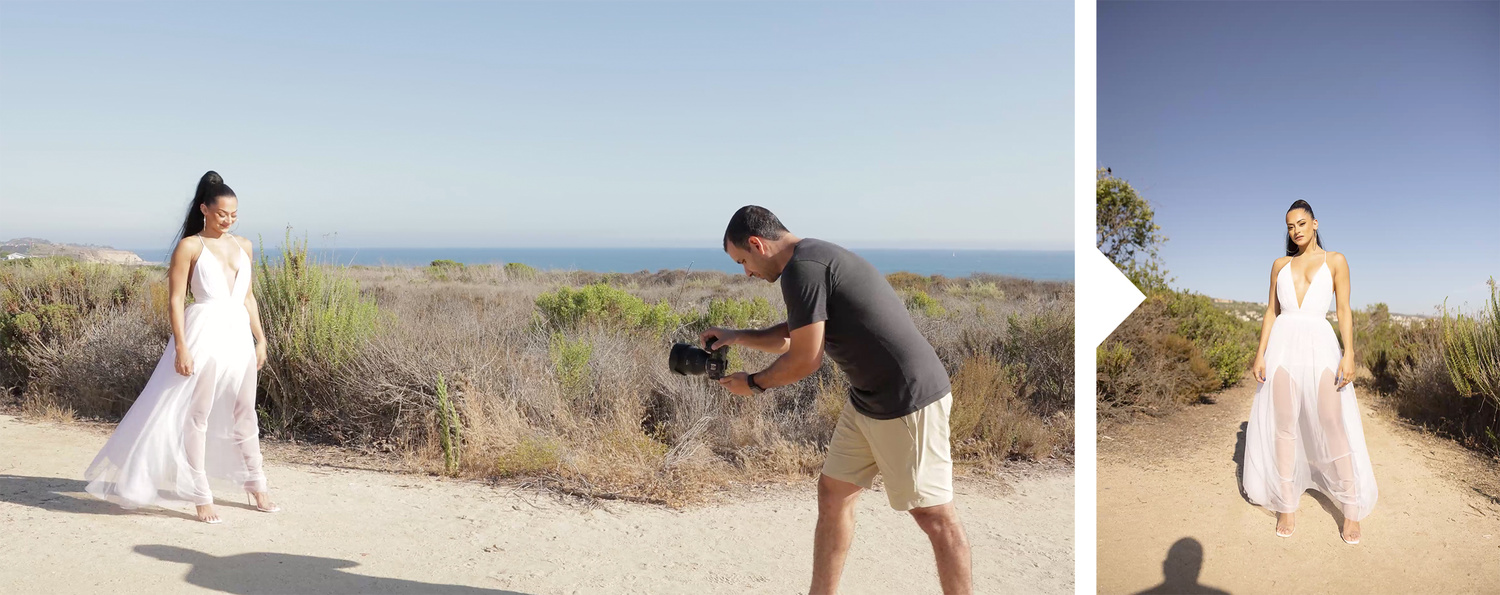
Let's start with our "walk-up" shot before adding in any of our props. We begin with Kiara center framed and lit by direct sunlight.
Step One: Backlight Your Subject

Our first change will be changing the front-lighting to back-lighting. I decided to backlight her so that her flowy and translucent dress could create great highlights.
Step Two: Find a Foreground Element

The image so far wasn't bad; however, I found it a bit uninteresting and empty. I added to the scene by stepping behind this back-lit plant and having it in the foreground.
Step Three: Fill the Entire Frame

The next area of improvement is the sky. It seemed a little bland. To cover it up, I had Kiara step in beneath a tree with overhanging branches.
Step Four: Add Your Creative Photography Props
Prop One: The Chair
Furniture is one of my favorite pieces of prop to add to a scene. You can rent it for quite cheap instead of buying it. Check around for local vendors who work events, and you may find some great and interesting props to use in your photos.

I placed this chair where Kiara was standing.
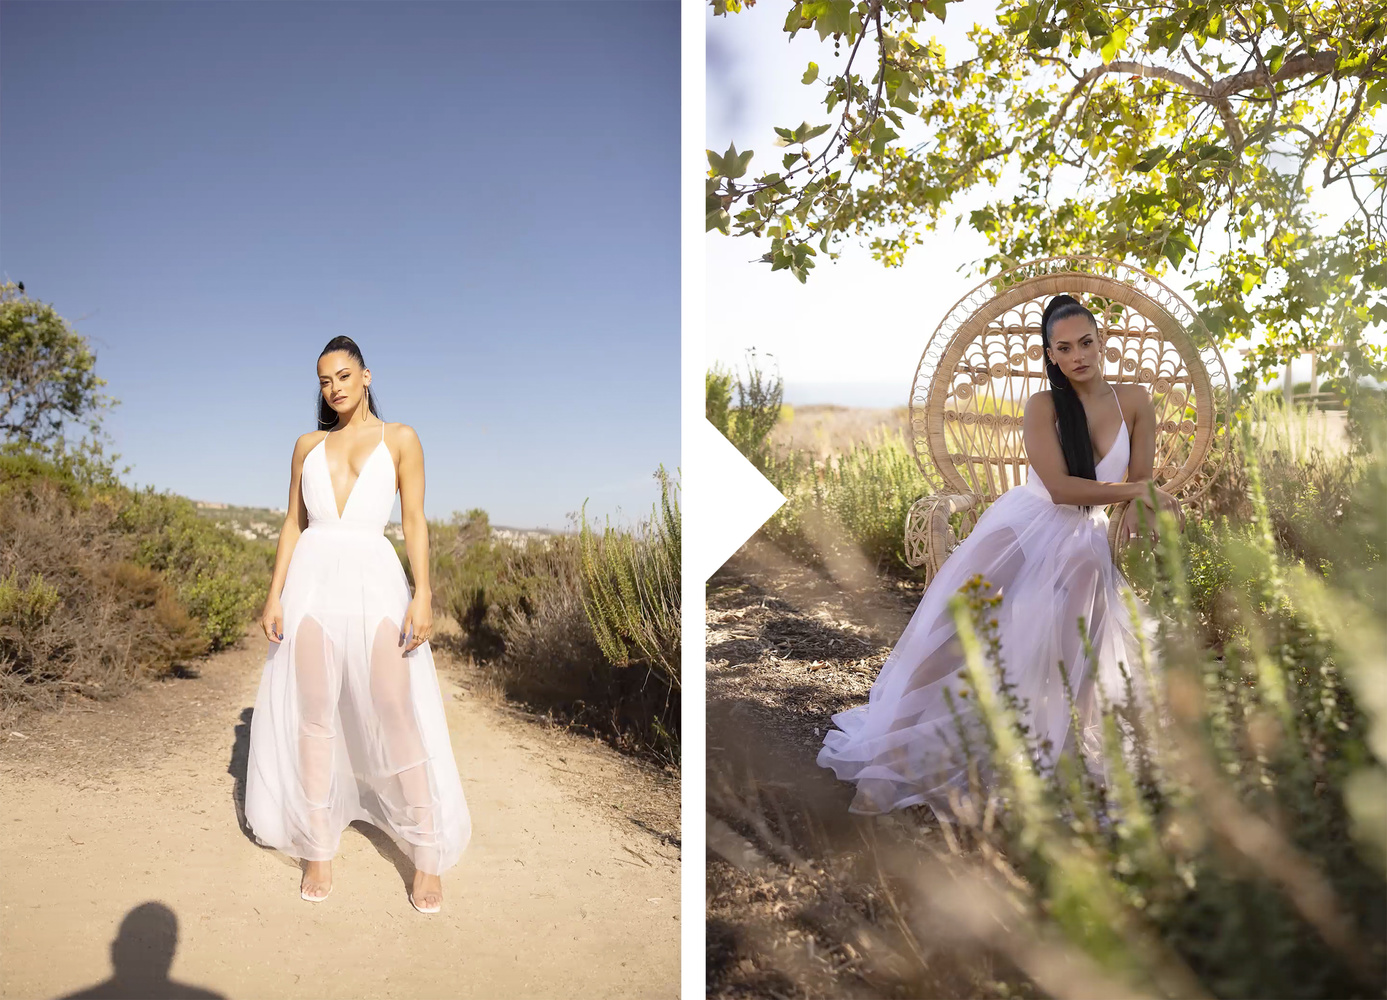
Here's the final image compared with where we first started.

From here, I switched out my lens for the 35mm Sigma. Here are some of the final images from this location edited with Visual Flow's Pastel Preset Pack.
Prop Two Palm Frond
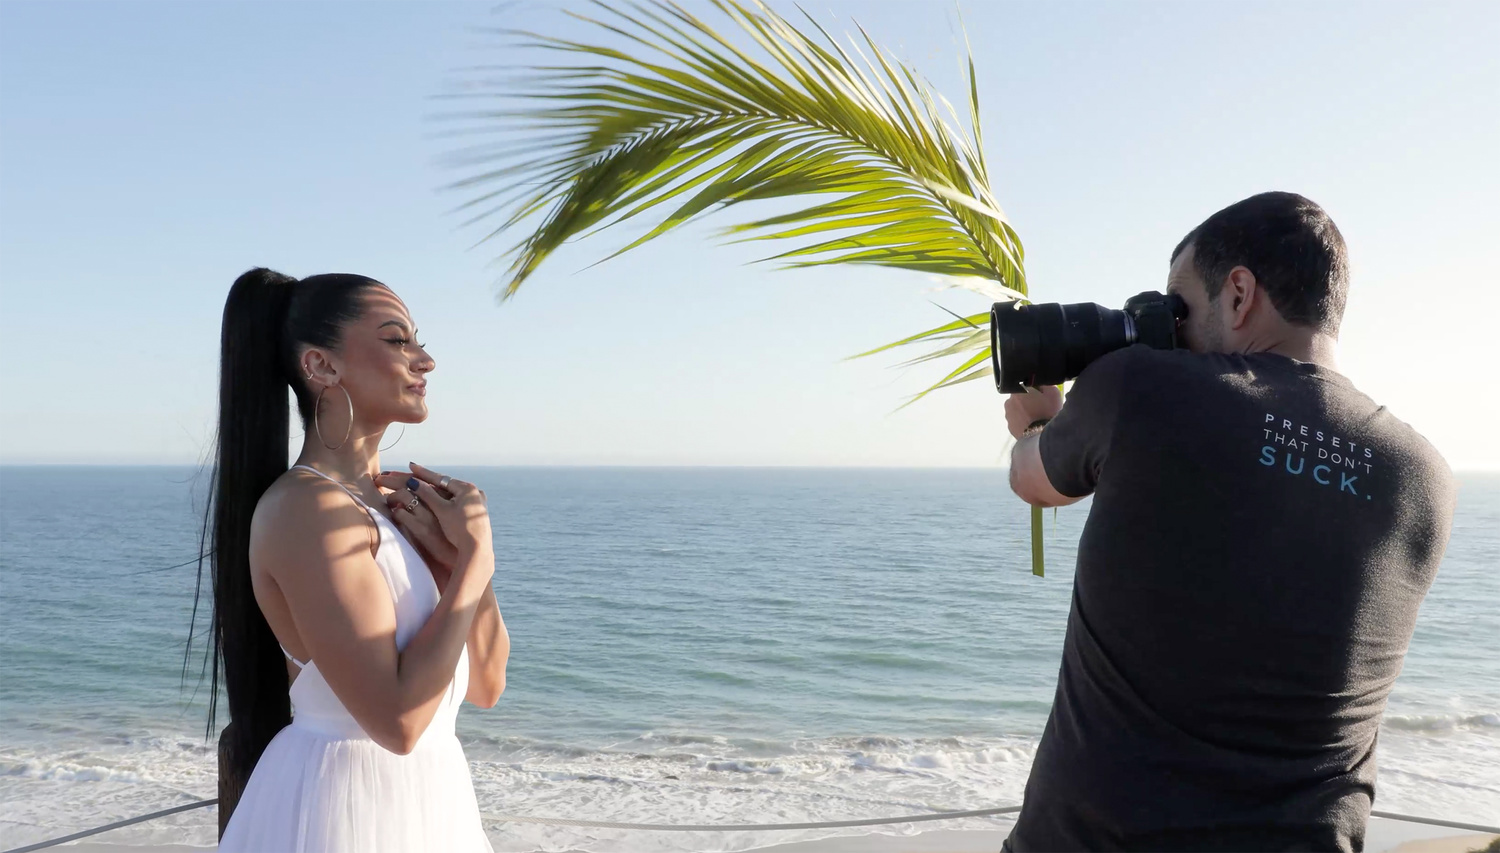
For our next scene, I used a large palm frond as a gobo to create a shadow pattern on Kiara's face. We were working with front lighting, and I placed Kiara against a clear sky to keep from distractions in the shot
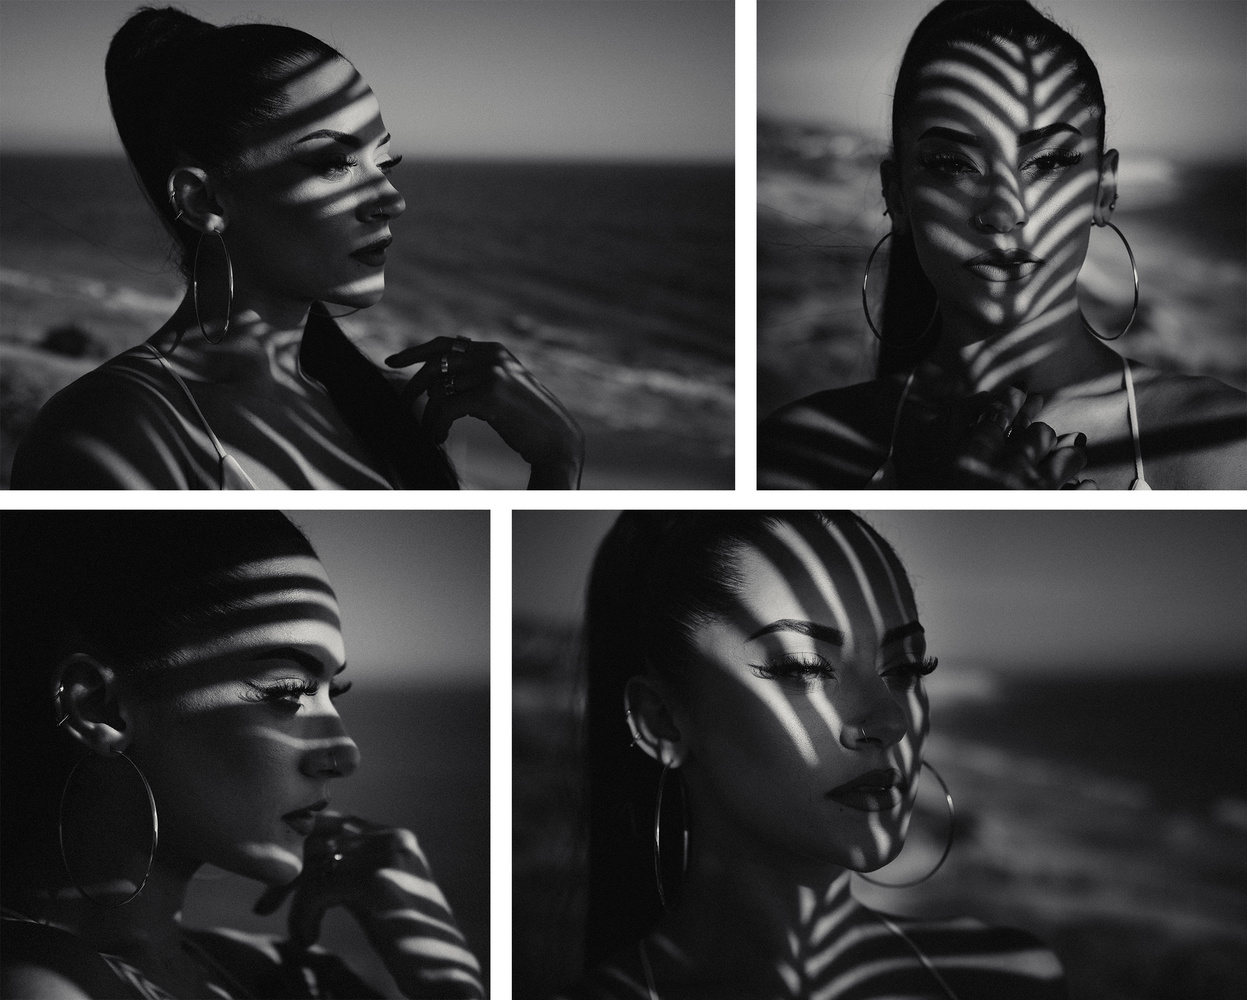
Here are some of my favorite shots edited with Visual Flow's Black and White Mixer Preset.
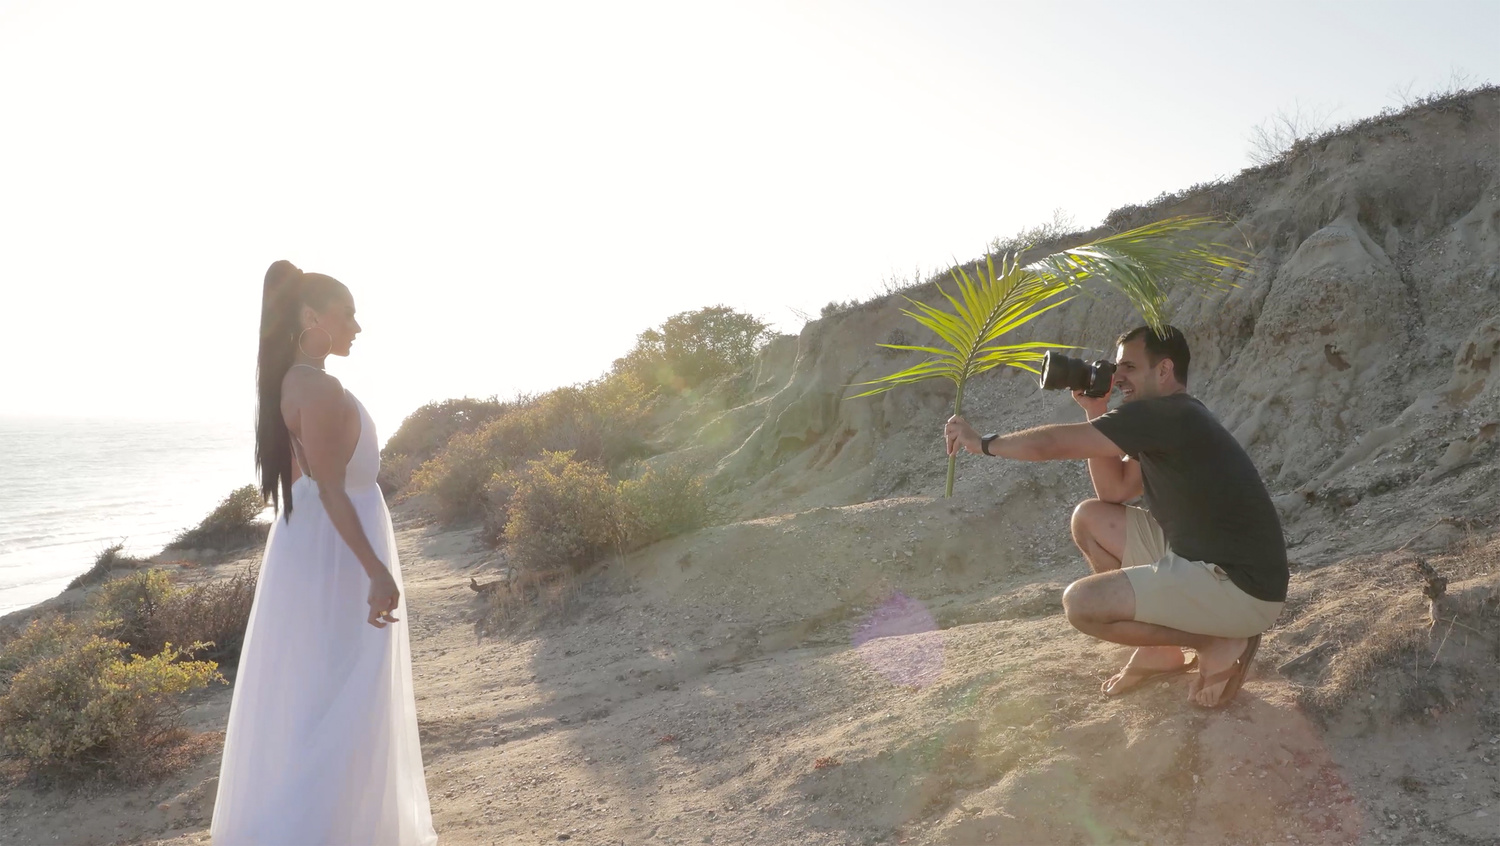
Lastly, I used the same palm frond as a foreground element. She was lit by the setting sun from the side. I increased my depth of field to capture more of the palm frond and held it up to wrap around Kiara from above.

Check out the final shot from this set, edited with Visual Flow's Mood Preset Pack.
Conclusion
I hope you enjoyed this video and article. Next time you're out on a shoot, try following these tips and adding some creative photography props to your scene! Not only do they add production value, they can add story and help create an overall dynamic image.
Before you go, check out Visual Flow for intuitive lighting-based presets to get similar looks as we did here. In addition, for complete courses on all things photography, be sure to visit SLR Lounge Premium Library. See you next time!


Love the palm frond shade!
I loved the palm tree part, which was not typical and very useful. The rest just resulted in creating distractions (having too busy foreground and background with things taking attention away from the portrait) which ruin the portraits / photos.
Pretty cool with that palm fond. The rest were great tips also!