I don’t use Adobe Lightroom. I use Bridge and Photoshop to retouch my client’s and my own images. Here are some tips and advice on how to use certain tools in Photoshop to get the best out of your work.
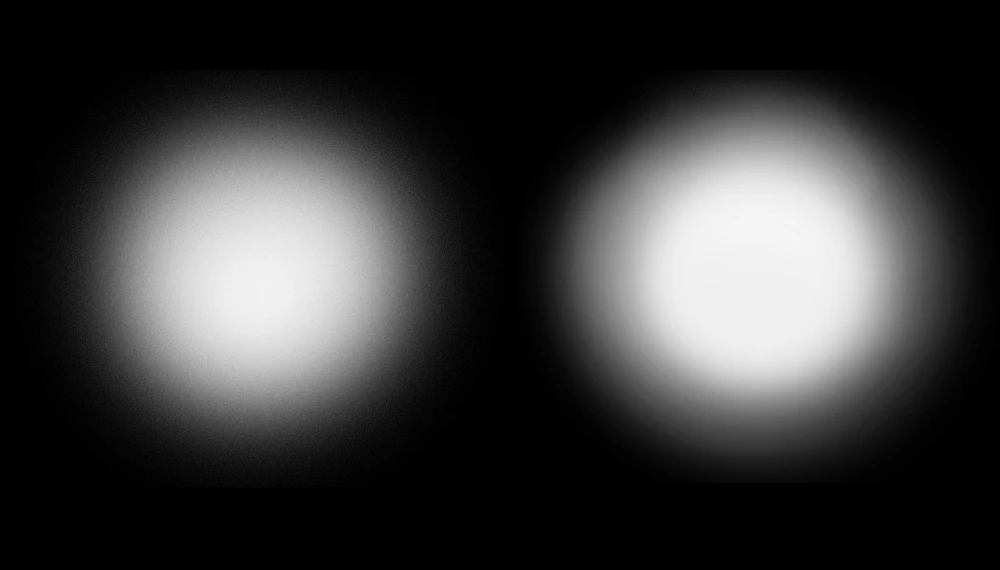
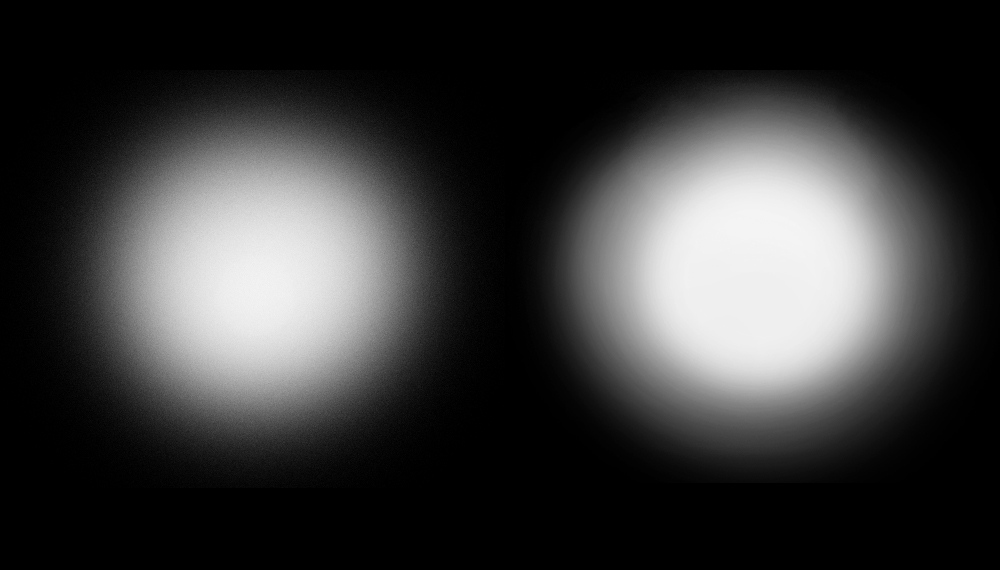
Go With the Flow
Don’t use opacity to control your brush’s strength. Rather set it to 100% and use the flow set to 1%. The more you go over a spot, the stronger you can get the brush stroke to be and there’ll be no artifacts in 8-bit files and you’ll get a good fade instead of rigid patterns forming. If you use opacity, you will need to lift your pen each time, and you won't start again where you stopped which causes uneven strokes.
Some people really don’t like the tablets. They buy it, and then after the first couple of attempts pack it up and put it in the drawer.
It’s the hand-eye coordination thing that most likely causes this to happen, and it’s only practice that’ll make you see the light. Over a period of time, you’ll also see how your retouching has improved using a tablet. It's more intuitive and similar to drawing. I used a mouse for the first years of retouching, but once I picked up my Wacom tablet, I never looked back.
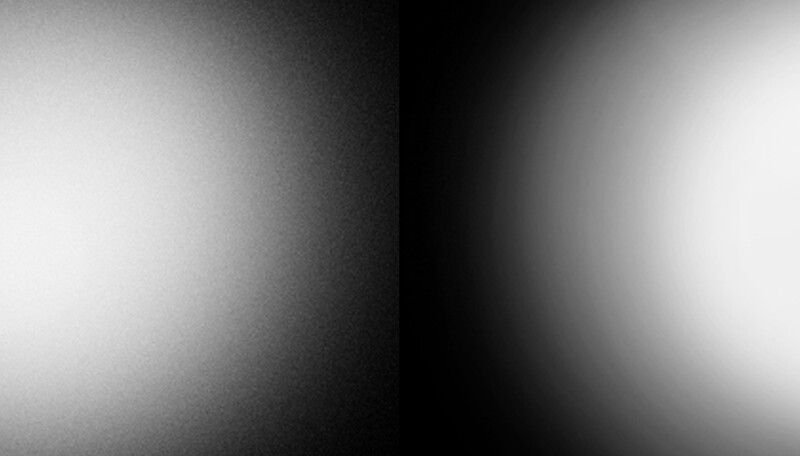
Under Pressure
When using a tablet, don’t use the pressure sensitivity that comes as part of the software of the tablet. Instead, keep it set to a constant pressure. Now you know that it’s always consistent, and you can use the flow to get a stronger or weaker stroke on the artwork you are retouching.
Liquify This, Not That
Don’t liquify bodies. I believe it's ethically wrong to make someone skinnier. Rather use it to fix garments where needed. Often the stylist or make-up artist doesn't see from the same angle the photographer is seeing the subject and garments. So it can be missed that one part of the jacket or dress is bulky or not as fluid as it is supposed to. Retouching can correct this.
Don’t Airbrush
I think we are beyond the plastification of faces, but some still airbrush skin to make it unnaturally smooth. If I look at the trends now, airbrush something and you won’t work in the areas of photography that’s fun and pays well.
Rotate Your Canvas
I didn’t know you could do this, but by using your two fingers on your track-pad you can rotate your canvas. You can also use the R key and rotate as you wish. Often you need a specific angle to get the right effect retouch an edge of a garment, so this works well. You can also use two fingers to zoom in, so instead of using the Z key, it’s quicker and I find more intuitive to do so. And the trackpad allows you to move around your artboard in Photoshop with two fingers too, so spacebar-clicking is only needed if you’re very zoomed-in and need to get to a different area, but this is not quite how most retouchers work, so the track-pad can become your new best friend, especially on the newer Macs with the enormous trackpad.
Don’t Call it Editing Because it’s Not
Editing is when you select photos. The photographer selects the frames for their story, just like a movie editor will select the shots to make their movie. Retouching is when you are working on these individual shots and applying effects and changes to enhance them. You are then not editing, you are retouching. Editing is selecting the shots, retouching is enhancing the selected.
Extra tips:
The D key resets your colors to the default, which is black and white.
The X key swaps the foreground and background colors.
What are your tips and advice, and what above do you think is wrong?
Great tip with Flow, Have to give it a try. Other tips I can also recommend as I use them too with great success. Great and useful article, thanks for sharing!
Great advice on brush flow. I always used opacity to control the brush rather than flow. I too could not get used to a pen tablet. On top of trying to learn hand-eye coordination my Wacom driver was making me nuts. I packed it, threw it in a drawer and few months later sold it.
I am waiting for my Huion screen tablet to arrive shortly. It's a bigger investment than a pen tablet but there are some amazing product out there for very fair prices. The short time I had the chance to work on one got me hooked.
Why would anyone use Photoshop if you can do virtually the same with Affinity Photo for a fraction of the cost?? Add Exposure 3.0 and you have a perfect retouching workflow.
I've been using Wacom for over 10 years to the point of not needing a mouse anymore. I use it in Maya as well. It's so much more comfortable than a mouse.
Thanks for reinforcing my belief that Lightroom is the most unnecessary software ever. ACR and PS have everything needed. I will try your Flow idea -- makes sense.


8 Comments
Great tip with Flow, Have to give it a try. Other tips I can also recommend as I use them too with great success. Great and useful article, thanks for sharing!
Great advice on brush flow. I always used opacity to control the brush rather than flow. I too could not get used to a pen tablet. On top of trying to learn hand-eye coordination my Wacom driver was making me nuts. I packed it, threw it in a drawer and few months later sold it.
I am waiting for my Huion screen tablet to arrive shortly. It's a bigger investment than a pen tablet but there are some amazing product out there for very fair prices. The short time I had the chance to work on one got me hooked.
Thanks for the tips.
Why would anyone use Photoshop if you can do virtually the same with Affinity Photo for a fraction of the cost?? Add Exposure 3.0 and you have a perfect retouching workflow.
I've been using Wacom for over 10 years to the point of not needing a mouse anymore. I use it in Maya as well. It's so much more comfortable than a mouse.
Good tip with the flow. All the rest has been said forever. Liquify body is always a personal choice, as ethics
Thanks for reinforcing my belief that Lightroom is the most unnecessary software ever. ACR and PS have everything needed. I will try your Flow idea -- makes sense.
Using photoshop to make bodies slender or smooth skin is no more or less an ethical decision than plastic surgery or make-up.
I understand your stance and agree to a degree. It should be a discussion, so thanks for sharing.
Hit "Esc" to quickly un-rotate. Once I learned that, rotate became a real go-to for better brushing.