
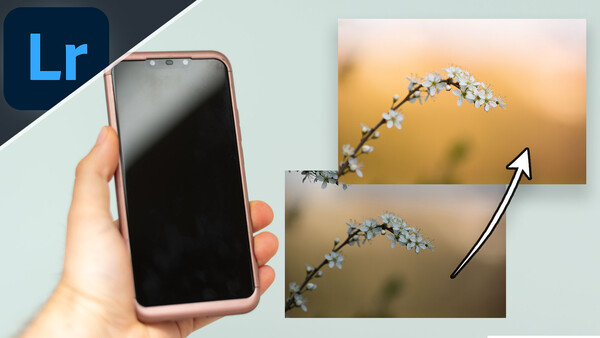
Tired of your nature photos looking drab and dreary? Well, thanks to the power of Lightroom Mobile, you can now breathe new life into your images on the go thanks to its comprehensive toolset.
Most of the time we edit our images by transferring shots from the memory card to a laptop or desktop computer and then use an image editing software such as Lightroom to make our edits before publishing them. But now we have the power to develop our photos right in our own pockets with Lightroom Mobile.
Using the existing editing tools, the mobile version of Lightroom has just as much oompf under the bonnet as the desktop version. Okay, so it isn't quite as comprehensive as Lightroom Classic, and the limit of your phone's processing power and storage memory will dictate how well it functions, but we're talking about a handheld device that just slips into your pocket. That, and it also edits raw files, so there's even greater editing flexibility.
I'm going to show you how you can transform your nature photos by taking some simple steps to ensure your images look tip-top, in just the same way that I would use the desktop version of Lightroom. If you've ever wondered whether you could make all the essential edits you need just on your smartphone, wonder no longer.
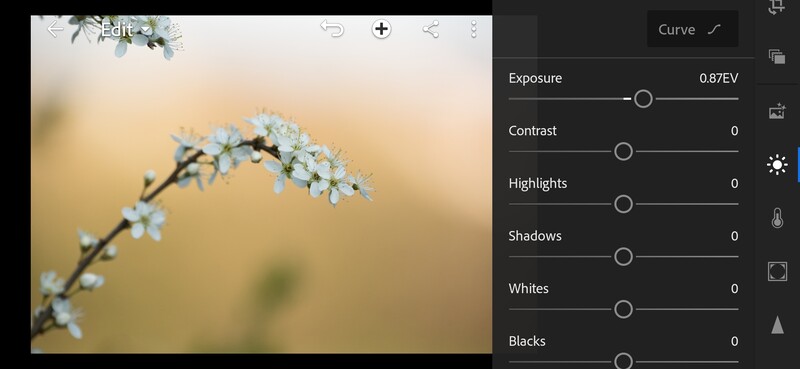
Lift the Exposure
For this edit, I'll be using a raw file that's completely unprocessed. You could either transfer files from your memory card to the computer and send them via the cloud to your smartphone, or you could engage the Wi-Fi capabilities on your camera and transfer images directly to the proprietary app on your smart device. You could even shoot images in raw with your smartphone, as many mobiles have this option now.
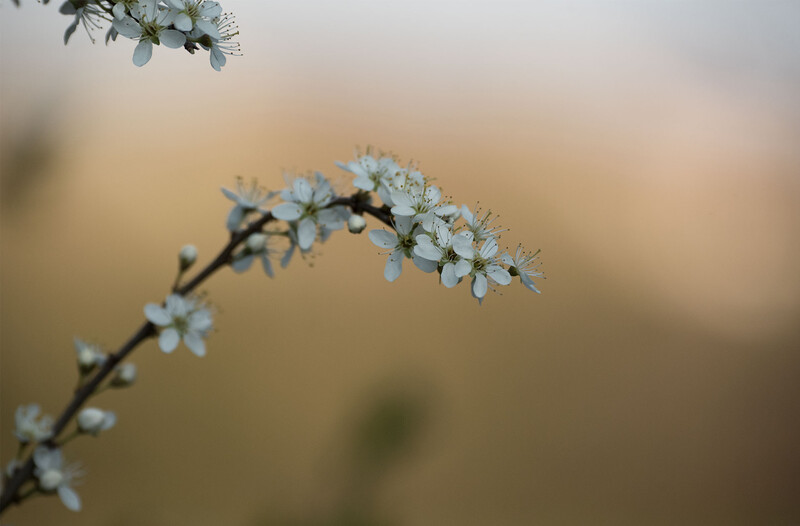
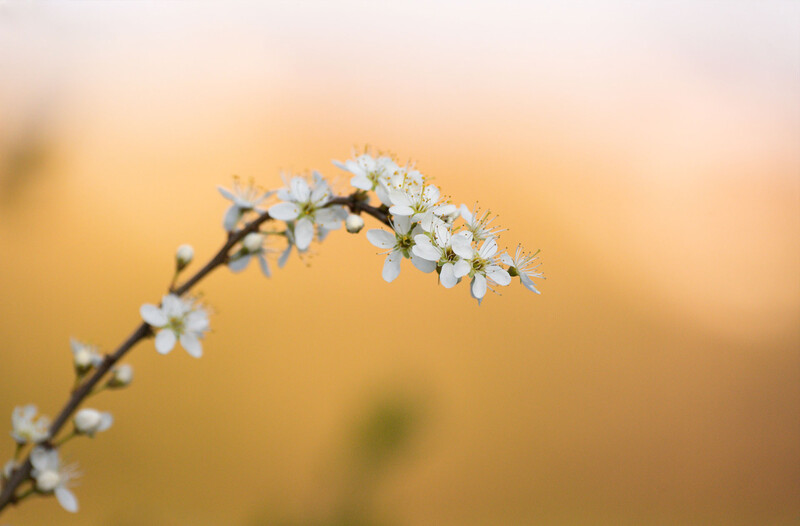
To start with, I've got to correct the slight underexposure of my macro shot of these white flowers. With my smartphone in the horizontal orientation, I scrolled down the toolbar on the right to get to the Light tab (displayed with the sun icon) and then adjusted the exposure slider to 0.87EV. This made the entire frame uniformly brighter, but the bright white petals were still a little gray.
Enhance the Whites Slider

To add some sparkle to the white flowers, I decided to stay in the Light tab and head down to the Whites slider to boost those areas. The Whites slider is responsible for changing the very brightest portions of your image, and in this example, it makes a big difference to the top of the frame (the sky) and the white petals on our foreground subject. I boosted the slider to 24 so as to make them brighter but not clip the whites in the shot.
Correct White Balance
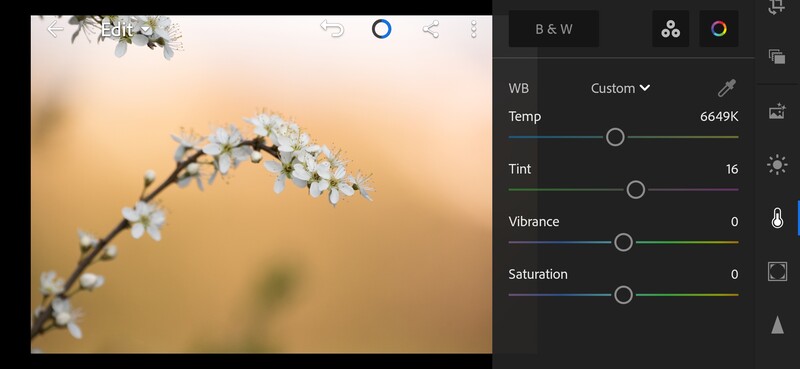
After taking care of the total balance, I next wanted to address the color temperature before moving any further. There's nothing that can alter an edit more than the wrong white balance in a photo. It can be responsible for throwing off a multitude of other editing settings you're about to throw at it, so it's important to get right early on.
I scrolled down the toolbar to the Color tab to access the color settings. The sunset light was warmly lighting the distant backdrop in a gorgeous orange hue, but the original photo just doesn't reflect this at all (due to the wrong white balance being used during capture). So, to correct this, I turned the Temp slider up to 6649K to make the image much warmer, introducing more yellow and less blue. I also mimicked this move with the Tint slider by increasing it to 16, with an increase in magenta tones and a decrease in greens.
Introduce Some Color
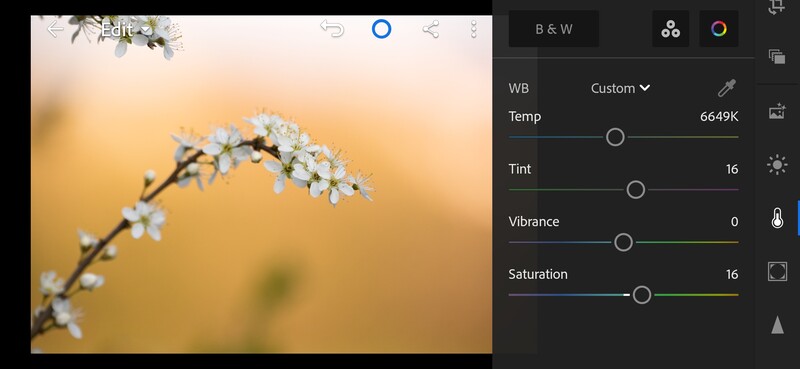
With the white balance now more accurately reflecting what the scene looked like when I stood there to take the photograph, we can move onto some more nit-picky edits. Remaining in the color tab, I scrolled down beneath the white balance controls and decided to boost the saturation slider to 16. I chose to do this for two reasons.
First, I wanted to make the photo brim with color, and boosting the saturation by this amount gave this awesome shine to the orange tones in the photo, but it wasn't too high to make the colors clip and distort. Second, I tried the vibrance slider initially so that I couldn't clip the colors (as you can almost never clip colors with vibrance), but part of its design is to enhance subtler colors in the image, and that's what it did by enhancing blues in the shaded petals and greens in the distant foliage. I didn't want this, hence why I stuck with the saturation slider, which boosts the saturation of all colors at the same rate across the frame.
Start Healing the Image
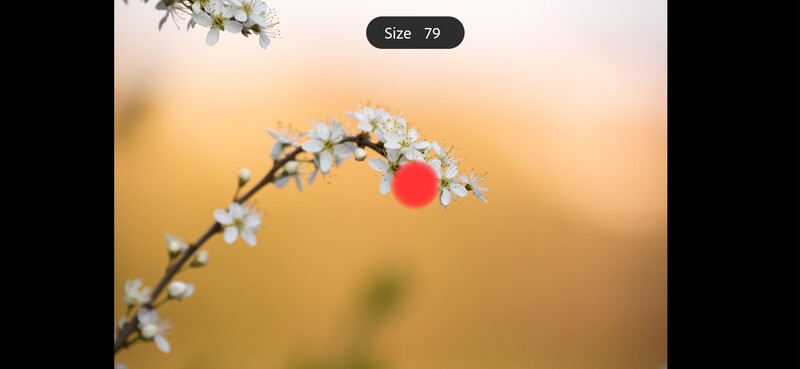
With the majority of the image now edited how I want, it's time to move onto some selective problems. Namely, the flowers poking in from the top-left of the frame. To remove this, I scrolled down to the Healing tab and set the brush size to 79, roughly the same width as the flowers that are creeping into the frame.
Adjust the Feather
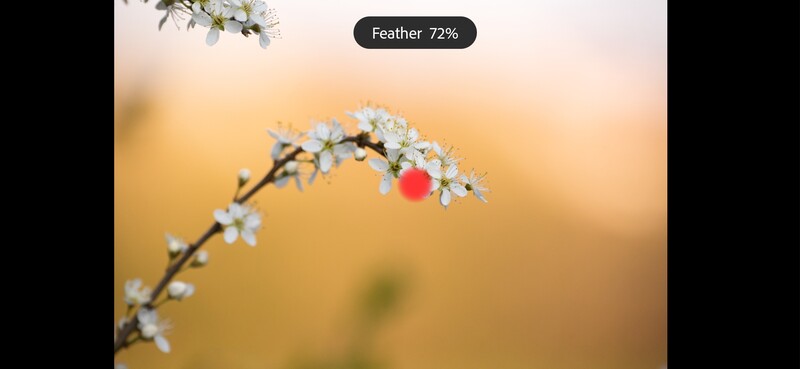
I also made an adjustment on the feathering of the brush, increasing it to 72% to give a softer edge. Hard edges, especially when using a tool such as the healing brush tool, can produce much more obvious outlines. I want the healing brush tool to remove the distracting flowers and make them look like they were never there, hence my feather choice here.
Make Your Selection
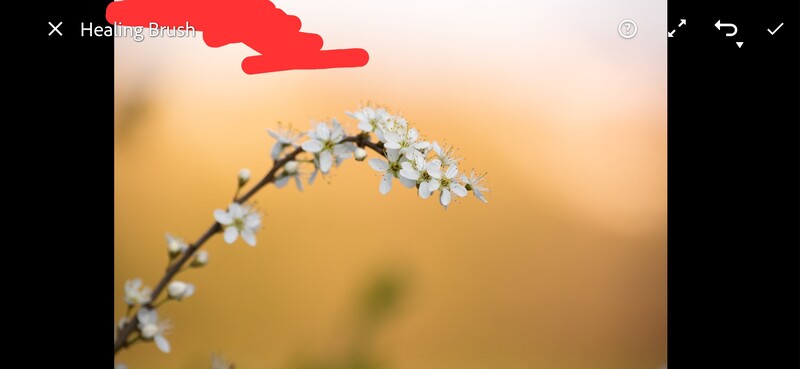
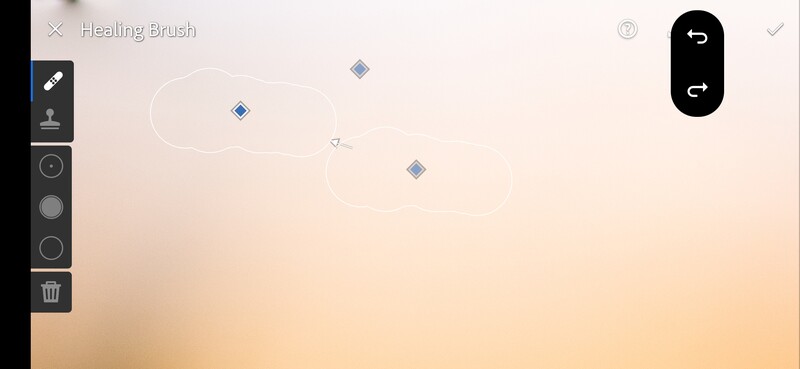
Using my finger, I then scribbled a rough overlay on top of the offending area, which you can see here overlaid in red. I tend to heal larger sections like this zoomed out or with the image fit-to-screen, because I can cover a larger area more quickly. But there's always room for improvement, as you're about to see.
Adjust the Selection
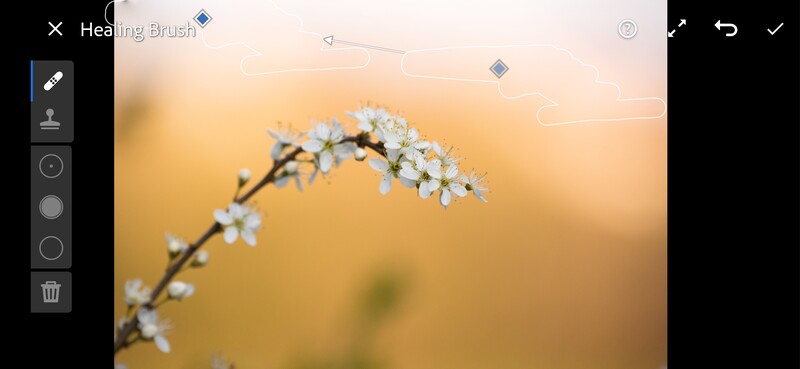
Let go from your selection, and Lightroom Mobile will automatically seek out an appropriate spot to heal from in the photo and overlay it to the area. Running this right up to the edges of the frame or even slightly missing out on small sections of the portions you're trying to eradicate will leave a small blurry mark, as seen in the top-left of this screenshot. But there's a way to remedy that.
Zoom in for Precision
Double-tap the image to zoom in (or do a pinch-to-zoom gesture with your fingers) and navigate around the photo until you get to your problem area. From here, resize the healing brush as appropriate and make another selection to eliminate the aberration. Repeat this process until everything has been cleaned up to your satisfaction.
Enable Lens Profile Corrections
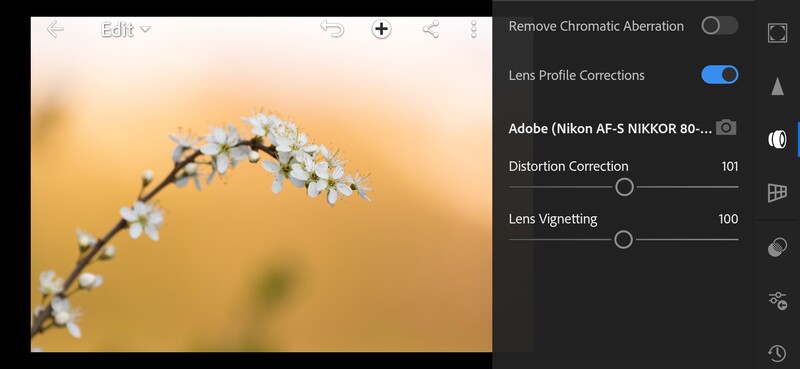
Now that the image is free from distractions, I wanted to finalize the edit with a lens profile correction under the Optics tab. Ticking the switch to engage the lens profile corrections, I utilized the automatic application of the tool to remove lens distortion and edge vignetting from the photo. But I'm a sucker for intimate, darker edges that help draw the eye to the center, so I had one more move to make.
Darken the Edges
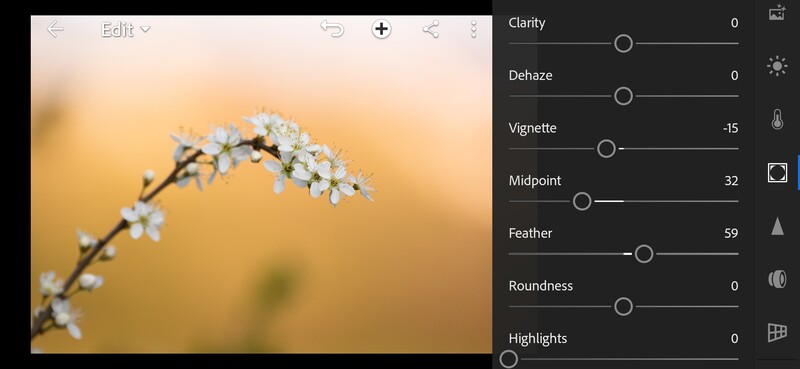
Down the toolbar a little further, there's an Effects tab. In here, there are sliders that change things like clarity, dehaze, and texture, but I'm looking for the vignette slider. I turned the slider down to -15 to add a subtle dark edge to the frame (alternatively, slide it right to a positive value for a brighter edge) and then decreased the midpoint slider to bring the vignette farther into the center of the frame. I also added some feathering to help blend it in.
So, there we go, Lightroom Mobile has a vast array of editing functions in it, so much so that you probably don't need a laptop or desktop version to edit your photos from. Will it replace desktop Lightroom? For the vast majority of hobbyists, amateurs, and professionals alike, no, of course, it won't. The processing power of a larger computer and increased storage capacity is much too advantageous for a smartphone to take its place. But for those of us who want to make powerful edits to our nature photos using smart devices without compromising on tools or quality, Lightroom Mobile is the software to use.


Join the Fstoppers community for free
-
Post comments and join in the discussions
-
Browse the site ad-free
-
Share your work and get featured in the community
-
Compete in the photo contests for fun and prizes
No comments yet