
Luminosity masks are a powerful trick available in Photoshop. However, the way Adobe implemented them is not so great. It's a combination of playing around with the channels layers and keyboard shortcuts to get the mask you wish. Greg Benz has come up with something awesome called Lumenzia and it fixes almost everything that made using luminosity masks a pain to use.
I am not the kind of photographer/retoucher that likes to have as many fancy plugins as possible in Photoshop. I only use two: the RA Beauty Retouch Panel and Alien Skin Exposure. Both are meant to make my workflow faster and easier, but I could live without them. I don't like to be dependent on a plugin to get my work done. However, Lumenzia just won my heart and has joined the two others to make my workflow even easier. This time, I think I might well have found a plugin I will not be able to work without anymore. And when I saw that Pratik Naik is also using it, I thought if it were good enough for him, it would probably be more than good enough for everyone else retouching.
What Are Luminosity Masks?
Before getting into the details of the Lumenzia, let's talk a little bit about luminosity masks, what they are and what they could be used for. Probably not everyone is familiar with them even though they are so useful.
Luminosity masking is just like the name implies: a mask created based on luminosity levels. There is a way in Photoshop to select (somewhat) precisely a range of luminosity values and this is done using channels.
Once the selection is made, you can then adjust only the selected luminosity range/values without touching anything else in the image. That means, for example, you could make your midtones brighter without affecting the highlights or the shadows.
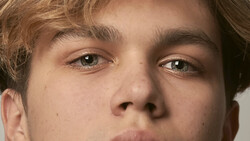
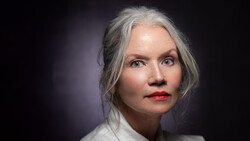
A real world example would for portrait photographers who want to give a slight shine effect to the skin. A curve that would make the lightest areas of the skin even lighter could do the trick. Instead of spending time creating a manual mask, a simple selection of the lightest luminosity values of the image will work: that's the power of luminosity masks. You can read more about this technique to create beautiful glowing skin in one of my previous articles.
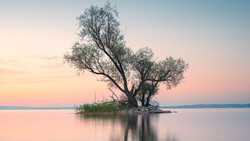
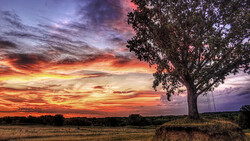
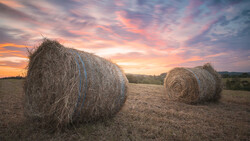
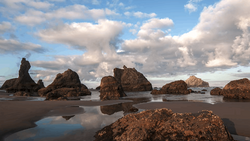
For landscape photographers, I think I do not need to go into details. Adjusting parts of an image based on luminosity values means you can create clean and beautiful HDR images manually (I am not talking about crappy HDR, but true high dynamic range images done with taste). Fstoppers writer Casey Berner even wrote an article with a video about it.
How Will Lumenzia Make Your Life Easier?
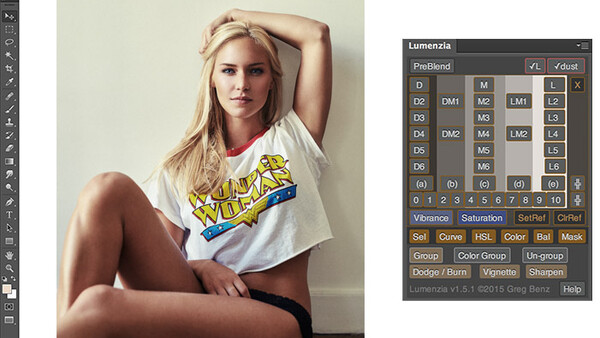
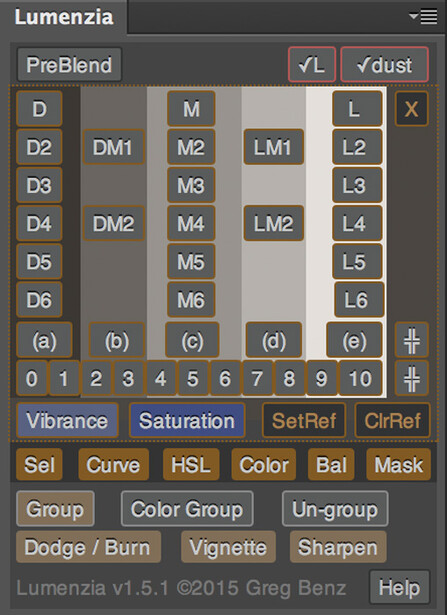
Like every good plugin, it is easy to use — very easy. At first, the interface looks a bit non-intuitive. However, after a few seconds you get a hang of it and what appeared like a rough interface, actually turns out to be very ergonomic.
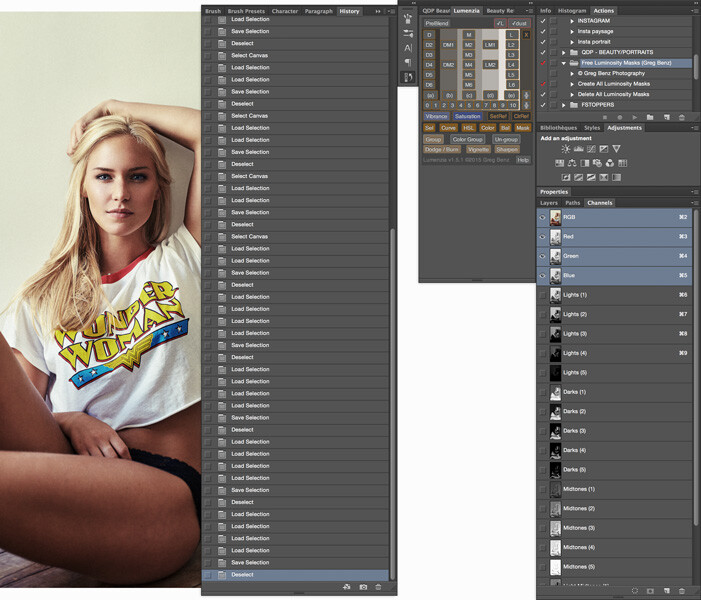
With Photoshop, you never really know what you are selecting, it's a bit of an "it looks great this way" and then play around to get the right selection. The adding and subtracting of channels in Photoshop is not optimal. It's great if you have time, but I'm sure that like me you would much rather shoot than spend time in front of your computer trying to make a selection. Now with Lumenzia, you click a button and it shows temporary layers that you can tweak to create the perfect selection in a visual manner. Once you are happy with it, you then chose whether you want to get a selection, a curve, a hue/saturation layer, a solid color layer, a color balance layer, or a mask on the current layer.
Even better, you can create a luminosity selection by picking the area that matches the luminosity values you want to target. So no need to try and guess like with Photoshop. You can create the mask or selection you exactly need.
Another problem that the Photoshop method has is that it tends to add an enormous amount of steps in your history and additional channels that you probably will not use. Because of that, it will most likely make your files bigger. Benz says that using the traditional method can bring a Nikon D800 file from 200 MB to 1.4 GB — which is crazy! Because Lumenzia doesn't use channels, your files keep their size, and your history will only have one more step, not hundreds. As luminosity masks tend to be used a lot by landscape photographers, keeping files small is rather a significant advantage. With cameras like the D810, Canon 5DS, or medium format, not adding useless channels and history steps is quite pleasing.

Lumenzia Bonuses
Lumenzia is meant to be a panel that helps you create easy selections or masks based on luminosity values. But it doesn't just do that. It also comes with a couple of other functionalities and bonus content. For example, photographers that shoot a lot of landscapes with multiple exposures will most likely love the PreBlend option. It simplifies the blending of different exposures by putting them in order (either from darkest to lightest or the opposite, depending on what you chose) and align the pictures to make your manual blending easier.
It includes two buttons that are very useful for color correction: vibrance and saturation. There are instances where you don't want to create a mask or selection based on luminosity, but rather based on vibrance or saturation. Well, those two buttons are there for that. Correction of over-saturated areas is made much easier with this possibility.
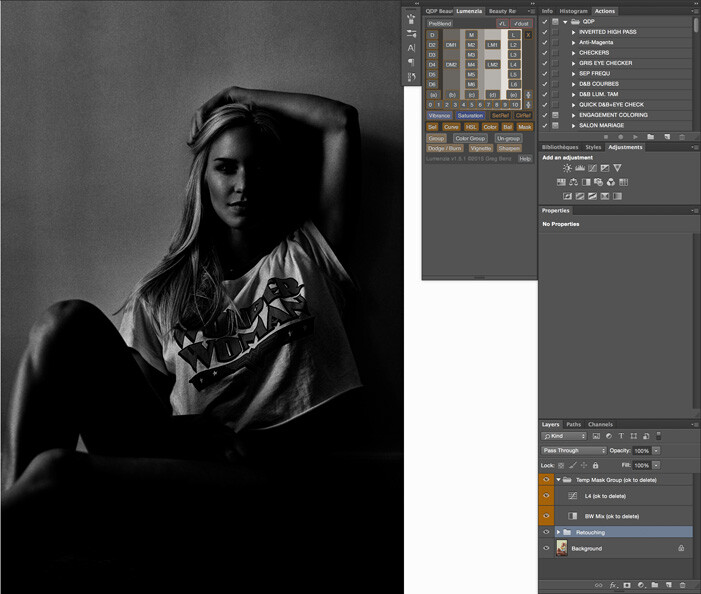
There are still a couple more added functionalities, but to me they are not as useful as I find most of them in the RA Beauty Retouch Panel. These are a luminosity visualization helper (turns image into black and white for easy dodge and burn), dust checker (a sort of solar curve), dodge and burn (creates a 50 percent gray layer), and vignette and sharpen. But for people that do not have the RA panel this might probably turn out to be very handy.
Finally, one thing I discovered by clicking everywhere on the panel is a help button. It leads to a page on Benz's website containing over two hours of video tutorials. In these videos you will learn everything there is to know about luminosity masking and Lumenzia.
Is Lumenzia Worth Its Price?
Priced at $39.99, to me it is a no-brainer. I used to use actions made by Benz that are free. But this panel is much better and makes luminosity masking much easier. Anyone that does a lot of retouching should not even hesitate. Adding in the fact that you get two hours of video tutorials makes the price ridiculously low.
What I like
- The scripts are quick unlike many panels that aren't well optimized.
- Despite being a bit raw, the interface is quite well thought out and easy to work with once you understand the principles of luminosity masking.
- At just $39.99 it is very affordable.
- Two hours of video tutorials to help you get started.
- Way better and easier than what Photoshop offers.
What Could Be Improved
I find it very hard to find something that could be improved. The interface perhaps? But as I said before, it looks a bit unfriendly at first, but it is well thought out. Other than that I do not see much room for improvement.
This panel is a must-have to every retoucher. It does the job well and costs close to nothing. I must admit, I don't understand how Adobe has not yet come up with something similar. Why isn't something this useful included right in Photoshop? While other panels such as the RA Beauty Retouch Panel are geared towards specific genres, luminosity masking is useful for every photographer. Seeing someone who does this as a hobby create something better than a big company like Adobe is almost laughable. To wrap this up, I leave you with a video Benz created to showcase the use of his panel.
For more information about the Lumenzia, head over to Greg Benz's website.
Join the Fstoppers community for free
-
Post comments and join in the discussions
-
Browse the site ad-free
-
Share your work and get featured in the community
-
Compete in the photo contests for fun and prizes
21 Comments
Have you tried the TK Panel? Similar but more powerful for sure. I can't live without it.
I hadn't heard of it before. I'll definitely give it a thorough look, I just googled it to see how it looks and it seems quite promising. Thanks :)
Seems to have copied Tony Kuyper's panel?
on the surface it might look similar, but it's all done with curves and the classic way of intersecting alpha layers (to create the luminosity masks).
Like Lumenzia, I really do.
Check out Raya Pro by Jimmy McIntyre: http://www.shutterevolve.com/raya-pro-the-ultimate-digital-blending-wor…
Does anyone have experience on Lumenzia and Raya Pro to compare them? RayaPro looks as if it increases the file size by adding lots of channels. Raya pro looks easier but Lumenzia looks more adjustable. I took a look at the TK Panel and it makes my head spin, so many buttons it would take a lot of effort just to find the control you are looking for.
I've been working with Lumenzia for a couple of weeks now and have been working with the TK panel before. I must say, I do prefer Lumenzia now. It's faster, less confusing and doesn't leave a huge footprint of unsused alpha layers (like the TK panel). Big thumbs up for the creator's ingenious approach, creating luminosity masks using custom curves.
Thank you fot information. Was looking for this for a long time.
I have used TK panels for a couple of years now and imho they are the best luminosity masks out there atm. V4 just came out. Also Tony Kuyper and Sean Bagshaws tutorials are realy good and well priced on the subject. Lumenzia is nice but lacks a lot of options at this moment.
Sometimes too many options can be a curse for you and the client.
TK is probably great. I haven't tried it yet, but looking at the interface makes me wonder why I would need so many buttons. For my current use, Lumenzia is more than enough and does just what I need :)
Also TK is not something I would recommend to any beginner as I'm sure they'd most likely never use it because the interface is overwhelming. Lumenzia is slightly easier to understand in my opinion. The easiest solution for beginners to get started with luminosity masking at the moment is probably Sven Stork's panel: http://svenstork.com/essays/interactive-luminosity-masks/
and it's free unlike TK or Lumenzia.
I don't get the point of this. This is all stuff you should be performing on the RAW file in something like Capture One, Lightroom, or even DxO, where you have all the luminosity data at your disposal in hi-bit. As matter of fact, I do a lot of this right in LR and CO.
The biggest drawback in RAW processors is that they have crude masking tools and brushes. There are no channel seps, calculations, or vector pen tools. This is a blatant omission and really needs to be addressed in these apps. With those fundamental processes you'd never need anything like this in post.
Looks confusing to me. I'd like to see a demo of this for portraits versus landscapes..
Thank you for reviewing Lumenzia, Quentin. I see several comments asking for more information on Lumenzia. For anyone who's curious to learn more, I have several videos on my YouTube channel that show how it works on various sample images: https://www.youtube.com/playlist?list=PL8G9ylL4I8GpRaJsSCrrzwPSmv68mo2Ae
I will try to understand the concept. its like a magic brush.
I went and redid some old blends using Lumenzia yesterday Greg. I also used it to generate masks for colour adjustment, sharpening, and curves. Gotta say I find it really intuitive, and the results I got were better than the original "final" versions.
Awesome!
Can we see some before and after sample work on portraits?
I'll probably work on a couple of articles showcasing why luminosity mask and selection can useful for portrait, beauty and fashion work. It'll probably be better than before/after pictures ;)
I am pretty new to photoshop, but I must say that Lumenzia has made things so much easier. I can't say enough about how responsive Greg has been to questions, feedback etc. For the $40 you can't find a better investment. His tutorials are very thorough and thoughtful. Take a look...
Jimmy McIntyre's Raya Pro panel is enough for me: http://bit.ly/1JYdOOT