
Hidden within the heart of Adobe Photoshop is a filter that many are familiar with, yet most fail to use to its full potential. It is a powerful, all encompassing workhorse, and its abilities may just change the way you approach your Photoshop edits. Ladies and gentlemen, let's explore the often ignored Camera Raw Filter.
A Little Background for the Unfamiliar
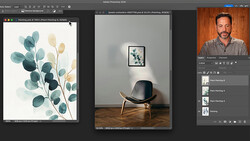
If you started out using Lightroom, chances are Camera Raw might be a bit foreign to you, but you will see so many similarities when you explore this tool as a filter in Photoshop CC. If, like me, you’ve never quite gotten on the Lightroom train, maybe you are already doing your first edits in Adobe Camera Raw. In the past, you’d have to open each image as a Smart Object if you wanted to be able to go back and take advantage of Camera Raw’s filters from within Photoshop. When Photoshop CC came along, Camera Raw was included as a filter that you can apply to any image. If you struggle with color correction, lens distortion, or just want a simple, one-stop shop for all kinds of adjustments, Camera Raw Filter could be your answer. Here, we will explore some of my favorite tools in Photoshop CC's Camera Raw Filter.
Use It as an Adjustment Layer
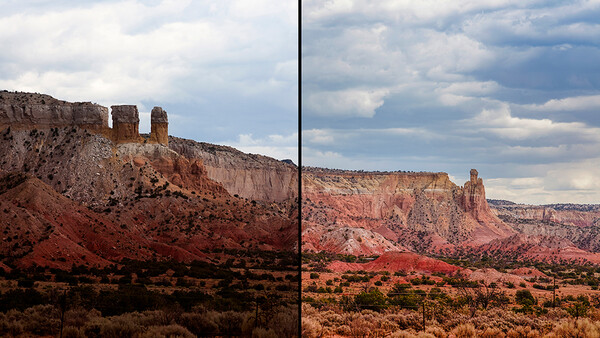
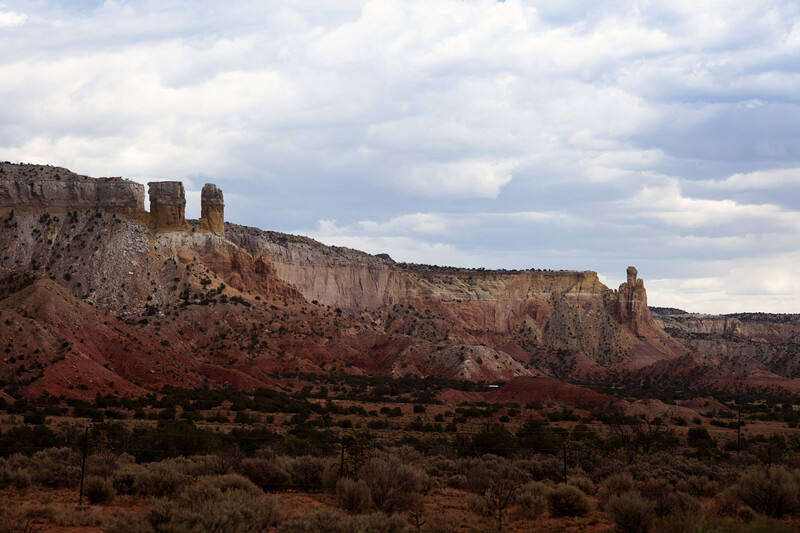
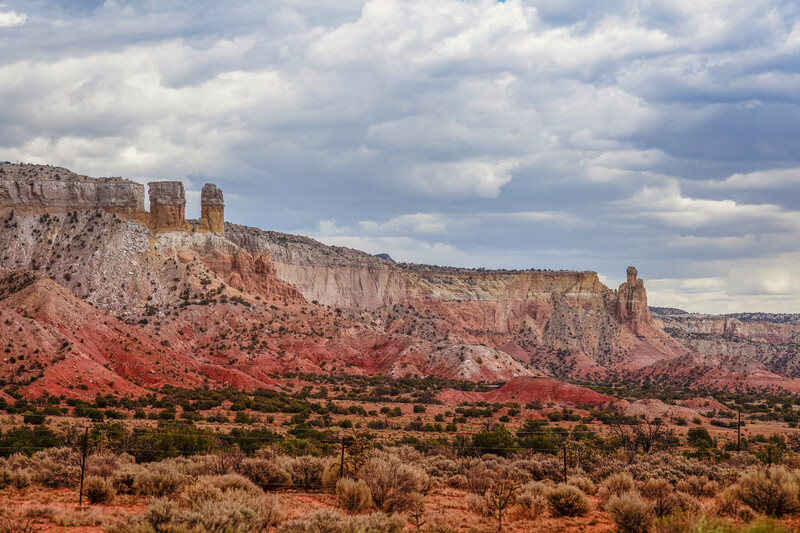
One of the benefits of using Camera Raw as a filter is its ability to be used as an adjustment layer, where you can make changes such as contrast, clarity, vibrance, and much more, by using the sliders in the Basic tab. One of my favorite tweaks here is on the shadows and highlights of images where there is a huge contrast of dark and light. Much of the time, I want to lift the shadows to show more detail in my blacks, without raising the overall exposure of the image. I simply move the Shadows slider to the right, and much of that darkness will be lifted off the deepest areas. In conjunction with this, many times I lower my Highlights by moving that slider to the left. If you find that your background or any other parts of your image are affected by these changes, and you don't want them to be, you can simply use an inverted layer mask and then paint your changes on to only the areas you want them to affect.
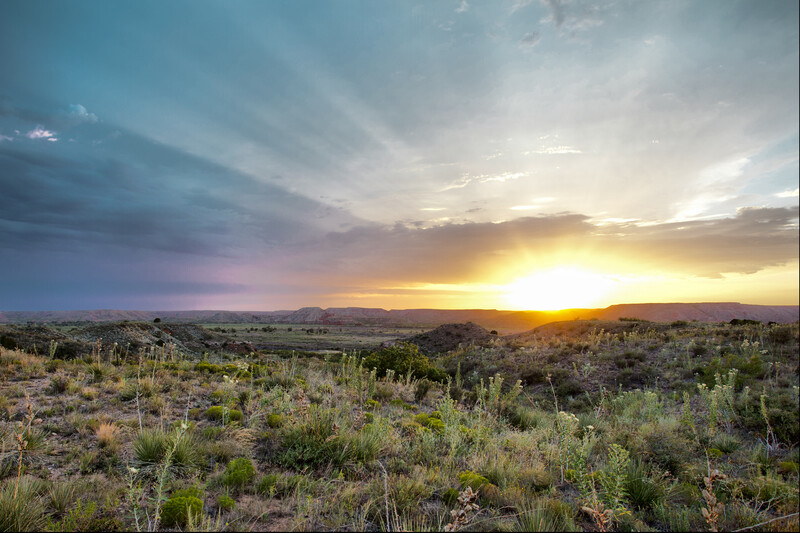
The below before-and-after image is an extreme example, where I lifted the shadows 100% to show more detail in the dark places, and lowered the highlights 100% to add detail in the sky.
Correct Color With HSL Sliders
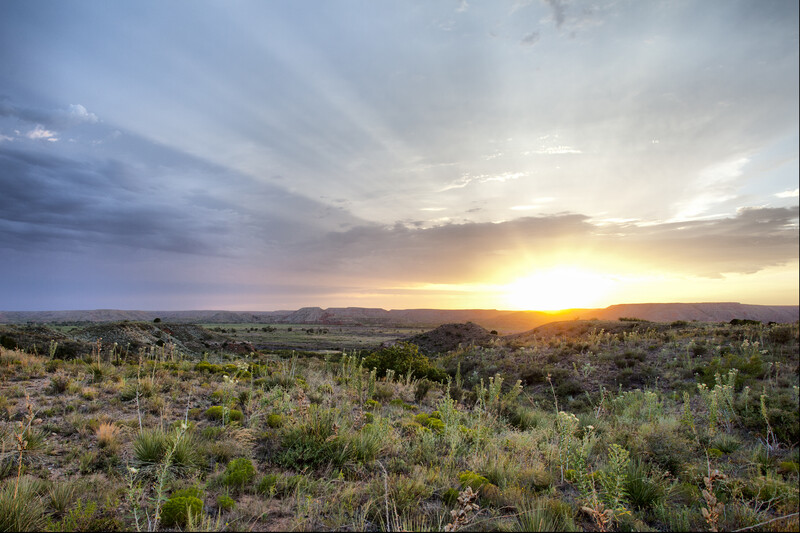
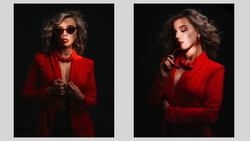
Another function that Camera Raw Filter performs well is spot color correction via the HSL/Grayscale tab. This tool does a great job of separating the colors out so that they can be easily isolated and corrected. It is so fun to play with! When you select the HSL/Grayscale tab, you will open a treasure trove of color correction options. Nose too ruddy on your subject? Try desaturating the reds and oranges a tad, or raise the luminosity on them. Dead winter grass a little too drab and dull? Saturate your oranges and yellows a bit, and change the hue of your yellows until you have a beautiful, golden autumn scene. Summer grass too neon green? By adjusting the hue, saturation, and luminance on your yellow channel, you can create a beautiful, lush green meadow in no time. These changes work great with layer masks to apply color correction to select portions of an image.
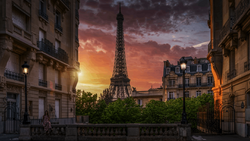
By adjusting the Hue, Saturation, and Luminosity of most of the colors in the following image, I was able to dramatically enhance my sunset. A layer mask allowed me to apply this adjustment to the sky while leaving the ground untouched.
Straighten Up Lens Distortion
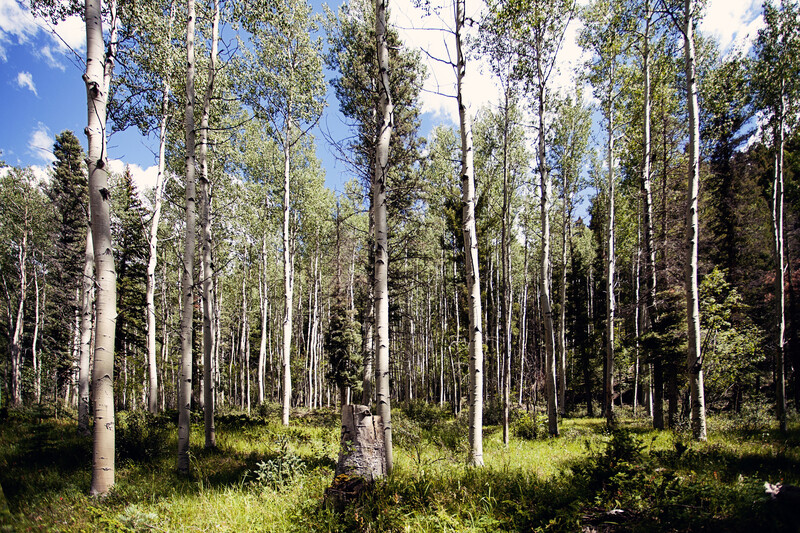
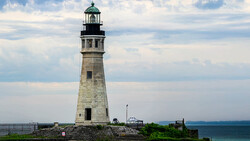
When paired with the lens correction profiles in the Lens Corrections tab, Camera Raw Filter's Transform Tool is a lifesaver for those who use wide-angle lenses and constantly fight line distortion. If you shoot on a wood plank floor, against brick walls, or photograph any number of architectural elements that get bent and skewed by wide-angle lenses, Transform Tool will be invaluable for you. It has an Auto option that will automatically correct overall upright distortion while maintaining the full height and width of your image, as well as several more precise options that will allow you completely eliminate any lens distortion in your image.
In the following example, I used the Vertical correction button within the Transform Tool to correct the lens distortion that resulted from shooting into a stand of aspens with a focal length of 17mm.
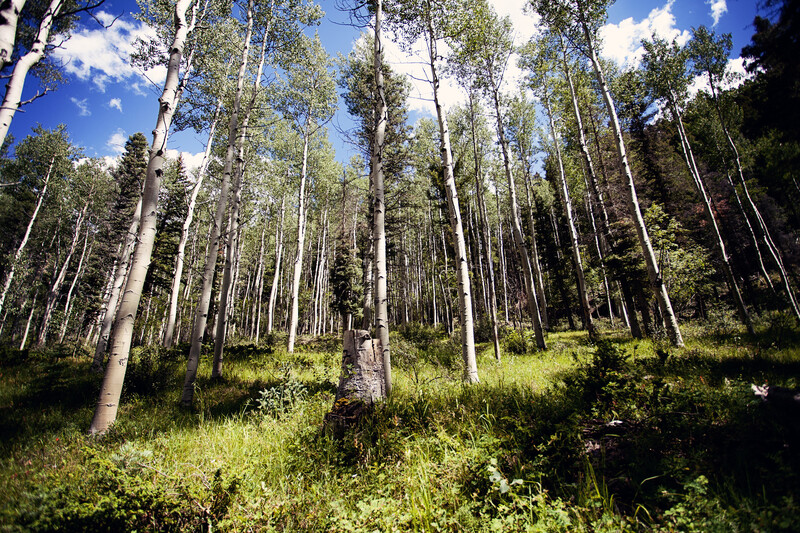
These are just a few select examples of the powerful adjustments that can be applied overall and selectively through the use of the Camera Raw Filter. It just might become the most used weapon in your Photoshop arsenal.


Join the Fstoppers community for free
-
Post comments and join in the discussions
-
Browse the site ad-free
-
Share your work and get featured in the community
-
Compete in the photo contests for fun and prizes
15 Comments
Yep. Using Camera Raw as an adjustment layer is a wonderful part of the workflow.
You mean using it as a Smart Filter, right? As I know ACR cannot be used as an adjustment layer.
I think the way I worded this has caused some confusion. I simply mean that you can apply the filter on a duplicate layer and use it to adjust only the areas that you wish to apply it to. Sorry for the confusion. Perhaps "adjustment layer" was a poor choice of wording.
1) I'm struck by how much better the shadows and especially highlights come out in the CRF vs. the actual PS shadow/highlight tool which creates weird highlight artifacts unless very judiciously applied. 2) I'm assuming that you know you can do a transformation of that beautiful photo of the aspens that does not cut off the top of the trees if you're willing to change the aspect ratio of the image but you may need to regular PS transform tool for that. 3) Finally, when I'm doing a quick-and-dirty (quick retail delivery to a client for a fast post or editorial), I can use the CRF right on a regular non-adjustment layer.
Even if we rarely or never use the CRF, it's a great reminder that it's right there for us. Thanks for the post.
I think the way I worded this has caused some confusion. I use it exactly as you described, on a regular layer, to make spot adjustments. Poor choice of words on my part, lol! And yes, I agree as well with your comments about the aspens. Here, I wanted to show what happened if you used the "auto" option with no other changes. Thank you for your feedback! :)
I use it with almost every image I take into photoshop. At least just to add grain to a comp or portrait retouch. Always apply it to a new merged layer so you can adjust opacity later if needed. As long as you don’t go all Trey Ratcliff on your adjustments it’s a very useful part of the workflow.
How do you use this filter as an adjustment layer? Do you mean a Smart Filter? If so, you have to first merge all your layers and convert to a smart object before you can apply the filter as a smart filter. Isn't it just as easy to import as a smart object from the start?
I think the way I worded this has caused some confusion. I simply mean that you can apply the filter on a duplicate layer and use it to adjust only the areas that you wish to apply it to. This would be handy for someone who hasn't used ACR initially, but would still like to take advantage of the features available . Sorry for the confusion. Perhaps "adjustment layer" was a poor choice of wording.
I almost always throw in an ACR layer towards the middle of my Photoshop workflows! Nice article about it!
PS, in my mind, I would totally refer to it as an adjustment layer, FWIW....
Haha, thank you Steven, I'm glad someone else understood where I was going with that!
The problem with this approach is that you have to make any layer you want to use this on a smart layer. This starts to weigh down your Photoshop project bacause smart layers are sub-composites in container files within the main Photodshop file. As you add more so called smart layers, your project starts to get really heavy and sluggish as data processing is routed through all the reference container files.
I can't understand why Abobe can't apply true parametric filtration like you find in motion image compositing and editing software like Premiere, After Effects, Fusion, etc.
Wait, I can't find anywhere on how to find this. Is this the app that opens up when you try to open a RAW file using Photoshop, or is this inside actual Photoshop itself?
In Photoshop CC, you should be able to find it under the Filters drop down. In the filters menu, look for Camera Raw Filter.
These students have done an great work to make these photos. You have done an great effort in sharing these photos with us. Visit https://digitalsaad.us/ to get web design and development services from experienced professional.