

Earlier this year, Patrick Hall did a thorough comparison of a variety of neutral density filter brands. The test included findings on color cast, vignetting, exposure, and sharpness. The goal was to find the best and most cost efficient neutral density filter available. In an effort to dig a little deeper into the question which filter is best for your gear set, I decided to add on a test of a similar product that photographers may prefer, filter holder sets.
The benefit of a filter holder set compared to a more standard circular filter is that you can keep your spending to a minimum. In the first search for the best neutral density filter, Patrick only used circular filters which are used by screwing on to the front of your lens. Most companies design circular filters in such a way that additional filters can be added to the front of the first filter, allowing the photographer to stack various densities of glass. The downside to this system is that each circular filter only fits one lens size. If you buy a 82 mm lens, you can only use 82 mm filters. If you want to use a filter for your 77 mm lens, you have to purchase an entirely new set of filters. This adds up in cost extremely quick.
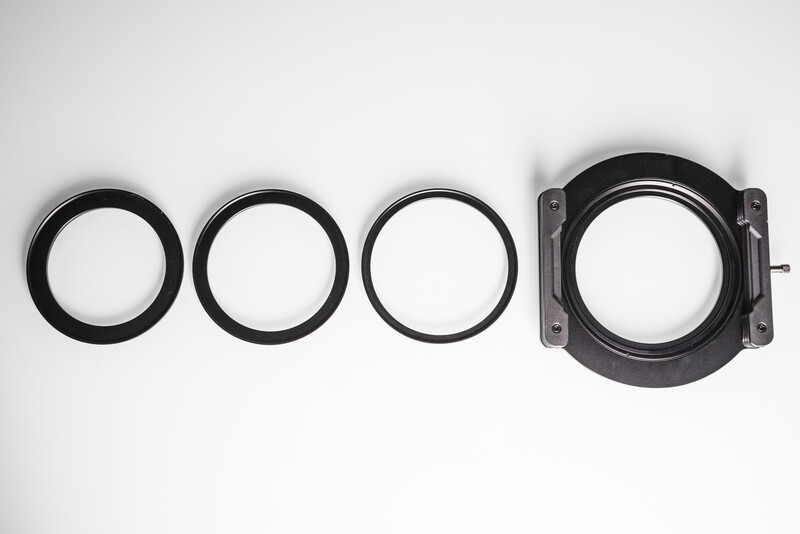
The benefit of a filter holder set is that you only need to purchase one set of glass. The holder system for the glass usually comes with several different adapters allowing you to fit the holder on any standard lens. A single set of glass filters can then be stacked in front of your lens choice. If you're the type of photographer who varies their lens choice from shot to shot, this could save you thousands of dollars in filter costs.

The Test
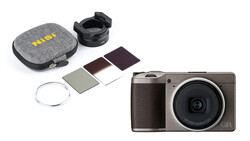
For this test, I compared two new brands of filter holders, NiSi and Lee. I wanted to cater this test toward landscape images (as opposed to using filters for portraits) so I got some higher density glass, 10 and 15 stop ND filters, to test the color, vignetting and exposure .
- NiSi 10 Stop 100x100 Neutral Density Filter - $118
- Lee 10 Stop 100x100 Neutral Density Filter - $150
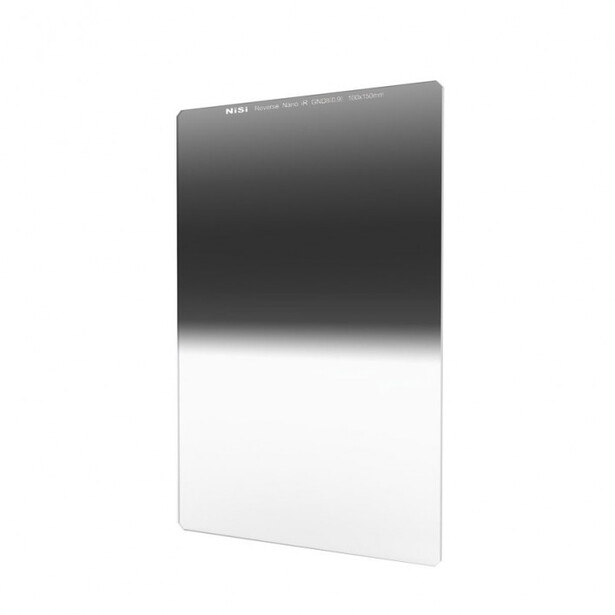
- NiSi 15 Stop 100x100 Neutral Density Filter - $175
- Lee 15 Stop 100x100 Neutral Density Filter - $150
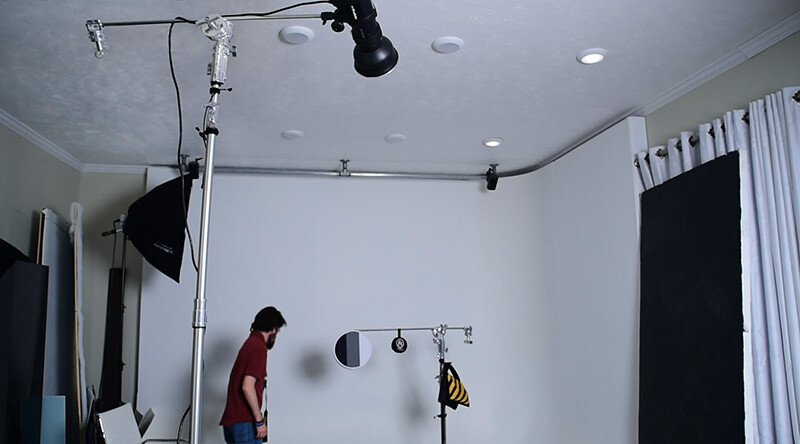
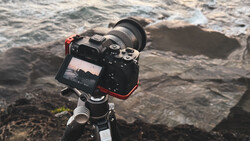
To keep the tests of color, vignetting, and exposure as consistent as possible I used the same studio set up as the first neutral density filter test. I set up the studio with a Nikon D750 camera and a Tamron 24-70mm f/2.8 lens so that every filter would be shot on the exact same camera and lens. Since I was dealing with such high density ND filters, I set up two Profoto D1 studio flashes firing into our white ceiling to produce constant light. I chose to use two lights because it allowed me enough power to minimize how high our ISO needed to be with a 15 stop ND filter and thus minimize grain and loss of picture quality. This studio set up helped eliminate any environmental variables such as clouds, light changes, or exterior color casts that might influence the test if done outside.
Results
15 Stop Filters
To be able to capture a somewhat properly exposed image in the studio with a 15 stop ND filter, the ISO had to be set extremely high. While the test images show a fair amount of grain, there is still a noticeable change in color, exposure, and vignetting due to the filters alone.
Color - The NiSi filter is the clear winner when it comes to color shift. The Lee filter showed a heavy blue shift whereas the NiSi filter had a barely visible blue shift.
Exposure - Neither brand stayed true to an actual 15 stop shift. The NiSi filter was overexposed at 15 stops by around half a stop. The Lee filter was underexposed.
Vignetting - Although both filters showed some vignetting, there was a greater amount of vignetting seen in the Lee filter.
10 Stop Filters
Color - Consistent with the 15 stop results, the 10 stop filters showed a heavy blue color shift for Lee filters and only a very slight blue shift for the NiSi filter.
Exposure - Both Lee and NiSi stayed fairly true to the 10 stop exposure shift.
Vignetting - The Lee filter showed a noticeable amount of vignetting. The NiSi filter showed almost no vignetting.
The Studio Winner
The winning brand for the studio results was clearly NiSi. Except for the exposure difference at 15 stops, the results from both NiSi filters were very comparable to images shot with no filter.
Using High Density Filters Outdoors
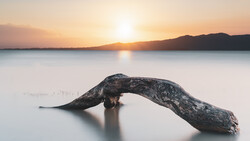
The primary reason most photographers might purchase 10 or 15 stop neutral density filters is for long exposure landscape work. When you decrease the light entering your camera by 10-15 stops, it allows you to lengthen your shutter speed up to or beyond 30 second exposures in broad daylight. This means that even during the busiest and brightest time of day, you can blur your scene to create smooth water effects or leave your shutter open long enough so that moving people no longer show up in your background.
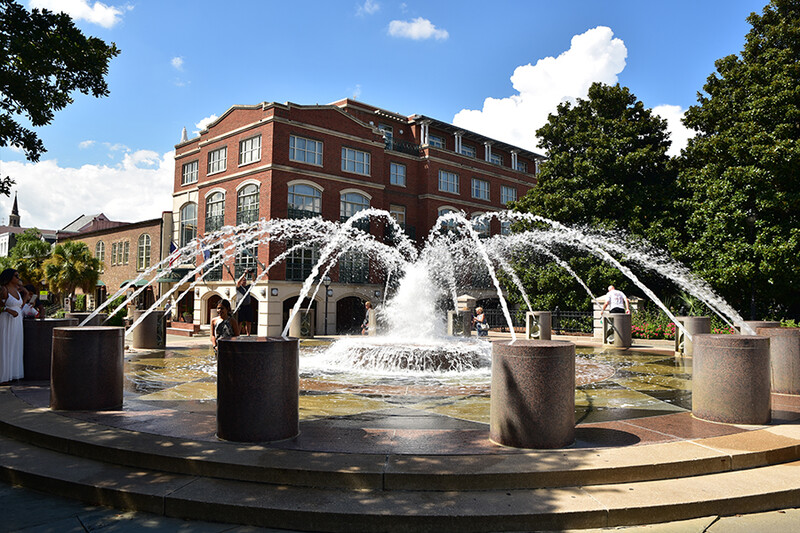
This shot was taken with no filter with a shutter speed of 1/200, f8, and ISO 100. As you can see there are people walking through this busy park. The settings here are limited to a fast shutter speed there is not an option drop our ISO or raise our aperture much more.

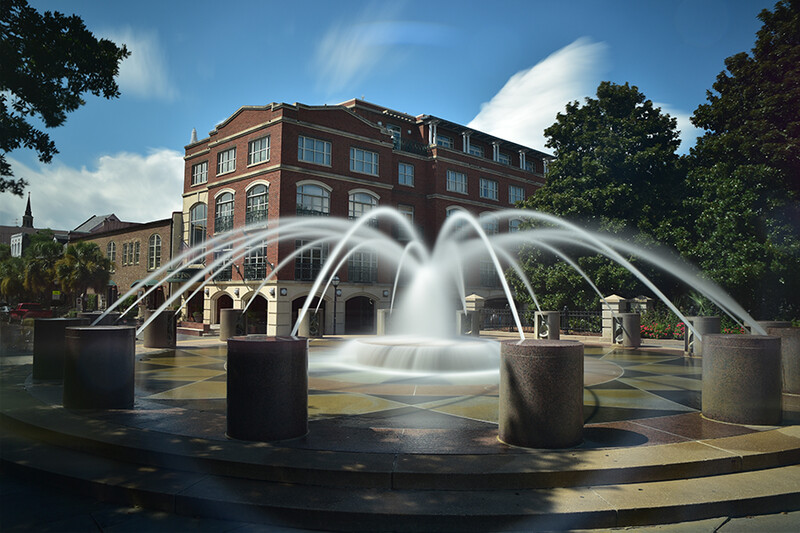
By adding the 15 stop NiSi filter, I was able to extend our shutter speed to 160 seconds. This blends the fountain trails into smooth lines and gives enough time for all the pedestrians in the background enough time to move and be blurred out of the picture
Keeping the same camera settings and white balance, I also tried out our 15 stop Lee filter. Similar to our studio results, the Lee filter created a heavy color cast.
Graduated Neutral Density Filters
A big perk to using a filter holder set that hasn't been mentioned yet is the ability to easily use graduated filters. Rather than having your entire frame lowered by a few stops, graduated ND filters allow you to lower the exposure on certain parts of the frame. Because the glass slides into the filter holder, it can be adjusted so that exposure shift aligns with the horizon.
No Filter
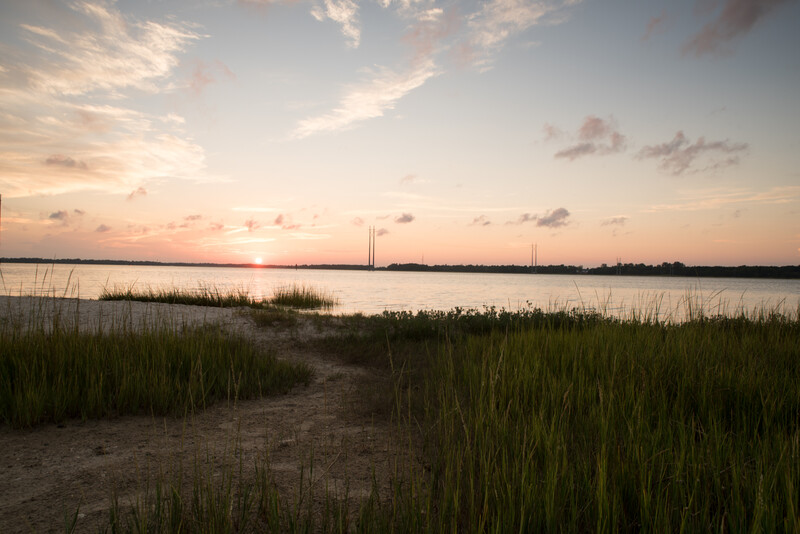
To help give some comparison I exposed for the sky with no filter. As you can see there is very little detail below the horizon line in the foreground.

3 Stop Reverse GND
The reverse GND has a very harsh transition in exposure right along the horizon line which then grows lighter as the then tapers off. This woks best for sunsets as the darkest part of the filter can be placed over the brightest part of the scene. Although it looks slightly unnatural to the mind, this brings an even exposure for the vast majority of the scene.

3 Stop Soft GND
The soft GND gives a gradual shift from light to dark through the frame. Although this does not even out exposure quite as evenly as the hard GND, it allows for some detail to be kept in both the foreground and the sky. Since the transition is gradual, this kind of filter is also better used in situations where the horizon is more varied and less of a constant line.
Closing Thoughts
Adding a filter holder set to you gear bag could bring a whole new set of options to your photography without breaking the bank. In my mind, a filter holder set is a far better investment that buying a large set of circular ND filters. With a filter set, you also gain the option of using various graduated neutral density filters perfect for landscape shots. Of the tests I ran, the clear winner for purchasing a filter holder set was NiSi's options. Their filters achieved solid results without adding much color cast or vignetting to the image.
ikan is the general agency of NiSi Filters in America and NiSi Filters will launch all products (cinema & camera filters) at B&H soon-stay turned!


24 Comments
Step up rings for circular filters (8pcs. set 49mm-82mm) $4. Eats less space, and lighter than a holder. Thanks for the article but I stay with my 82 mm circulars stacked together into a tube.
And how do you use a grad ND filter?
Rubber bands. Different sizes on top and bottom. DIY, but works.
My circular grad filter spins in the ring just like a circular polarizer. It's not an issue. However, placing it higher or lower in the frame doesn't work with a circular. But, like Richard mentioned, rubber bands work well. As does hand holding it in front of the lens instead of screwing it onto the lens.
So you always put the horizon at the center of your pictures ?
Any semi-recent camera should have the dynamic range to be able to recover a bright sky (bright, not blown out). If for some reason you can't, just take a darker exposure to blend later. Much easier than carrying a filter holder and will save you quite a bit of money.
ND Grads you can do without
Yeah, I don't think the author is familiar with step-up rings. The only thing I bother using a holder system for is graduated filters because you can adjust its position in front of the lens.
From my own experience, the best color / most neutral circular ND are the Tiffen filters.
Plus less light leaks and more compactness.
LOL
I combine the Hi tech holder with the Haida glass (no colourcasts here)
Just started using the Formatt Hitech firecrest 100x100 filters and completely in love with them... no color cast, adapter rings are affordable (I have 67mm, 72mm, 77mm), and staking produces better results with my strobes than I've never got with a variable circle filter (no "x" patterns)
I'm glad to see the results! I purchased a Nisi set for Automotive Rig shot and for landscapes.
Thanks to Brexit I got my kit for a decent "discount" lol
www.carcamerarig.com sells them
Or you can be really cheap and just mean stack exposures :P, plus it prevents long exposure noise.
David, sweet wall in your studio!
I was also gonna mention step-up rings. Which IMHO negate the advantage of filterholders. (Might even be more expensive).
I generally use multiple exposures instead of using a filter. If you're taking a longer exposure you'll be using a tripod anyway so just fire off lots of exposures then blend them together in PS. You get the same result as a longer exposure with the added benefit of reducing noise too. Plus no added cost/weight/space of filters :)
I just prefer enjoying shooting in the field and not staying on photoshop. Also I love long exposures, a bit difficult doing more shots each 3-4 minutes
In the outdoor photo with the building and fountain, why is the lens reflecting off of the LEE filter? Did you use the wrong slot?
Or maybe he forgot to cover the viewfinder?
Also, I don't understand how he got any vignetting at all, unless he was using a wider angle and the adapter ring was causing it. There are different adapter rings available that may not have this problem.
I have often forgotten to cover the view finder and not had that happen, probably just lucky with the sun placement etc.
And yes, the only time I have vignetting is on my 16-35mm up till about 18mm but the retailer here for LEE did inform me that it would happen with the filter holder I have etc, so that was not a surprise
But to be honest I have come to the conclusion I do not trust reviewers. Look what happened with DJI Mavic, at first everyone was saying oh it is a bad camera, then it turned out the reviewers didn't know to focus. How do reviewers review without knowing what they are reviewing and how to use it.
Can you use NiSi glass with LEE filter holder?