

Sharpening your images can either go two ways: oversharpened or not quite the mark of what you are seeking. What if you had full control of the sharpening process in a simple, straightforward plugin? Sound interesting?
Coming from Italian photographers Gaspare Silverii and Luca Libralato and their Tonality Masks suite is Sharpen v1.1, a simple but powerful plugin that has very effective control of all the contrast and frequency details of your sharpening.
Interface
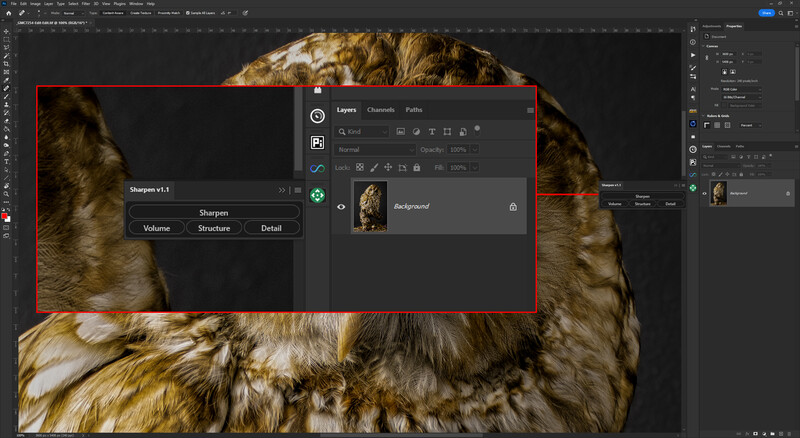
The interface of the plugin is pleasantly basic and not convoluted in its approach, which means even new users will be able to see exactly what results they are aiming for. The interface opens in a default unexpanded window form showing the options available: Volume, Structure, and Detail. Each of these performs an individual aspect of editing based on your images or can be expanded into a larger window via the Sharpen button.
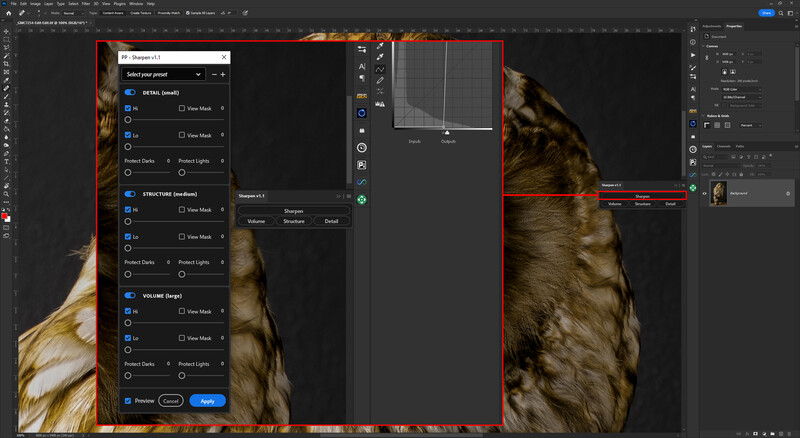
Once expanded, all the options are available as a whole editing interface where you can choose the intensity of your edits based on the results you are seeking. This approach to the finer points of volume, structure, and details I found very effective, enabling you to control precisely the edit you are trying to achieve. Using the plugin in this manner created a new edited layer, leaving your original intact.
Microadjustments
Each of the panels has a View Mask feature, which allows you to see the areas being affected by the slider. The amount you increase the slider by will, of course, have a greater impact on these areas. Subtlety is the key.
Each adjustment panel also has a Protect Darks and Protect Lights slider so that you can avoid any over-editing of these areas, resulting in a detrimental effect on your images.

Presets
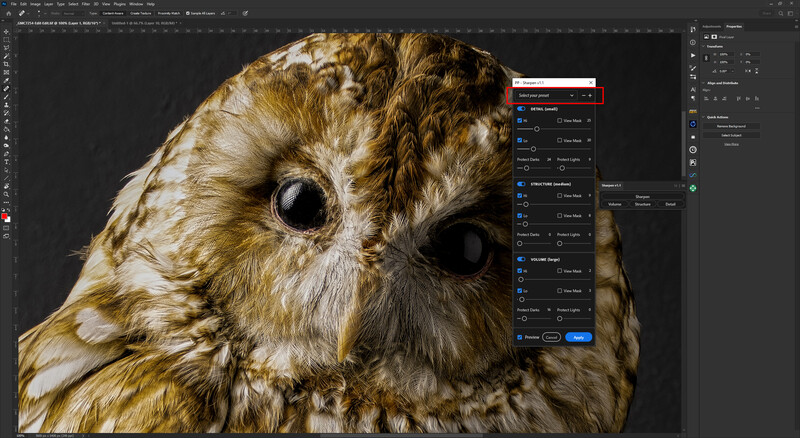
Once you have made your adjustments, they can be saved as presets for future edits, which once applied, can be adjusted to suit the image you are editing. For this example, I saved the preset as fine details, due to the nature of the edit.
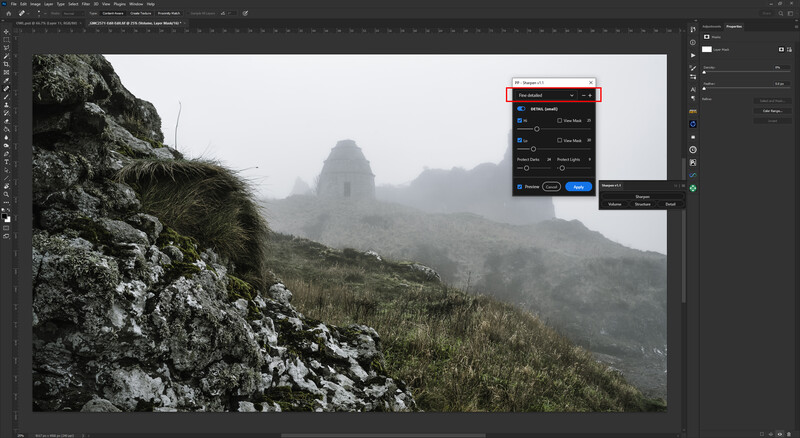
Once I loaded another image into Photoshop, I applied the same fine details edit, only this time, instead of expanding the entire sharpen window, I simply selected the Detail option knowing that although it's applied globally, only the small details would be used for this omitting the structure and volume edits of the preset. This I found to be a very useful feature as you can, depending on the image, choose what you want to sharpen or enhance.
Editing via just one of the options, Volume, Structure, or Details didn't create a new layer and simply applied the edits to that layer, so if you want to have more versatility, I would recommend creating a new layer via copy.
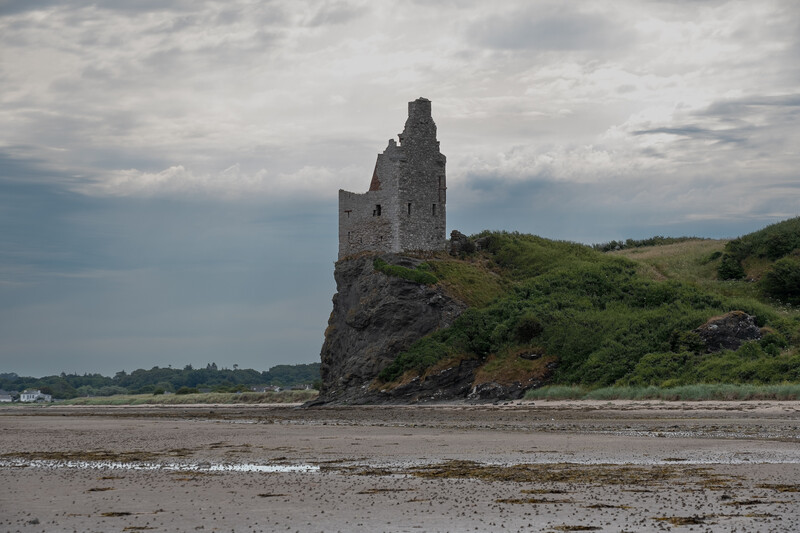
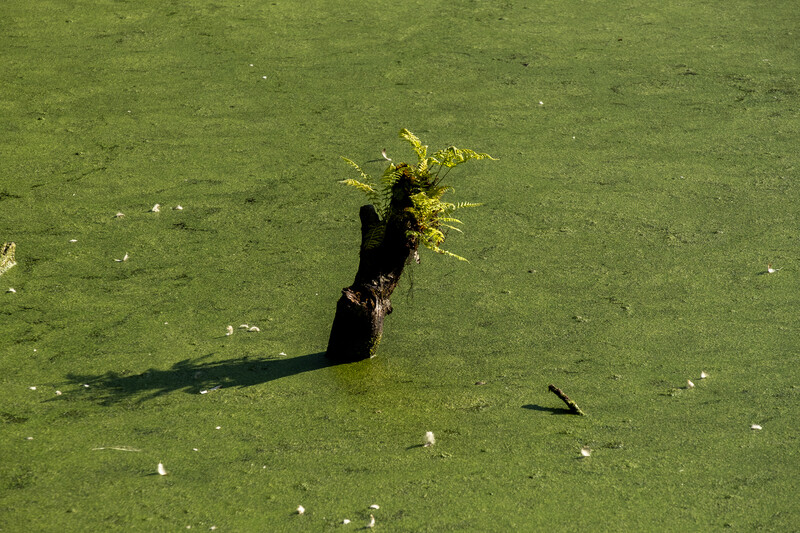
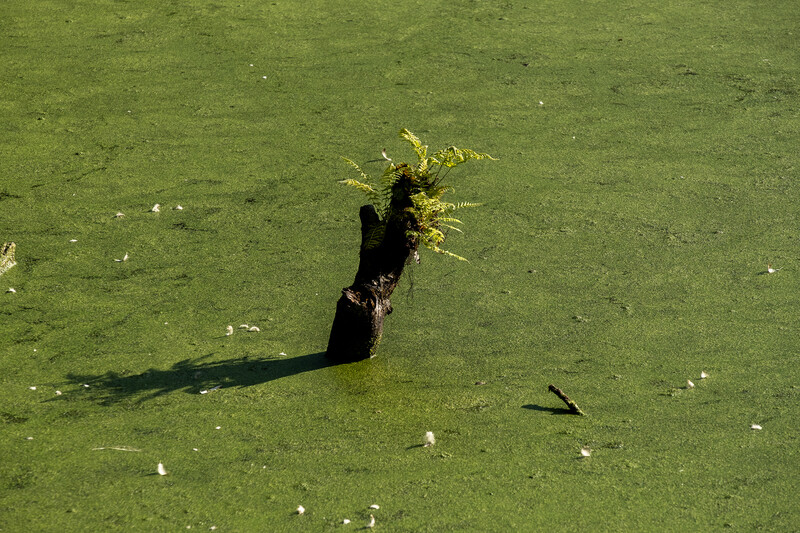
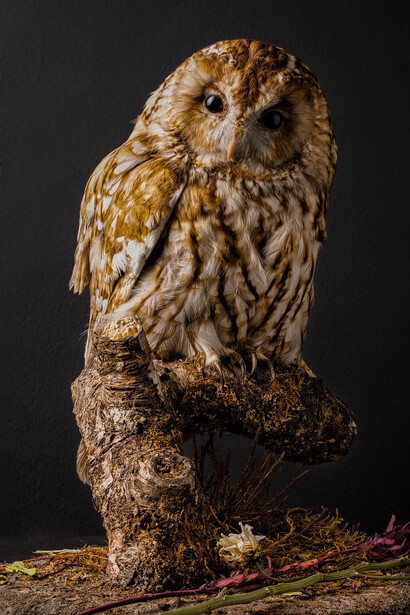
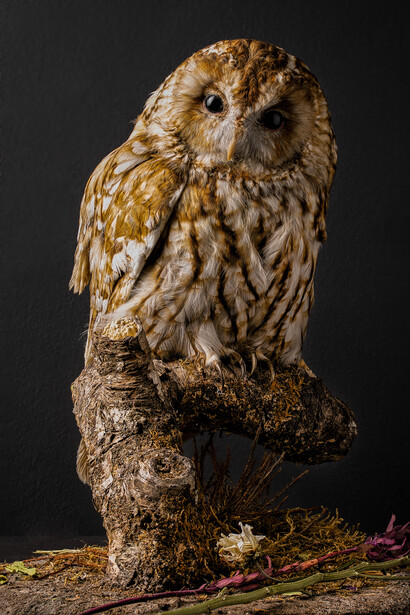
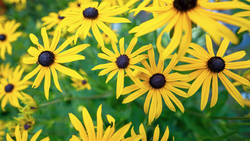
Example Images
Below are a few sample edits using the Fine Details preset I created and applied subtly, as I didn't want to oversharpen any of the images.


Conclusion
This Photoshop plugin is a straightforward approach to enhancing and sharpening your images without being convoluted; it does what it says on the tin. It's also a part of a wider suite from Tonality Masks, which looks really interesting and includes various panels like Landscape, Color Grading, Glow and Orton, Black and White, and Tonality Masks. If Sharpen V1.1 is anything to go by, it could be quite a suite of useful plugins for your editing.
What I Liked
- Easy to use
- Unconvoluted workflow
What Could Be Improved
I would have loved the ability to hold down the Alt key to see the mask instead of clicking the view mask button on every slider.


Join the Fstoppers community for free
-
Post comments and join in the discussions
-
Browse the site ad-free
-
Share your work and get featured in the community
-
Compete in the photo contests for fun and prizes
2 Comments
Looks like all tutorials on their products are in Italian, I'm guessing their support is not English either. I was interested until I discovered this
Hi Butch, thank you very much for your feedback, I can confirm that we do speak English and we provide support also in English. Currently we are working in producing some updated video tutorial in English. At the moment we only have few videos in English for the older version (you can find them on our YouTube Channel).