
Last week, we walked through How to Capture an Environmental Shutter Drag Portrait. A shutter drag portrait is a portrait that captures movement around a subject using slower shutter speeds. Following the steps in the video, we wound up at a final raw image. In this video and article, I'll be walking through the editing process from start to finish in both color as well as black and white to get to our final images!
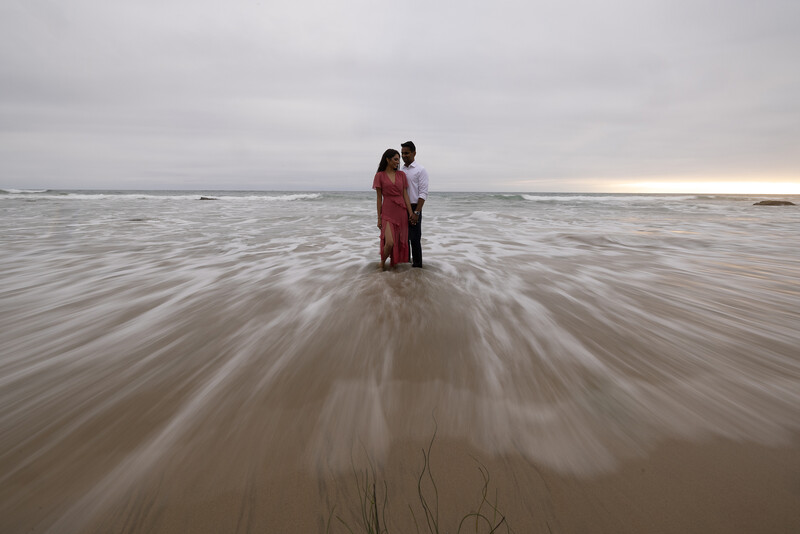
Before we jump in, here's our final raw image from last week's video.
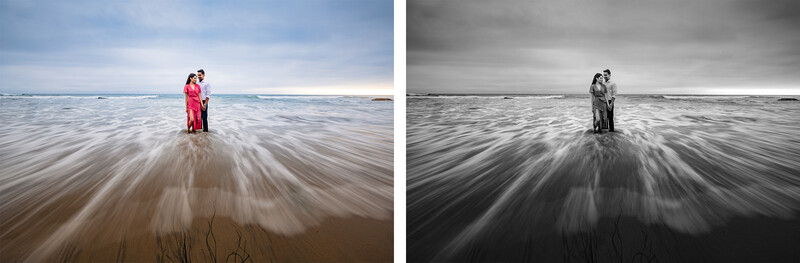
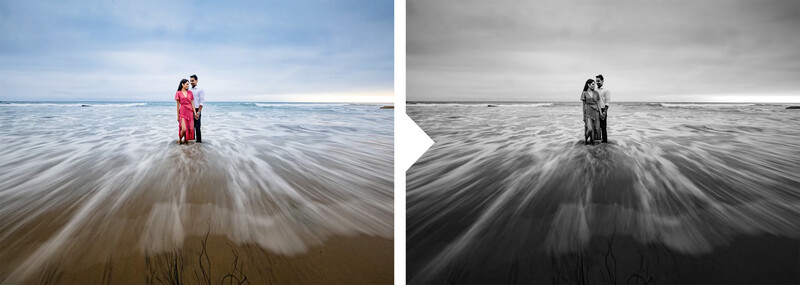
We'll be working to get to these two final images, so be sure to download the exercise files here and follow along as I edit!
Starting With Color
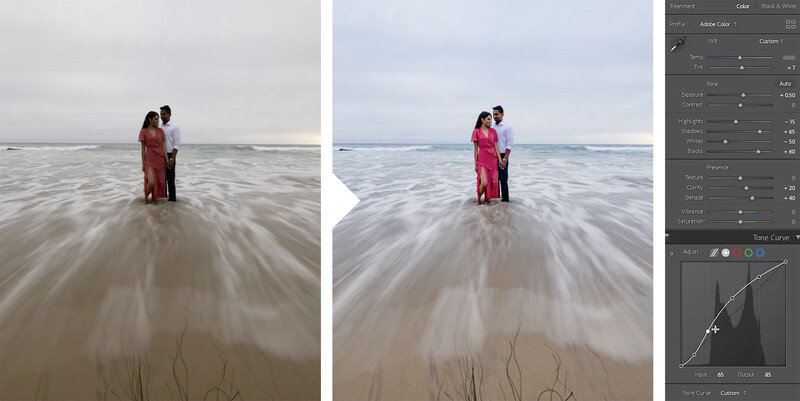
After leveling out the horizon using the crop tool, I added my basic adjustments. One key adjustment I made was adding dehaze. Turning up dehaze pulls out a lot of the blues from the sky and water. I set it at +40 and used the rest of the adjustments to create an HDR look. After using the tone curve to add contrast and adding clarity, we get this first before and after.
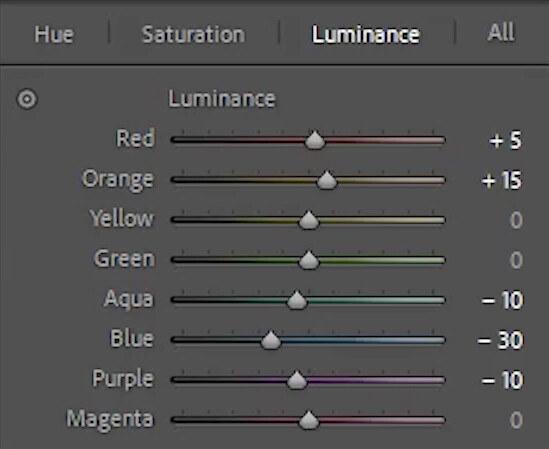
I only used HSL to adjust the luminance values and didn't adjust the hue or saturation at all. Here are the final settings.
Next, using Radial Burn from Visual Flow's Retouching Toolkit, I darkened the area surrounding the subjects.
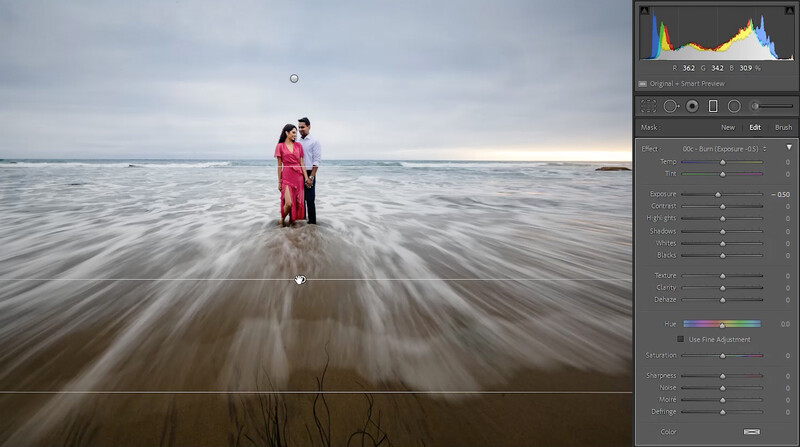
Next, I added graduated filters to darken the areas above and below our subjects.
To emphasize the blue in the sky, I added a graduated filter to the upper portion of the image. I used the color temperature to push the blues. However, notice that it also affects the skin tones.
To fix this, I set the Range Mask to Color and selected out the color of the sky. This limited the mask to affect the areas that are in that color range. I then used a brush to erase the blue over the male's shirt.
I then used the "Sky and Clouds" graduated filter to make the clouds pop. Here is the final before and after of our color version.
Converting to Black and White
Press "V" to shift the photo to black and white. I simply lowered the exposure and exaggerated the same filters made in the color version to end up at this initial edit here.
A trick I recommend is to flip back to color for a moment. Then, cool down the image until there's good separation between the warm and cool tones. This step allows for more control of each hue in the black and white mixer.
I noticed the shadows around our subjects' eyes were a bit too deep and dark. To fix this, I used the "Deep Crush Skin" brush, which reverses the dehaze from earlier. I applied this to lift the skin tones back. See the difference?

Using a new brush, I pulled the whites up over the water to make the highlights pop just a little bit more out of the image.
Final Images
After cleaning up some spots and specks, we end up with these final images.
Conclusion
I hope you enjoyed this article/video. You can apply these Lightroom editing tips to any type of photography to get great images. If you haven't already, be sure to check out part one of this series where I walk through How to Capture an Environmental Shutter Drag Portrait. To learn more about editing on Lightroom, check out the Complete Lightroom Course on SLR Lounge Premium. In addition, be sure to check out Visual Flow for our intuitive lighting-based presets as well as Retouching Toolkit.
Thanks for joining us this week! Let us know what you'd like to learn next!


Join the Fstoppers community for free
-
Post comments and join in the discussions
-
Browse the site ad-free
-
Share your work and get featured in the community
-
Compete in the photo contests for fun and prizes
No comments yet