While in Las Vegas attending the annual WPPI conference I stopped in and spent some time at the print competition. There I repeatedly noticed that many of the prints had a matte type of look to them. Now part of this is the choice of paper they print on, but also how the photos is processed plays a big part as well. I created this quick video to share with you how this look is achieved very easily in Lightroom. I have also included some sample before and after photos below.
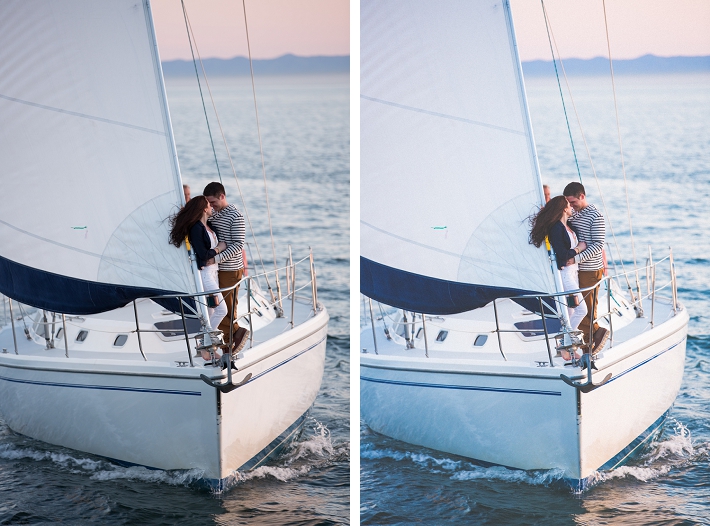
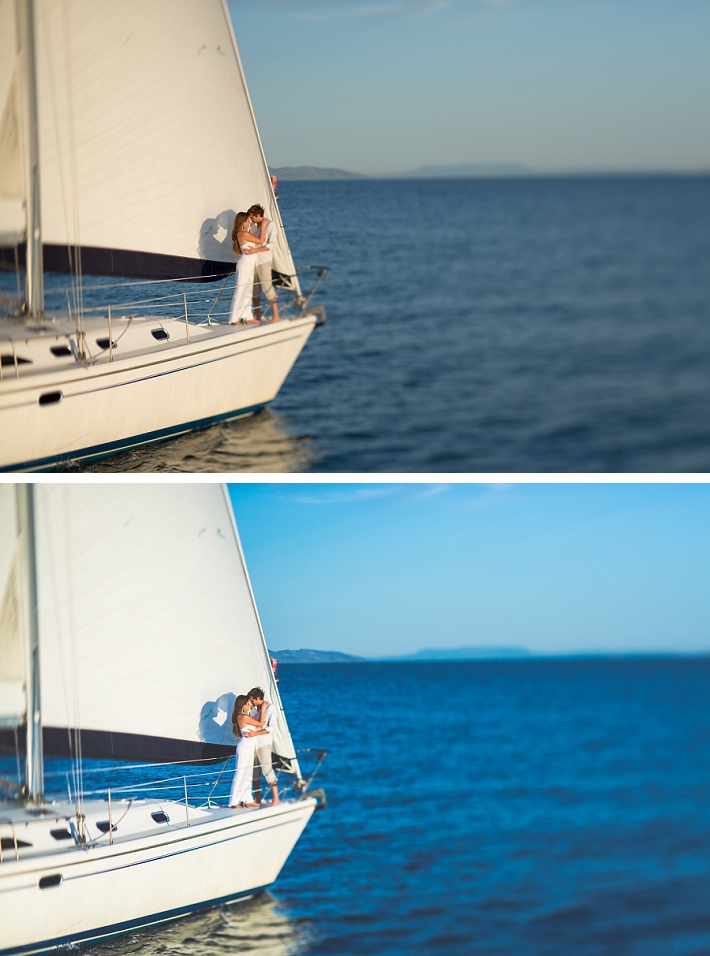
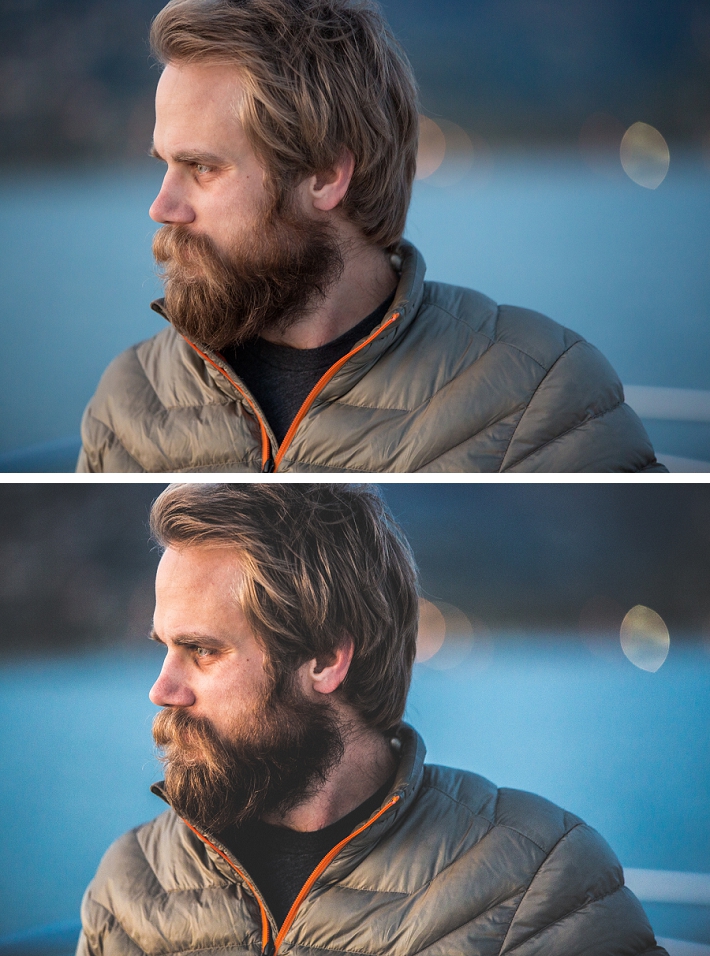
The look is basically achieved by using the tone curve in Lightroom. Previously this was only possible in Photoshop but with Lightroom 3 or 4 you are now able to pull it off right inside the program. In addition to being popular on color photos it also looks great on black and whites. Here are some samples showing the before and after of the matte look shown in the video. Let me know if you enjoy the tip and if so I'll continue creating these short video tutorials on ways to use Lightroom you might not have thought of before.
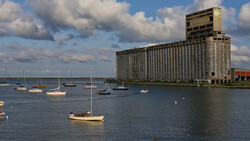
Here are some before and after samples showing how the matte look changes up the photos.


Here are some previous videos tips I recently posted here in Fstoppers:
Video Showing One of Lightroom's Most Under Utilized Tools
How to Easily Time Sync Your Files in Lightroom
Thanks for watching.

Join the Fstoppers community for free
-
Post comments and join in the discussions
-
Browse the site ad-free
-
Share your work and get featured in the community
-
Compete in the photo contests for fun and prizes
70 Comments
Coolio buddy!
Thanks Jay.
Been trying to figure this out for year or so. Crazy how simple it is!
Awesome. Glad it helped. It is pretty simple now that Lightroom includes control of the point curve. Good times!
THANKS Trevor! I love this look for my photos!
Thank you so much for sharing! I've been trying to figure this out for so long! You just saved me so much time~
I actually like the look, but the rebel in me hates the fact that everyone does the same thing. There's the matte look, the I-dont-give-a-crap-yet-I'm-still-trying-too-hard posing, the insane cropping for its own sake... :P
Yep, it's only original until it becomes popular, then it becomes an embarrassing, overdone trick, remember time lapses?
what's wrong with time lapses?
You can also do this in by putting a black layer over a photo and changing it to "lighten" or "soften" and this way you don't need lightroom, only adobe photoshop express or higher.
true, but then this post is pointless, as it is a tutorial about how to do it in lightroom..
So what's wrong with me telling others how to do it in other programs? I don't see the harm.
or simply using curves in photoshop as well.
good point about blending modes. thumbs up!
i've been wondering recently how to achieve this look. Thanks for the tutorial, it was super helpful.
Been looking for this for some time now. Really nice Trevor! Thanks for sharing and fantastic shots!
Can't say that I am really a fan of this look. Just my personal taste. Perhaps it is the old school darkroom training, but to me it just screams poor processing.
this was my reaction too - it's like taking a well exposed image and making it look like it's a poorly printing reproduction in a magazine. It goes against the grain so to speak, to kill a good file.
Same here
absolutely agree. looks like bad photoshop!
Thanks man! Love this
cool...
stunning guide )
I figured the exact technique out myself at some point last year. Its nice but its getting used a lot lately.
Can be achieved in Aperture as well, faded++ in the VSCO toolkit.
but that's basically paying someone $100 to move your curves adjustment...
whoa - shitty audio dude!
Yeah John, I agree. I need to invest in a nice microphone.
Even the new $30 Apple ear buds would probably do fine!
Might not be so much the microphone as it is your input recording level. It was way too "hot" and was clipping.
Where is the video??
nevermind... found it, lol!
anyone else notice the bridesmaid that somehow ended up in the couple's photo on the sail boat?... that made me laugh
I should say 3rd photo since there are lots of couples on sail boats
Hahahahahahahaha!! OMG good eyes!
Make your beautiful photos taken on an expensive DSLR with an expensive lens look like it was taken with an iPhone using Instagram!
Lol. R U kidding me ? These are just photos with not enough contrast / blacks. Nice someone has added a "theory" to that but, sorry, this makes no sense.
'not enough' is absolutely subjective
Thank you so much for sharing your tutorial Trevor!
Make your beautiful photos taken with an expensive DSLR look as if they were taken with an iPhone.
Good tip, always nice to keep all tools in your repertoire. You never know what your customers may or may not like. :)
Regardless of whether or not you like the look or it's too popular, this is a great tutorial. I personally like the look but think VSCO and other film looks are sometimes too much. This is a simple way of doing this without all the fuss. Good tutorial. Thanks!
"Film Look"? film was more saturated (if exposed correctly) than digital ever has been. It has taken years to get digital to look as good as well exposed film now you are intentionally going back to the beginning digital days when you were hard pressed to get a good saturated image. Not sure what is worse the technique or your lake of knowledge.
Rob I appreciate your comment. The title of the article and explanation in it describe it being a matte look. I mentioned film because others can relate to that especially with the hype of all the many film emulsion presets being sold with this look. I personally love this look, but as a wedding photographer I don't use it in my own processing. That said as someone who cares about helping our industry I know a lot of people love it and wish they knew how to pull it off. My video was made with the intent of helping. In the future, before you decide to tell me my technique is poor or I lack knowledge do some research first my friend. Here is my website of work... you are welcome to start there >>> http://trevordayley.com/ or my Facebook page >>> http://www.facebook.com/modernphoto
great response to an ignorant comment!!
I'd like to take a dip in Trevor Dayley's Lake of Knowledge.
Good to know. While I am personally not a fan of the look, CLIENTS may prefer it and at the end of the day...
I don't mind the effect, but it's like a fisheye lens, you would only want to use it on certain select shots. It's not a look for everything that you'd process.
John I absolutely agree with you. I am primarily a wedding photographer and my style is more vibrant colors. But I do enjoy using this look on model shoots or other fun personal gigs.
You could similarly achieve this by minimally increasing the Exposure offset in Photoshop
I´m using this technique for 3 years now and I think now it´s time to stop using it.... :(