
Last week, Nikon released a quintet of LUTs for its Z line of cameras that bring a touch of RED color science to the Nikon world.
Now, first things first. Downloading a LUT will not magically transform your Nikon mirrorless camera into a RED camera. No LUT will result in the massive jump in dynamic range you get from RED’s premium line of cinema cameras. But, as RED has officially joined the Nikon family, the promise of these two companies to work together to improve both the Nikon-branded and the RED-branded products is massive.
Last week, Nikon took a small step in that direction by adding five new LUTs designed to work with Nikon cameras that bring some of the RED color science onto platforms such as the Z9, Z8, and Z6 III. There are two technical LUTs and three creative LUTs. If you’re just getting started with video, technical LUTs are exactly what they sound like. They take footage that originated in a log format and convert it so that it can be viewed “correctly.” Essentially, it’s a list of instructions for your computer/monitors that says footage shot in log like this should look like this. It’s a one-to-one conversion.
Creative LUTs also convert log footage into a different form through a list of instructions. But, rather than being purely mathematical, they attempt to add a bit of flair. Or, if you’ve created your own show LUT, for example, they can serve the purpose of allowing you to preview your log footage exactly how it is intended to look for the colorist to begin his or her process.
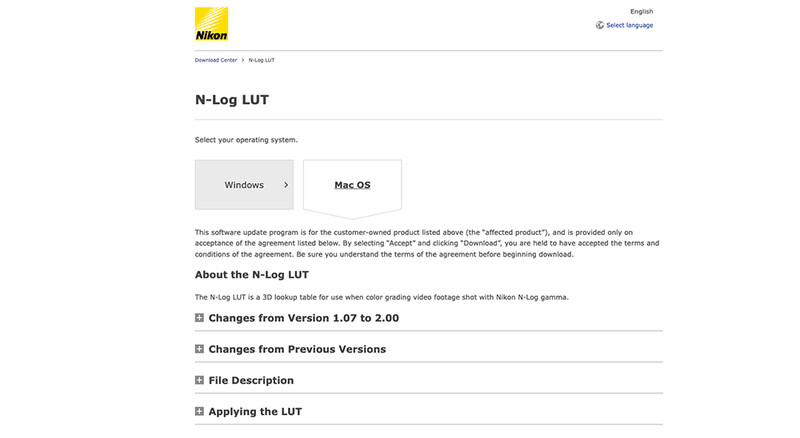
Rather than me explaining to you how they work, it’s probably easier for you to try them yourself. They are free, after all. All you need to do is go to the Nikon download center (you can Google Nikon Z9 LUTs, or whatever your camera is). You go to the site and download.
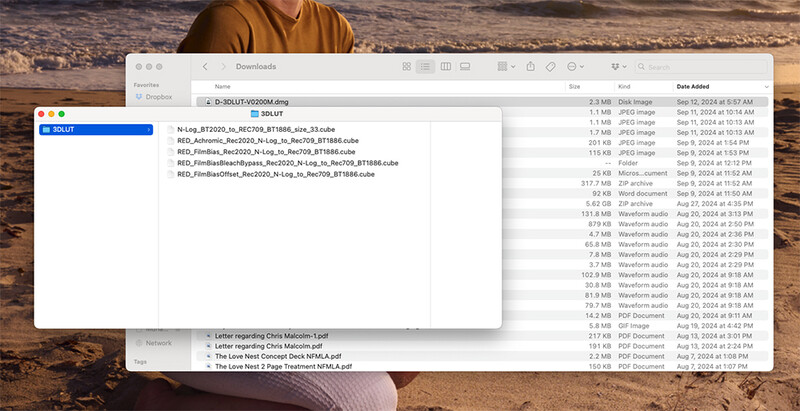
Then you click on the download file (a dmg if you’re on a Mac), and you will see a folder with all five LUTs. Figure out where you keep your LUTs for Resolve, Premiere, etc. I always forget, so I go into Resolve, open the color settings, and click Open LUT Folder. Once that folder is open, I move the downloaded files with the LUT cube files into there.
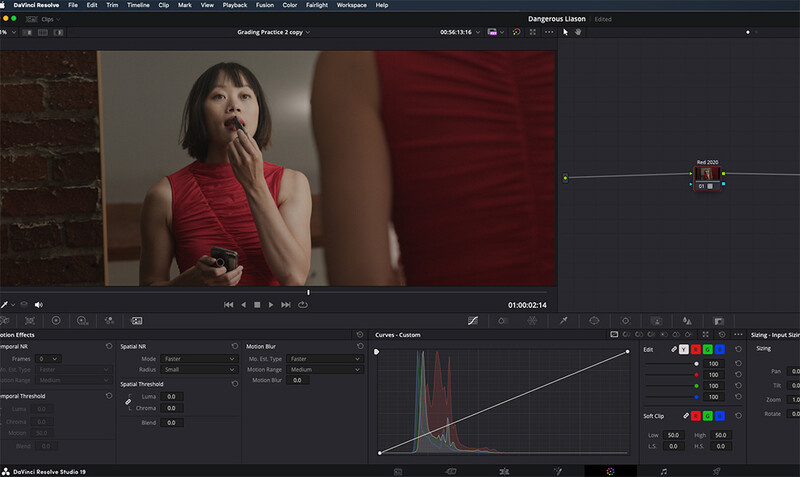
Then, restart Resolve. Drop your footage onto your timeline, then move over to the Color tab. Once there, right-click on a node. Go to LUTs, then the name of the folder they are in (in my case, the default is 3DLUT). Select which one you want to use and voila, you are looking at your footage with the LUT.

Quick note, this process assumes you haven’t already applied a LUT, such as is the case if you are using something like DaVinci color management.
In Premiere, you would follow the usual process of selecting from the LUT dropdown menu, navigate to where you saved your LUTs, and select the one you want.
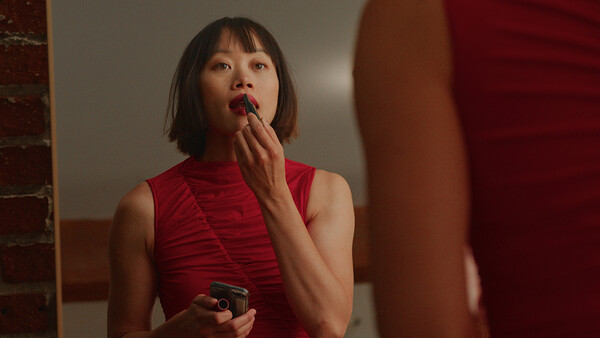
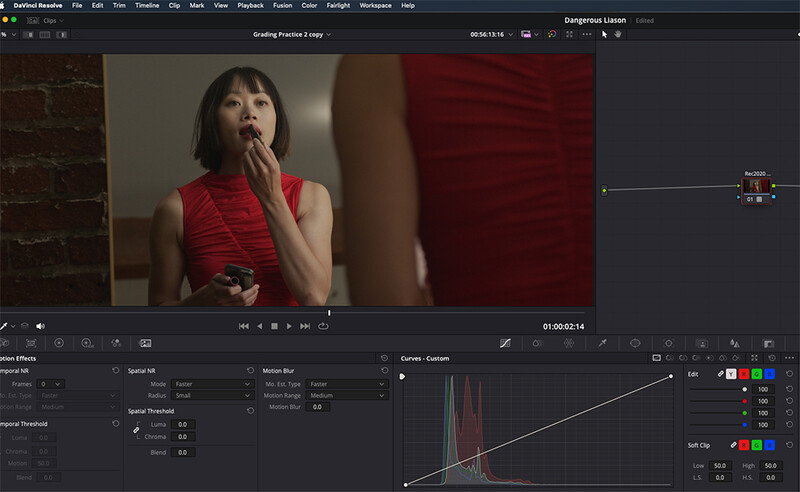
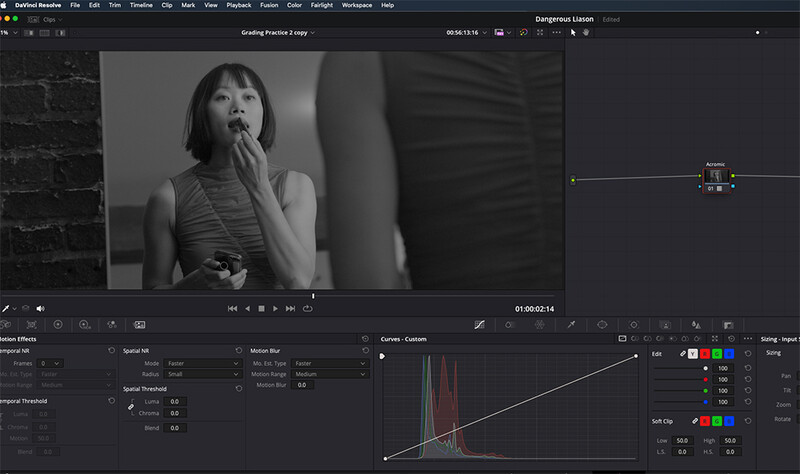
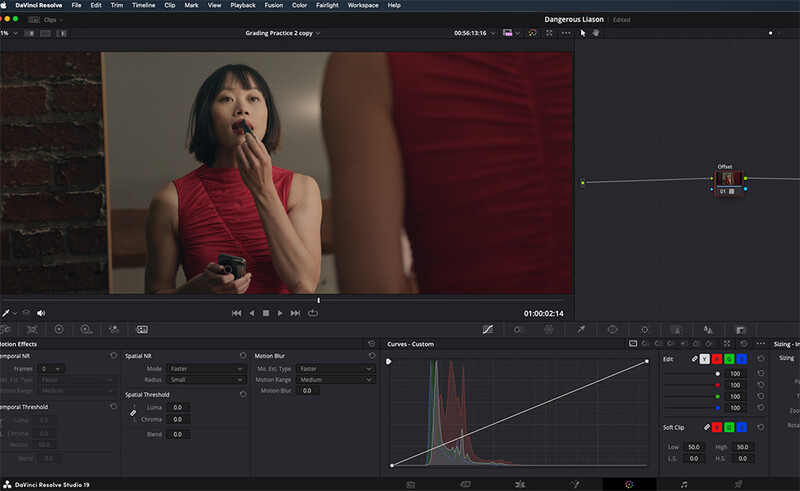
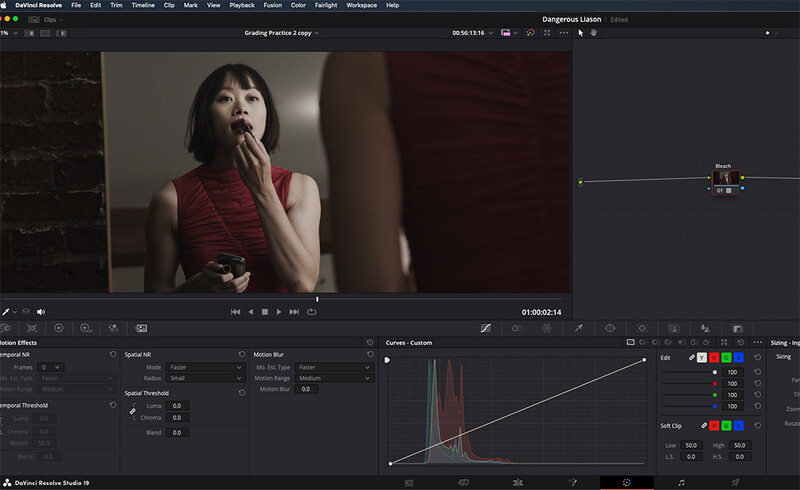
Here is a brief snapshot of some of the effects the LUTs made on a sample image.
As I said, a LUT is not the same as a camera. So there are differences between footage shot with the Nikon cameras versus the RED cameras that no LUT will be able to account for. But, as the two companies become more and more intertwined, this process should make it easier and easier to reasonably match footage when working with a RED/Nikon mix of cameras on set, or when you are just looking to get a little extra out of your mirrorless camera.


Join the Fstoppers community for free
-
Post comments and join in the discussions
-
Browse the site ad-free
-
Share your work and get featured in the community
-
Compete in the photo contests for fun and prizes
8 Comments
Nothing for the Zf eh? I figured since the Zf shares the same processor with the Z9/Z8/and Z6iii that the Zf might get something. I guess not :(
You could've started with an explaination of what LUT means
I had to just waste time to search yet another, stupid, acronym. An acronym for something that doesn't need the brevity since this is a web page, not a magazine.
LUT has been around for a VERY long time now. What's wrong with learning something new? I'm continually amazed at how much folks despise learning.
I'm 71, retired. I shot video professionally from 1978-2010. I don't mind new things I just don't like acronyms. Even when I did Information Technology support I would have to translate all the jargon to the client because they did not understand it. This taught me to not use those abbreviations.
Oh yeah I can totally understand that. It's almost like being in the military. Acronyms and short hand for everything. It gets real confusing. :| when I learned what a LUT was I did ask my self why they didn't just call it a preset or color profile since that's basically what it is.
Is there a way to "convert" these Nikon/Red LUTS for use with another camera? In my case an S5ii? Thanks...
Look Up Table. LUT. It's what it says it is. Simply put, behind the scenes it's like a spread sheet table that takes the ones and zeroes from the raw camera in one column and adds and subtracts to those numbers for every shade of color in another column. Thus changing the color. Originally done by hand believe it or not, but now it's built into a user interface. It's a preset, Lut is archaic in my opinion but sounds cool. Presets only really translates broadly and need to be tweaked for the image ie: exposure, lighting, how other parameters in the camera are set up.