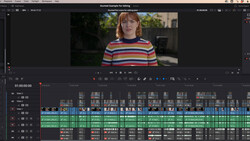
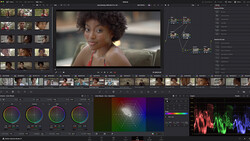
In recent articles here on Fstoppers, you may have noticed the name DaVinci Resolve coming up on a regular basis. It’s a fantastic software for color grading video footage, and it’s evolving towards becoming a one-stop video editing solution. Some of the tools it offers are envied by photographers as they differ quite a bit from what’s available in Photoshop, Lightroom, or even Capture One. Many have been wondering if it’s possible to edit pictures with it and Ted Forbes from The Art of Photography has the answer for you: Yes. More than that, he shows you how to do it.
In the video above, Forbes shows us how it’s possible to import and alter stills using DaVinci Resolve. While it may not be for everyone, people accustomed to the video world or others, like me, who find some of the tools it offers to be excellent, will appreciate this possibility. You can bring a variety of file formats, including raws if they are converted to DNG. The only issue, as Forbes mentions, is that you won’t be able to export at a larger resolution than the timeline you are working on (which cannot be any bigger than 4K). However, with the new release of DaVinci Resolve 14, this is about to change, and the maximum will then be 16K x 16K.
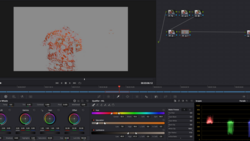
If you are less than familiar with how Resolve works, what nodes are, how they differ from your traditional layers, and how LUTs can impact your workflow, you should definitely watch the video until the end. While it’s not a full getting started crash course like the one I previously shared with you, it’s still a good starting point for photographers who want to learn more about the software.
Do any of you already use DaVinci Resolve in their workflow? If yes, why? I’d love to hear your thoughts on this software regarding photo editing.
Join the Fstoppers community for free
-
Post comments and join in the discussions
-
Browse the site ad-free
-
Share your work and get featured in the community
-
Compete in the photo contests for fun and prizes
No comments yet