
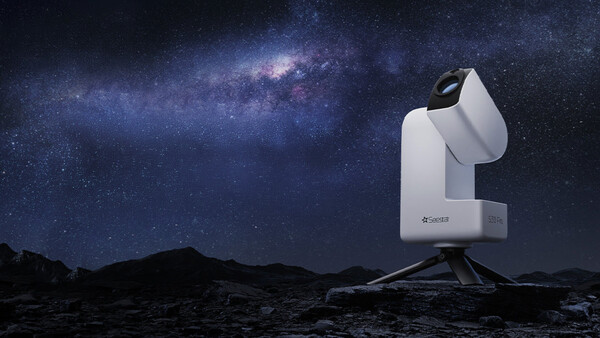
It seems smart telescopes are taking off, bringing more and more people into the astrophotography hobby. I've reviewed a few of these new categories of products, most recently the Dwarf Mini. 3, a low-priced entry in the computer-driven portable telescope offerings.
Recently, our Fred van Leeuwen took a look at this new scope from ZWO, and I wanted to take a second look at it from the point of view of a seasoned astrophotographer (me) and see what this scope has to offer in terms of quality images and ease of use. I'm also interested in whether the telescope is a good entry point for our readers, who are generally knowledgeable photographers who want to make the leap into Milky Way, nebula, and galaxy photography.
What Is the Seestar S30 Pro?
It's a portable telescope, selling for $599.00, that in a small form factor gives you everything you need to take impressive astro photos. The S30 Pro comes with a tabletop tripod, a USB-C cord for charging and downloading images, a magnetic sun filter, and there are internal filters for dealing with light pollution and a hydrogen/oxygen filter for getting the most out of nebula images.
When you open the box, you find a useful carry case and all accessories in a compact space.
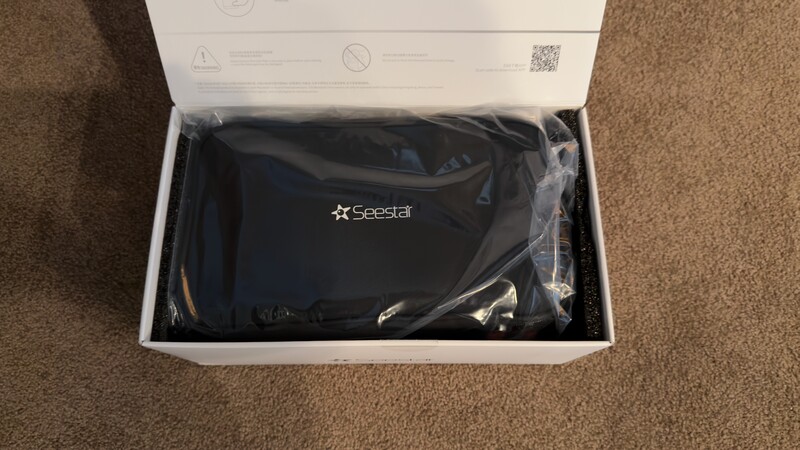
There is no power brick; you charge it from your own device, or it can be charged from a computer.
You control the S30 Pro from an iOS or Android device, most usually a phone, but a tablet will work too.
Specifications include a quadruplet apochromatic lens with 30 mm aperture and 160mm focal length (f/5.3). It utilizes a dual-camera system: a primary Sony IMX585 sensor for deep-sky imaging at 3840 × 2160 (8.3 MP) resolution, and a wide angle Sony IMX586 sensor with autofocus for landscapes and Milky Way shots at 2160 × 3840 (8.3 MP).
- Field of view: 4.6° (tele) and 63° (wide)
- Storage: 128 GB eMMC internal storage
- Connectivity: Wi-Fi (5G/2.4G), Bluetooth, and NFC for simplified pairing
- Power: 6,000 mAh battery providing approximately six hours of imaging life
- Filters: Built-in UV/IR cut, astronomical light pollution (OIII/Ha), dark field, and a magnetic solar filter
- Mount: Alt-azimuth mount supporting equatorial mode
- Dimensions: 210 mm × 140 mm × 80 mm with a net weight of 1.65 kg
Setting Up and Using the S30 Pro
Setup is where a smart telescope blows a traditional device out of the water. After charging the unit up, I took it out to my backyard and suggested Messier 42, the Orion Nebula. First up, the scope, with its own voice, told me it was up and running and to connect with my phone. It was easy to do. As I was in a new location, the S30 Pro asked me to calibrate the compass, which was a simple enough task. Rotate the scope 360 degrees slowly and the Seestar announced it was calibrated.
At this point, I get to select the type of object I want to image.
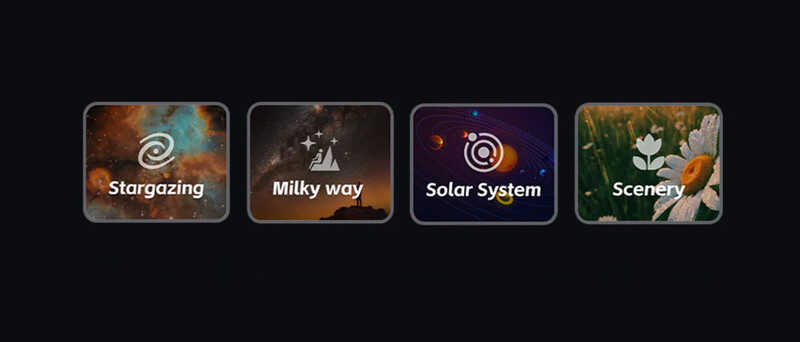
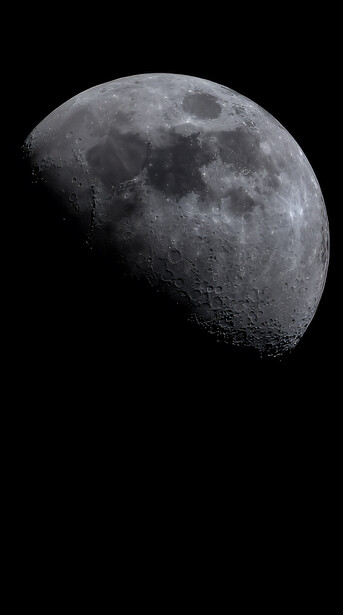
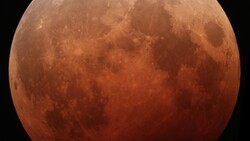
I started with something simple, the moon. I clicked on Solar System, and the moon appeared on the target list. The Seestar steered itself over to the moon, autofocused, and took a nice shot.
I tapped on Stargazing, and I found a list of targets that were available. My target was listed, but I could also type in any target I wanted.
What happened next was pretty amazing to me, as someone who in past years has taken an hour to set up and align a telescope, and spent even more time finding my target.
The S30 Pro moved on its own to M42, taking about a minute to find it in the southwestern sky. I was presented with a star chart that showed my object with the Seestar FOV. Then it autofocused.
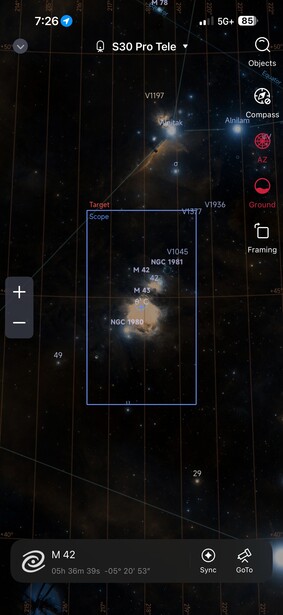
Once the object was focused (less than a minute), the Seestar started taking 10-second exposures, and you can watch as each exposure comes in and adds to the previous ones, so you can watch the image appear in real time.
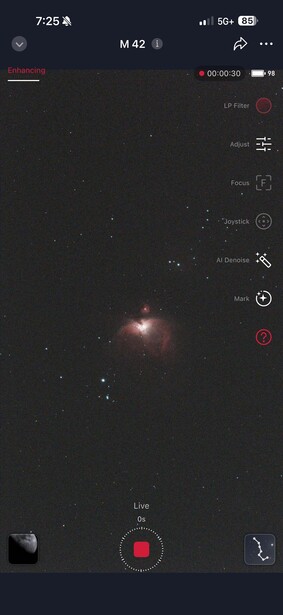
10-second exposures are the limit unless you use equatorial mode. More about that later. What surprised me was how good the images looked as produced by the Seestar S30 Pro.
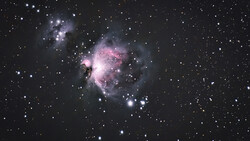
Here's an hour and a half of the Orion Nebula with a bright moon rising in the east, while Orion was high in the southwestern sky.
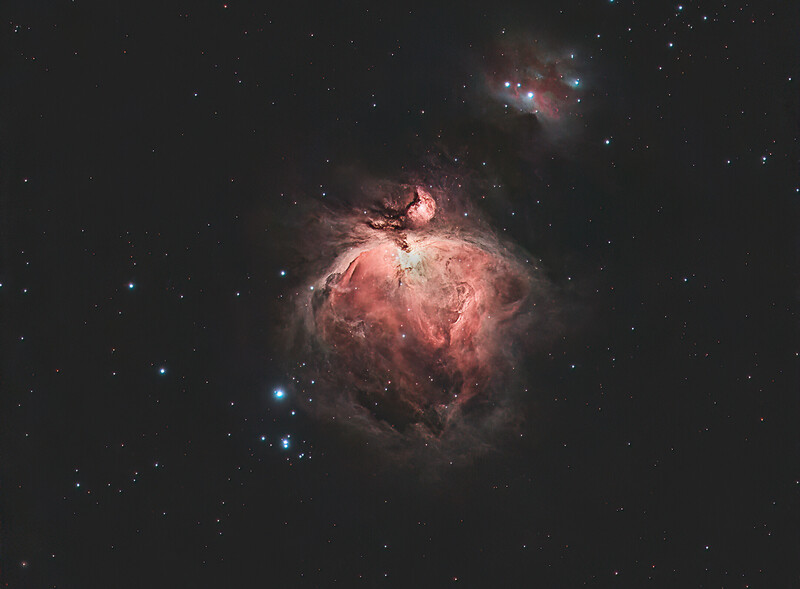
The Seestar can give you a stacked JPEG file, a stacked FITS file (that's a format used by many astronomy programs), or you can get individual frames as JPEGs or FITS to stack in another program. Although the Seestar-processed file looked pretty good, I processed the JPEG in Lightroom and Photoshop and got better results with the clarity tool while adjusting black levels and reducing highlights. I think readers of this website will want to use a photo editor and can expect improved results over just letting the Seestar do the processing.
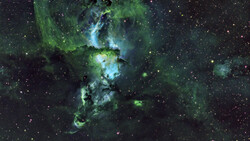
I then moved on to the Horsehead Nebula, giving it 1.7 hours with a bright moon. I thought the results were quite good and would have been better if I had dedicated four to five hours to it, but it would have been too low in the sky to go on.
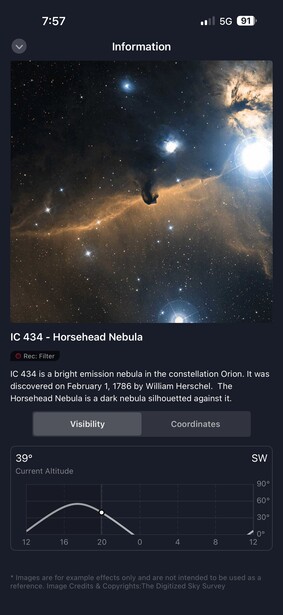
Before I started imaging, I tapped the info icon and got a lot of background on my intended target, confirming for me that it was visible in my night sky.
Then I started the photo run, and after a bit under two hours, got this image:
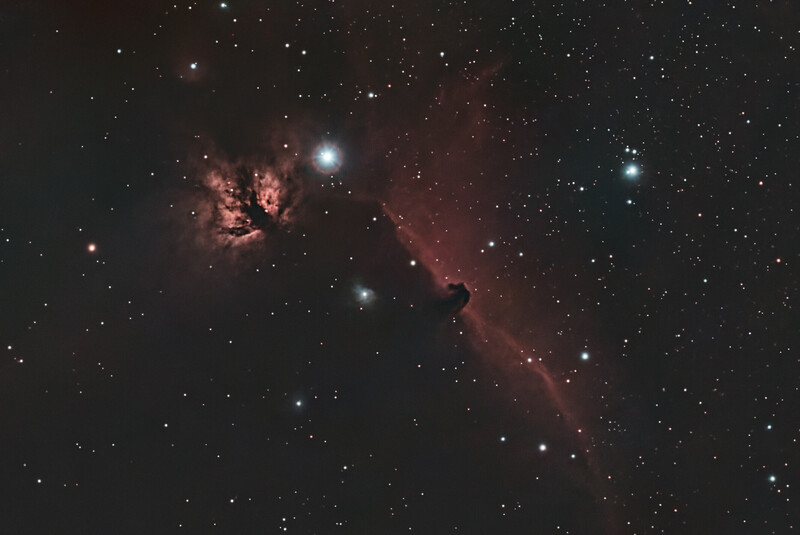
Again, I thought this was a good result given a minimum effort. The Horsehead structure is a little small owing to the FOV of the telescope, but it's certainly easier than using my other telescope rigs, which involve getting heavier equipment outside, doing a polar alignment, and focusing and framing the image. Is this image as good as I can get with my semi-pro equipment? No, it isn't, but at a fraction of the cost and with no hassle, this is an amazing image.
The Seestar telescopes now support using the telescope in equatorial mode. This is a big step forward and allows for longer exposures, up to 60 seconds according to the manufacturer. It takes a good polar alignment to make it work, but that's a computer-assisted exercise and the Seestar software guides you on alignment.
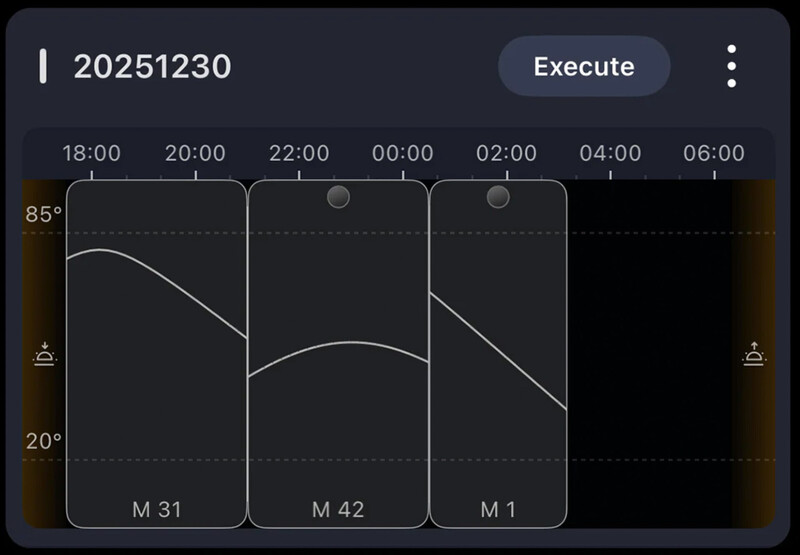
Another really awesome feature is an automated planning mode. You can give the Seestar more than one target, walk away, and it will complete the task late into the evening or early morning while you sleep.
Solar Imaging
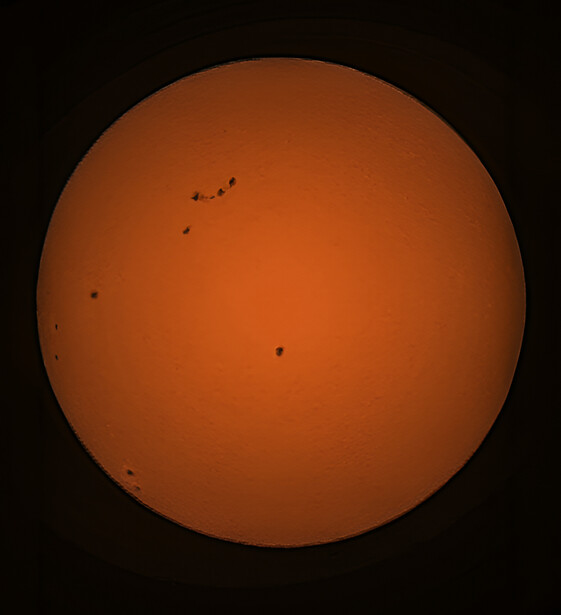
The Seestar S30 Pro allows you to get good images of the sun as well, and includes a magnetic clip-on solar filter. It even warns you to put the filter on before pointing the Seestar at the sun, or you risk melted optics.
The Seestar found the sun on its own, autofocused, and gave me a very good result, with solar storms on the surface easily visible. This would be a great setup for an eclipse.
The Seestar also has a scenery mode, allowing you to use the telescope on landscapes, nature photography, or whatever you like.
I pointed it at the Catalina Mountains, which are about 5 miles away, and got a sharp, well-exposed picture.
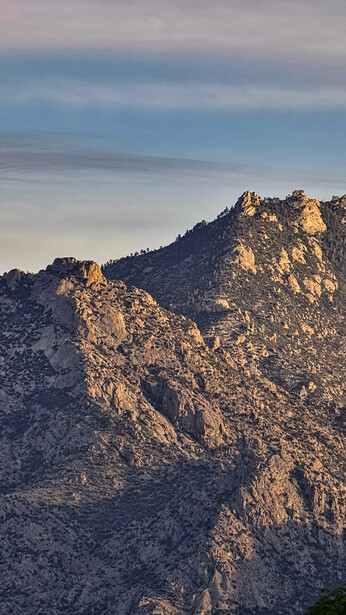
The only negative is that the Seestar shoots in portrait mode, which is not perfect for landscapes, but good for nature or bird photography. There is, however, a panorama mode where multiple images can be stitched together. The S30 Pro can also shoot in video and time-lapse formats and has some basic tracking features for moving objects. A second, wide-field optical system allows you to take Milky Way images and star trails. This is a lot of features in a device that costs less than a pro tripod.
Summing Up
The Seestar S30 Pro is a solid entry in the smart telescope category. It has sophisticated software, and ZWO has made software for some years for pro and semi-pro astrophotography. They are using a Sony imaging chip that is found in more expensive astronomy cameras, and as a result, offers more sensitivity and high resolution than a lot of its competition. At $599.00, it seems a bargain, but it's such a hit that it can be hard to find. Checking online retailers like B&H shows it not in stock but coming soon.
Here are my pros and cons on the S30 Pro:
Pros
- Cost is reasonable
- Easy to set up and use, though it's a good idea to watch a few online videos before diving in
- You can align and process the images on your own, or take a stacked image and process it in almost any photo editor, which is the path I would recommend
- Compact, comes with a carry case and a tabletop tripod
- Image quality is excellent for a telescope of this aperture
- Comes with a snap-on solar filter and has internal light pollution and nebula filters
- Software is constantly being updated and new features are being added
- Battery life is around four to six hours, and you can extend that with any USB power pack
Cons
- Portrait format is not ideal for landscapes, but as noted there are workarounds
- Planets are too small to get detailed images; large galaxies and nebulae are good fits for the focal length; the moon will show good detail
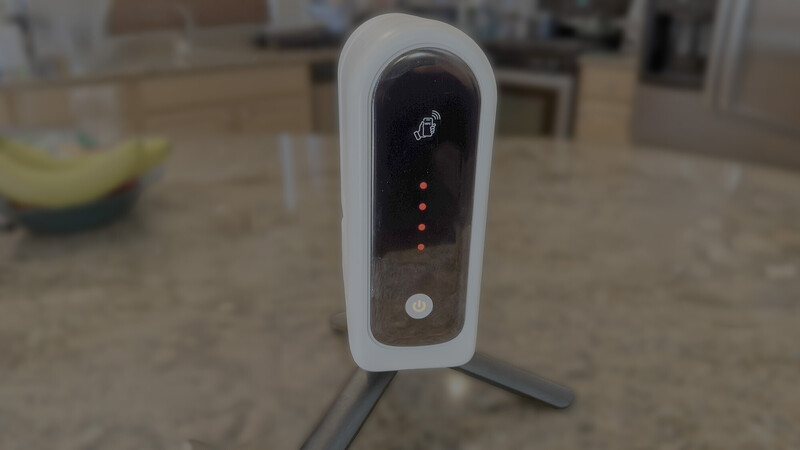
All in all, this is a very sophisticated and quality smart telescope. I think buyers will be happier if they edit the images on their own in their editor of choice. I had good results with Photoshop/Lightroom. It's also possible to edit these images in more sophisticated and dedicated astronomical image editing programs like Siril or Pixinsight. I expect most of our readers have a solid editor and they will get better results than just letting the Seestar process the images, even though the Seestar does a good job.
Ten years ago, the ability to own a robotic, portable telescope that takes good pictures was only a dream. ZWO and others have produced telescopes that are small and can capture the wonders of the universe in a form factor that can fit into a package about the size of a binocular case. It's amazing. The ZWO Seestar S30 Pro is highly recommended.
Join the Fstoppers community for free
-
Post comments and join in the discussions
-
Browse the site ad-free
-
Share your work and get featured in the community
-
Compete in the photo contests for fun and prizes
No comments yet