
I've been an amateur astronomer since I was around 11 years old. I had an uncle, a retired engineer, who had a small reflecting telescope, and when I saw Saturn for the first time I was hooked. Photography through a telescope came much later for me, and it was a very difficult undertaking in the film days. I remember taking some star shots to the drugstore for processing, and they told me they threw them away because there were just a bunch of white spots on them, and I should take better care to learn how to take pictures. Oh well.
Things are much better in the digital age, and we have sensitive optics and cameras that will let us, in our backyards, do better than the Mount Palomar Observatory did in the 50s.
I have a backyard observatory setup here in Arizona, and it's amazing what I can do. Still, so many people really want to get into this hobby without sinking a small fortune into telescopes, mounts, camera, guiders, and filters.
Now, DwarfLab has come up with a little piece of kit for $459 that does an amazing amount of things right.
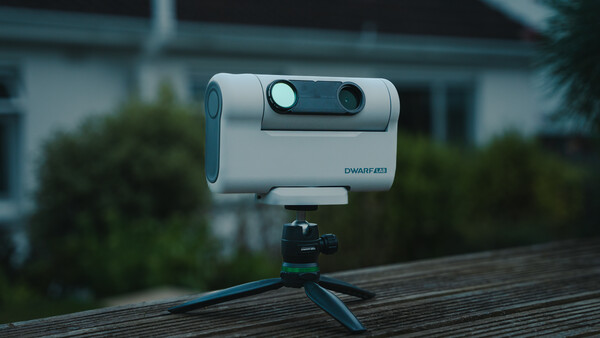
The Dwarf II Smart Telescope is very small, and that's the first surprise.
The case it comes in looks like something you'd put binoculars in. Inside is the diminutive Dwarf II, a tabletop tripod, and a micoSD card adaptor. The Deluxe edition ($595) adds a spare battery, sun filters for solar images, and a light pollution and nebular filter. I think the Deluxe edition is the way to go, because if you start using this telescope, you'll want those extras. Even at the higher price, this thing is a bargain compared to what is out there.
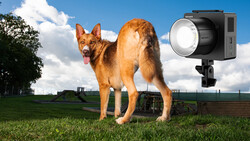
We're going to focus on astronomy in this review, but you should know this telescope can take stills and video during the day (video is 4K 30 fps) and also shoot panoramas, which it can automatically stitch together. If you're a wildlife photographer, it can track moving animals. It's all controlled by your smartphone, and images display immediately and then can be downloaded to your iPhone or Android gallery.
Tech Details
The Dwarf II has two camera systems. One is a 48mm equivalent f/2.4 wide angle camera. It fronts a 2MP sensor. There's also a 675mm equivalent f/4.2 telephoto camera using an 8-megapixel IMX415 Sony Starvis sensor. Sony made that sensor for low-light performance, and that's how that camera is going to be used for astrophotos.
The battery that comes with the Dwarf II is a 5,600 mAh rechargeable unit. If you buy the fancier model, you'll get an extra battery. Each battery lasts a few hours and is easily changeable in the field. The whole telescope, with a battery inside, can charge from a USB-C cable and power source (not supplied).
Using the Dwarf II Under the Stars
My expectations were not high. This is a small little telescope, and I'm used to working around the big stuff.
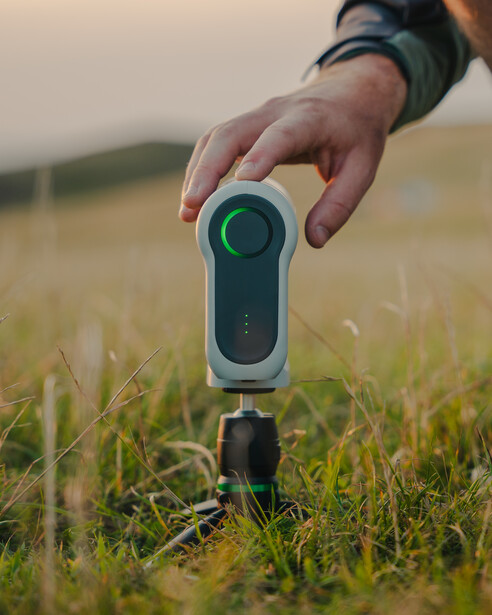
To start your imaging session, put the telescope on its included tabletop tripod or use a standard photo tripod, which I did. Turn it on, and its LED lights start to glow, showing your battery level and if you're connected.
The next step is to bring the Dwarf II app up, and you'll see an option to connect to the telescope using both Wi-Fi and Bluetooth.
The main screen shows a lot of choices, and there are sub-menus so the screen doesn't get too crowded. If it's nighttime, you tell the telescope to initialize, and in about a minute, the telescope points skyward on its own and figures out where it is and where it is pointing. No polar alignment is required, but you can polar align, and we'll talk about that later.
The Dwarf II provides an internal catalog of interesting objects that are available, and I suggested M13, the great star cluster in the constellation of Hercules. I tapped my selection and the little telescope started moving. To my great surprise, I could see the cluster in the center of the frame.
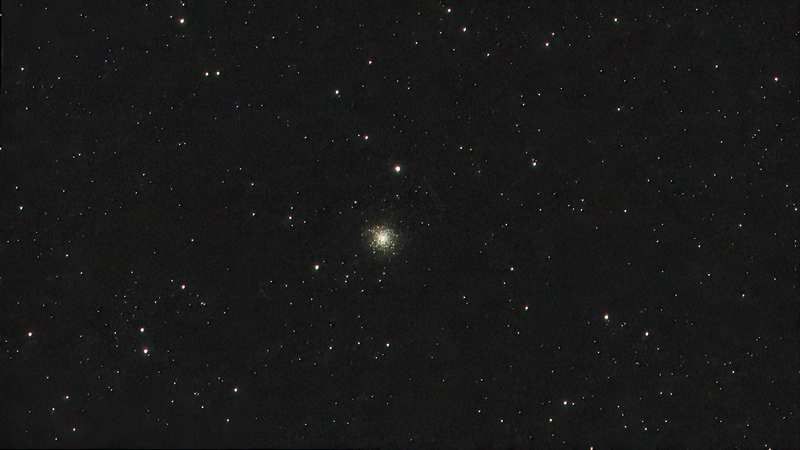
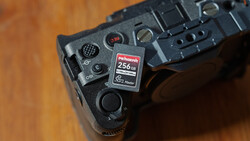
Then, you can take multiple exposures to get the most noise-free image. I requested 50 10-second exposures, and the Dwarf II automatically stacked them so I could see the image building up on my iPhone screen. The image is saved on an (included) 64 GB MicroSD card, and you can load a card of up to 512 GB capacity.
The sky rotates above us, and the Dwarf II will follow your target. It rotates too, but not mechanically. Each image is digitally aligned on board the scope, so sky rotation is not something you will have to worry about. If you polar align the scope, field rotation won't be an issue, and the Dwarf II will still nicely stack your images. That could avoid some artifacts of the electronic rotation, but I think most users won't bother.
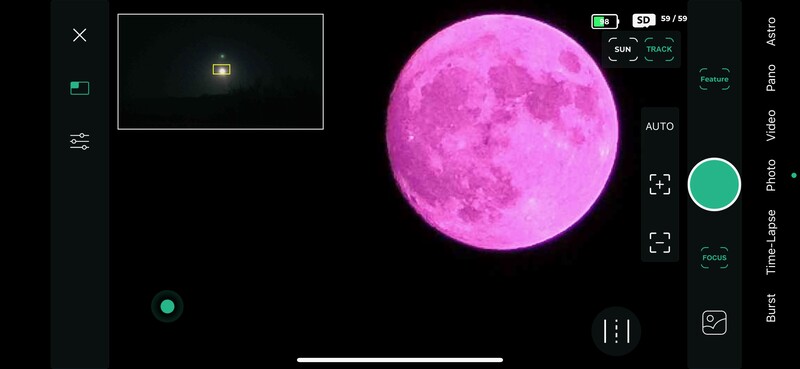
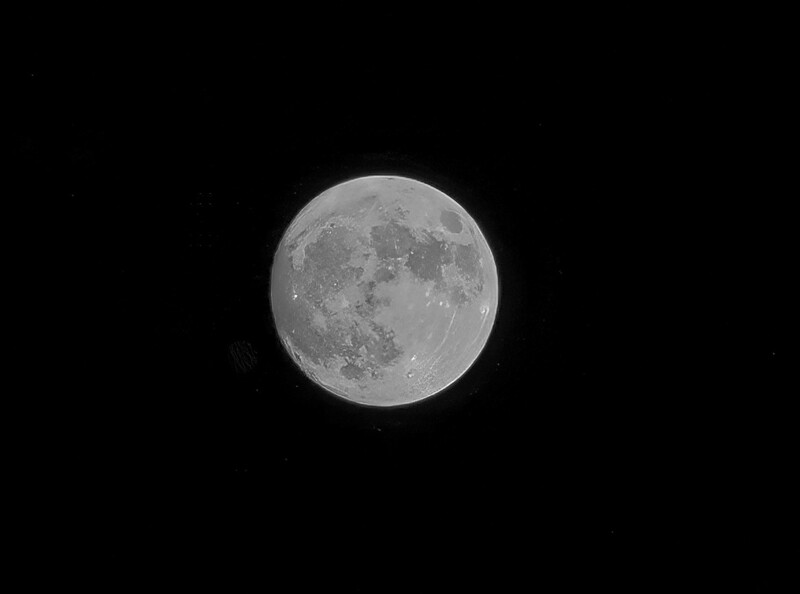
The moon was full, so I gave it a try. I thought the picture was good. The Dwarf II autofocused (there's manual focus too), and I could see good detail on the surface of the moon, even the bright crater Tycho and some of its rays.
I moved onto Messier 8, the Lagoon Nebula. The last several weeks in Arizona have been hot and humid, and I've been dodging rain. I got only three minutes of M8, and I was surprised how well it came out.
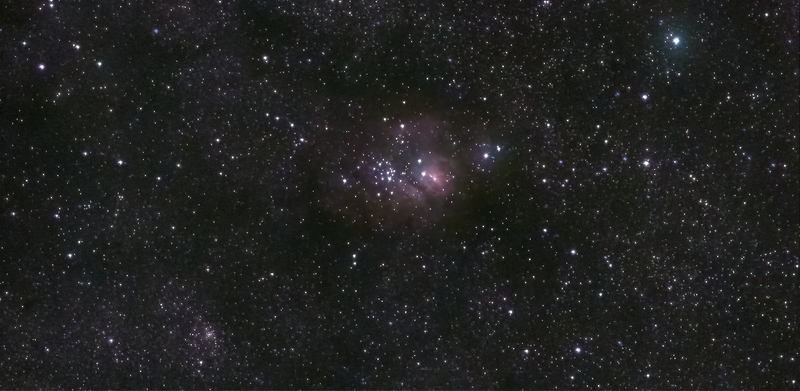
M8 really needed hours, but I couldn't get them due to our awful weather. The image was helped by my using the nebula filter, which also cuts out light pollution.
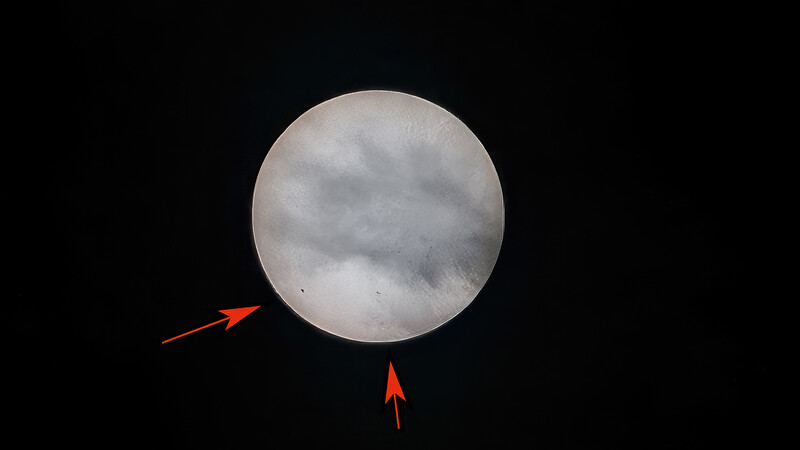
During the day, I tried some sun imaging with the included sun filters. I was satisfied with what I did, but clouds were in the way. There were some sun spots I highlighted in my image.
Although I thought the images I got were beyond my expectations, there's an active Facebook group that submits photos, and I found some good ones from people who were taking images in better weather than I've had during our monsoon season.
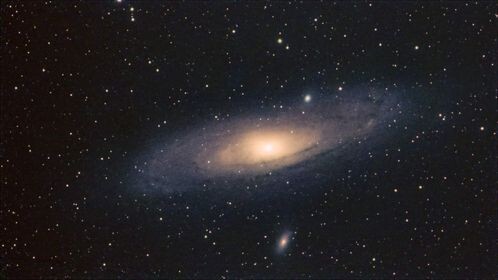
Here's a terrific image of the Andromeda Galaxy, M31 by Ioan Nemes.
And here's the Orion Nebula by Hani Kadummi.
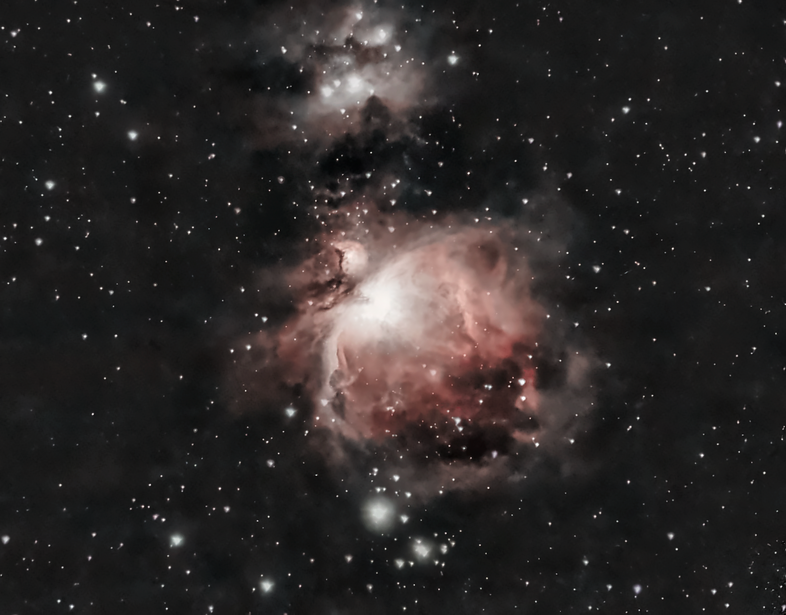
These images are way beyond what you'd expect from a little telescope you can easily hold in your hand. Now, in all cases, expect to post-process these images. It natively saves as PNG files, but you can save as TIFF or the FITS format that astronomers use. You can use whatever software you like to stack these files on your own, and I ran mine through Topaz Denoise AI and Topaz AI Sharpen. The results were really quite good.
When your session is done, you can rotate the optical assembly down into the telescope base to protect the lenses. Very clever.
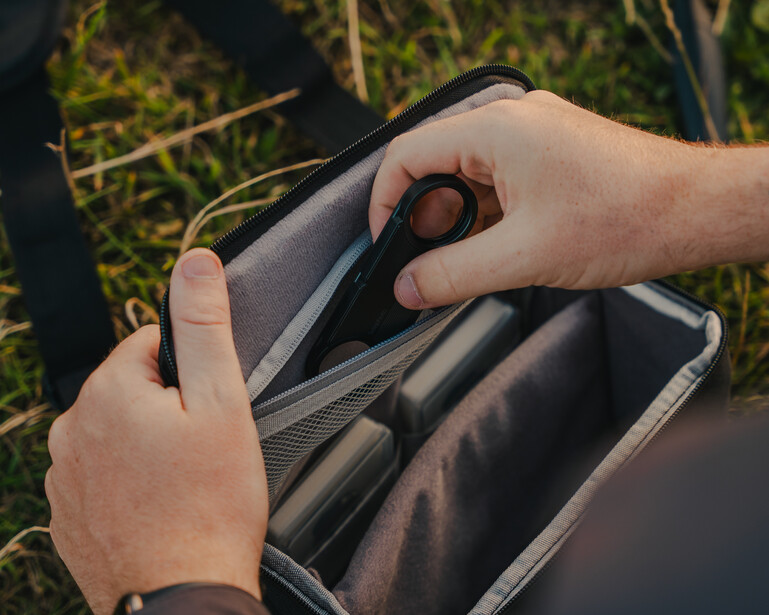
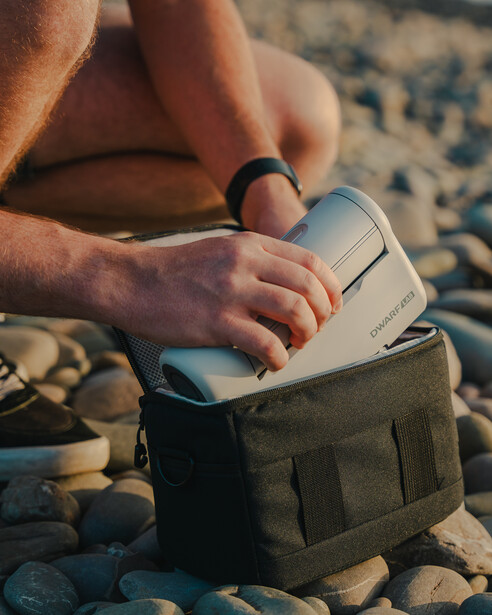
When it's time to pack up, everything goes in the well-made included case: telescope, filters, batteries, tripod.
Summing Up
Like any product, the Dwarf II is not perfect. It's software, after all. I saw a few bugs, such as the software forgetting what my exposure settings were. DwarfLab informs me a soon-to-be-out update fixes that and lets you set up templates for frequently used parameters.
Still, the Dwarf II was mostly trouble-free, and it never failed to get to a chosen target. It's impressive in design and execution.
The Dwarf II is not the equal to a many thousands of dollars pro or semi-pro setup. But it's a telescope you can take out on a moment's notice, on a car trip, or camping vacation and come back with some impressive images.
I've got plenty of expensive equipment I've gathered over the years, and I get published in the popular astronomy magazines. Still, I'd love a telescope like this one to use when I just don't feel like setting up something elaborate or something I can't travel with.
If the astronomy bug has bitten you, but you don't want to sink a fortune in gear, seriously consider the Dwarf II Smart Telescope. It's available online from Amazon and DwarfLab.


Join the Fstoppers community for free
-
Post comments and join in the discussions
-
Browse the site ad-free
-
Share your work and get featured in the community
-
Compete in the photo contests for fun and prizes
8 Comments
Looks like a cool piece of tech, thanks for bringing it to us.
Yeah there is no way the deep space imagery they show is real, or hasn't been heavily heavily processed in post with an aperture that small. An algorithm can't do that.
Hi Grey. The images are real, mine and the other 2 I showed. Mine were lightly post processed with Topaz AI DeNoise and Topaz AI Sharpen as stated in my review.
You will not be able to tell fully since you are essentially looking at heavily scaled down images (essentially from 8 megapixels down to around 0.5 megapixels), thus you can tell that it captured images though there is no telling if it is capable of delivering on any more than 0.5 megapixels worth of detail.
From the images provided, there was never indication that the device would fake anything, the only thing is that at such a low res (1/16th the output resolution), there is no telling what level of detail there is.
Overall it is like someone reviewing a microphone and providing a sample recording that was exported as 16kbps mp3 file, sure you will know that it is able to pick up voices and other sounds, but you won't be able to tell the difference between $100 USB mic like the Rode NT-USB, and a $10,700 Sony C-800G microphone.
The Dwarf II is not a full featured professional telescope. It's not high resolution (My telescope has a 60 MP camera), but for someone starting out or a young would be astrophotographer it's a great place to start. Especially at the price.
This is a very helpful review. Would you recommend as a first piece of equipment for someone just starting out in astronomy and astrophotography?
Yes, I think it's a good place to start. If you get serious, you'll invest in more conventional equipment, but for starting this is a good piece of kit and quite flexible. You'll see more devices that are similar coming out in the months to come. I think next years eclipse is going to create a lot of interest.
"It's all controlled by your smartphone, and images display immediately and then can be downloaded to your iPhone or Android gallery."
Hard pass!