

For years, my photo archive has lived across several external drives. At the beginning, that approach seemed perfectly fine. Each drive was labeled by trip or location, and it was easy enough to remember where things were. But as the archive grew, so did the confusion. I needed a solution.
I had heard photographers talk about NAS systems, but if I am being honest, I never really paid much attention. It seemed complicated. My storage system worked well enough, even if it was far from organized. Like many photographers, I relied on external hard drives for everything.
Over time, though, that system began to show its weaknesses.
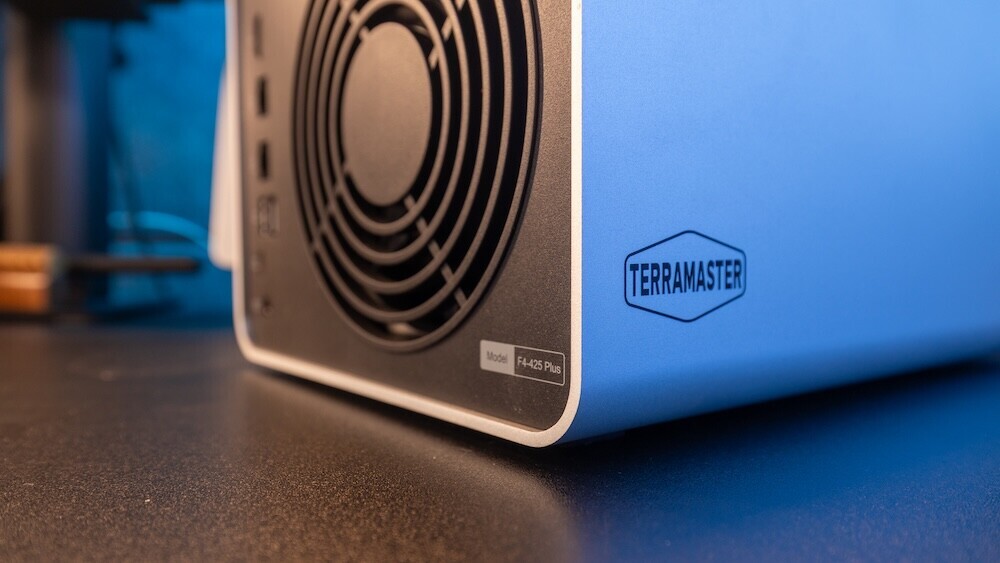
Recently, I decided to try something different and set up my first NAS system, the TerraMaster F4-425 Plus. I went into this with almost no technical background in NAS devices, so what follows is simply my experience using it so far. No complicated technical breakdowns, just what it was like setting it up and putting it into my own workflow.

The Storage Problem We Eventually Face
If you spend enough time behind a camera, particularly shooting landscapes, the number of files you produce adds up quickly. Each outing can generate hundreds of Raw files, especially if you are like me and like to shoot seascapes, and once you start including drone footage or video work, the storage demands increase again.
More than once, I found myself plugging in multiple drives trying to locate images from a particular trip. Sometimes I knew exactly what I was looking for but could not remember which drive contained the files.
Sharing files with clients was another frustration, but thankfully not something I would use often. Larger image sets or video projects meant uploading huge folders to cloud services and waiting for transfers to finish before I could even send the download link.
Eventually, I started looking for a more organized solution.
That search led me to the TerraMaster F4-425 Plus. The idea of having one central location where everything could live, while still being accessible from multiple devices and easy to share with clients, sounded like a far better approach.
First Impressions
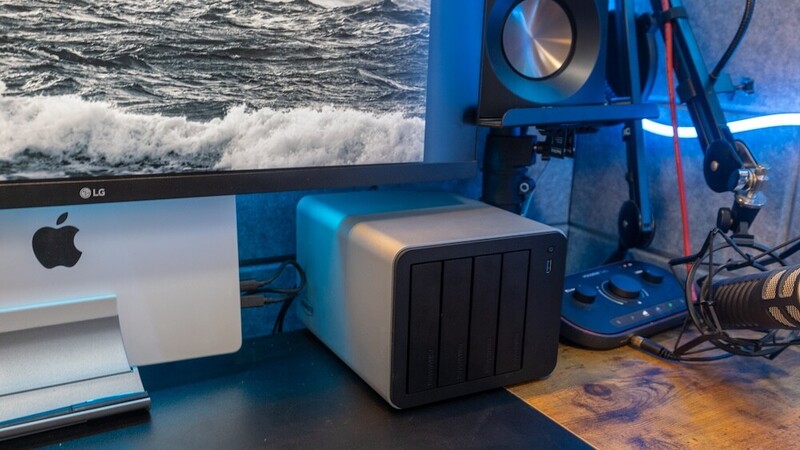
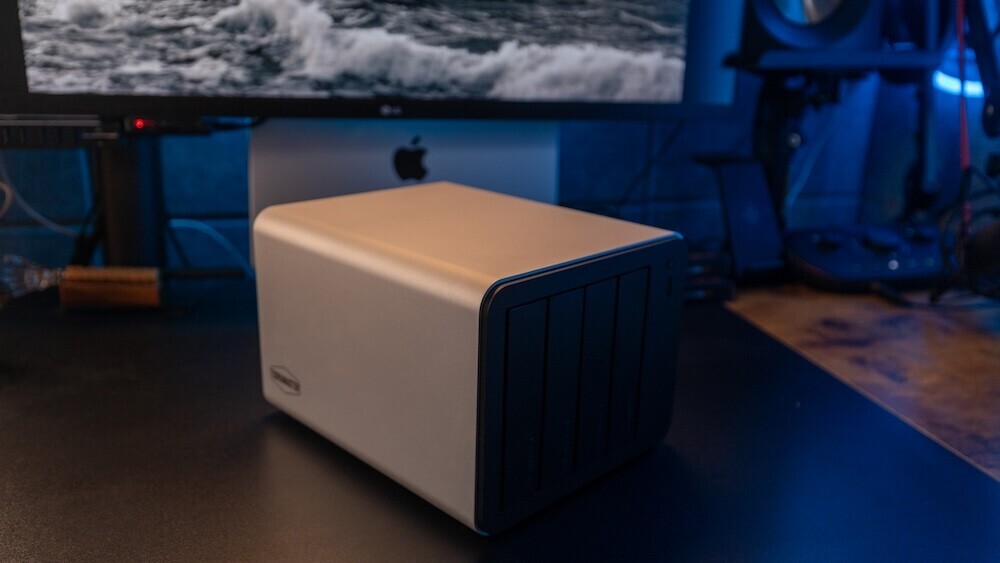
When the NAS arrived, the first thing I noticed was the build quality.
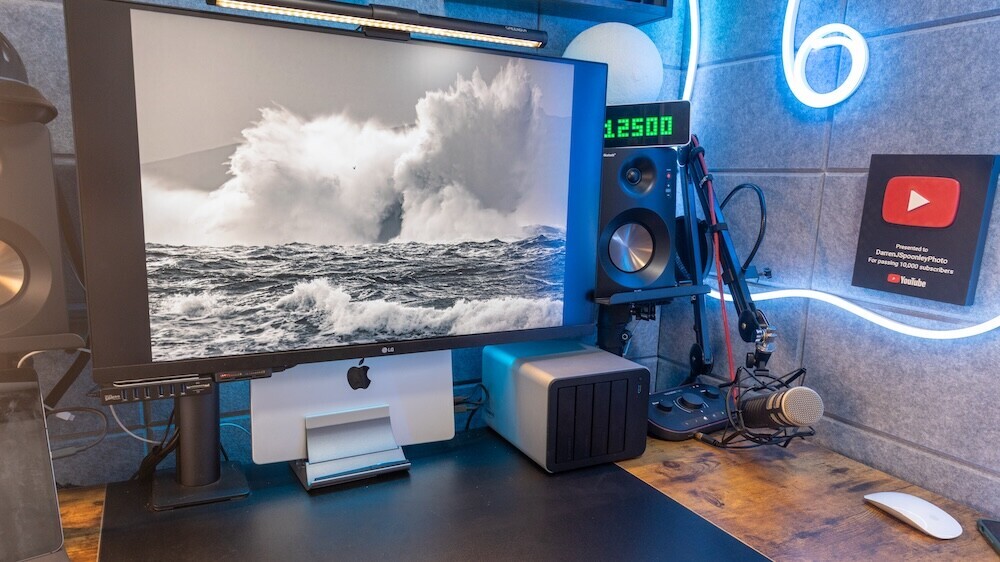
The TerraMaster F4-425 Plus has a clean aluminum design that feels solid and well-constructed. It does not look like a piece of network hardware that needs to be hidden away. In fact, it sits quite comfortably on a desk beside other equipment.
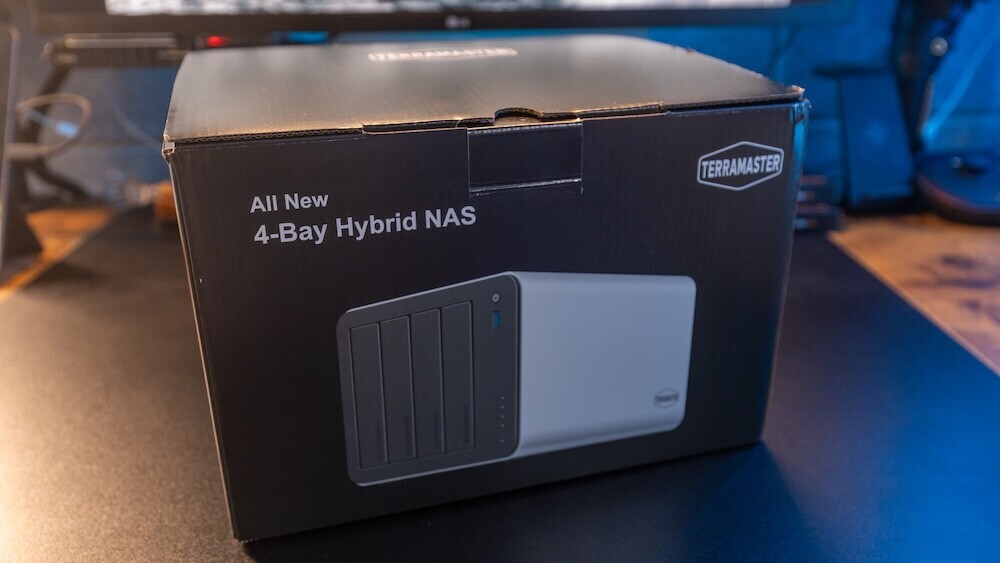
Unboxing was simple and straightforward. Everything required to get started was included, and nothing about the process felt overly complicated.
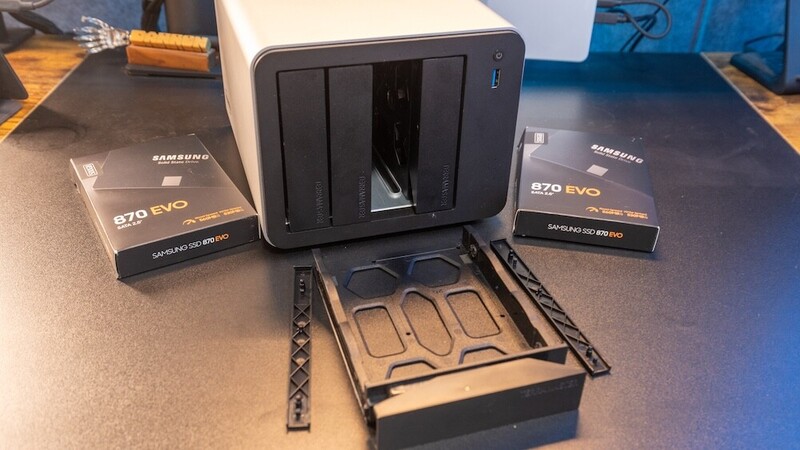
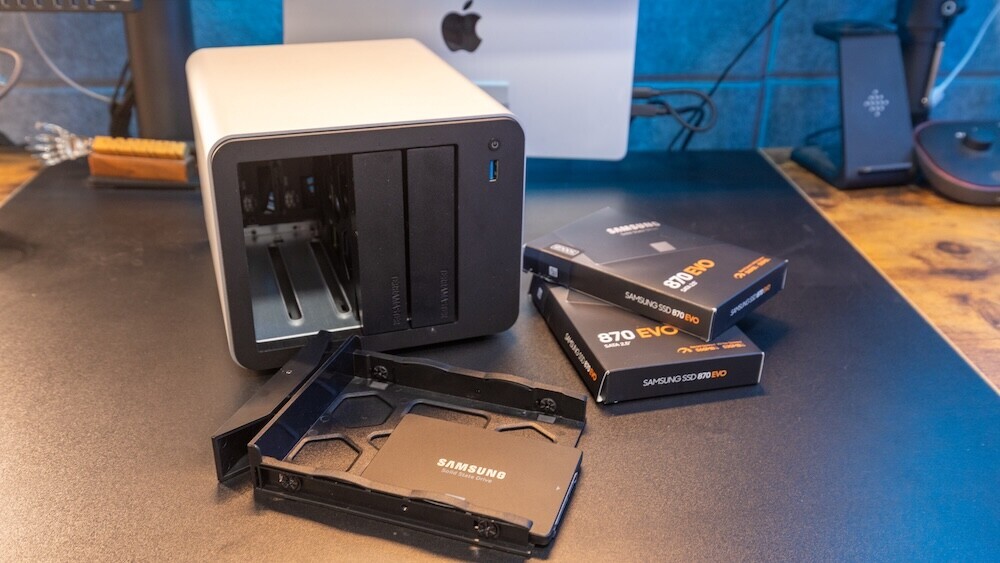
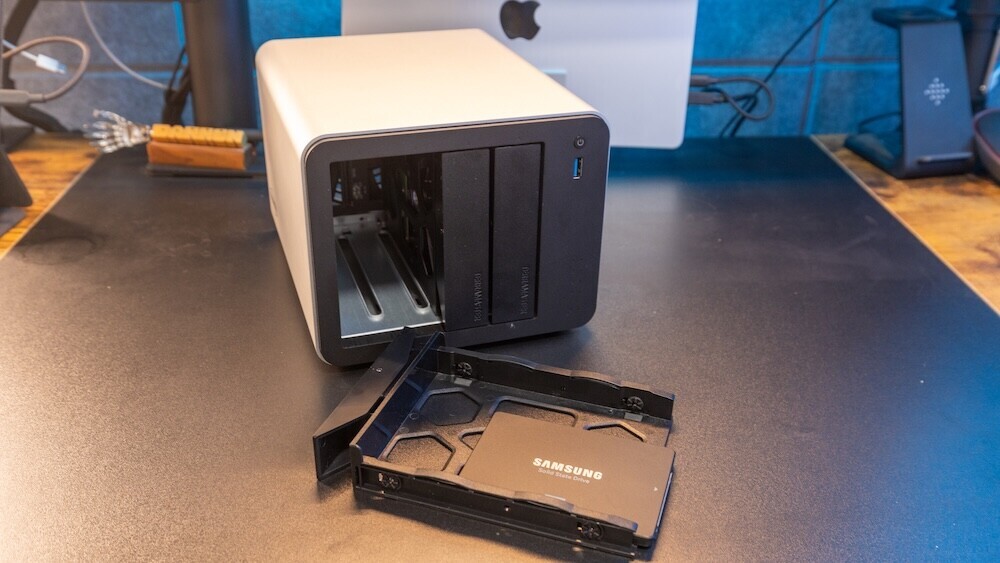
The drive trays are made from plastic and use small retaining clips to secure the drives. The first installation took a little patience while figuring out how the clips were meant to fit, but once the drive was seated correctly, the tray slid easily into the bay.
Much Easier Setup Than I Expected
Before turning the system on, I was prepared for the setup to be difficult. NAS devices often get described online as if they require a lot of technical knowledge, and this was why I avoided them before. Thankfully, that was not my experience at all.
I downloaded the TNAS mobile application, inserted a single SSD hard drive, connected the NAS to my router using the supplied Ethernet cable, and powered the unit on.
Within a few minutes, the mobile app detected the device and guided me through the setup process step by step.
From the moment I opened the box to seeing the drive appear in Finder on my Mac took roughly ten minutes. Once connected, it behaved very much like a standard external drive, which made the transition feel familiar straight away.
There is one small detail worth mentioning. The drive bays themselves do not include a locking mechanism. It is not a major issue, but having the option to lock the drives might have been useful.

Performance and File Transfers
With the NAS running, I began moving files across to see how it would perform in practice.
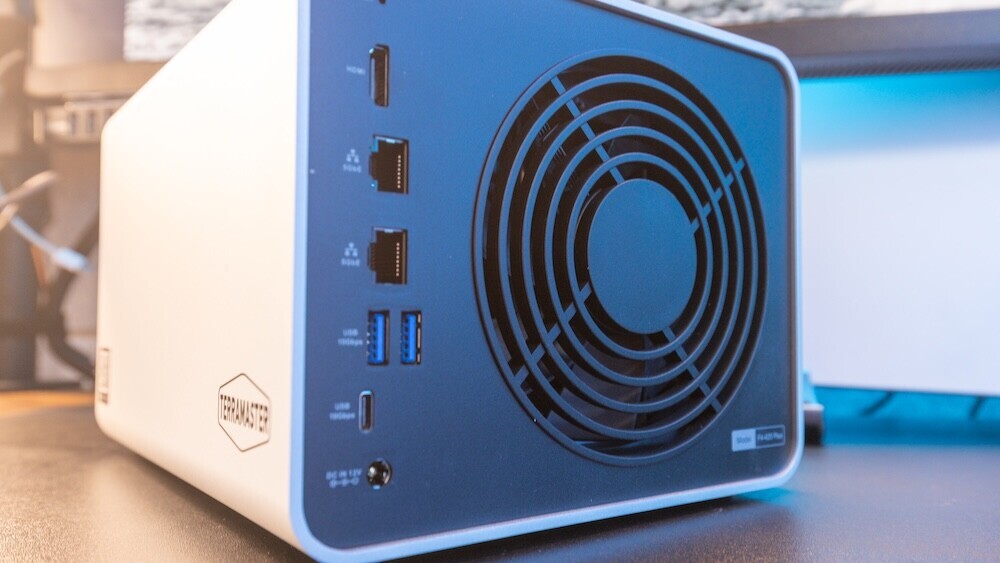
The first transfer involved roughly 120 GB of Raw files along with a couple of video editing projects. Over my 5GbE network, the transfer speeds settled around 410 to 420 MB/s. For my workflow, that is more than sufficient.
The transfer ran smoothly, the system stayed quiet, and even during longer file copies, the fan noise remained minimal. Once the files were transferred, they became accessible across my devices without needing to reconnect additional drives.
That alone was a noticeable improvement compared with my previous setup.
Sharing Files with Clients
One of the most useful features quickly turned out to be the file sharing.
After finishing edits from a recent photography trip, I generated a password-protected download link through the TerraMaster interface. I simply copied the link and sent it to the client through WhatsApp.
From their perspective, the process was straightforward. They received the link, opened it, and downloaded the files directly.
It removed the need for uploading large folders to third-party services like WeTransfer or Google Drive and waiting for those uploads to complete. For anyone who regularly sends large image sets to clients, I think this feature alone can simplify the process considerably.

Features I Was Not Expecting to Use
As I spent more time exploring the system, I discovered a few additional features I had not originally planned to use.
The built-in photo management application attempts to organize images using AI recognition. It is not perfect, but it does a reasonable job of grouping similar images together and identifying faces or locations across large collections.
The system also backed up my iPhone photos automatically once the backup feature was enabled. I did not realize it had run until I noticed the new folder appearing in the directory the following morning.
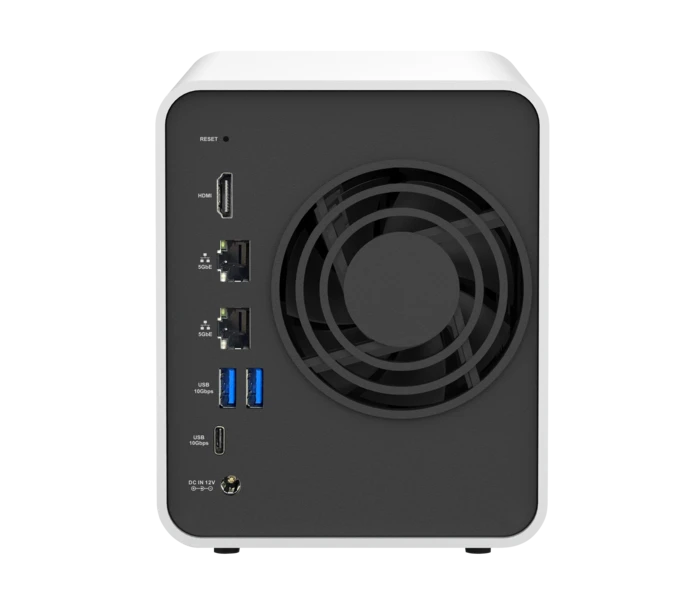
Another feature worth mentioning is the HDMI output. Connecting the NAS directly to a screen allowed me to play back several 4K drone clips. The footage played smoothly and without any stuttering.
These are not the primary reasons I chose the NAS, but they show how versatile the system can become once everything is configured.
Expanding the System
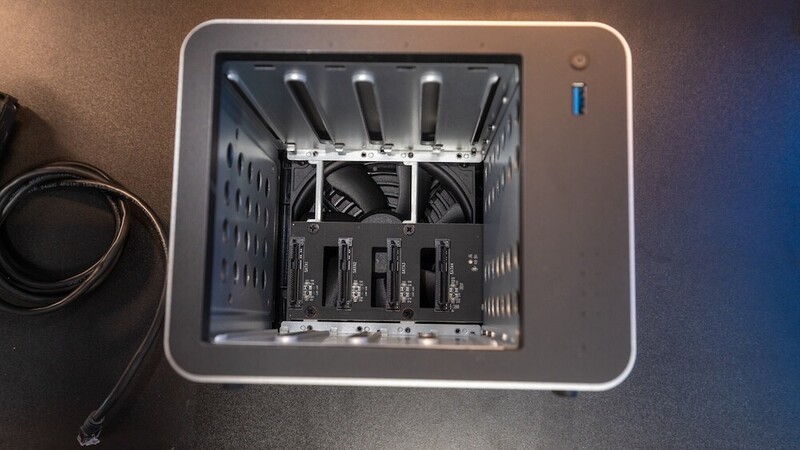
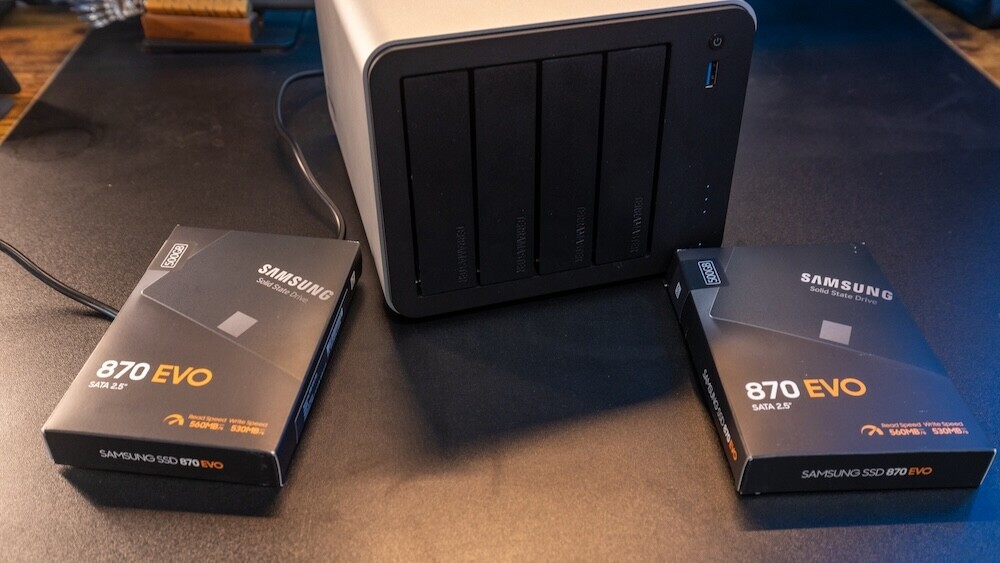
At the moment, I am running the NAS with two 500 GB drives installed. I did not want to go large at the start as I was unsure of its use case, but the F4-425 Plus has four drive bays available.
The plan is to add two additional drives and configure TerraMaster's TRAID storage system. This distributes the data across multiple drives and allows files to be recovered if one drive fails.
Compared with relying on a single external drive, that redundancy provides a much greater level of protection — or so I am told. As I said from the outset, this was my first experience with this type of storage solution.
The Pros
Several aspects of the TerraMaster F4-425 Plus stand out:
- The setup process is very approachable, even for someone with no previous NAS experience.
- The system runs quietly and does not appear to consume excessive power even when left running continuously.
- File sharing and remote access have already made delivering images easier.
- The hardware specifications also provide enough performance headroom that the system should remain useful for quite some time.
The Cons
There are a few areas where improvements could be made:
- The TNAS mobile application works but occasionally feels slow when navigating very large folders.
- TerraMaster's operating system is functional, although visually it feels slightly dated compared with some competing platforms.
- The drive trays also feel slightly fiddly during installation.
Final Thoughts
Overall, the TerraMaster F4-425 Plus has been a positive introduction to NAS storage for me.
For photographers who currently rely on multiple external drives, moving to a centralized storage system can simplify both organization and file sharing.


The system is not perfect, but it performs reliably and delivers the features that matter most in day-to-day use.
More importantly, it has already changed the way I manage my files. Instead of wondering which drive contains a particular shoot, everything now lives in one place and can be accessed whenever I need it.
For photographers considering their first NAS system, the TerraMaster F4-425 Plus is certainly worth looking at.


Join the Fstoppers community for free
-
Post comments and join in the discussions
-
Browse the site ad-free
-
Share your work and get featured in the community
-
Compete in the photo contests for fun and prizes
10 Comments
I understand some like to keep their files local but they should also be placed in the cloud for safety. If anything happen in your house, the copy in the cloud is the best option to recover. Today, many photo editing software provide 500GB to 1TB or capacity, enough for at least 20,000 to 40,000 raw photos. Using the cloud allow us to access the photos via various devices. A major plus in my book. Love Lightroom (not LRC) and Luminar Neo. All my editing can be done on my phone, iPad and PC. No storage and catalog management too. A huge plus!
I`ve work in all kind of storage in my 44 years of career (tape, disks, NAS, SSD and cloud), Data protection and long term archive (for century) was my job with Petabyte size requirement for the largest corporations.
Thanks, Jean for your additional information. I'm new to NAS so welcome your thoughts. I also need to store and access raw video plus outputted files, so the cloud would fill quickly with 4k, but for images I see your point entirely, plus having the extra redundancy off site makes sense too.
If you don't mind a little extra power consumption, it is best to build your own, or turn an old PC into a NAS. For example, my current NAS, is a using a old Z170 build (Core i7 6700K), as well as 10 HDDs and 1 SSD. Depending on how many drives you need, turning an old PC into NAS can be as simple as just installing your favorite NAS software, and connecting any extra HDDs you may have. Most motherboards will have 6-8 SATA ports and 1-2 m.2 slots, thus you can get a pretty good amount of storage without needing to modify the base system. And as your storage needs grow, you can simply add a SATA card to your system and add more drives (as many as your PC case will hold).
While the setup is not as easy as most turnkey NAS systems, the value is infinitely better, as often a NAS appliance device will as much as a mid range office PC, while having the CPU of an entry level netbook, and very few drive bays.
On the other hand, with a single PC, you start with 6 HDDs and an m.2 SSD, then use SATA cards for more drives, and if you start to outgrow those needs, you can add an HBA card, and then connect an external disk shelf which can often be had for a lower cost from places like ebay when companies sell off older server equipment, ad that point, you can easily expand to multiple dozens of HDDs, all with the same PC, thus the costs to expand remain low, while with a turn-key NAS appliance when you outgrow it, you need to buy an entirely new unit, and they tend to charge a massive price premium for more drive bays even though the cost difference is negligible for the company making the NAS.
PS, wanted to also add that you can use an OpenVPN server to access your NAS when out of the home, it also makes it easier to access any mapped drives, as well as do backups, and since nothing is really proprietary, you can easily use it with a wide range of backup applications, e.g., on android, I use Foldersync Pro and it backups and new user data to the NAS whenever I am on the home network and charging the smartphone.
https://www.youtube.com/watch?v=67KtKoW4IM0
Thank you! You miss my point. I like NAS but you also need an "external" copy if case something goes wrong at home. Havin second copy (offline) prevent you from loosing critical files and photos/videos assets. Also, many post-production software cloud storage solutions add more features that NAS have hard time to provide. Today my NAS is my second copy (offline) and not my primary for these reasons. My post-software allow my to create copies to my home NAS automatically when I power it on.
I`ve build and used many NAS using old PC and know all details on what its required (computer and software engineer). I also sold many enterprise level in my career with PetaByte size.
While an off-site backup is good to have, it can become challenging when you to store more data. For example, when you have have 50-100TB+ coming from multiple devices, e.g., desktops, laptops, and smartphones.
Depending on your NAS setup, it is easy to amass a lot of data since you can gradually upgrade over time, e.g., buying a few HDDs whenever there is a good sale.
Depending on the amount of storage needed and the sources of the data, odds are that cloud backups will quickly become too costly, and you may opt for working with a close family member or family friend who is also building a NAS, and then agree to sync and split the storage, e.g., you sync the NAS devices in both homes, and then build out to around 100-200TB or whatever fits your combined backup needs, then you each share the storage, and have encrypted and password protected shares, and become each other's off-site backup. While a sizable investment, in the long run, it will become cheaper than cloud options since for larger amounts of data, cloud storage becomes very expensive and is a never ending reoccurring cost is unpredictable.
My current backup strategy is syncing 2 NAS systems with my brother, thus working as each other's off-site backups. In addition to that, critical files get an additional backup to a cold backup (Using a SATA dock and dumping those files to couple bare drives that I cycle through, overwriting older ones, and storing them in a fire/ water resistant safe, thus for the most critical data, getting a copy on my main PC, on the NAS (including a copy off-site), and then finally a backup on a bare drive gets placed in a safe.
So far it has been much cheaper than relying on a paid cloud provider. Beyond that, never overlook the simple SATA dock and doing some cold backups. It is simple, as most docks are in the $15-$20 range, and likely 99.999% of users will have at least a couple additional HDDs of varying sizes laying around. While you won't be backing up every bit of data as a cold backup, you can at least store extra copies of important documents, important photos, etc.,
A cloud backup can be more convenient, but I can't justify the long term costs, and I can't justify the pricing risk having to scramble to change providers if they suddenly decide to jack up the price.
What RAID level did you setup?
I ended up with a RAID Z2 setup, mainly since I ended up doing a secondary system that is for unimportant/ easily replaceable data. Eg., storing important data on RAID Z2, and then storing things like random anime series on a JBOD type setup with no redundancy/ drive failure tolerance, and with a mix of various sizes and largely old drives (basically trying to use everything available, where if it still runs and has a SATA interface, then I will try to find some use for it, even if it is a 1TB drive).
Some of the features of your ZFS were my ideas...used to work at Sun Microsystems...
Yes cloud storage can be costly for very large size (> 10TB) but the average photographer are not using multi TB archive.
You can have different kind of cloud storage services that charge much less than others.
For example Azure, AWS and GCP offer archive mode with a minimum of 180 days without change or delete of the files. This kind of cloud storage allow you to store your images 100% safe (encrypted) and IMMUTABLE for very long period. The immutable setting is important to make sure no file can get erase by accident or malware.
AWS S3 Glacier Deep Archive: ~$0.99–$1.01 per TB per month
Azure Archive Storage: ~$0.99–$1.02 per TB per month
GCP Archive Storage: ~$1.20–$2.00+ per TB per month
So on average $12 per year per TB for storage and few more for setup in the cloud. Not too bad for security without hardware required. But the recall of the files can take long time. Not direct access as they store your files on physical tape in a fully automated tape library with 100 PB size per robot. Here is one of my installation!
That's very interesting, Naruto. Thanks a lot