
I recently reviewed the SunwayFoto PCL-R5 L-Bracket for the Canon EOS R5/R6. Shortly afterward, I found another interesting L-Bracket made by Peipro, which has an interesting feature that other L-Brackets do not, so I chose to buy one and check it out.
My Canon EF 100-400mm lens dictates the use of a tripod head that is Arca-Swiss compatible. That, combined with my distaste for flippy-floppy ball heads, means that a gimbal with an Arca-Swiss mounting system is the best choice for me.
When it comes to L-Brackets, I have three requirements:
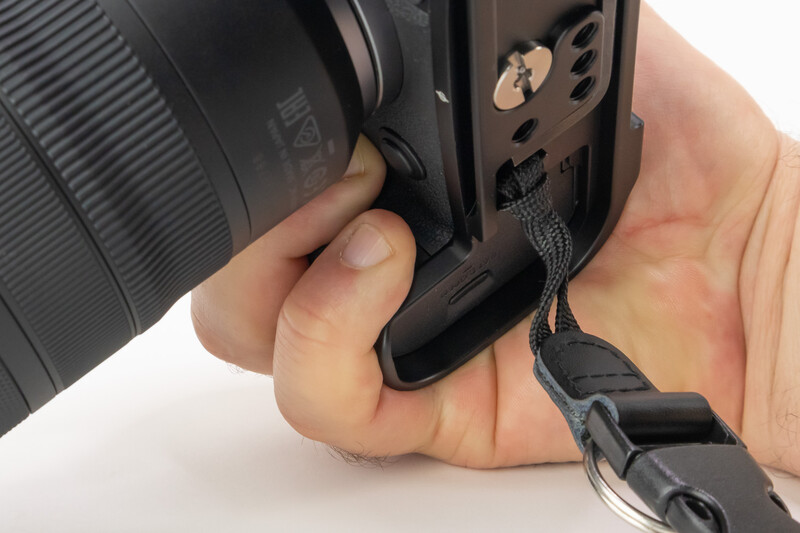
- It must have a connection point for my wrist strap, as I don't use a neck strap.
- It must have a removable vertical portion.
- It must have several 1/4"-20 accessory mounting locations.
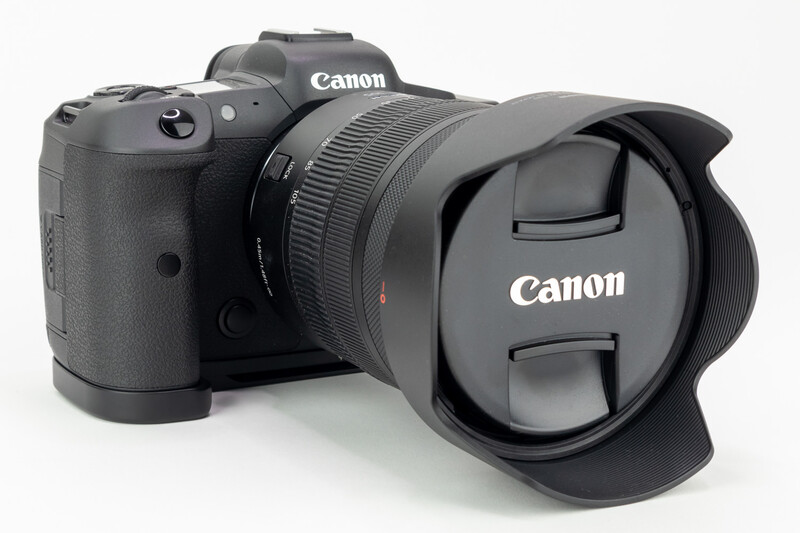
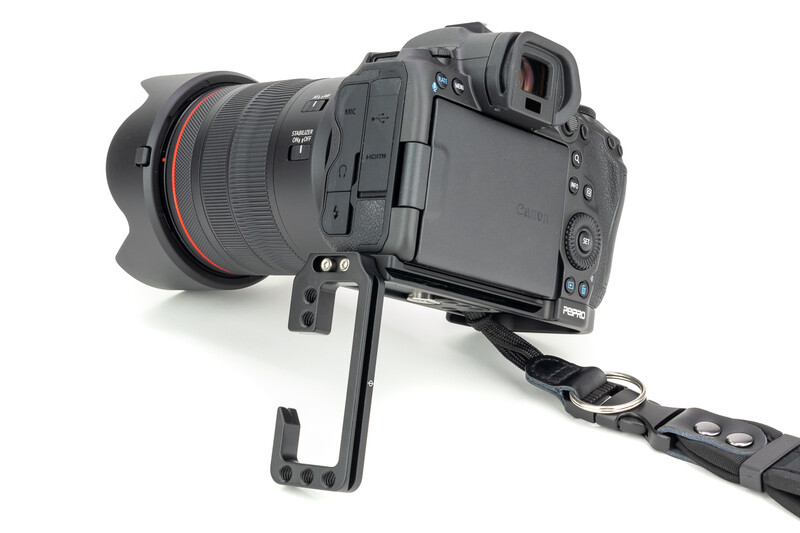
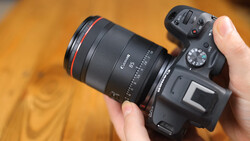
What makes the Peipro L-Bracket unique is that it extends the entire length of the Canon EOS R5 or R6 body, providing extra support under your pinky finger and protection for the camera body around the battery compartment. I have large hands, so I was definitely interested in anything that would extend the grip area of my R5. If you like the grip extension feature, but you're not interested in the L-Bracket, Peipro also makes a "Baseplate only" version of this without the vertical portion.
The only place I have found to purchase the Peipro L-Bracket for the Canon EOS R5/R6 is on AliExpress — so you have to order it directly from Hong Kong. There are some Peipro L-Brackets for other cameras on Amazon, but none for the Canon EOS R5/R6.
I did have difficulty getting the L-Bracket. The first shipment was "lost" and had to be sent a second time. Initially, I was trying to get a red anodized one because I thought it would photograph better, but by the time the re-shipment was to go out, the store was out of them, so I chose to have the black one sent to me. I chose express shipping, and it arrived in about one week. This was my first time ordering through AliExpress, and it was relatively easy.
Design and Features
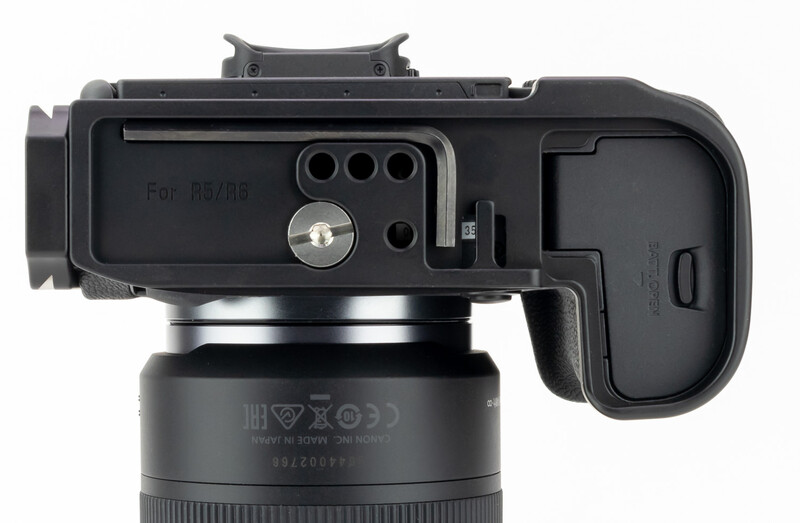
When the Peipro L-Bracket arrived, I was initially disappointed that the design varied slightly from the photos on the website. However, once I analyzed the differences, I think I like the design I received more. It differed in two ways. First, the vertical portion doesn't slide out but is removable and reversible. Second, the thickness under the body is less (8mm vs. approximately 13mm).
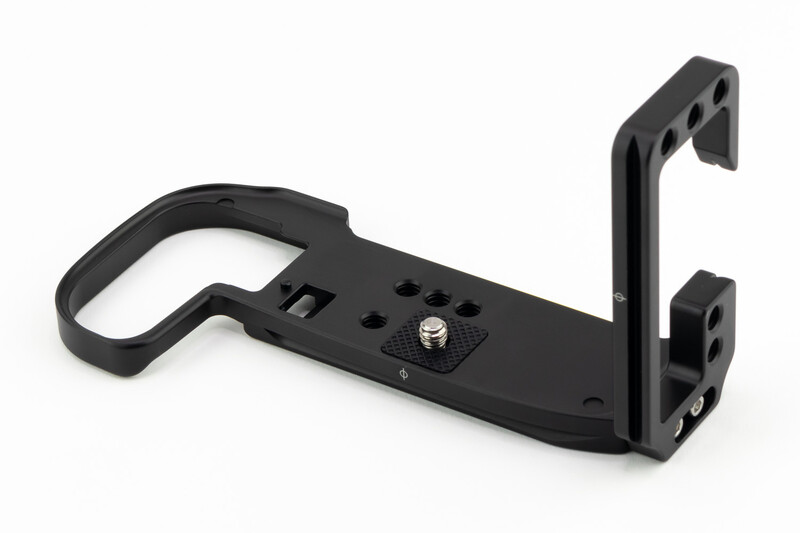
The full-width nature of this L-Bracket is one of my favorite things about it. Not only does it help protect that corner of the camera, but it also provides about 9.5mm (about 3/8") extra space for my pinky finger to rest. Usually, my pinky finger would hang half the way off the camera grip.
It also provides a full-width surface for the camera to sit on, making it more stable and less likely to scratch the bottom of the camera if you were to set it on a rough surface. I think it also makes for a better, uniform appearance. It doesn't have an aftermarket add-on appearance.
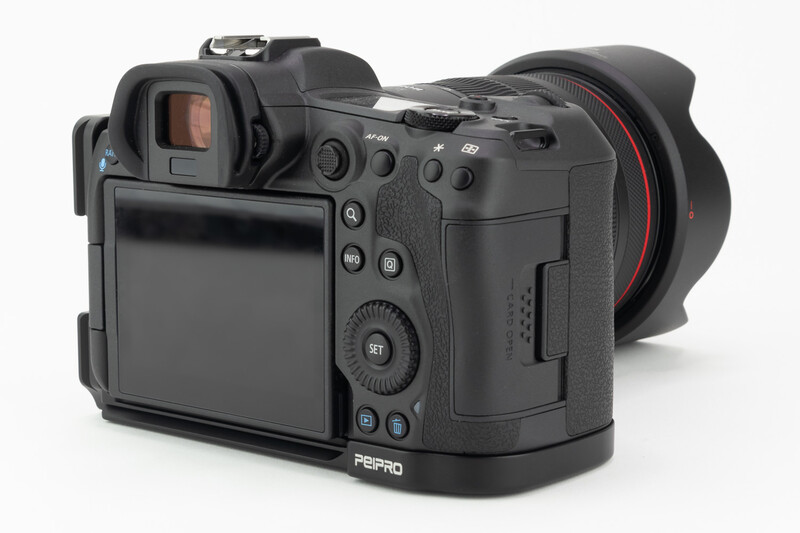
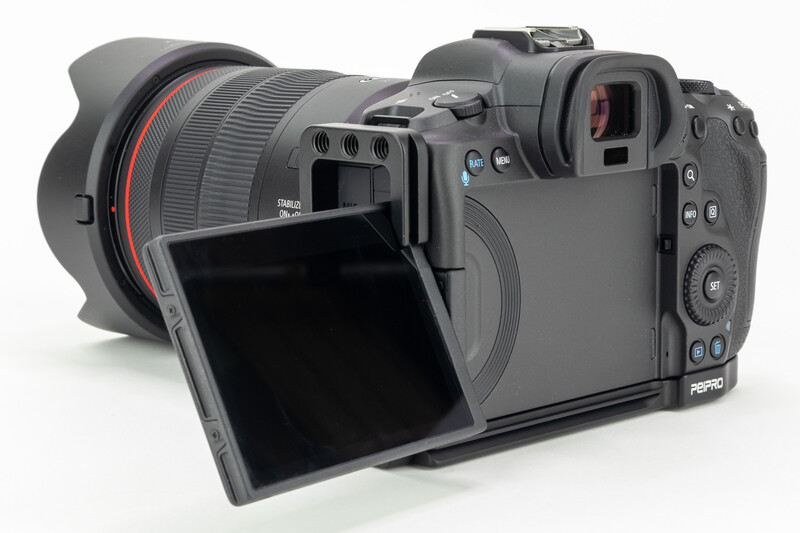
The vertical portion includes a cut-out section for the flippy screen. This opening is larger than the opening on the SunwayFoto PCL-R5 L-Bracket, which means the screen can rotate more when in the extended position.
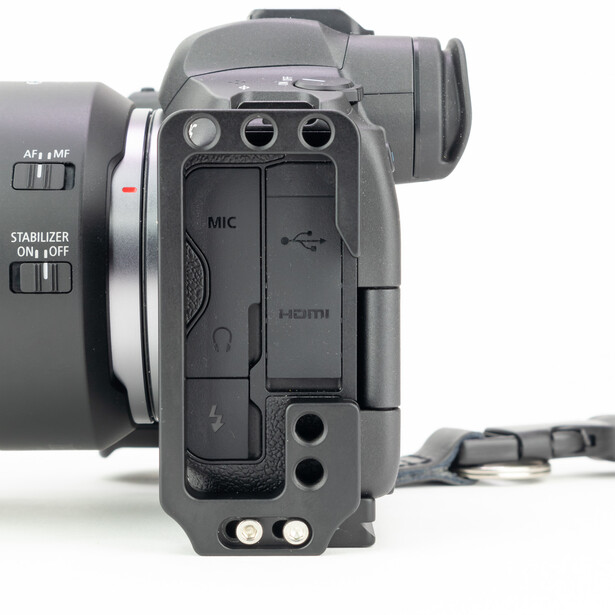
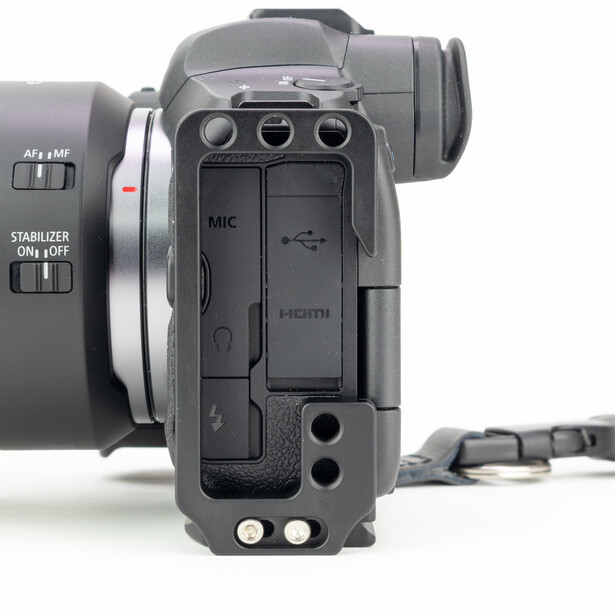
Two small hex screws allow the vertical portion to be either removed or rotated 90 degrees, pointing down. Although that's not optimum for compactness, it does allow for full access to the audio/video camera ports. The small hex screws also enable you to slide the vertical portion forward and backward to access the camera ports. The small hex screws might be easier to lose than other designs, but I don't plan to take them off very often.
The Peipro L-Bracket does not have safety stop screws. If that's a feature you like to have on your plates/L-Brackets, you may have to go with another brand.
What's in the Box
- Peipro L-Bracket
- Two hex wrenches
- User Manual
What I Like
- Low profile design
- Full length for more grip space and protection
- Reversible vertical portion
- Nine accessory mounting holes (1/4-20), five on the side bracket and four on the bottom
- The slotted screw can be tightened with a coin, slotted screwdriver, or hex wrench
- Very nice hard-anodized finish
- Slot for attaching a wrist strap (I use this on all my cameras)
What I'd Change
- No sensor centering mark on the back but does have one on the front
- Does not have safety stop screws
Final Thoughts
I'm incredibly pleased with the Peipro L-Bracket. It fits perfectly, works as it should, and provides that little bit of extra grip area that makes holding the Canon EOS R5 just that much better. The added protection is a nice bonus to an already nice product. It also looks great, if that's your thing. For clarity, I purchased the Peipro L-Bracket with my own money.


Join the Fstoppers community for free
-
Post comments and join in the discussions
-
Browse the site ad-free
-
Share your work and get featured in the community
-
Compete in the photo contests for fun and prizes
13 Comments
Bonus points for anyone who can give a reasonable use case for reversing the direction of the vertical riser of an L-bracket. Vertical video?
I cringe whenever I see a flippy screen manipulated into the middle of the vertical section of an L-bracket as illustrated here. Not only does that severely limit the tilt of the screen, but it seems like a recipe to gouge the right edge of the screen if it is bumped the wrong way.
I have yet to see an L-bracket solution for flippy screens that I actually like (speaking only for myself, of course). The Pro Media Gear L-bracket with the vertical section shifted forward seems great in terms of functionality but weighs as much or more than many lenses. The Markins L-bracket, low profile and lightweight, might be the best fit for me but it lacks the 1/4-20 threads the author needs—and, inexplicably, has the vertical bracket oriented in the opposite direction of the horizontal one. (SMH on that one.)
I got the Pro Media Gear bracket and am pretty pleased with it I do agree about the weight but the access to the ports on the side and the screen movement is important to me.
Shooting vertical, the bracket seems to flex a tiny bit but that is more os a psychological issue than an actual functional problem.
I had been thinking of buying a small bodied camera for personal use and when I took the bracket off an R5 I was astonished to realize that I already owned one.
"I had been thinking of buying a small bodied camera for personal use and when I took the bracket off an R5 I was astonished to realize that I already owned one."
Hahaha
Have you seen the smallrig bracket? It doesn't bother it at all.
I'm not sure what you mean, David. I have seen the SmallRig L-bracket. Doesn't bother what?
*** Sorry, it's the cage. But can be used the same as a L-bracket.
How do you use the cage to flip the camera to portrait orientation? I thought the reason L-brackets exist was to make it really easy to switch between landscape and portrait without adjusting the tripod head. That seems especially important if you're using a fluid or gimbal head that doesn't even have a portrait orientation.
Because its a cage, you can mount it on the opposite side of the monitor.
The version you purchased is the ultra-thin version. I prefer the much normal one for that little bit of additional height.
The normal one has the tool slide into the plate. It also allows you to slide and yiu can tell by the extra screw at the bottom of the plate.
That might explain why they gave me a partial refund after I complained about the differences between the order page and the product I received.
always the same problem for the screen rotation. To date, I have never found a solution that works 100%
Smallrig doesn't. I have it.
yes but it's the same problem