Articles written by Julia Kuzmenko McKim
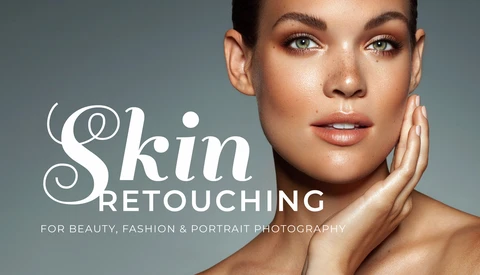
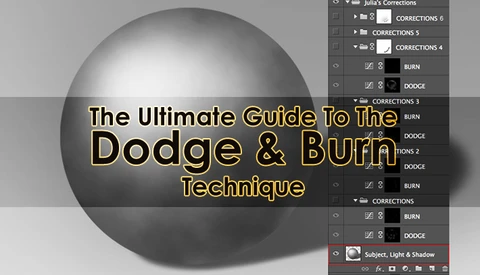
Anyone who is interested in portrait, fashion or/and beauty retouching knows how wonderful the Dodge & Burn technique is for skin retouching. We have talked about various methods and the fundamental knowledge of light and shadow rendering in 2-dimensional art before, and I would like to offer you yet another important piece of the D&B puzzle - the brush settings in Photoshop, which will help you achieve greater results when using this technique.
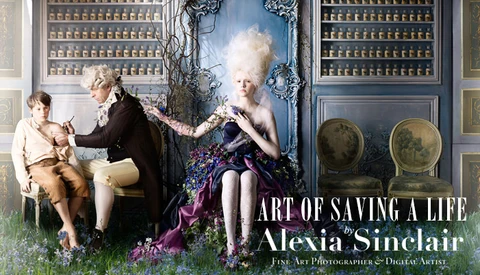
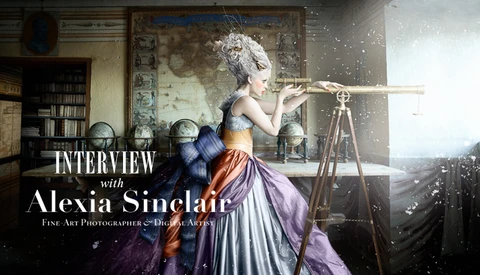
Artist & Photographer from Australia Alexia Sinclair has done it again! I wrote about Alexia's stunning art projects, such as her photo collection A Frozen Tale in the past, and between then and now, I actually had the pleasure of meeting her in person at the AIPP Event last summer in Australia.
When I first attempted to retouch the photographs I took in 2006, I had no idea what I needed to do and how. Today there are thousands of video tutorials on the web on how to retouch, but nobody explains what it is that needs to be retouched to make a female face look more youthful, healthy and beautiful. It took me some time to figure out what the common problems that I needed to remove from my subjects' faces and bodies were, and what I had to alter to make them look more attractive.
Almost a year ago I posted The Ultimate Guide To The Frequency Separation Technique article and soon after that I created our Retouching Academy community group for retouchers and photographers who retouch their own work. We have been seeing a lot of before & after images posted there by artists of all levels from complete beginners to seasoned pros.
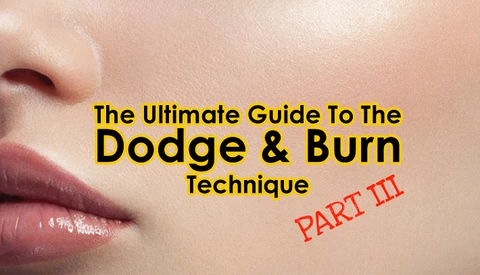
This is the third part of The Ultimate Guide to the Dodge & Burn Technique. Check out Part 1 and Part 2 where we talked about the fundamentals and tools. Today we finally get to one of the actual setup variations for the Dodge & Burn technique in Photoshop. But before we begin, I'd like to share a few words of caution with you.
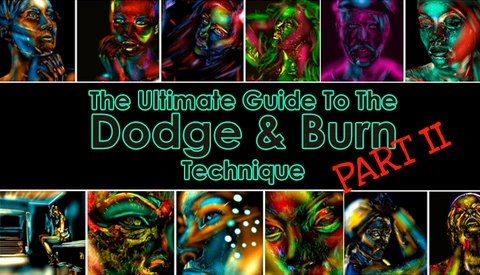
This is the second part of The Ultimate Guide to the Dodge & Burn Technique. Check out Part 1, where I covered the fundamentals of light and shadow rendering in painting.
So, now that we understand that the shadows and highlights are what makes our 2-dimensional pictures appear to have more volume and dimensions, let's move on to the technical side of the Dodge & Burn implementation in retouching.
Dodge & Burn (D&B) is a technique that came to us from the darkroom days when luminosity values in a photo could be only manipulated by the duration of the exposure of the light sensitive photographic paper. And while there’s so much that have already been published about it, I hope we can still shed some light on the aspects of it that are usually not mentioned in retouching tutorials.
About 5 years ago, when I was still in my Photography college in Australia, our teachers would regularly introduce us to the new and noteworthy Australian photographers' and digital artists' work. Among others there was one artist, whose work really grabbed my attention and I have been watching her growth and success ever since.
It's no secret that we creatives are often introverted, or simply don't know the first thing about self-promotion. Thus there are thousands and thousands of brilliant talents out there that very few have discovered. I have been on a mission of finding such gems and helping them expose their work to the worldwide online photography and digital imagery communities. And today I would like to share some beautiful and fun images and inspiration from Spain with you.
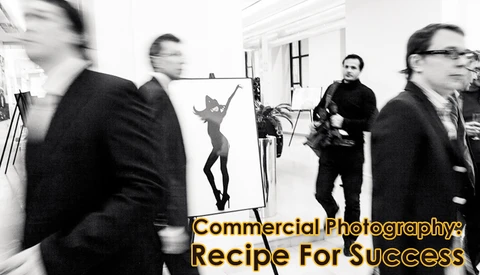
My photographer-friend from Moscow Aleksey Dovgulya is visiting me in Los Angeles right now. We went to the same high school, but only met in 2008 after I got into photography. While I was studying in Australia Aleksey built an impressive list of commercial clients in Russia. In the past few years he has photographed for major brands such as Rolls-Royce, Renault, BMW, Schwartzkopf & Henkel, Benetton, Vogue, Christian Louboutin, and the list goes on and on.
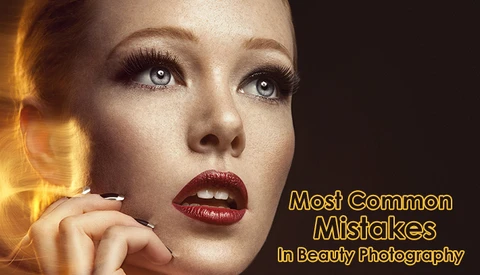
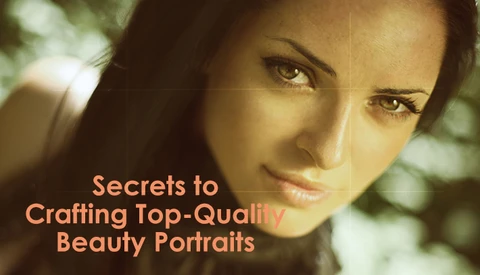
I would like to wrap up my Secrets to Crafting Top-Quality Beauty Portraits series in a quick roundup on the most common mistakes I have been noticing beginner Beauty photographers make.
I will sure talk more about Beauty photography in the future, but I'd like to summarize a few things at this point.
This is yet another article of the Secrets to Crafting Top-Quality Beauty Portraits series. If you haven't read the first three, you can find them here: on compositing, on shooting Beauty portraits on location and in studio.
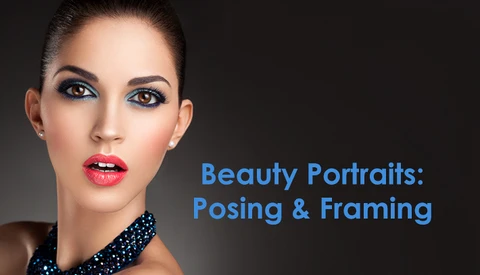
Today I would like to talk about framing, posing and directing your models when shooting Beauty portraits. While lighting and compositing are very important parts of creating a striking image, the model's pose, facial expression and her body language can make or break it.
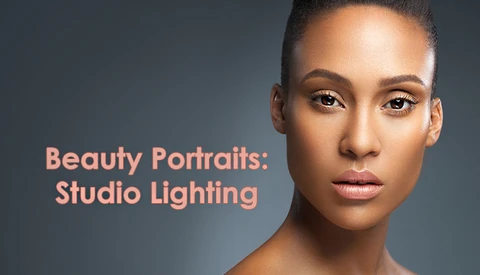
In this article I would like to share some of the basics and tips for those of you who enjoy shooting beauty portraits with controlled artificial lighting.
Make sure to check out my previous articles of this series: Secrets to Crafting Top-Quality Beauty Portraits: On Location Lighting and Composition and visual balance.
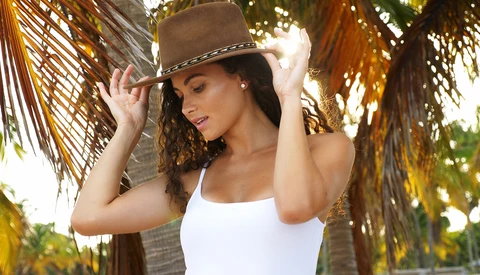
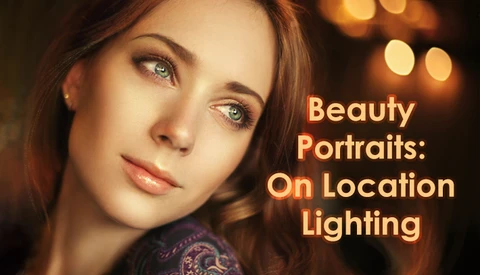
I am continuing my series of articles about creating stunning Beauty portraits and I would like to talk about on location lighting today. Please note that not only are we talking about advertising Beauty photography, examples of which you may see in the cosmetics section of a department store, or in fashion magazine ads, but we are also talking about simple female Beauty portraits that many of you are probably often hired to photograph for your female clients locally.
This article is for those of you how enjoy beauty photography: from fashion and advertising beauty, to beauty portraits of non-models and even boudoir photography. And while there are always millions or rules, trends and opinions, I base my article on my own ideas and beliefs as to what's important to be aware of to successfully create attractive beauty images.
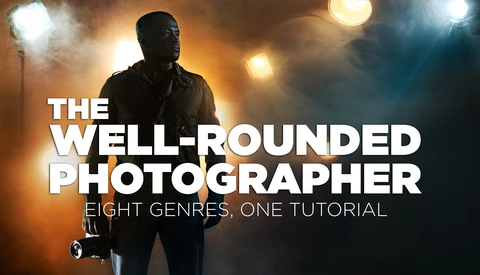
I have been teaching retouching and photography for a couple of years, and I found that even my advanced students often didn't know some basic tools or techniques. Those gaps in knowledge are to be expected among self-taught photographers and retouchers, of course. However, I have just returned from my trip to Italy where the amazing Italian Photoshop guru and Wacom evangelist Marianna Santoni organized a series of educational events, in which I taught Beauty photography and retouching.
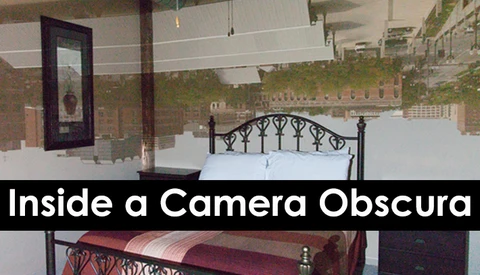
We all have cameras and know how to operate them. But how well do you understand the image forming principles? Modern technologies spoil us and we are often not required to possess any knowledge about the process behind the functions of a device. However, such knowledge can lead you to fun experiments like the one I am going to share with you today.
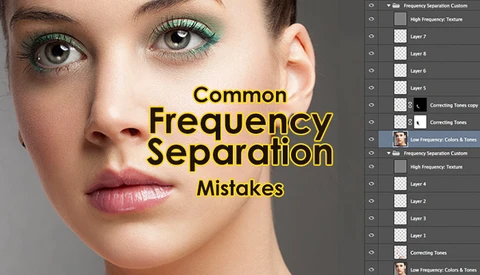
Chances are you have already learned what Frequency Separation (FS) technique is, as it became mainstream in the past few years. However, many FS technique users actually know very little theory behind it, thus have little control over its implementation. I've set out to research and collect all the important and useful information about it, so we can together learn how to become better at it.
Before my trip to Russia in August I wrote about what we should keep in mind when choosing our clients. While in Moscow, I photographed my own best clients and I thought it would be very interesting to find out how we, photographers, get chosen too.
Needless to say, there are many factors that influence relationships between creative professionals and those who hire them. But I thought that interviewing my own clients could be a great case study and we all could learn something from their answers.
When this post is published I will be on my way to Moscow, Russia somewhere above the North Atlantic Ocean. I have a couple of shoots booked with my regular clients there, and my relationships with those clients are so great and long-lasting that they inspired me to write this article.
A few years ago when I was still new to the world of beauty photography and digital photo retouching, I prided myself on the ability to "fix it later in Photoshop." I would welcome retouching challenges as I was still learning, but things changed forever after I started working with professional teams and shooting for commercial clients.
There are a few unarguable reasons for getting it right in camera.
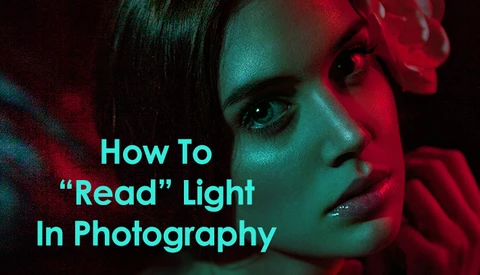
This is the second part of the article on how to learn to "read" lighting in photography. If you haven't read the first part yet, please start here: How To "Read" Light In Photography - Part 1.
And for those of you who have been waiting for the second part, let's jump right back in and see what other cues we can use to breakdown lighting in other photographers' work.
One of the first very important skills I acquired in my Australian Photography course was the ability to breakdown lighting and determine approximate camera settings in images taken by other photographers. If you understand how the direction of light and its degree of diffusion are controlled and how they affect images, it should be easy for you to train yourself to "read" lighting in the images you see in magazines, on billboards and in your favorite photographers’ portfolios.
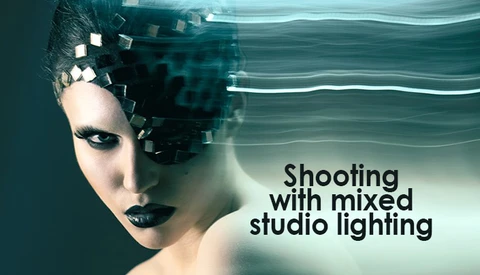
When we talk about on-location mixed lighting we usually mean shooting with light sources of different nature, such as natural ambient light and artificial, or shooting with lights of different color temperatures (tungsten, fluorescent, flash, etc.).
There are dozens of cool effects that one can achieve when mixing ambient light with controlled lighting, but today I would like to talk about mixing lights in studio - impulse (i.e. strobe or flash) and continuous. I love this technique and hope my article inspires you to try it out too.
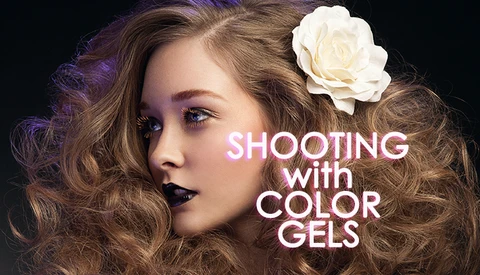
There are times when I find myself shooting the same stuff or using the same lighting setup over and over again. Repetition helps to improve and fine-tune my skills, but sometimes it just feels boring and degrading, let alone useless for my portfolio.
But as much as I dislike feeling stuck and repeating myself, I now realize how such times in fact help me to become a better artist and shooter. It's usually the desire to entertain myself and experiment that leads me to new personal artistic discoveries. It's when I'm bored and want to "spice it up", I start searching for new lighting ideas, tricks and techniques.