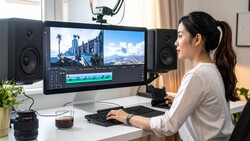
When getting into videography, the most challenging part tends to be the sound, especially for us photographers. With the latest Adobe Premiere Pro update, auto-ducking has been brought from Audition to make transitions between audio clips smoother and easier than ever before.
When you don’t know much about sound editing, it can quickly ruin your videos. Making the background music too loud or having a poor transition between different audio clips will most likely deter people from watching your whole video. With the latest Adobe Premiere Pro, it’s now easier than ever to define the proper level for each audio element and duck the sound when needed. In the video above, Boone Loves Video shows you exactly how to use these new features to help improve the quality of your production.
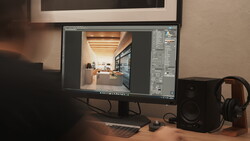
Note that if you prefer using Adobe Audition for all of your audio editing, the same process can be used. Round-tripping your content from one app to the other is also quite easy as shown by Jason Levine in the following video:
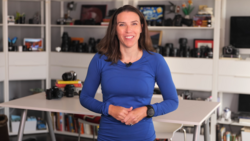
For more Adobe Premiere tutorials, be sure to follow Boone Loves Video’s channel, and if you are more interested in improving the audio quality of your videos, then Jason Levine’s tutorials are definitely the ones you should start with.


Join the Fstoppers community for free
-
Post comments and join in the discussions
-
Browse the site ad-free
-
Share your work and get featured in the community
-
Compete in the photo contests for fun and prizes
1 Comment
Awesome. That's a very cool feature. Thanks for letting me know!