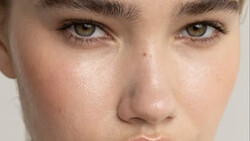
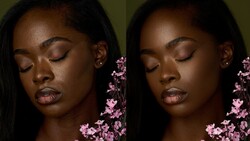
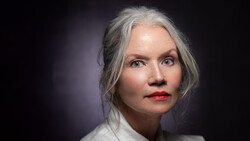
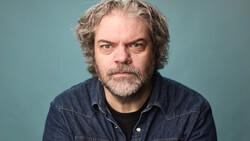
Retouching is crucial to the process of creating a successful portrait. If that is something you would like to learn more about, this fantastic video tutorial will show you the process of retouching a portrait in Capture One.
Coming to you from Fstoppers alum Michael Woloszynowicz, this great video will show you the ins and outs of retouching a portrait in Capture One, ranging from dodging and burning to color correcting. One thing that is always important to remember, particularly with any retouching on the face, is to always keep a close eye on just how far you are going. Since you are typically zoomed in quite a bit and making very local adjustments, it can be easy to lose track of how much retouching you are doing and to end up going overboard, leading to rather artificial results. Personally, I make a habit of zooming out for a quick moment every two or three minutes just to keep an eye on things. Check out the video above for the full rundown from Woloszynowicz.
And if you want to continue to learn about Capture One, be sure to check out "The Complete Capture One Editing Guide: With Quentin Decaillet!"

3 Comments
As a long time C1 Pro user, and somebody that will speak highly of it at any chance I get, because it is the best Raw Processor out there, these things are better done in Photoshop. The clone is clunky and half ass'ed, the brush tool is slightly laggy. Outside of grandiose dodging/burning and skin-tone, PS is the way to finish.
I mostly agree. I tried doing a full retouch in C1 yesterday after watching this and I agree that the clone and heal layers are strange in their implementation. But when I got used to how they work, and in conjunction with dodge and burn, I throughly enjoyed how clean the result was. Especially given that any color shifts were heavily minimized by the nature of working on a raw file and using the skin tone tool to reign in any adverse shifts in saturation. Most importantly, I love not having a 2GB psd/tiff to have to open up in PS. For my model tests, I could get used to this approach.
Good, best raw converter/editor around.