
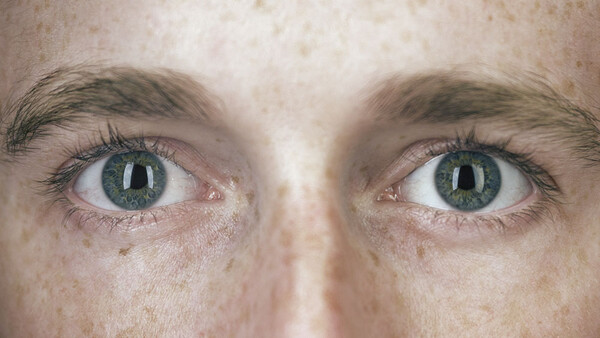
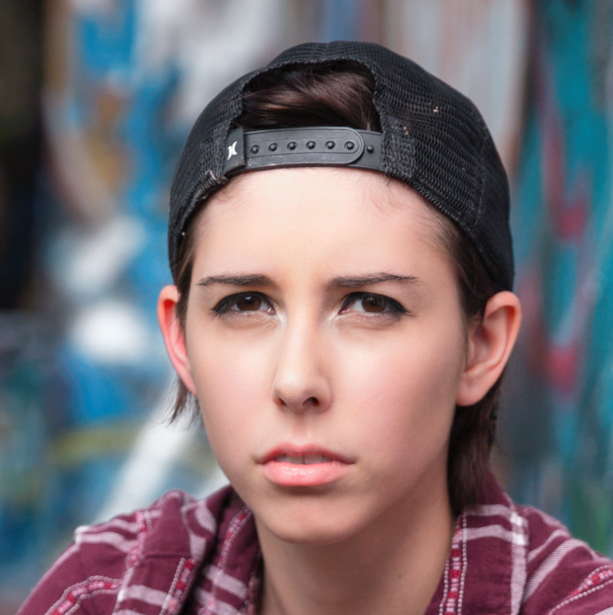
Catchlights are those beautiful, almost imperceptible, reflections in the eyes of your model that bring their expression to life. When photographing portraiture every effort should be made to capture this light in their eyes, but sometimes they come out so faint the impact is simply not enough. Fortunately, there is an easy fix.
Catchlights are simply the reflection of your key light in the eyes of your model. They mimic the shape and relative size of the light and given a proper placement, they will provide a sparkle to the eye that creates interest almost in a subconscious manner. Therefore, before starting the process of re-creating a catchlight it is important to consider what the key light being used in your portrait was including its size, shape, and intensity. Oftentimes a catchlight will already be present but it may simply be too faint. In those cases, it is easy to provide a boost as you will simply be brightening the catchlight already present.
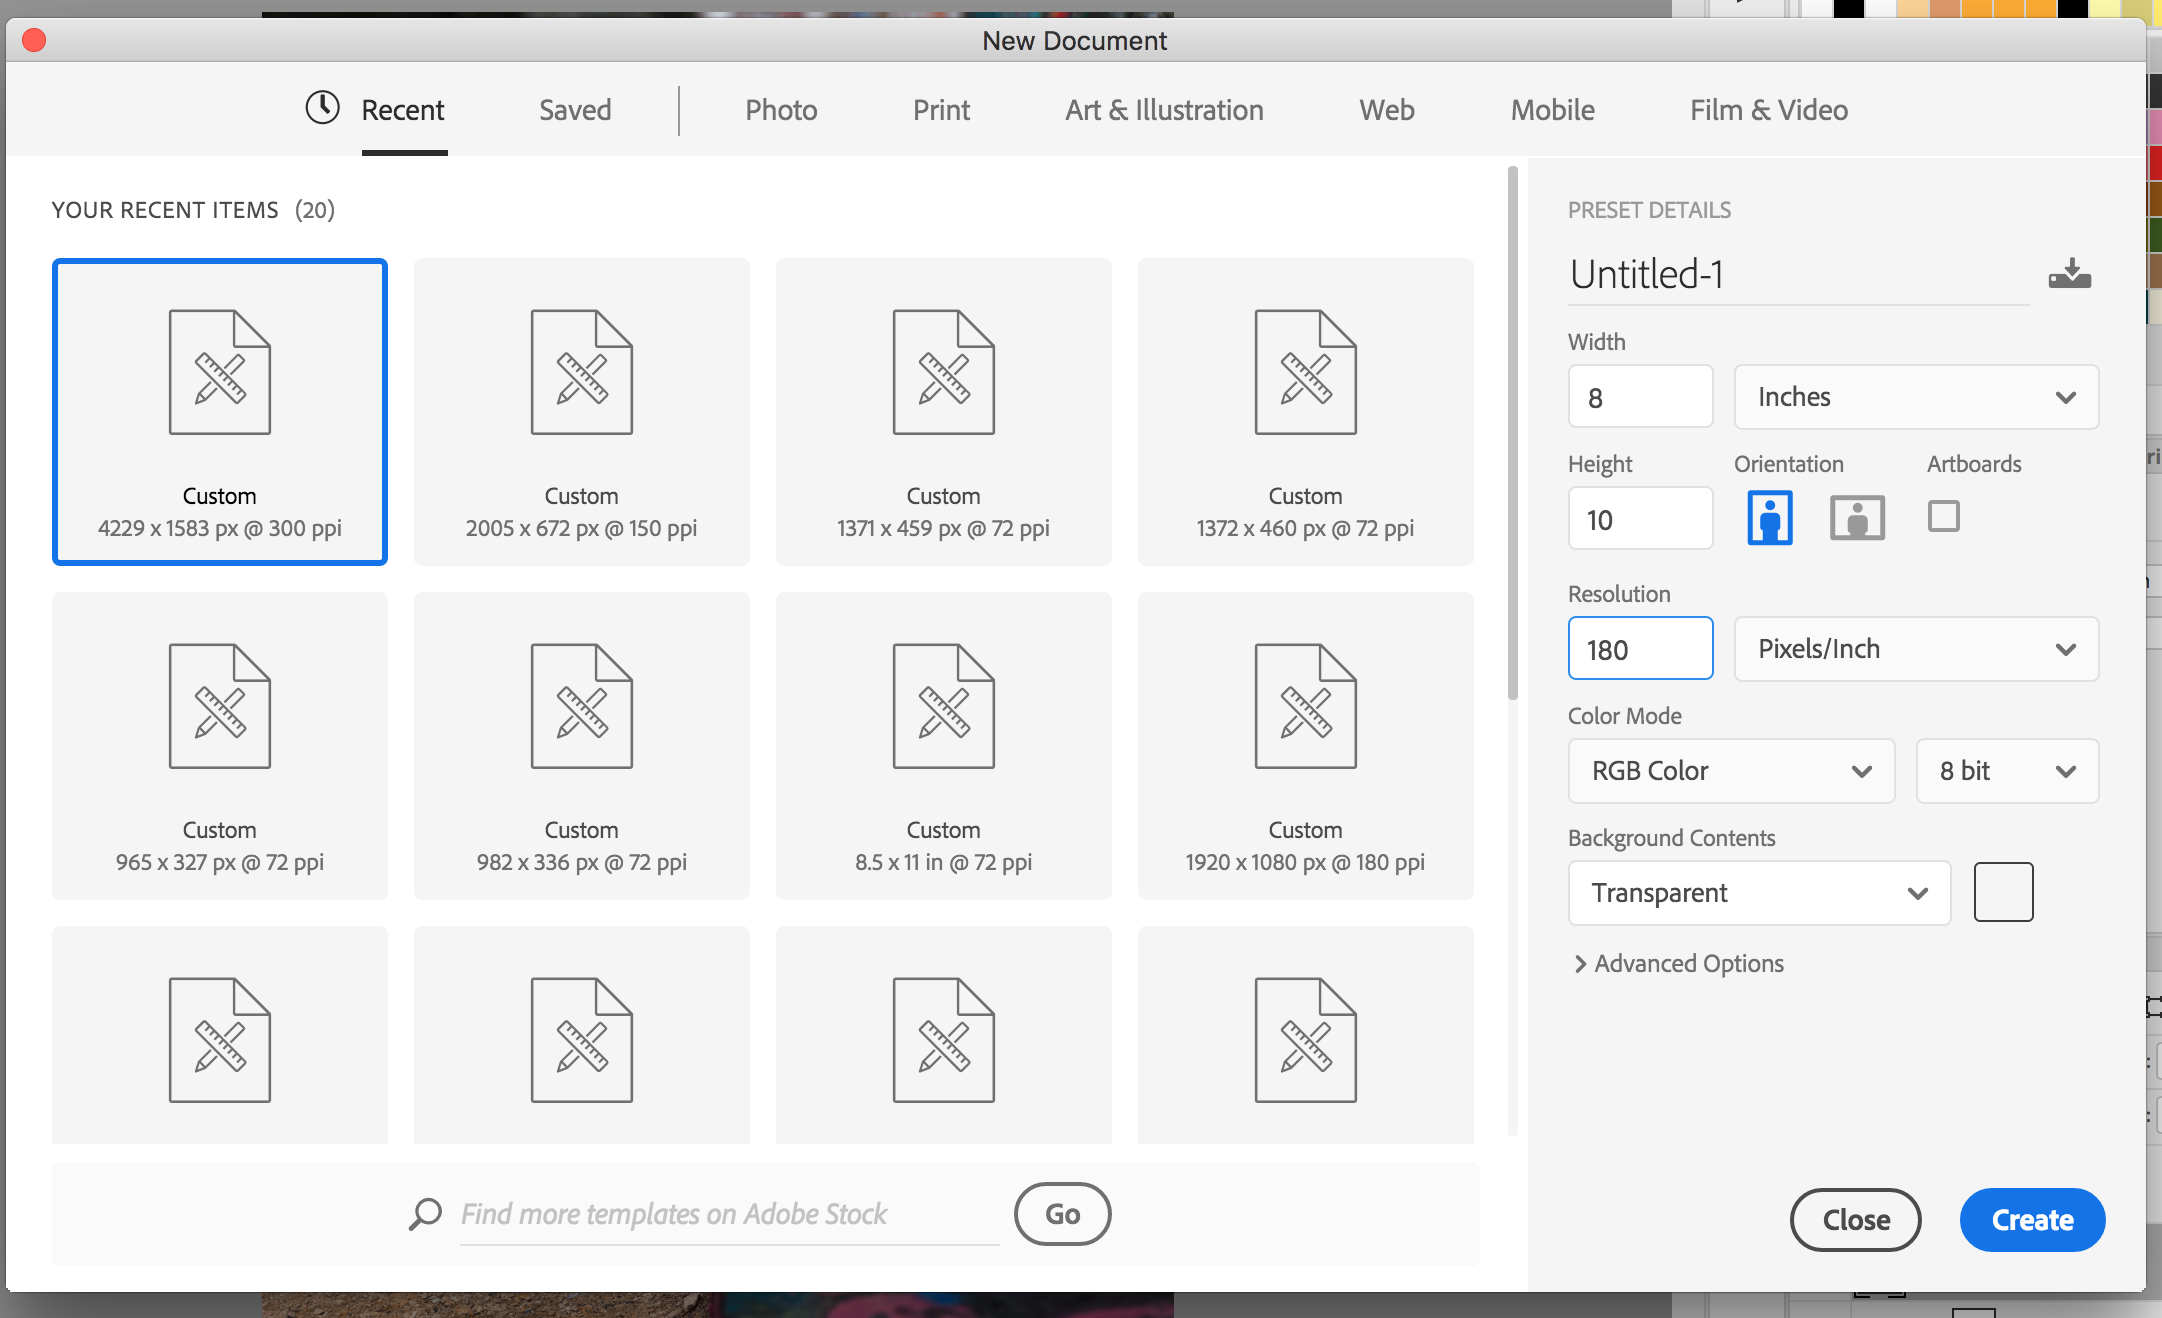
Create a New Document
To begin, start by going to File > Create a New Document. Name the document "Catchlights Template." Dimensions of 8 x 10 inches with a 180 px resolution are a good start. Make the background contents transparent and click OK. Add a new blank layer and name it “Catchlight.”
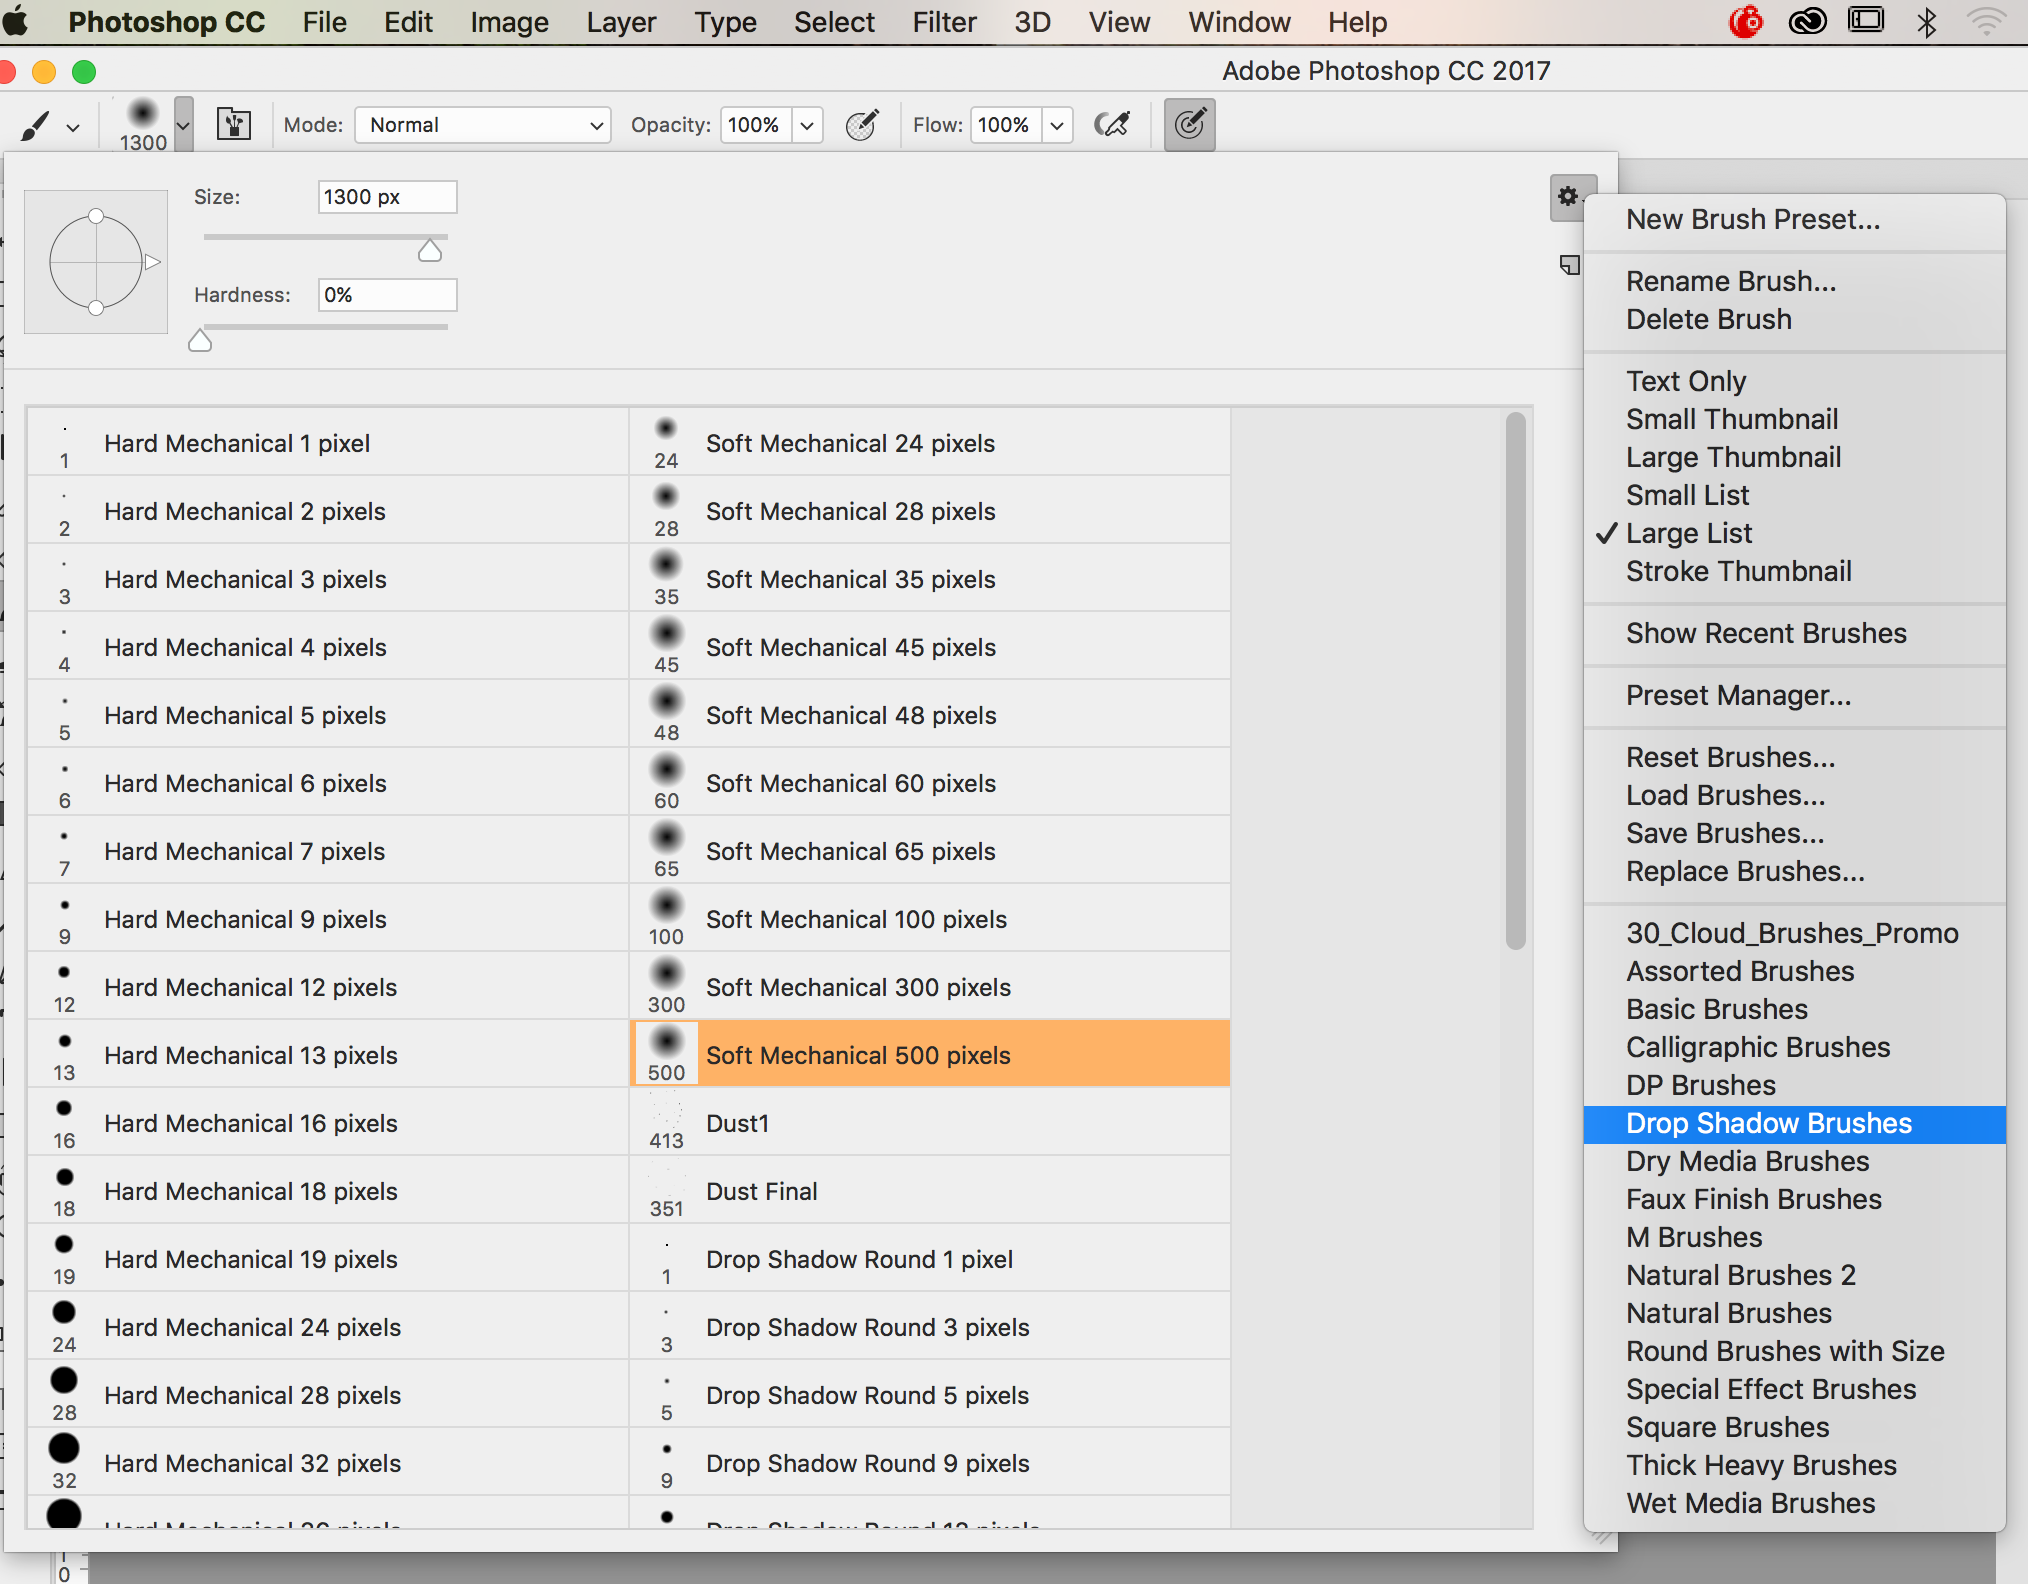
Create a Custom Brush
In this example we are going to assume the key light on our model was a rectangular softbox. Therefore, we will need to utilize a brush that resembles a rectangular shape. Our Photoshop library already contains a bevy of brushes which simply need added to our brush pallet. Click the Brush tool and select the dropdown arrow next to Brush Size in the Options bar. Choose the fly-out menu in the upper right corner of the dialog box resembling a gear and find the Drop Shadow Brushes. Append this library to load the brushes which adds to your current library instead of replacing the current library. Finally, choose the option of Drop Shadow Brush.
Next, go to the Brushes panel and choose Brush Tip Shape. Rotate so the brush is slightly angled, maybe around -15-25%. This angle is based on the direction of light falling onto your model so rotate according to the direction of your key light. Paint with a white brush at about 10% opacity. Click the same spot a few times while making the brush consecutively smaller each go to build up the effect which should eventually appear more solid in the middle and softer towards the edges.
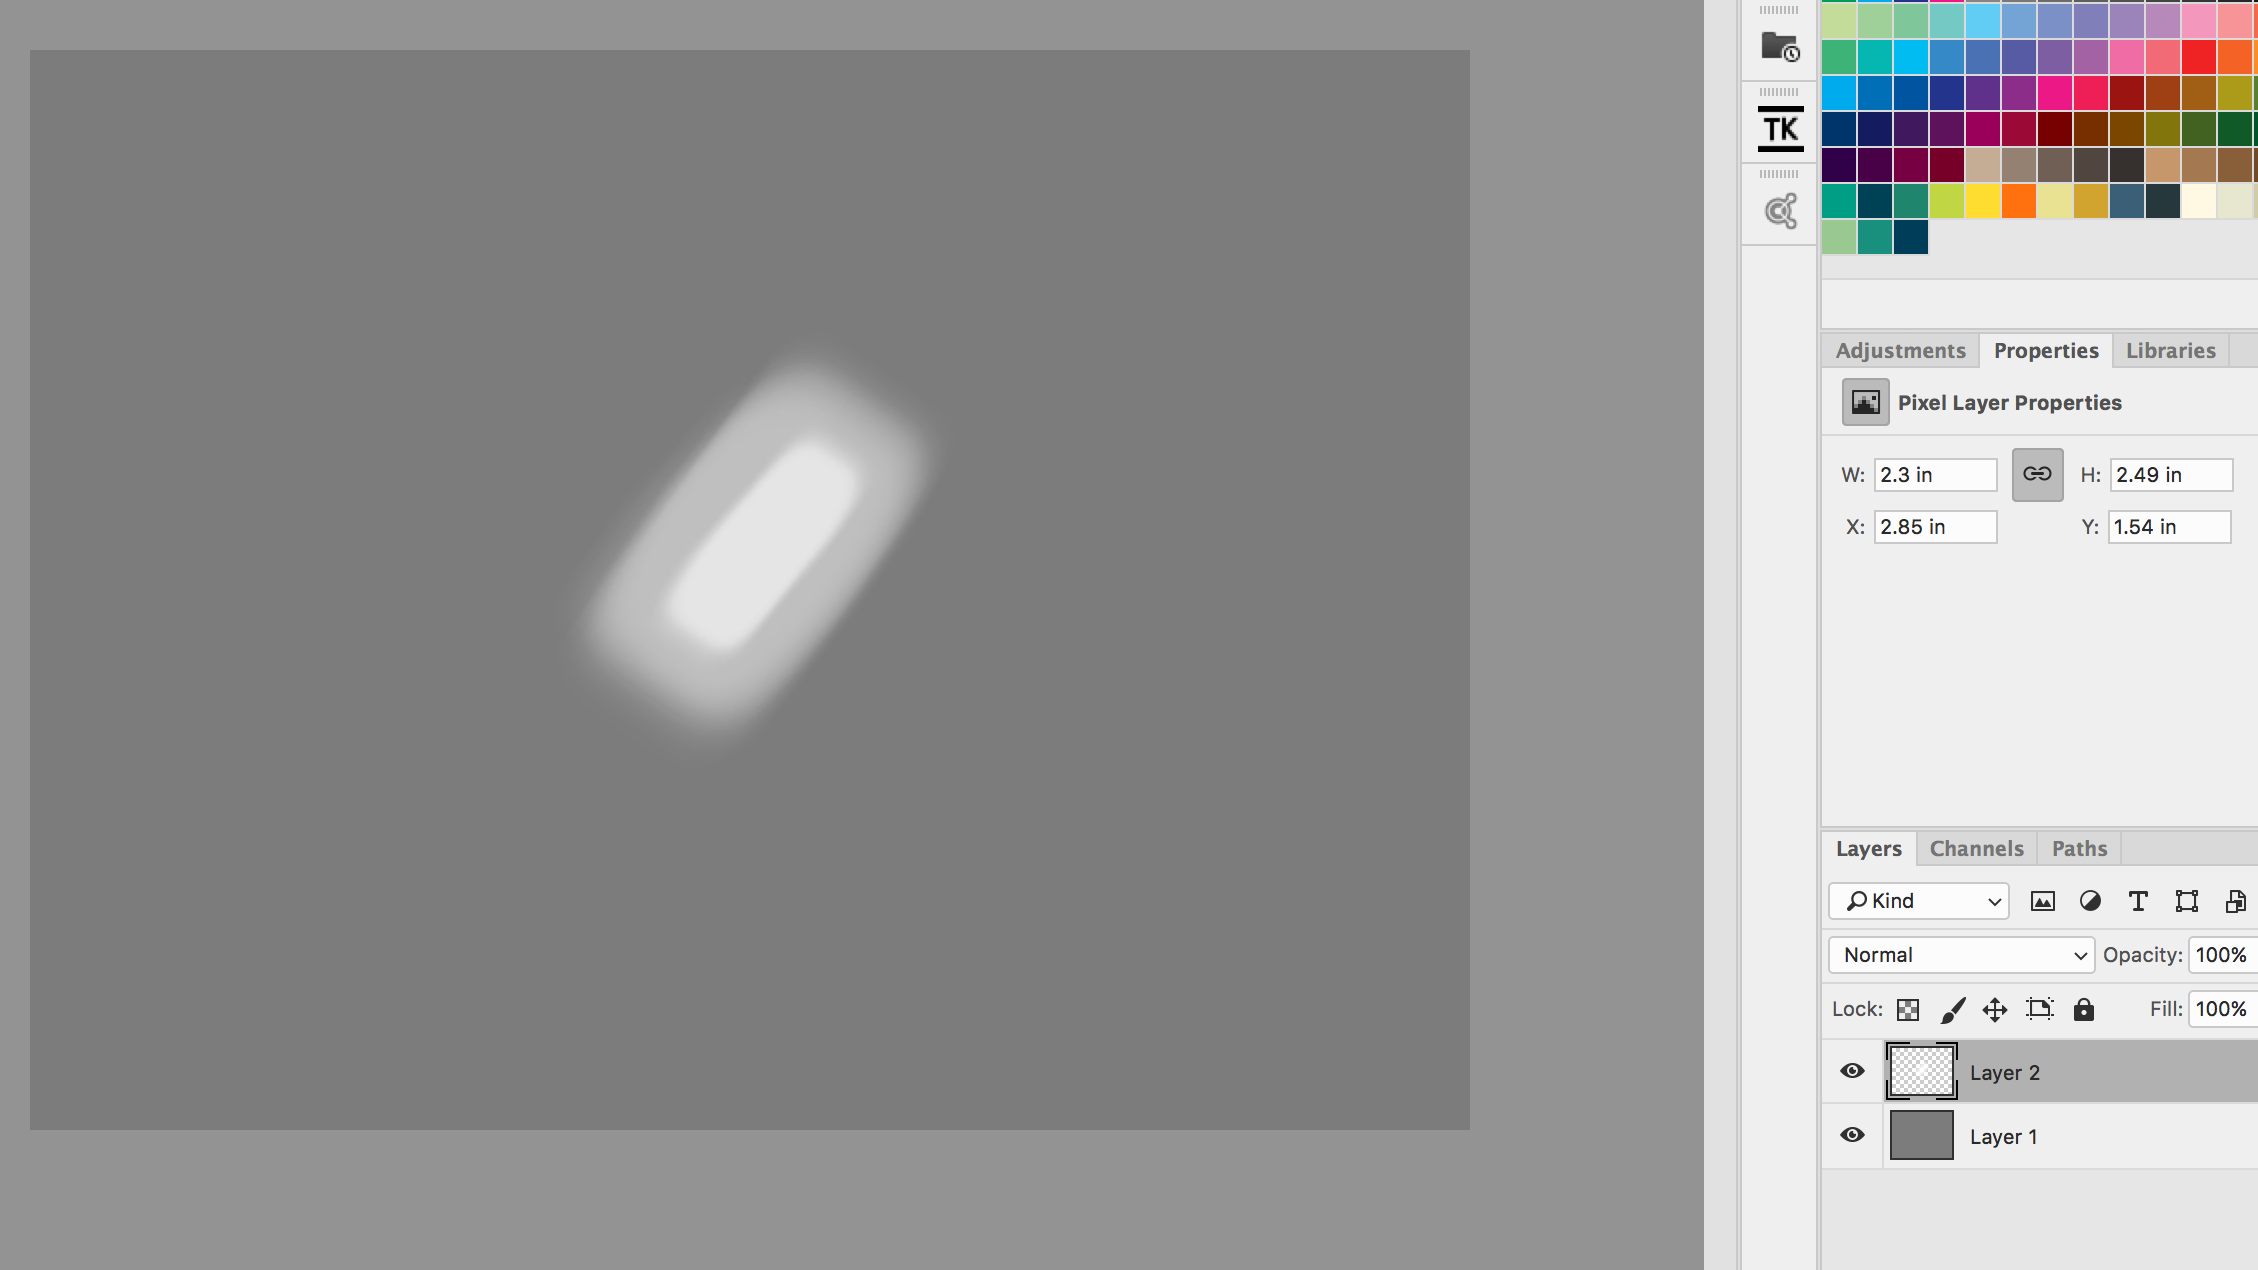
Finally, save this document in a place where it can be easily accessed for future use.
Adjust the Catchlights to Suit Your Image
Next we need to bring this newly created catchlight template into our photo. Open the image you wish to add catchlights into. Select the Move tool, or Command + Click, the Softbox layer and drag it over to your image. At this point, the catchlight will probably appear far too large and should be resized. Activate the Transform tool, or hit Command + T, and resize the catchlight to the correct size.
Again, the catchlights should be placed and rotated according to the direction of light on your model. If the key light was camera left then the catchlight should be on the left side of your model’s eye. If a semi-catchlight is already present then simply drag the layer to the same spot and resize accordingly. To place it in the wrong spot will be extremely noticeable and look bad.

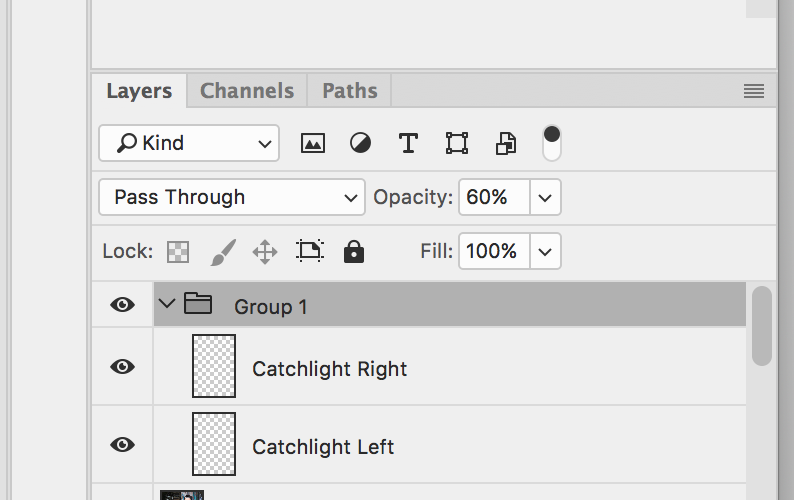
Finally, adjust the opacity of the catchlight to somewhere around 40-60%. Zoom out and have a look. If the effect is too strong, back off. It is very easy to overdo and will be immediately noticed. Finally, duplicate the layer and with the Move tool, slide it over to the second eye with a similar placement.
Analyze and Adjust
At this point you should have an effect that adds a touch of pop and sparkle to your model’s eyes. Zoom out and double check the effect. Walk away for a bit and come back. Sometimes taking a break will shed light on a poorly done adjustment you may not have noticed previously. If the effect is too strong, not strong enough, too large, etc., place both of the catchlight layers into a Group which will allow you to adjust them simultaneously. Once you’re happy with the results, save and share.
Conclusion
They say the eyes are windows to the soul, and in the case of a portrait, this cannot be overstated. Making sure your model’s eyes are a focal point can make or break your image. Obviously, it is best to check this during your shoot, however it can be difficult to gauge on the back of small LCD and in those cases this workaround will do just fine. Better yet, because it is saved as a template, it can be applied quickly to any portrait going forward.


Join the Fstoppers community for free
-
Post comments and join in the discussions
-
Browse the site ad-free
-
Share your work and get featured in the community
-
Compete in the photo contests for fun and prizes
2 Comments
All that and you didn't make a downloaded brush file?
Looks like in the before and after pic the catchlights are the same shape and brightness, sort of fakey looking.