
My passion for photography stemmed from a series of trips I had taken overseas and a desire to capture the beauty of those places with more finesse. Landscapes were a natural draw for me and it didn’t take long to come across the concept of exposure blending.
McIntyre is an expert on this subject and has been producing free content for sometime now. If you’ve never seen his work, it is pretty darn awesome. Even better, he frequently and freely posts videos and written content on how he makes his magic. One of his most offered topics is the process of exposure blending. Exposure blending has been around for awhile now, so admittedly the discussion is a bit saturated. However, McIntyre will ask his followers to submit their personal images which he then post processes, records, and shares with his viewers. This keeps the topic relevant as every image requires a different approach.
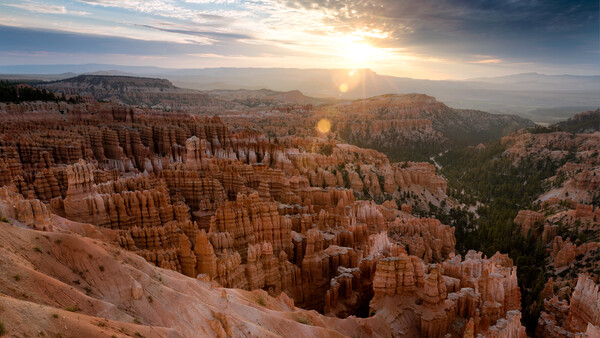
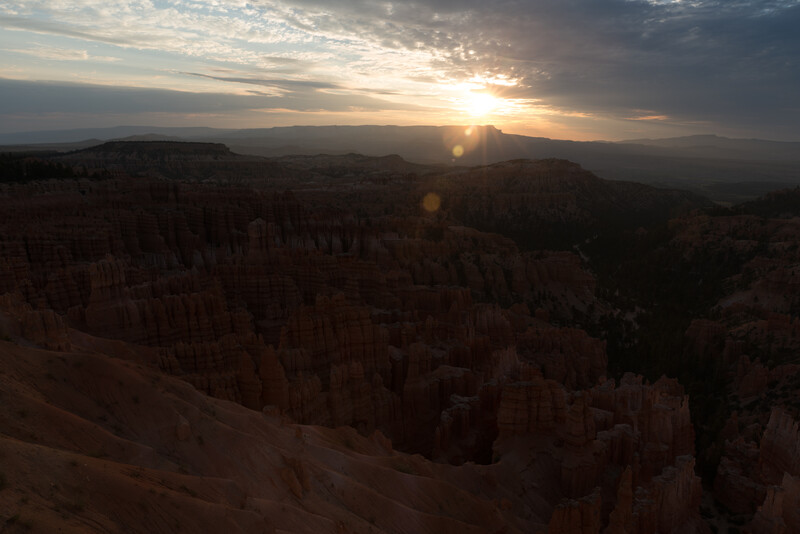
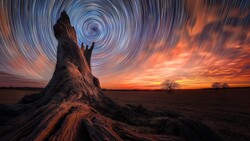
His most recent video (above) inspired me to follow along with one of my recent images taken at Bryce Canyon National Park. Here are some of his tips summarized along with my own take.
Exposure Stacking
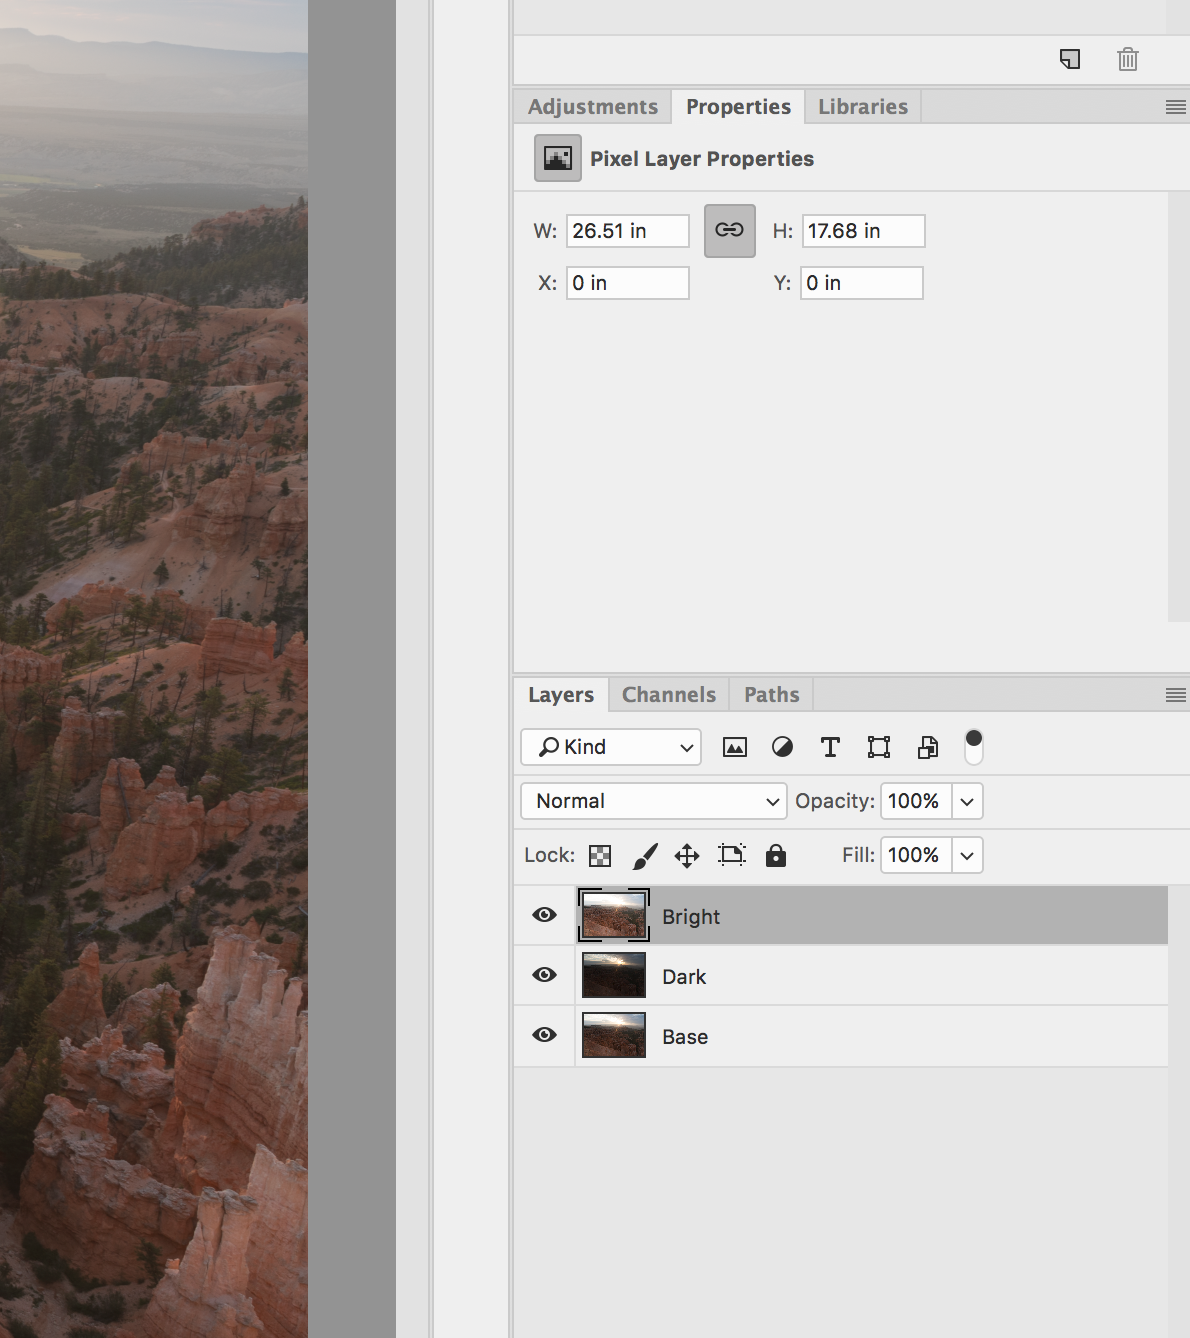
This may be obvious, but to exposure blend you will need at least two images of varying exposure. For my sunrise shot, I had a darker exposure for the sun and a lighter exposure for the foreground. McIntyre typically stacks three layers: a base, darker, and lighter layer, in that order, from bottom to top. If you don’t have a base (a middle exposure), simply duplicate the layer for the lighter exposure and double click the thumbnail to open Adobe Camera Raw. From here, you can adjust the exposure down to a place that is in between the darkest and lightest exposures for a nice in-between.
Blend Darks With Base Exposure
McIntyre has created a very user-friendly plug in for Photoshop to create a variety of luminosity masks or dodge and burn layers, but he also explains how to create many of these layers on your own without.
In this particular example, the first step was to replace the bright sky in the base image with the dramatic sky from the dark image. To do so, he needs way to select only the sky but in a manner that is feathered so the change will not be noticeable when blended in. This is the perfect job for a luminosity mask or selection.
Instead of blending the sky into the foreground layer for my example, it will be easier to blend the foreground into the sky because I was shooting directly into the sun. When shooting directly into the sun, the variance between dark and light in the sky is far too great and creating a mask to select this will be counterproductive.
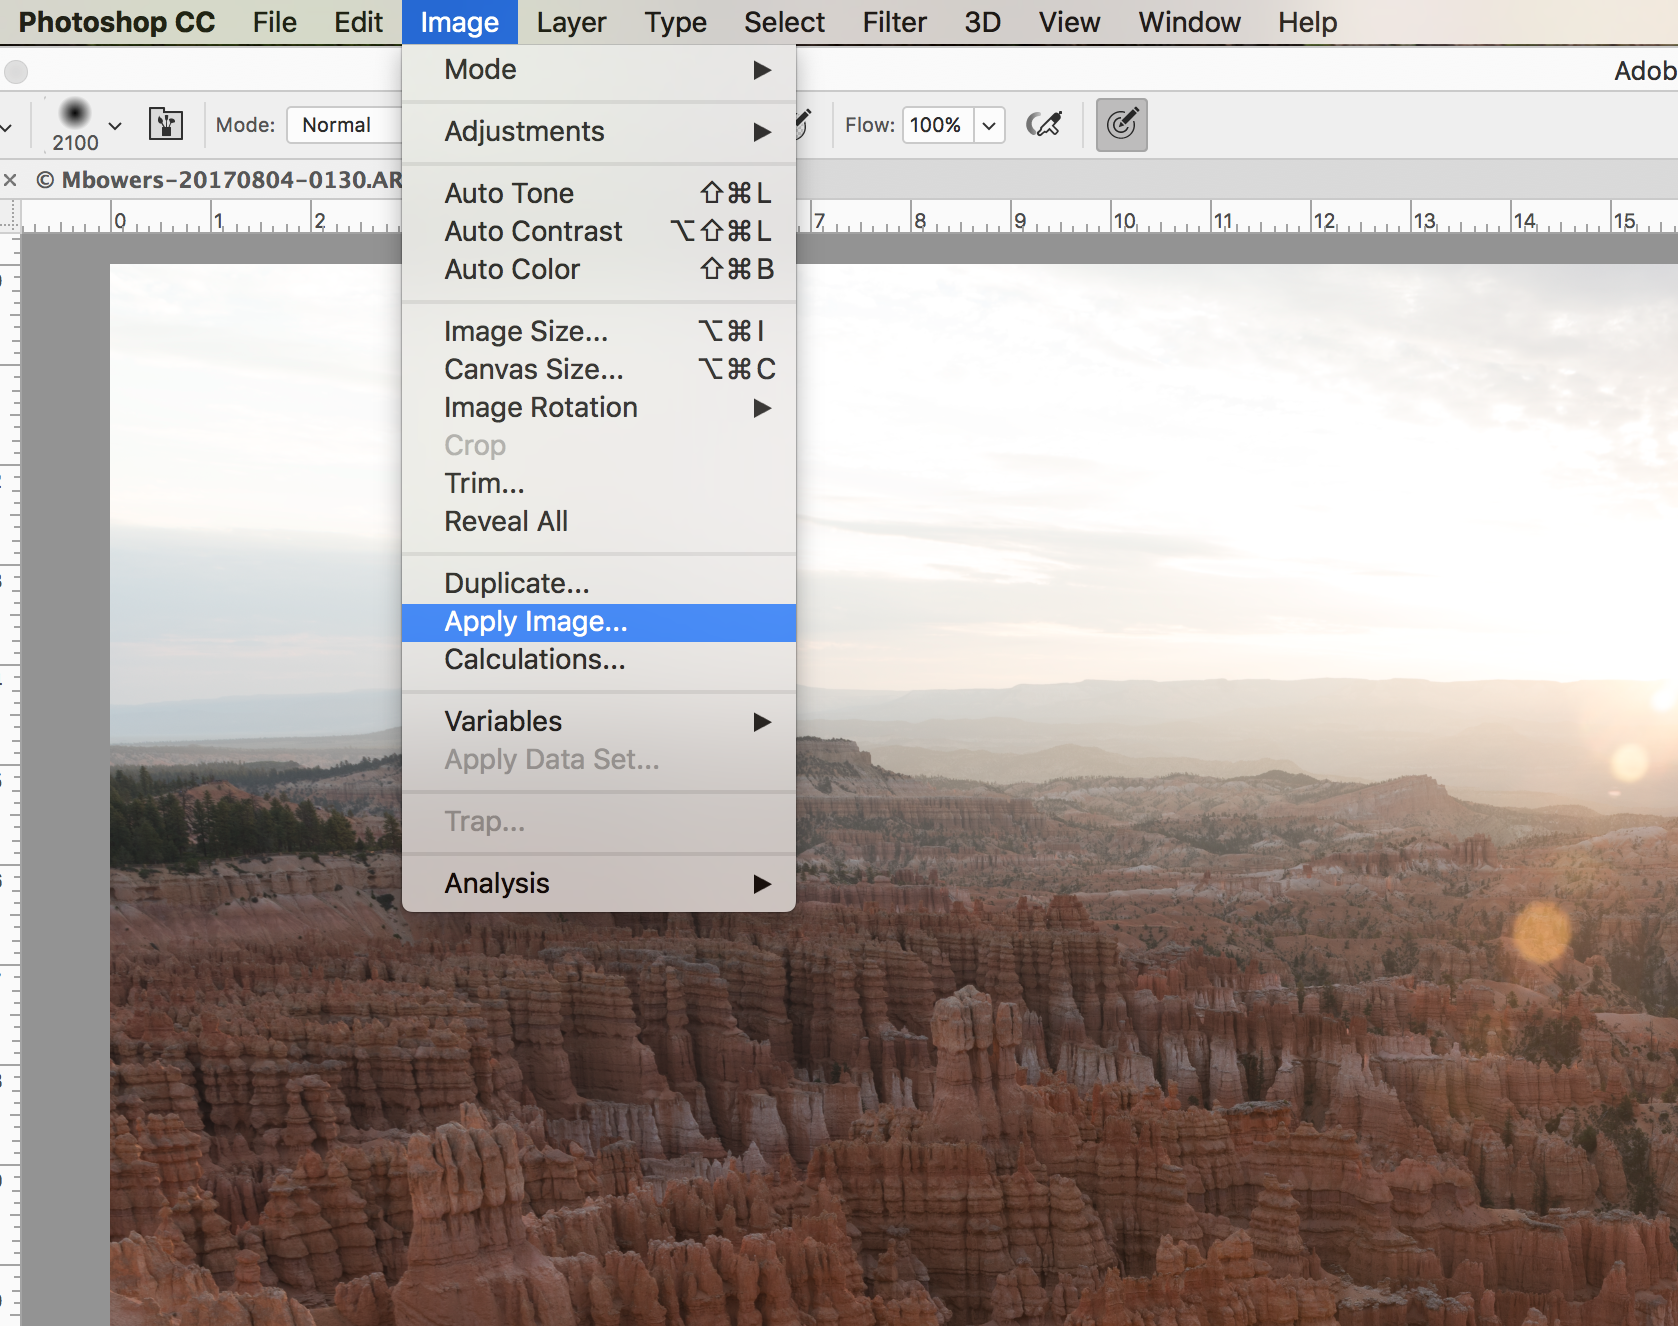
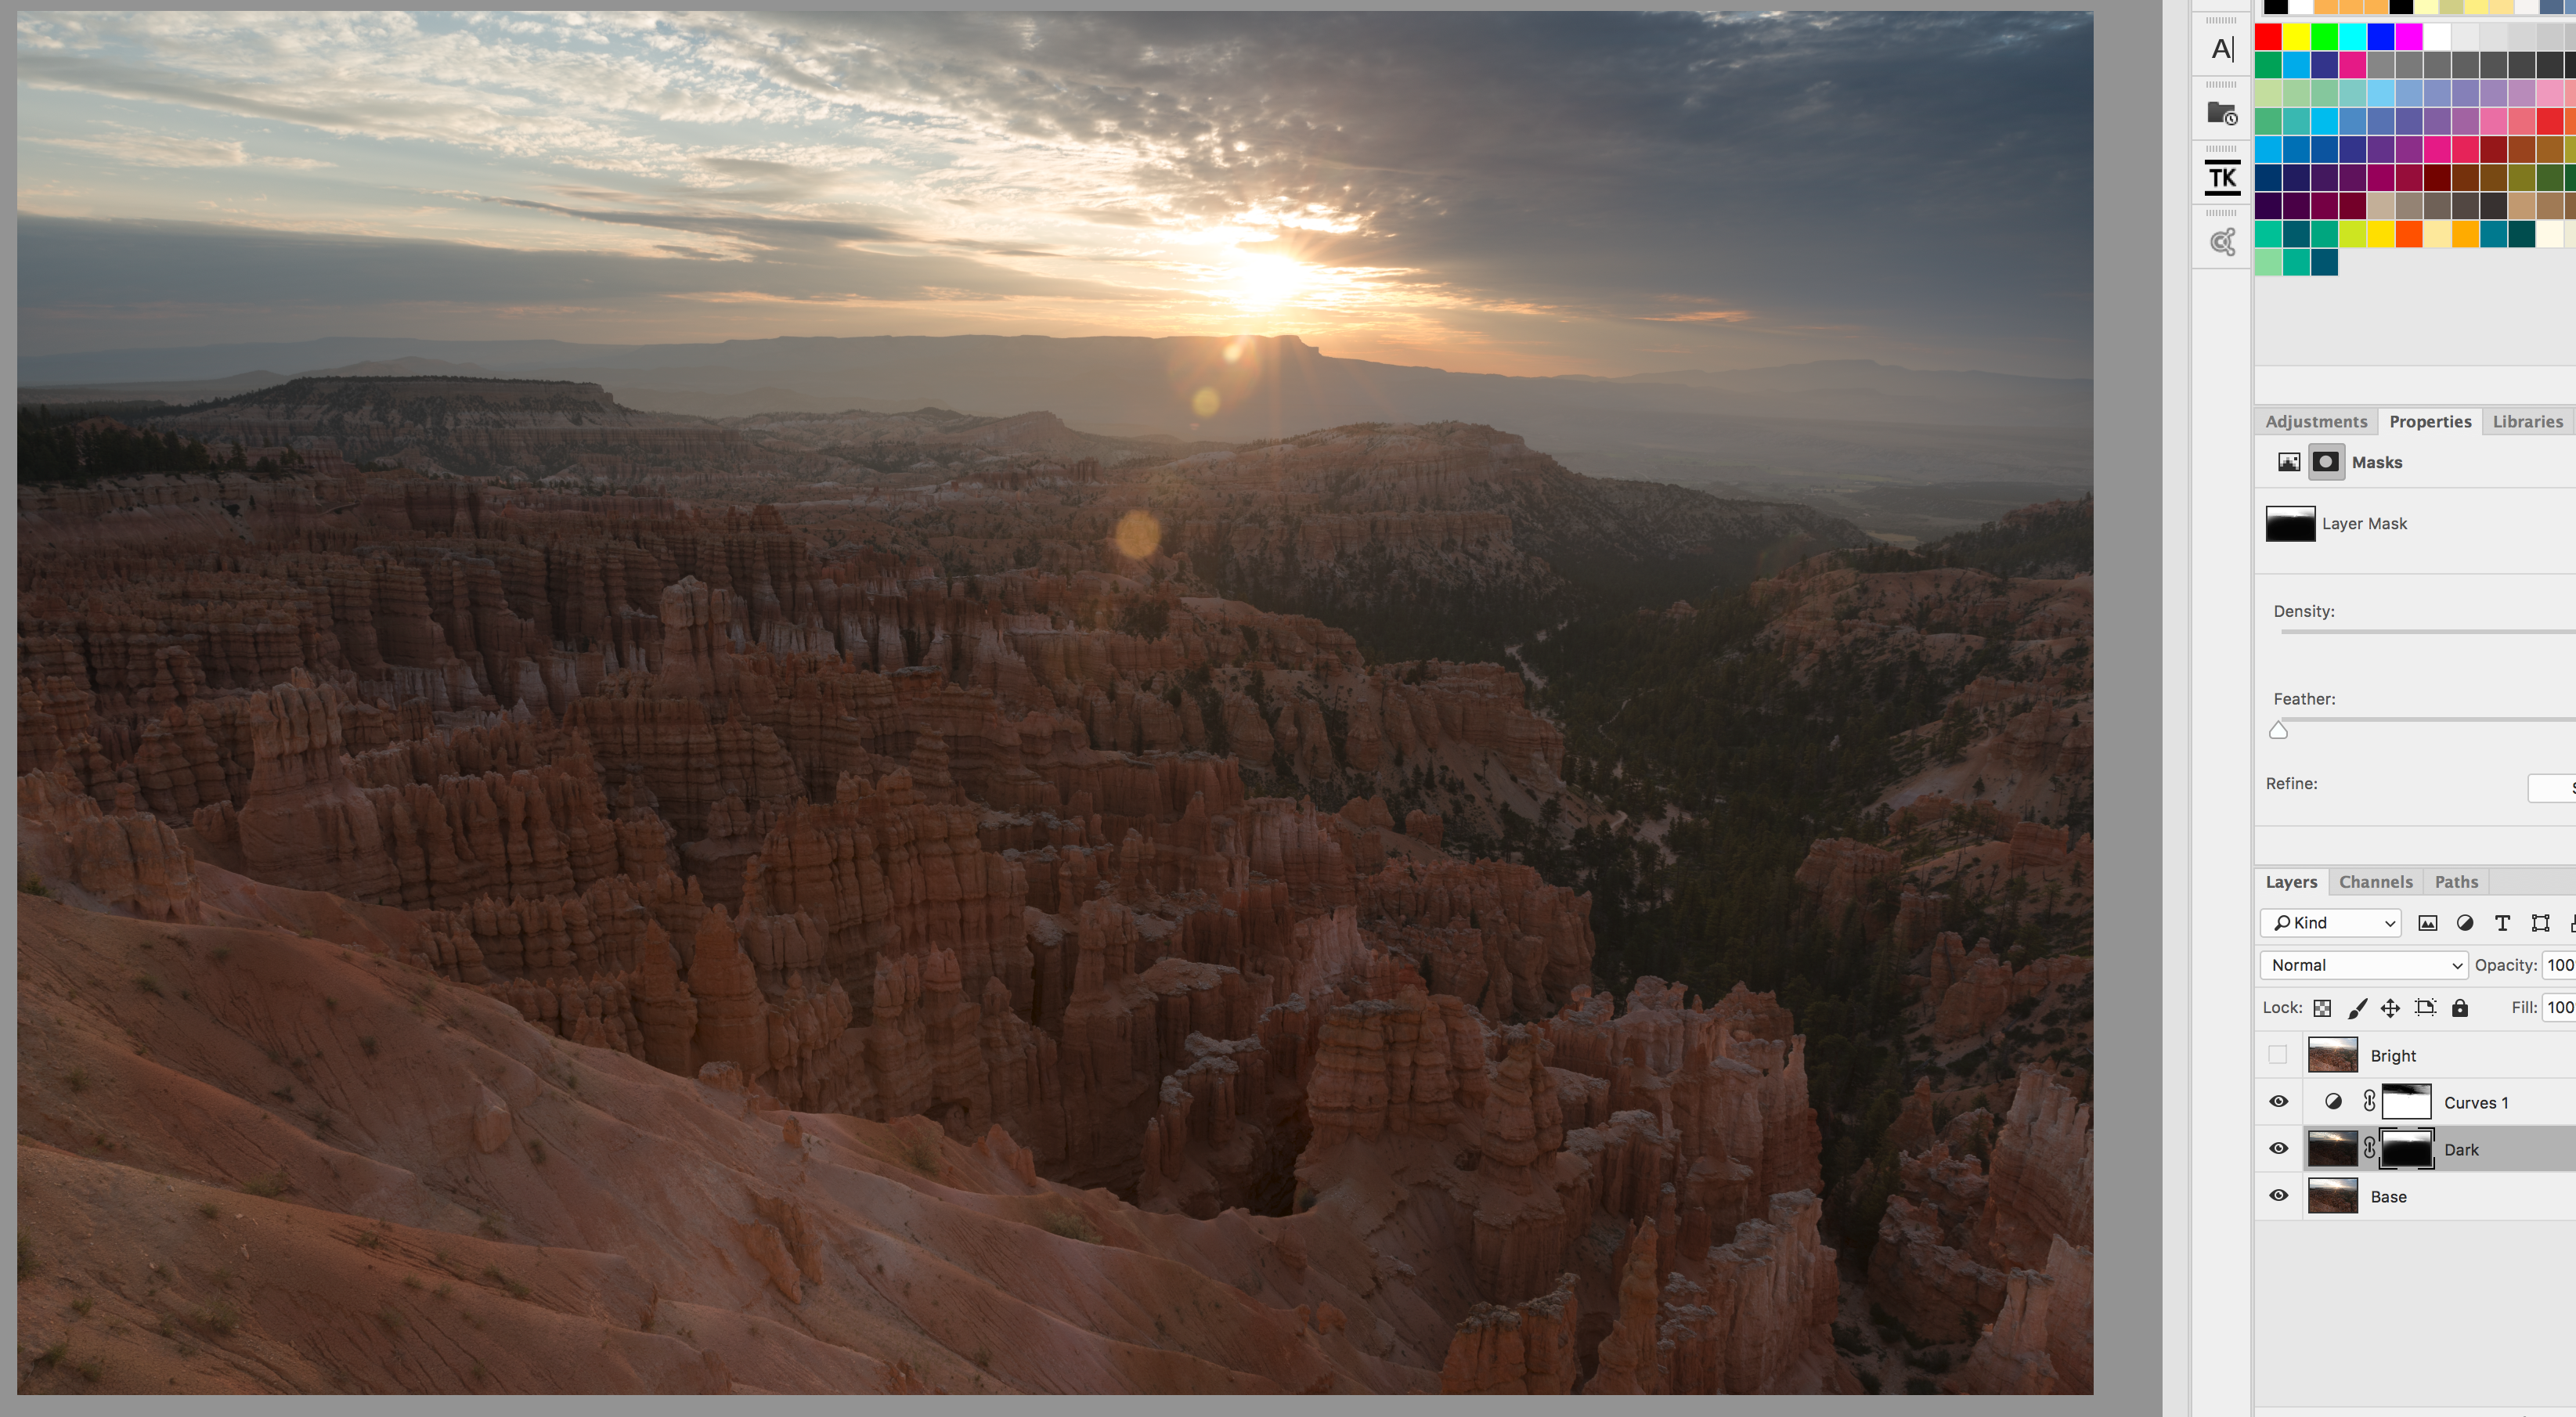
Add a white mask to the dark layer. Then add a curves layer above the dark layer and go to Edit > Apply Image and use a blending mode of Multiply. This will add a luminosity mask to your curves layer which selects the brighter parts of your image and avoids the darker. However, this mask is far too inclusive of the sky, which we are trying to avoid, and we need to make the selection more about the foreground. Instead, invert the current selection by Command+i on the curves mask. You will immediately notice that more of the foreground is white now, or selected. It still includes a bit too much of the sky so we need to restrict it further.
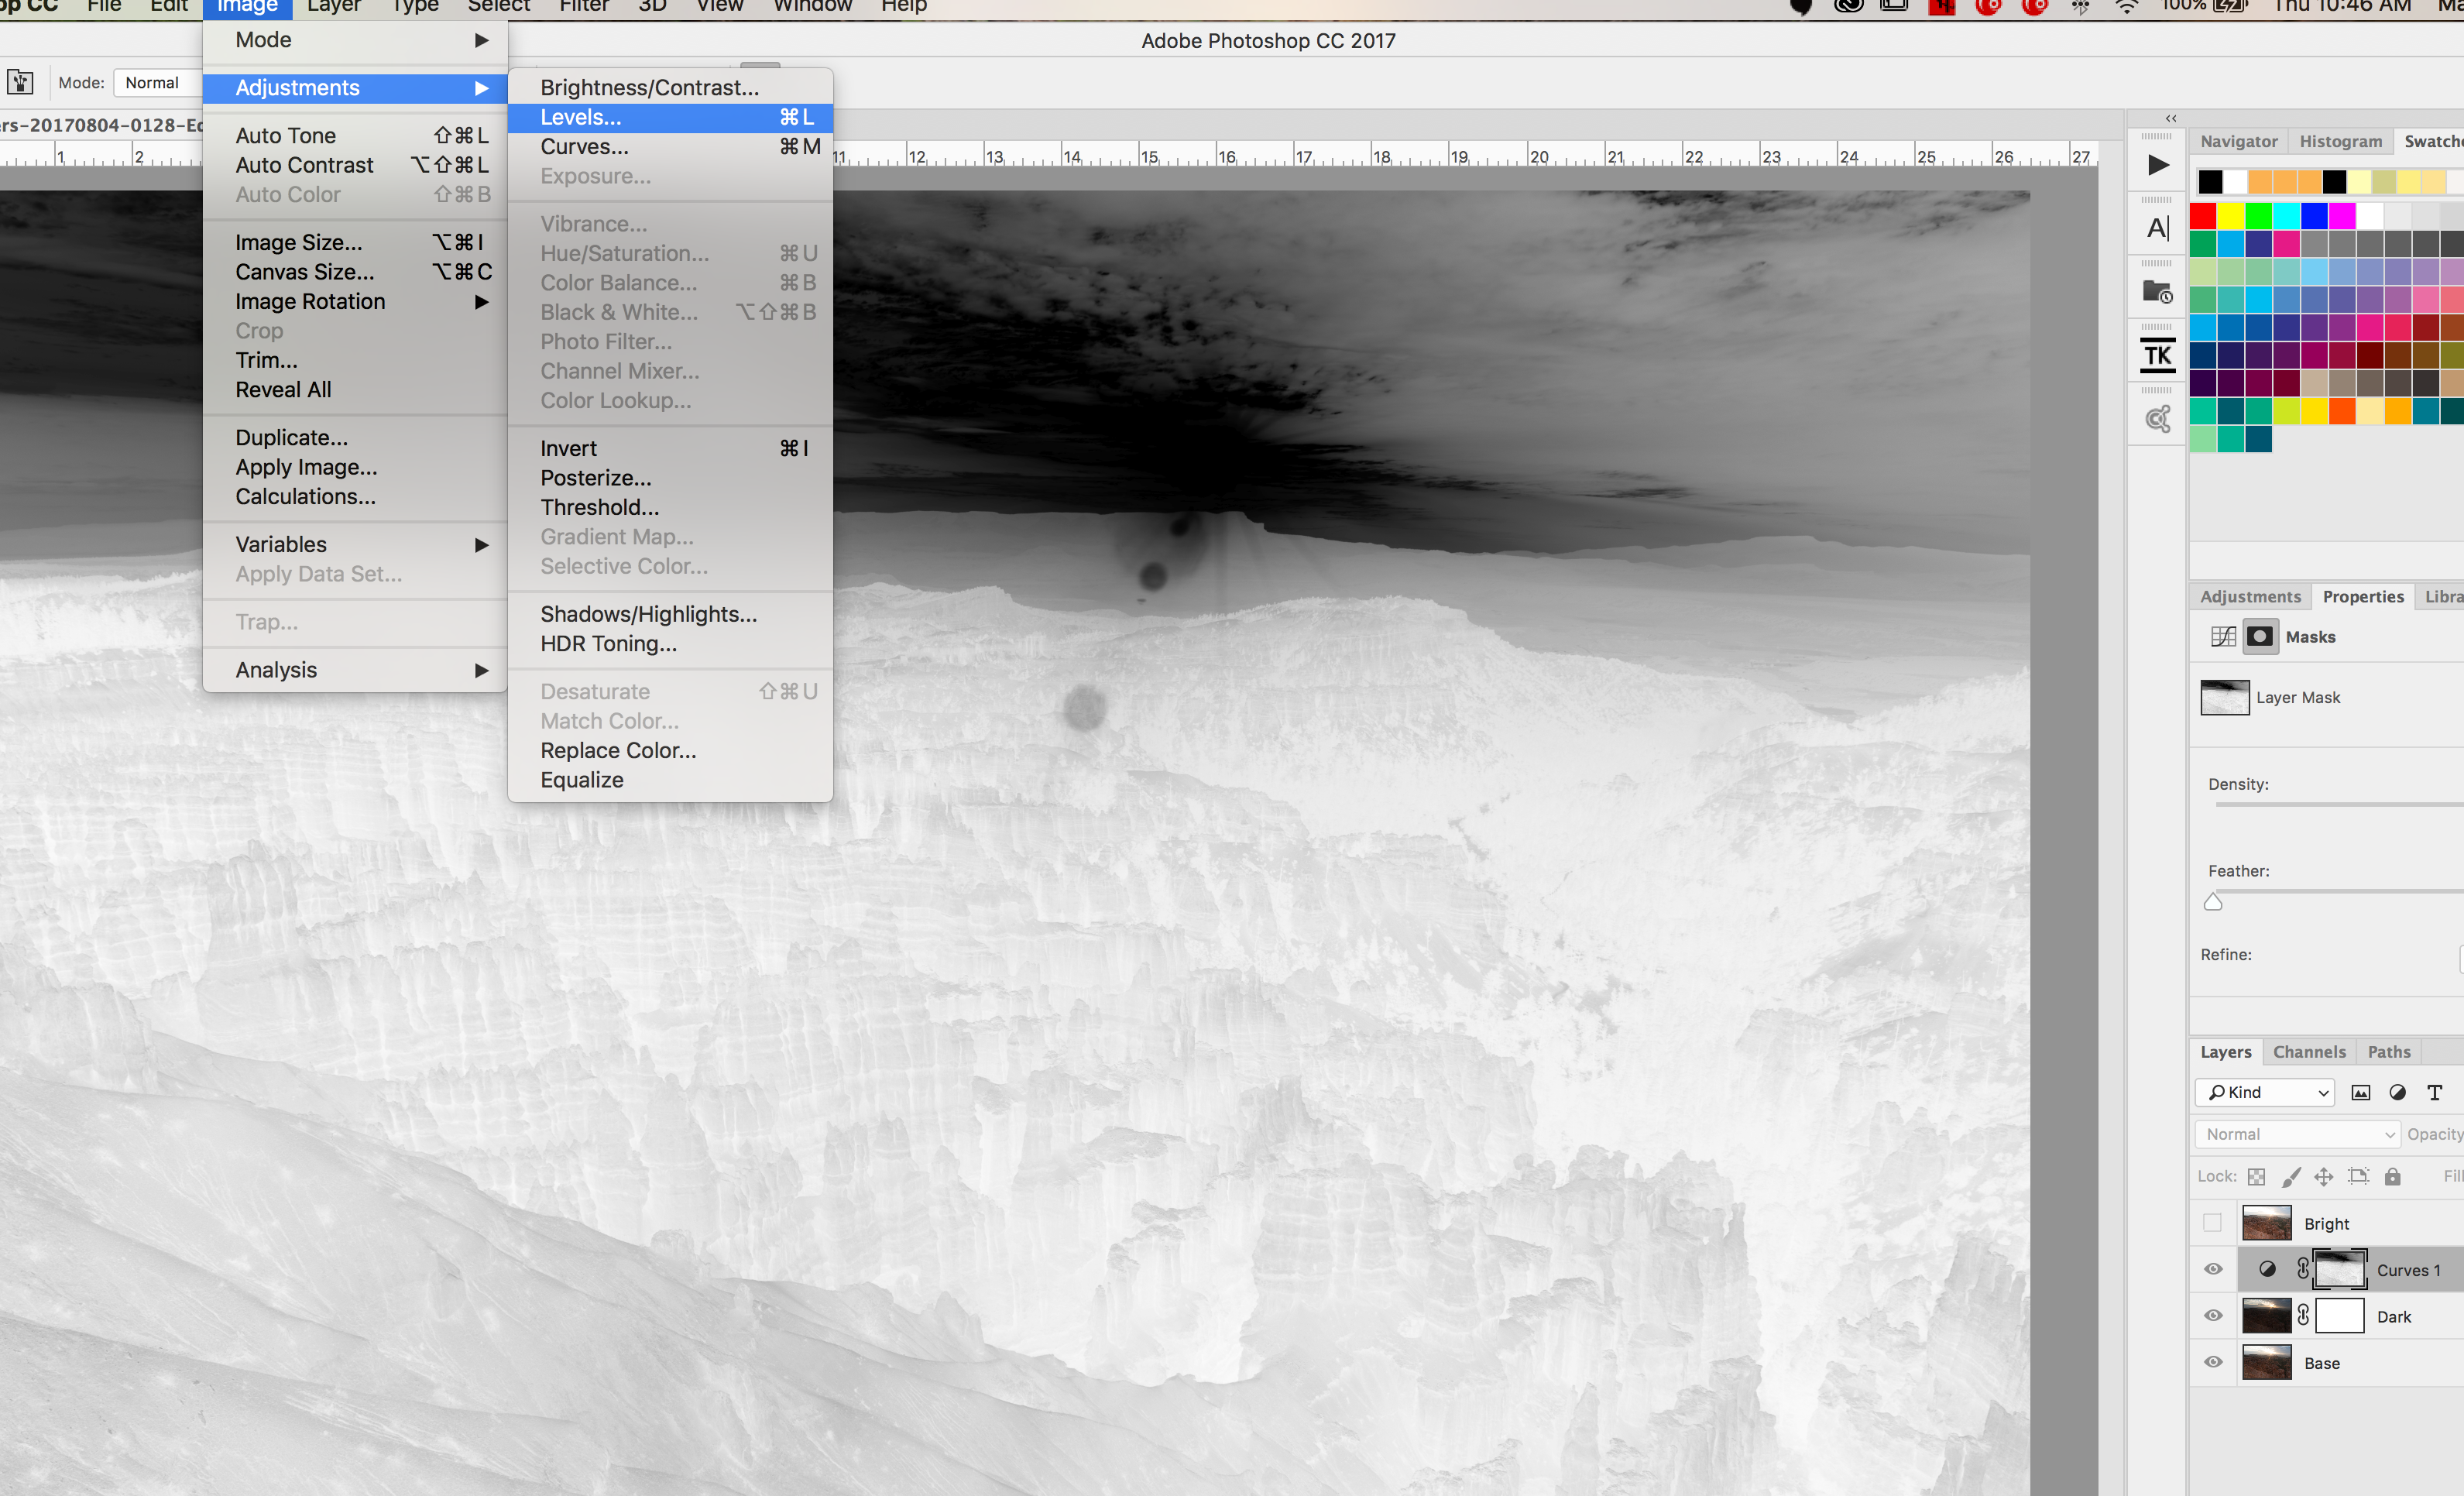
Alt+click the curves mask to view the current selection, then go to Image > Adjustments > Levels. This brings up the levels dialogue which will allow you to adjust the darkest and lightest tones.

This selection is far more concentrated on the foreground, yet still feathered, which will ensure a smooth transition when blending. Command+click the curves mask to make a selection active.
The final step is to take a brush at 0% hardness, 40% opacity, and paint in the selection to your darks layer mask. Go slowly around the transition from sky to foreground and paint slowly. Blending requires a bit of finesse even with a mask to ensure it looks realistic. Here are my results:
Add Detail Into Shadows
By adding the semi-brighter foreground into our darkest image first, we ensure the transition as we blend is smooth and unnoticeable. However, it will still appear relatively dark overall and this is where the brighter exposure comes into play.
Our next step is to add detail back into the darkest parts of the image without adding noise by adjusting the exposure levels of the dark or base layers. Select the Bright layer and add a white mask. Then as before, go to Image > Apply Image but this time select the checkbox that says “Invert.” This will create a selection of the darkest values in the image which we are looking to brighten using the Brights layer.
Immediately you will notice that the entire image is brighter which is desirable but only to a point. The easy fix is to adjust the layer opacity until the result is optimal.
In my case, the adjustment should only be applied to the detailed hoodoos in the foreground but instead affected far too much of the sky as well. To offset this, I placed the Brights layer inside of a folder and then added a layer mask to that folder. Using the gradient tool set to black, I created a horizontal mask that eliminated the effect from the sky.
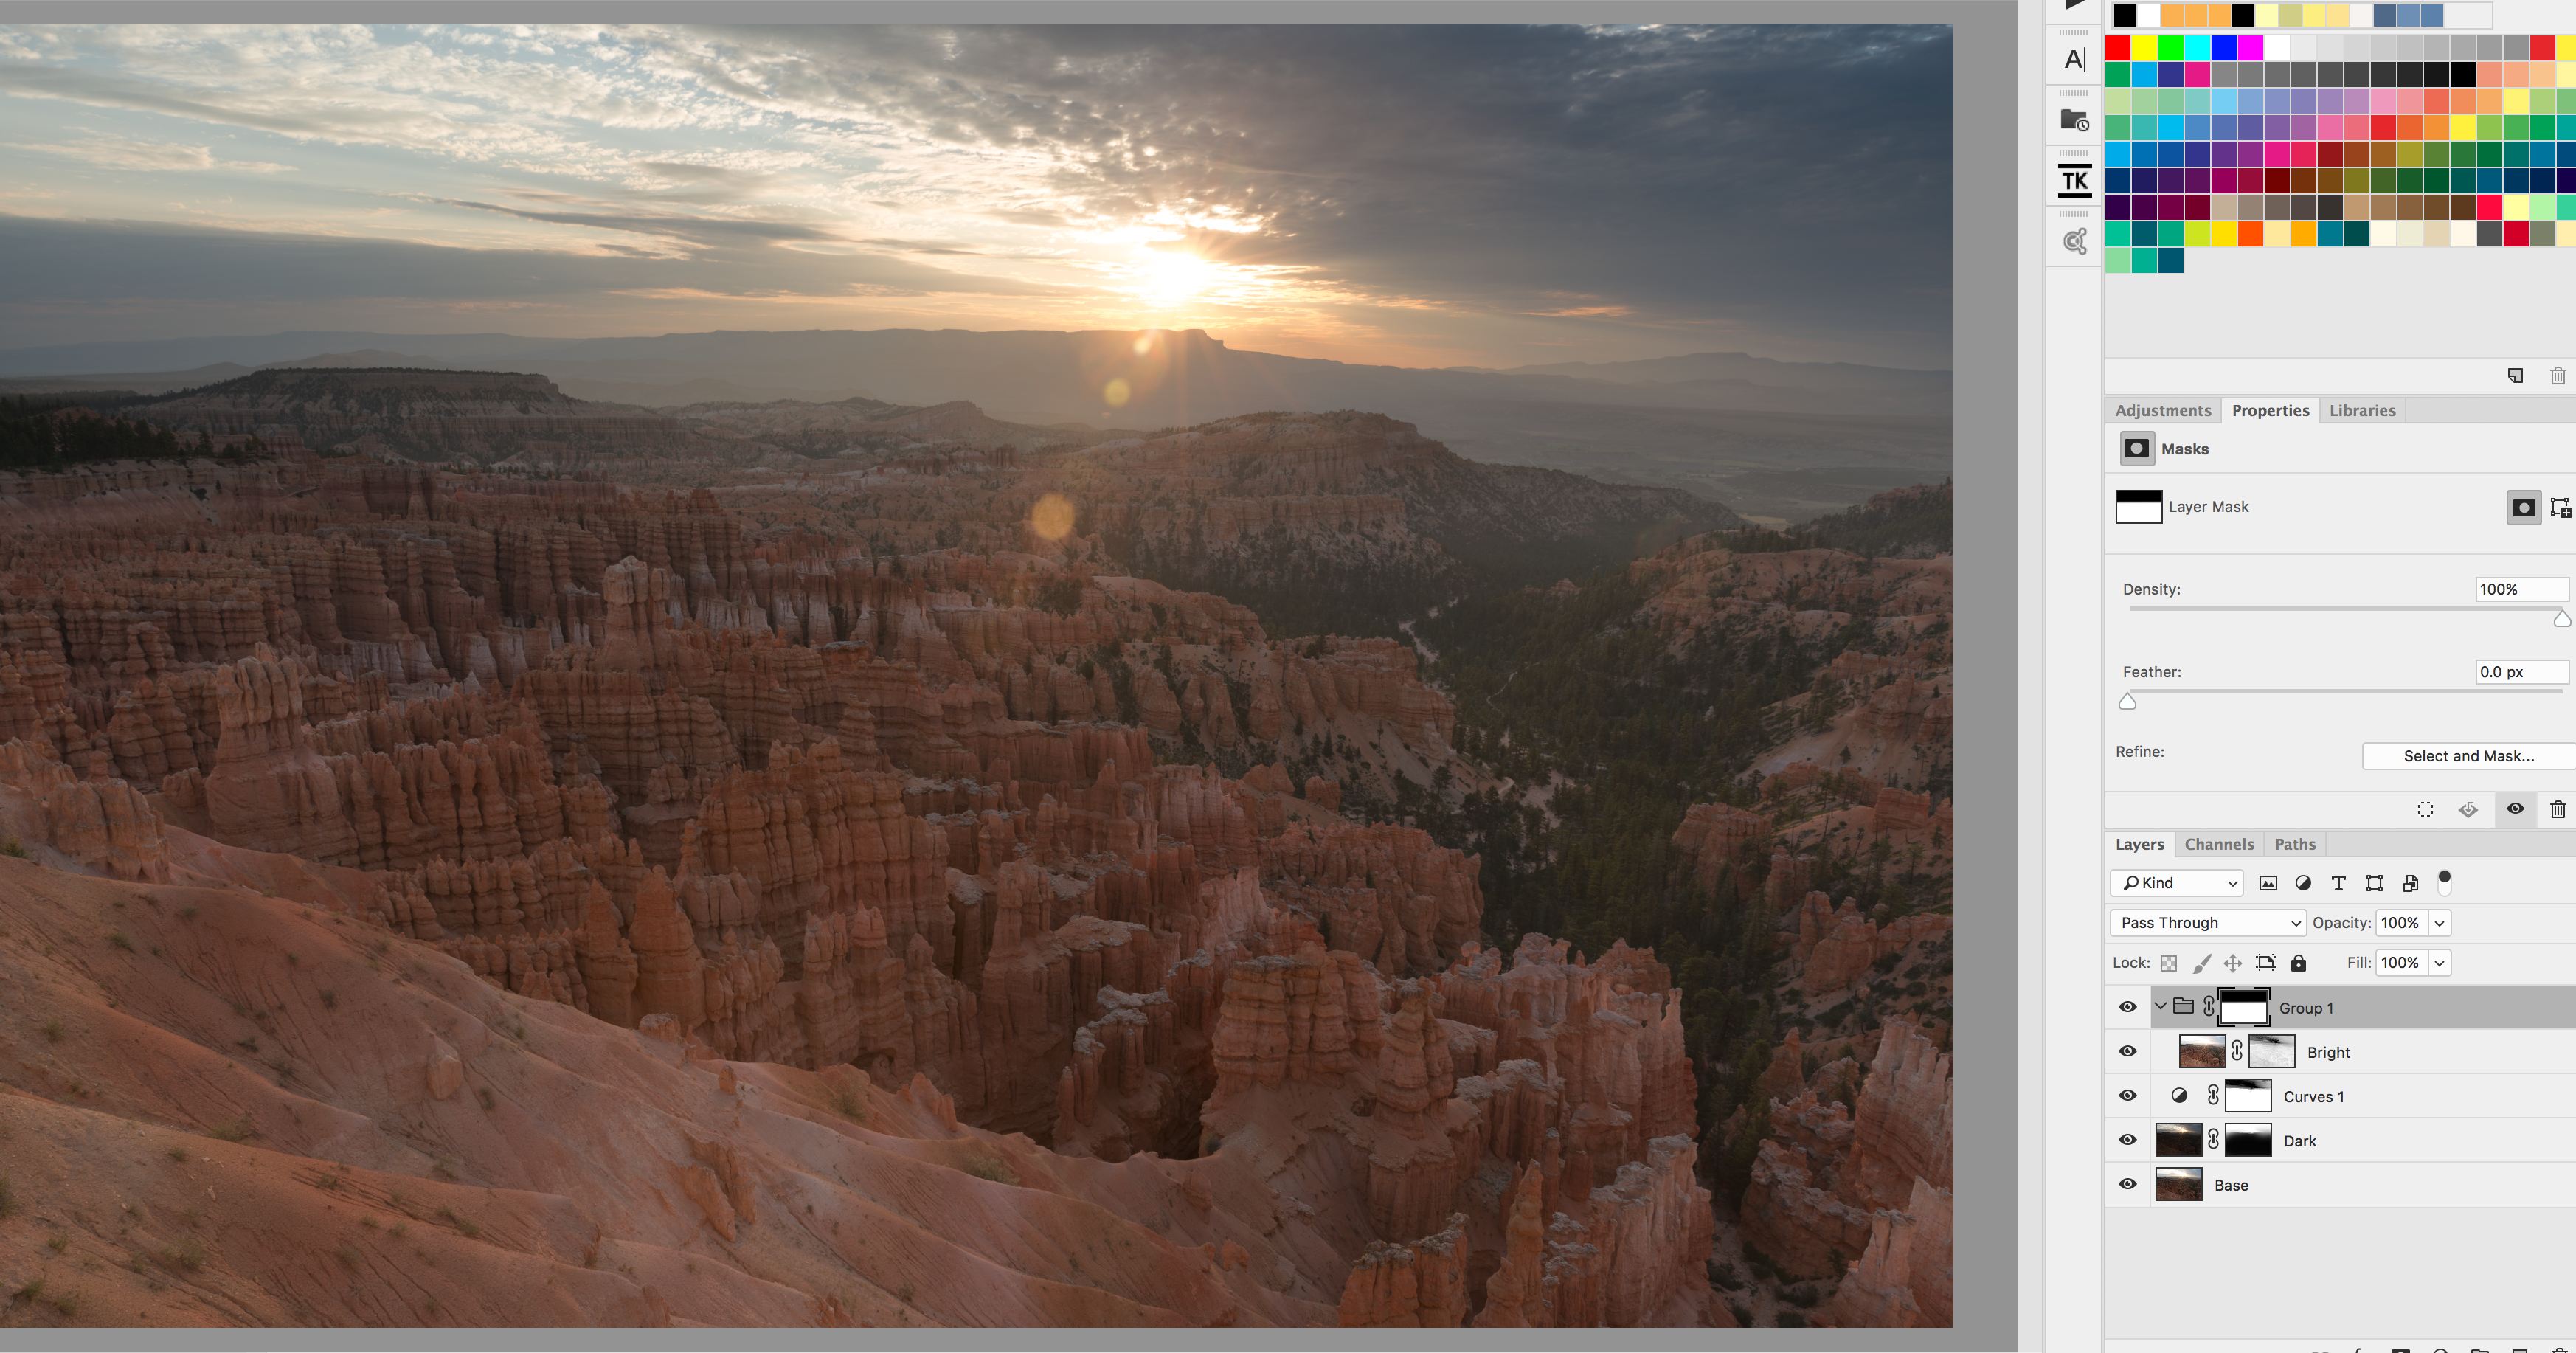
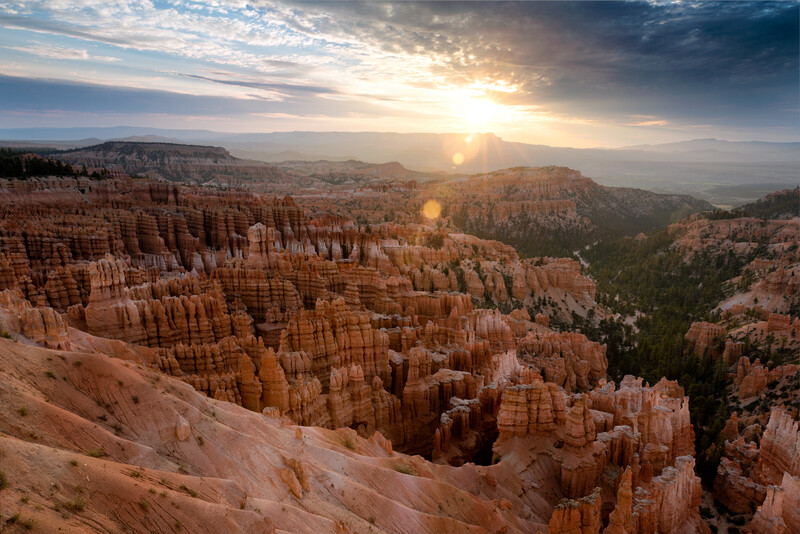
At this point, the image is well balanced for all tonal variations and final, local adjustments can be made.
Contrast and Color Adjustments
These next steps are purely subjective and follow McIntyre's tutorial. The hoodoos in this scene are by far and large the heroes of the image, so it only makes sense to accentuate their shape and texture.
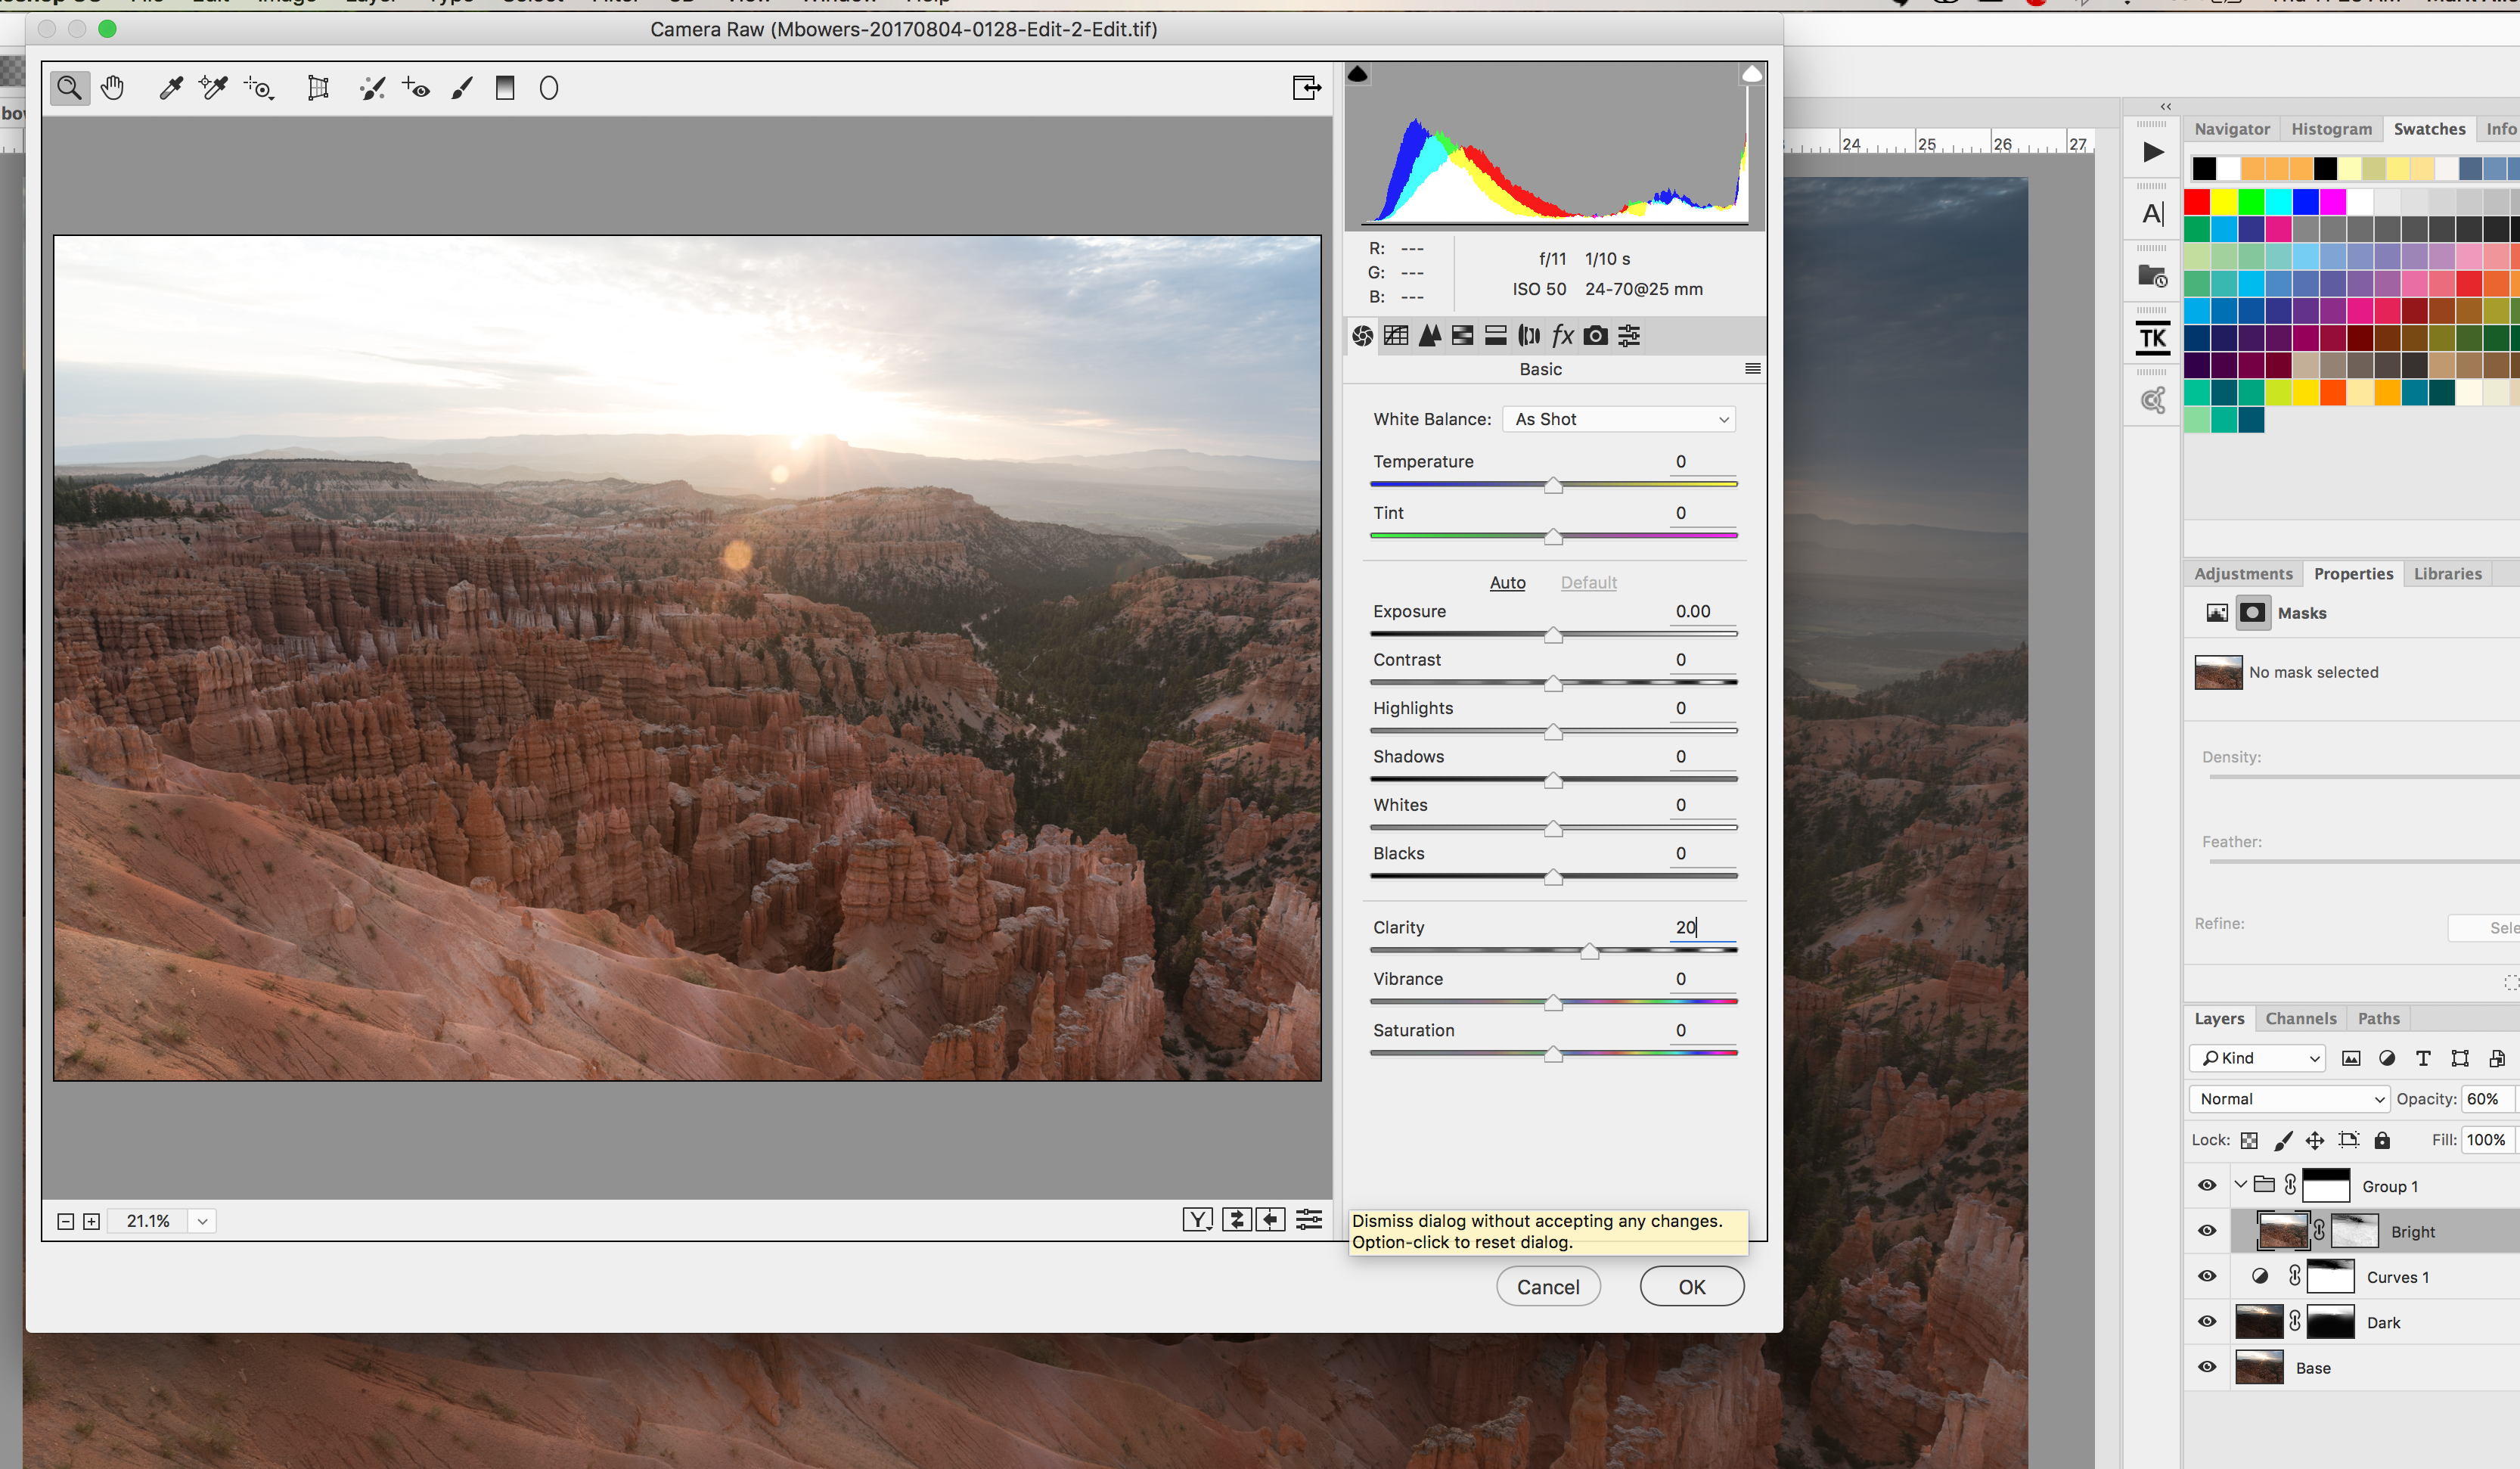
One way to do this in Photoshop is to select the Brights or Base layers and go to Filter > Adobe Camera Raw. This allows you to make selective adjustments to only those layers such as clarity which enhances local contrast. I went ahead and added +20 to each of these layers which provided a nice boost to the foreground.
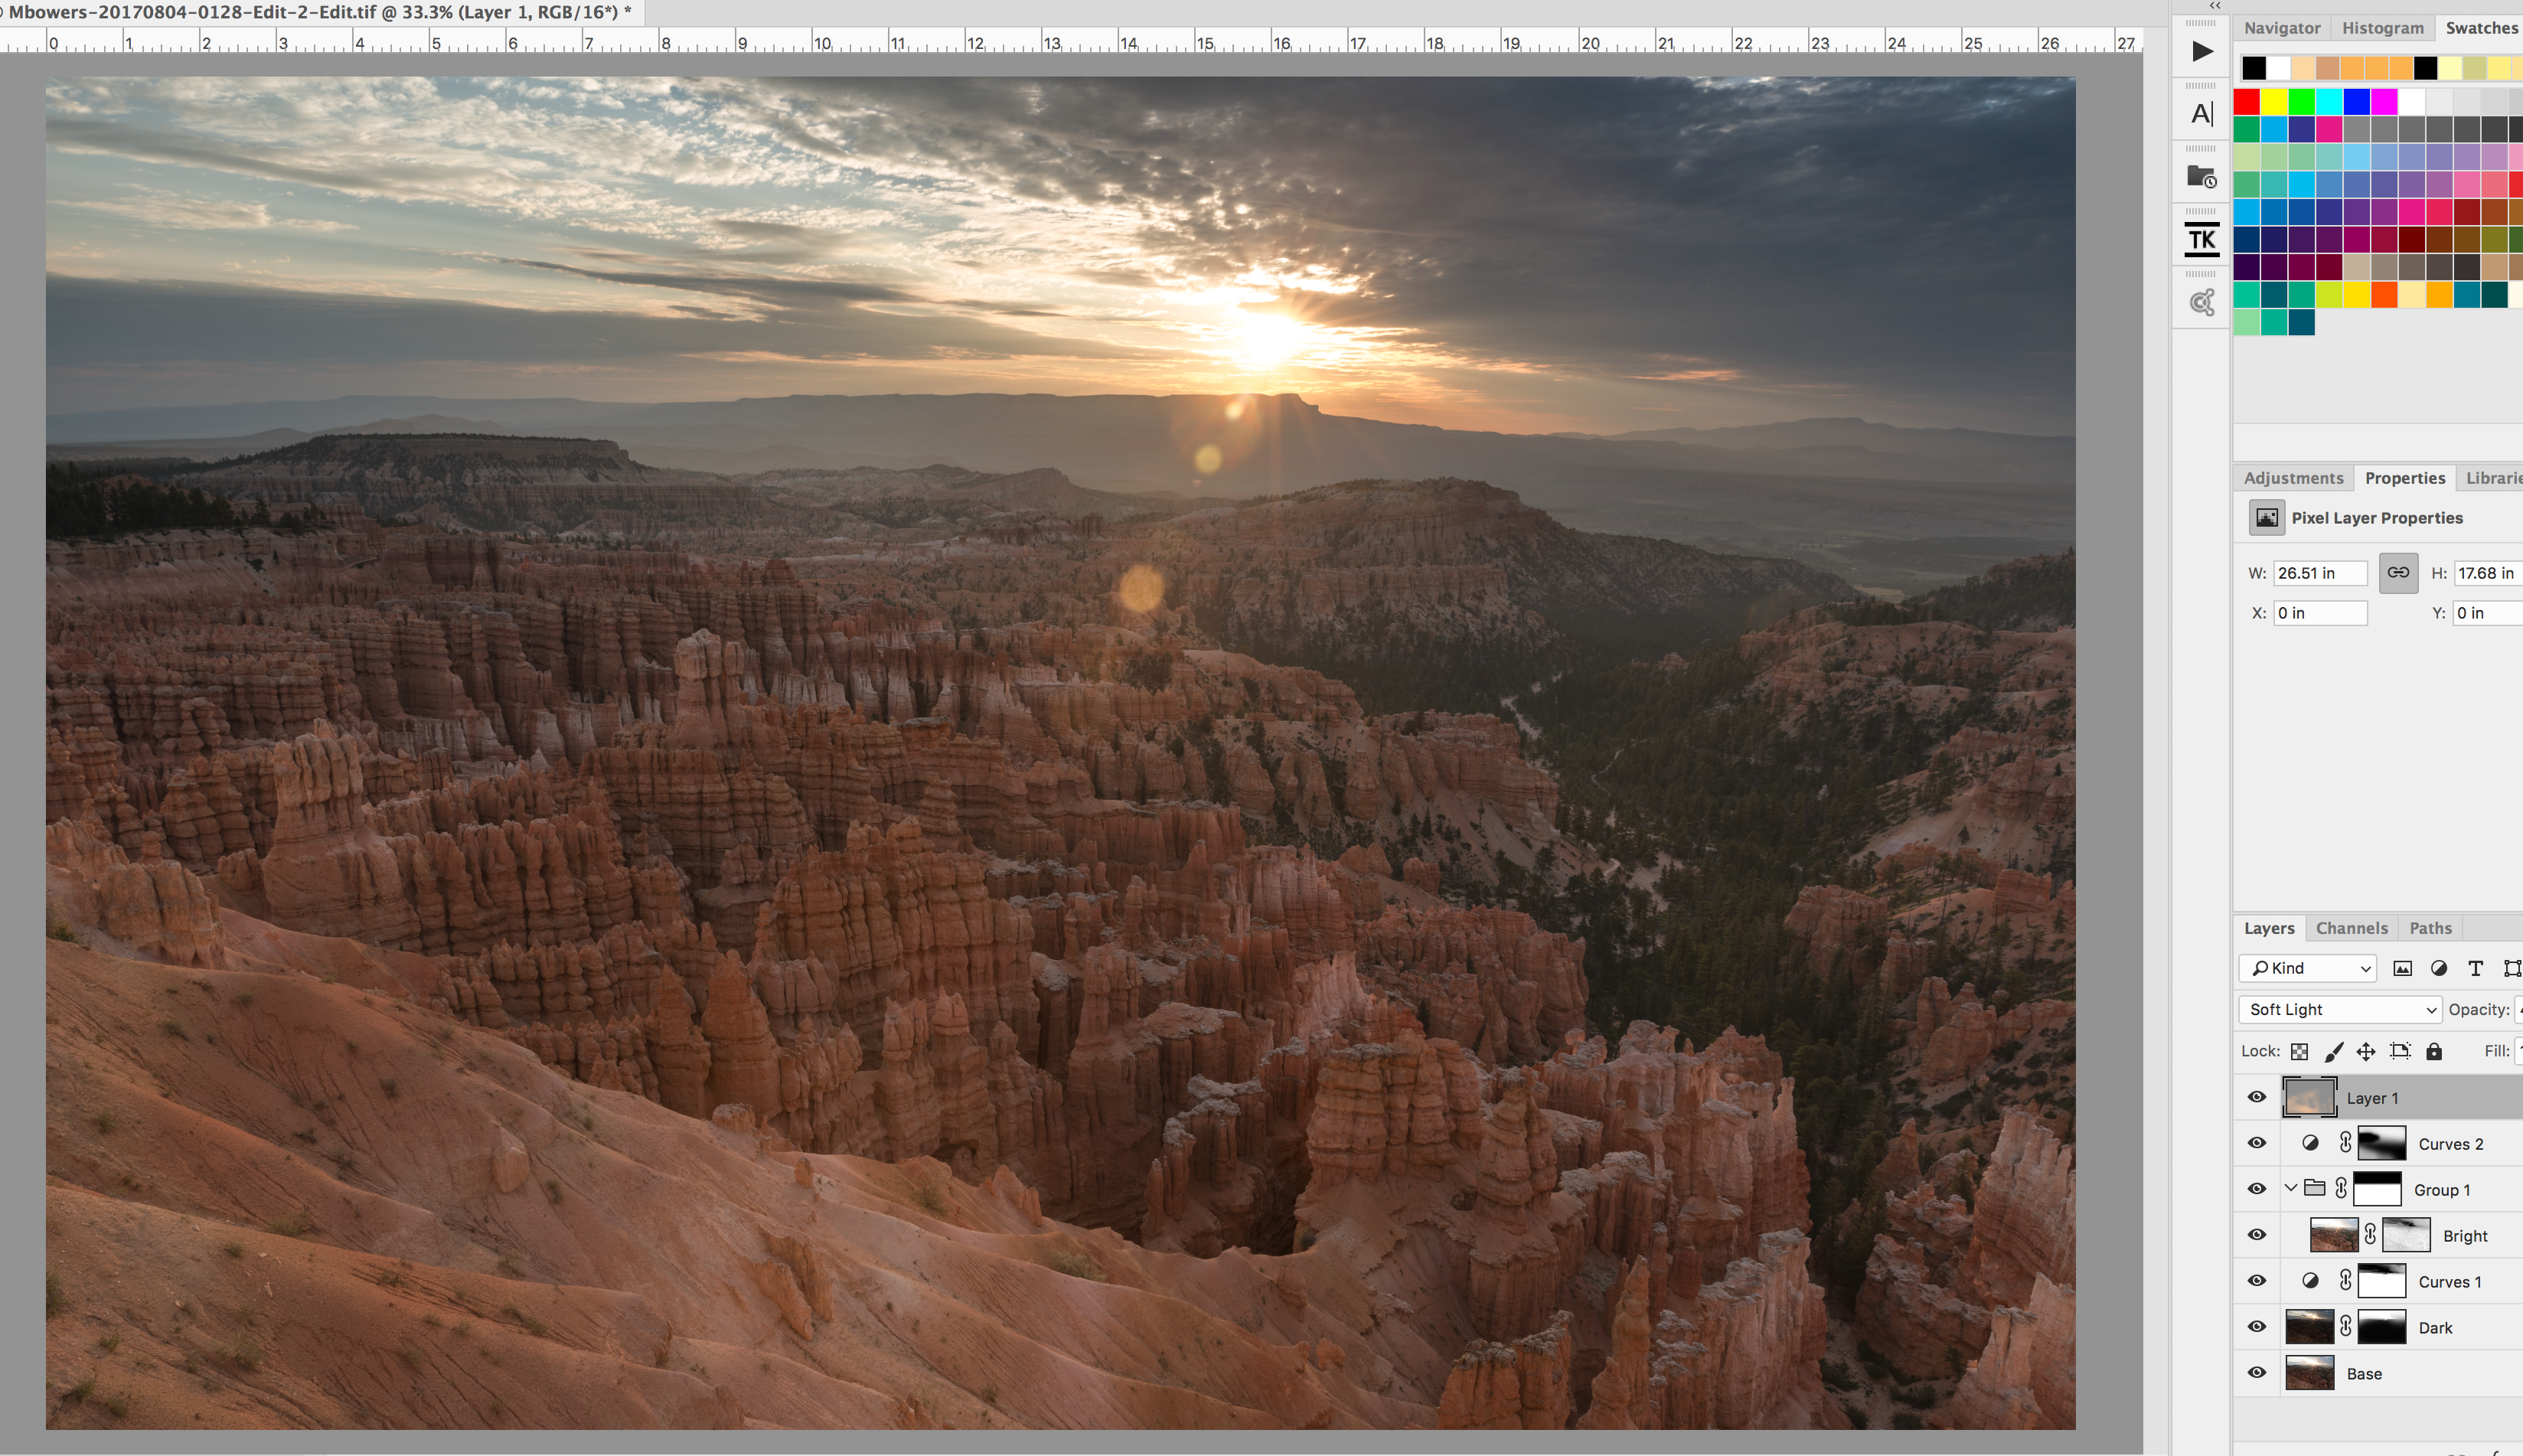
Next, you may want to dodge or burn your image to enhance contrast. I decided to dodge, or brighten, the foreground elements a bit using a layer filled with 50% gray set to Soft Light. With your paint brush selected, you can Alt+Click the color of the sky to dodge with that color which will appear as though the sun has kissed your foreground; Much more natural. Paint on the 50% gray layer at around 50% brush opacity those areas where the sun would fall naturally. Then adjust the layer opacity to suit your taste.
Finally, I decided to straighten my horizon using the Transform > Warp tool, then I added a Vibrance layer set to around 10% to boost the beautiful colors in my image. I painted in the saturation to specific areas and finished off the shot with a custom vignette via curves.
And here is the before and after:


No comments yet