
Having completed what proved to be one of the most challenging shoots of my career, I was then faced with the task of editing and compositing the images. Due to my inexperience, getting the results that I wanted using Photoshop proved to be a steep learning curve. Here’s how I went about it.
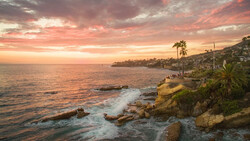
Regular readers will recall that I photographed a huge indoor parkour training facility using a single Profoto B1 paired with a huge diffuser (a 5’ Octa softbox). My original plan was to shoot the action using a tripod and then wander the huge space popping the B1 to ligh-tpaint the scene, creating multiple images of the same scene — one with a flying athlete — that could be composited.
Because of the size of the space and the limited amount of time, I shot the action from a tripod using the B1, but then simply captured a selection of background plates using only available light: the lights in the ceiling (which didn't pulse, thank goodness) mixed with bright sunlight streaming in from outside. I knew that trying to match the various color temperatures — ambient interior, daylight, strobe — during the editing would be a challenge, but I had little choice.

The Nightmare of Getting Started
Sifting through the images in Lightroom, I created a folder for each setup. After selecting a number of keepers by rating them with three stars, I then picked my favorite, rating it at five stars. Choosing the best wasn’t too challenging, as each setup had one particular shot that stood out above the others. Of the eight successful action shots, two had would have benefited from having the light closer to the athlete and with a more even spread. As a result, some parts of the body weren’t quite as crisp as they should have been, but fortunately, nothing that leapt out.
In an attempt to cover myself during the shooting, I shot four or five different ambient light exposures — my background plates — but for most of the shots, I only used one.
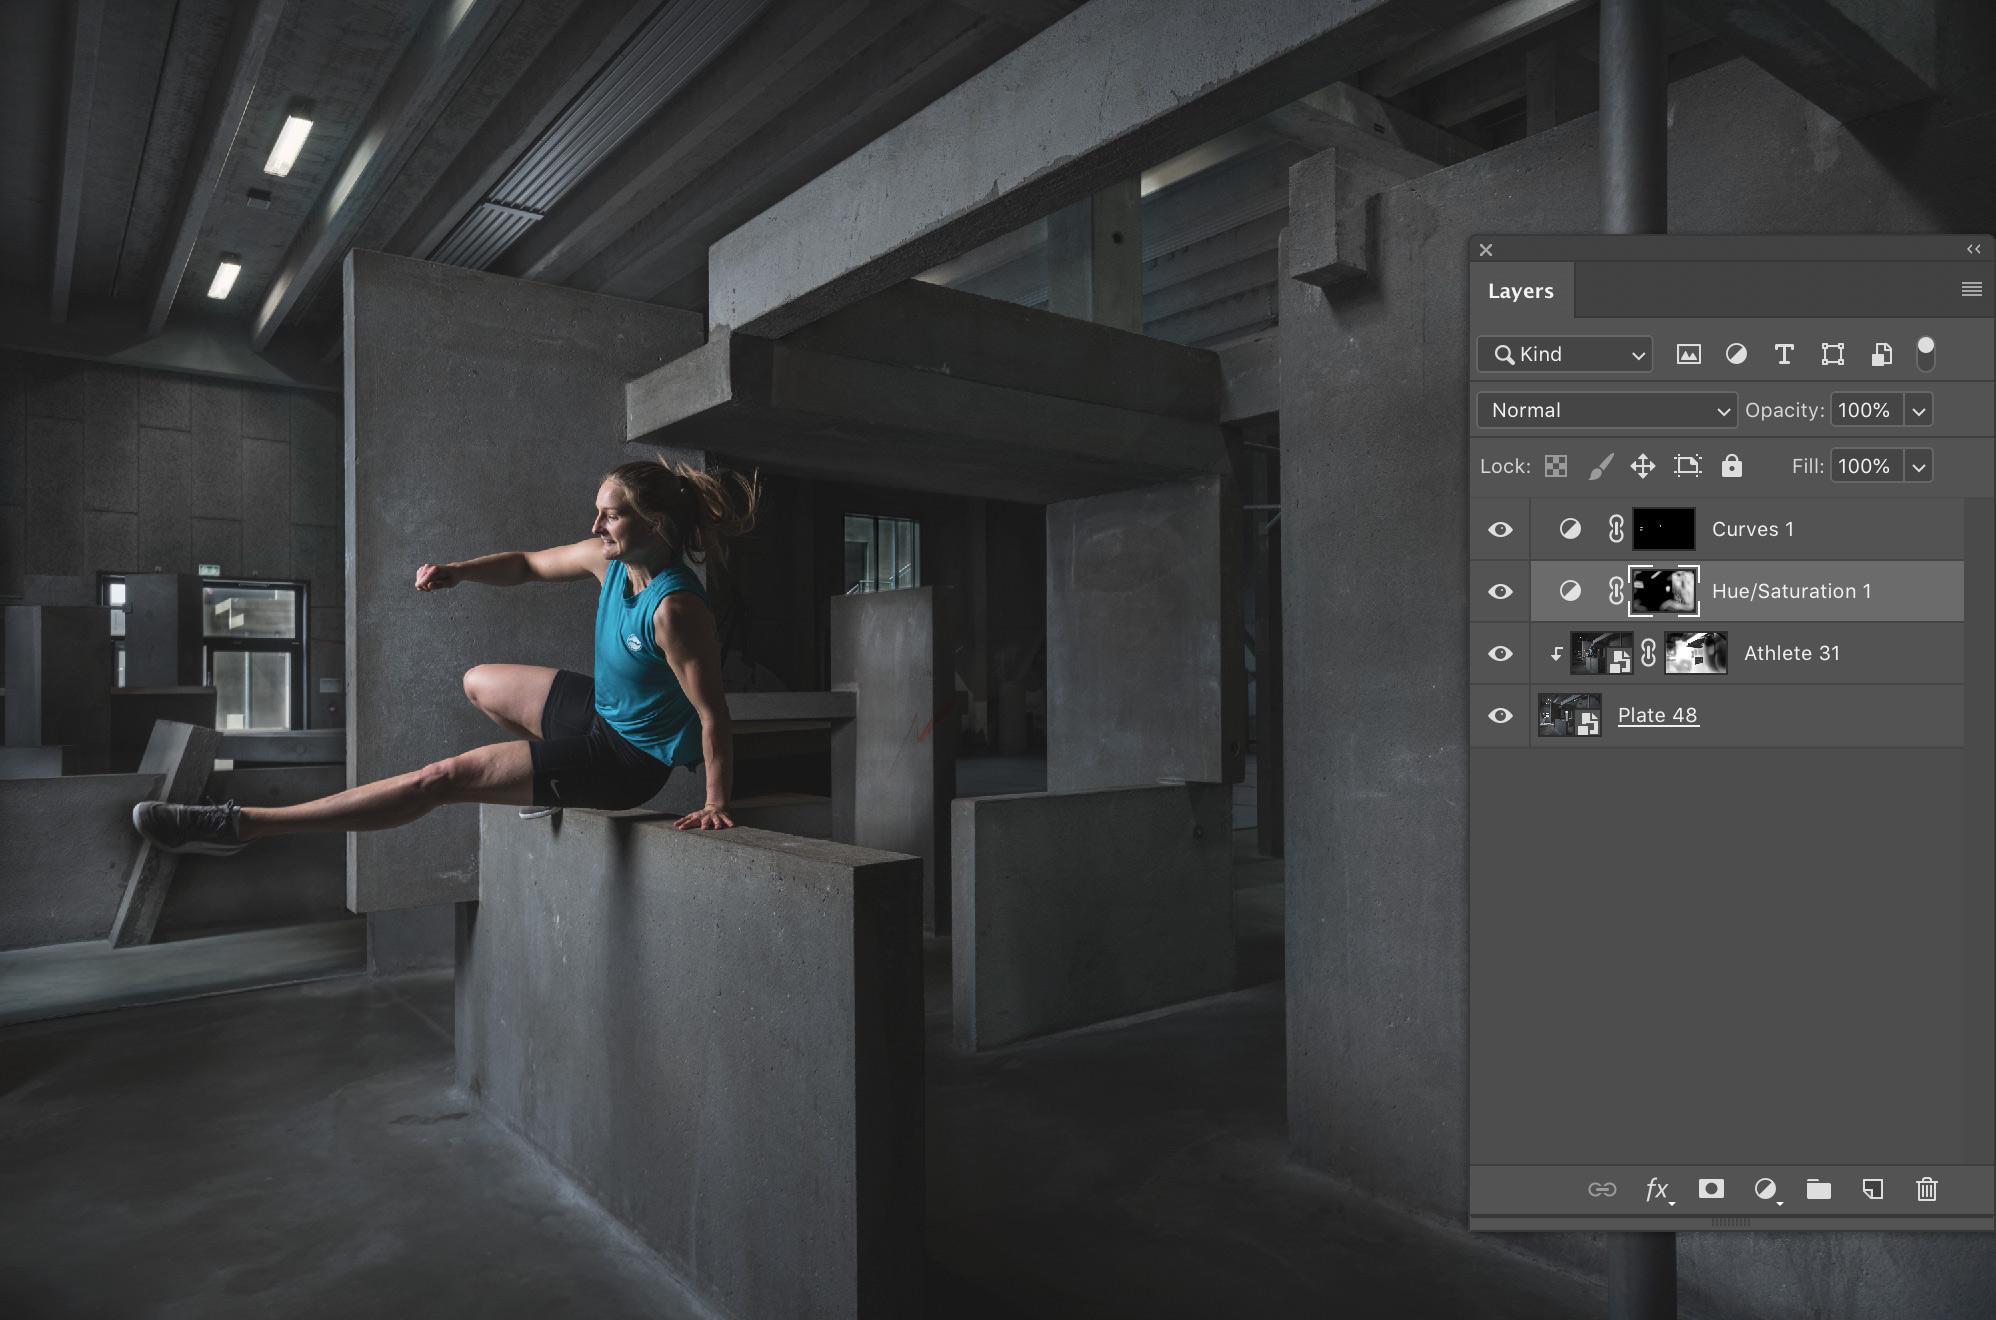
My first step was to do a basic edit of the chosen images and match the color temperatures as best I could. I applied the same preset to both the action shots and the plates, tweaking each slightly to give similar amounts of contrast.
Taking the images into Photoshop was a difficult step. It was the chicken or the egg: I felt like I couldn’t start compositing until I knew what the raw files needed to look like, and I couldn’t figure that out until I’d started putting images together in Photoshop. In the end, I had to simply make a start by working on an image, taking a load of missteps, and then going back to my raw files and potentially starting again.

Smart Layers Are Amazing, but not Perfect
When beginning the entire process, I’d hoped to find a means of editing in Lightroom, then opening the images as smart layers in Photoshop, editing the smart layers using Adobe Camera Raw in Photoshop, and seeing those changes to the raw file reflected back in Lightroom. This would allow me to take changes made to one raw file in Photoshop and apply them quickly and easily to my other raw files back in Lightroom by simply copying or synchronizing the settings. Despite a considerable amount of research and playing with Photoshop's "place file" command, I couldn’t find a means of making this work.
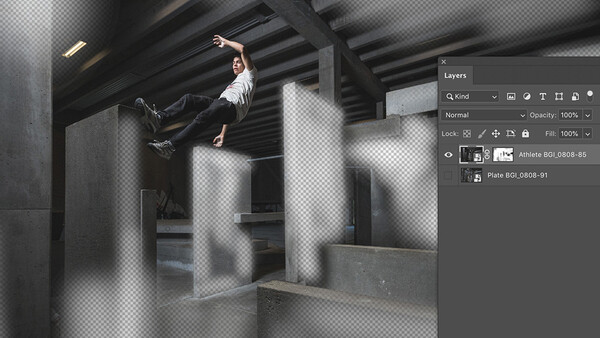
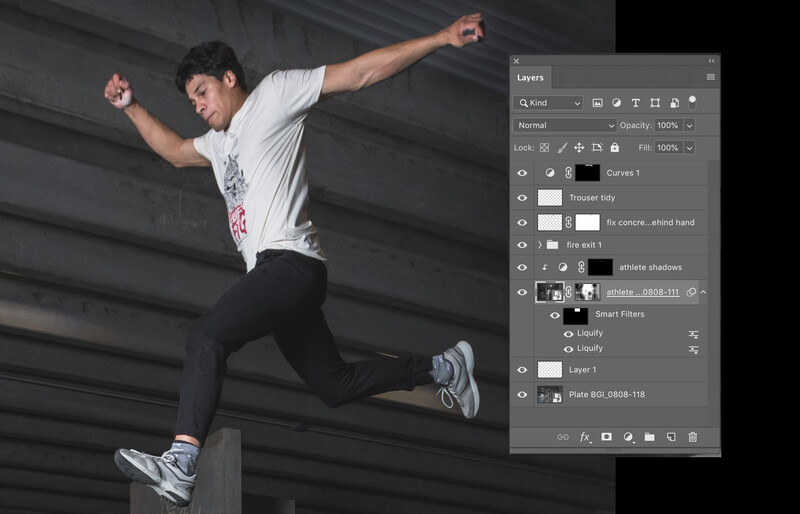
As an alternative, I scribbled raw settings in a notebook as I pressed on with my initial effort. I opened my action shot and my plate in Photoshop, dragging the athlete on top of the plate while holding shift to ensure that one sat perfectly on top of the other. I created a mask on the athlete layer and began painting onto this mask using a large, soft, black brush with the flow reduced, thereby making visible parts of the plate layer below. Not having a tablet probably made this process much harder than it should have been!
Striking a Colorful Balance
I soon realized that the concrete, despite looking very gray, had an unexpected amount of color in it. The action shots contained a lot of green, while the plates, thanks to the ambient light, had a lot of orange and pink. I tweaked the white balance as best I could, but it still didn’t feel right, and furthermore, I knew that each plate would have varying amounts of ceiling light and sunlight, making it difficult to achieve consistency across the entire set of images. Eventually, I realized that I could knock back the saturation of the plates without undermining the look and feel of the concrete too much; so far, the client (who designed the facility) hasn’t noticed that his own concrete is slightly less colorful than it is in reality.
For the plate, making this color adjustment was simple: I just opened the smart layer and slid the saturation down by about 30%. Back in Lightroom, I made the same changes to all of the plates that were still waiting for me to start compositing, as well as making the new white balance consistent across the images.
No doubt, I could have done a lot of this work directly in Photoshop, but my familiarity with Lightroom — and thus, Adobe Camera Raw — meant that I was much more comfortable with my chosen method. Furthermore, it made sense to me to hang on to the raw properties of my files for as long as possible. In addition, tweaking colors by adjusting a raw file or raw layer felt a lot more instinctive than sitting down to learn alternative methods.
The Nitty Gritty
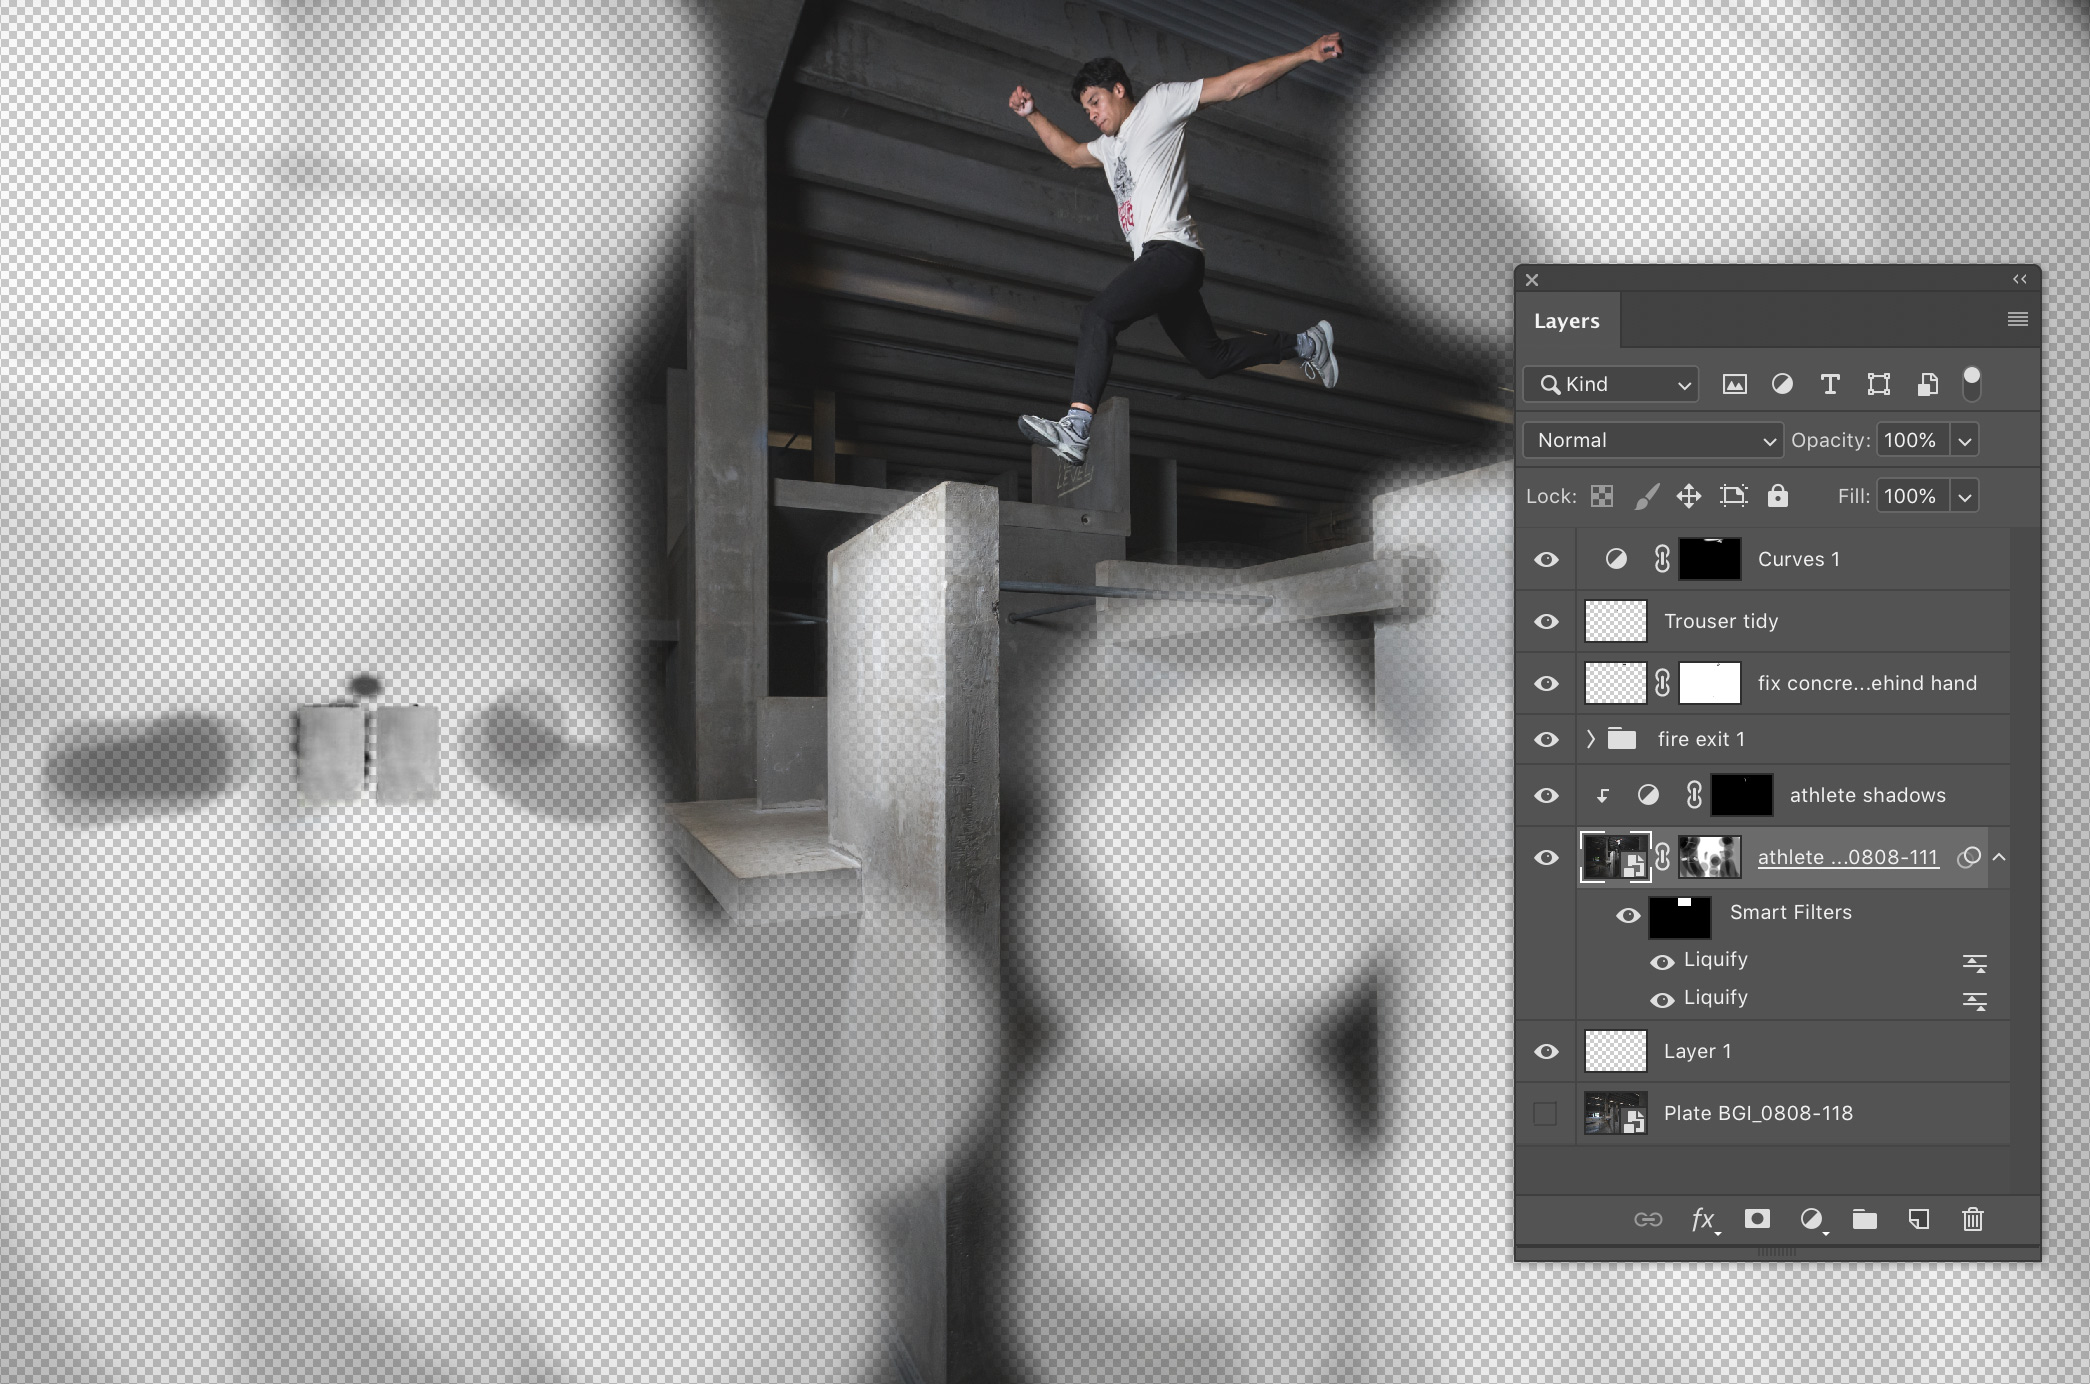
Once I figured out that I had a system, it was time to start going through each of the images and put them together, all the time hoping that I didn’t suddenly realize that I’d missed something that would require me to start over. Each image presented its own challenges, some requiring some additional desaturation in Photoshop.
Throughout the process, I was grateful that I’d chosen to use a huge softbox to light the athletes, as the drop-off was so smooth that mixing both the color of the concrete and levels of illumination was relatively easy. I was worried that trying to create smooth transitions between background plates and action shots was going to be tough, but the 5’ Octa proved to have been a shrewd bit of planning on my part — something that you’ll realize might have been more by luck than judgment if you read the other article regarding this shoot!
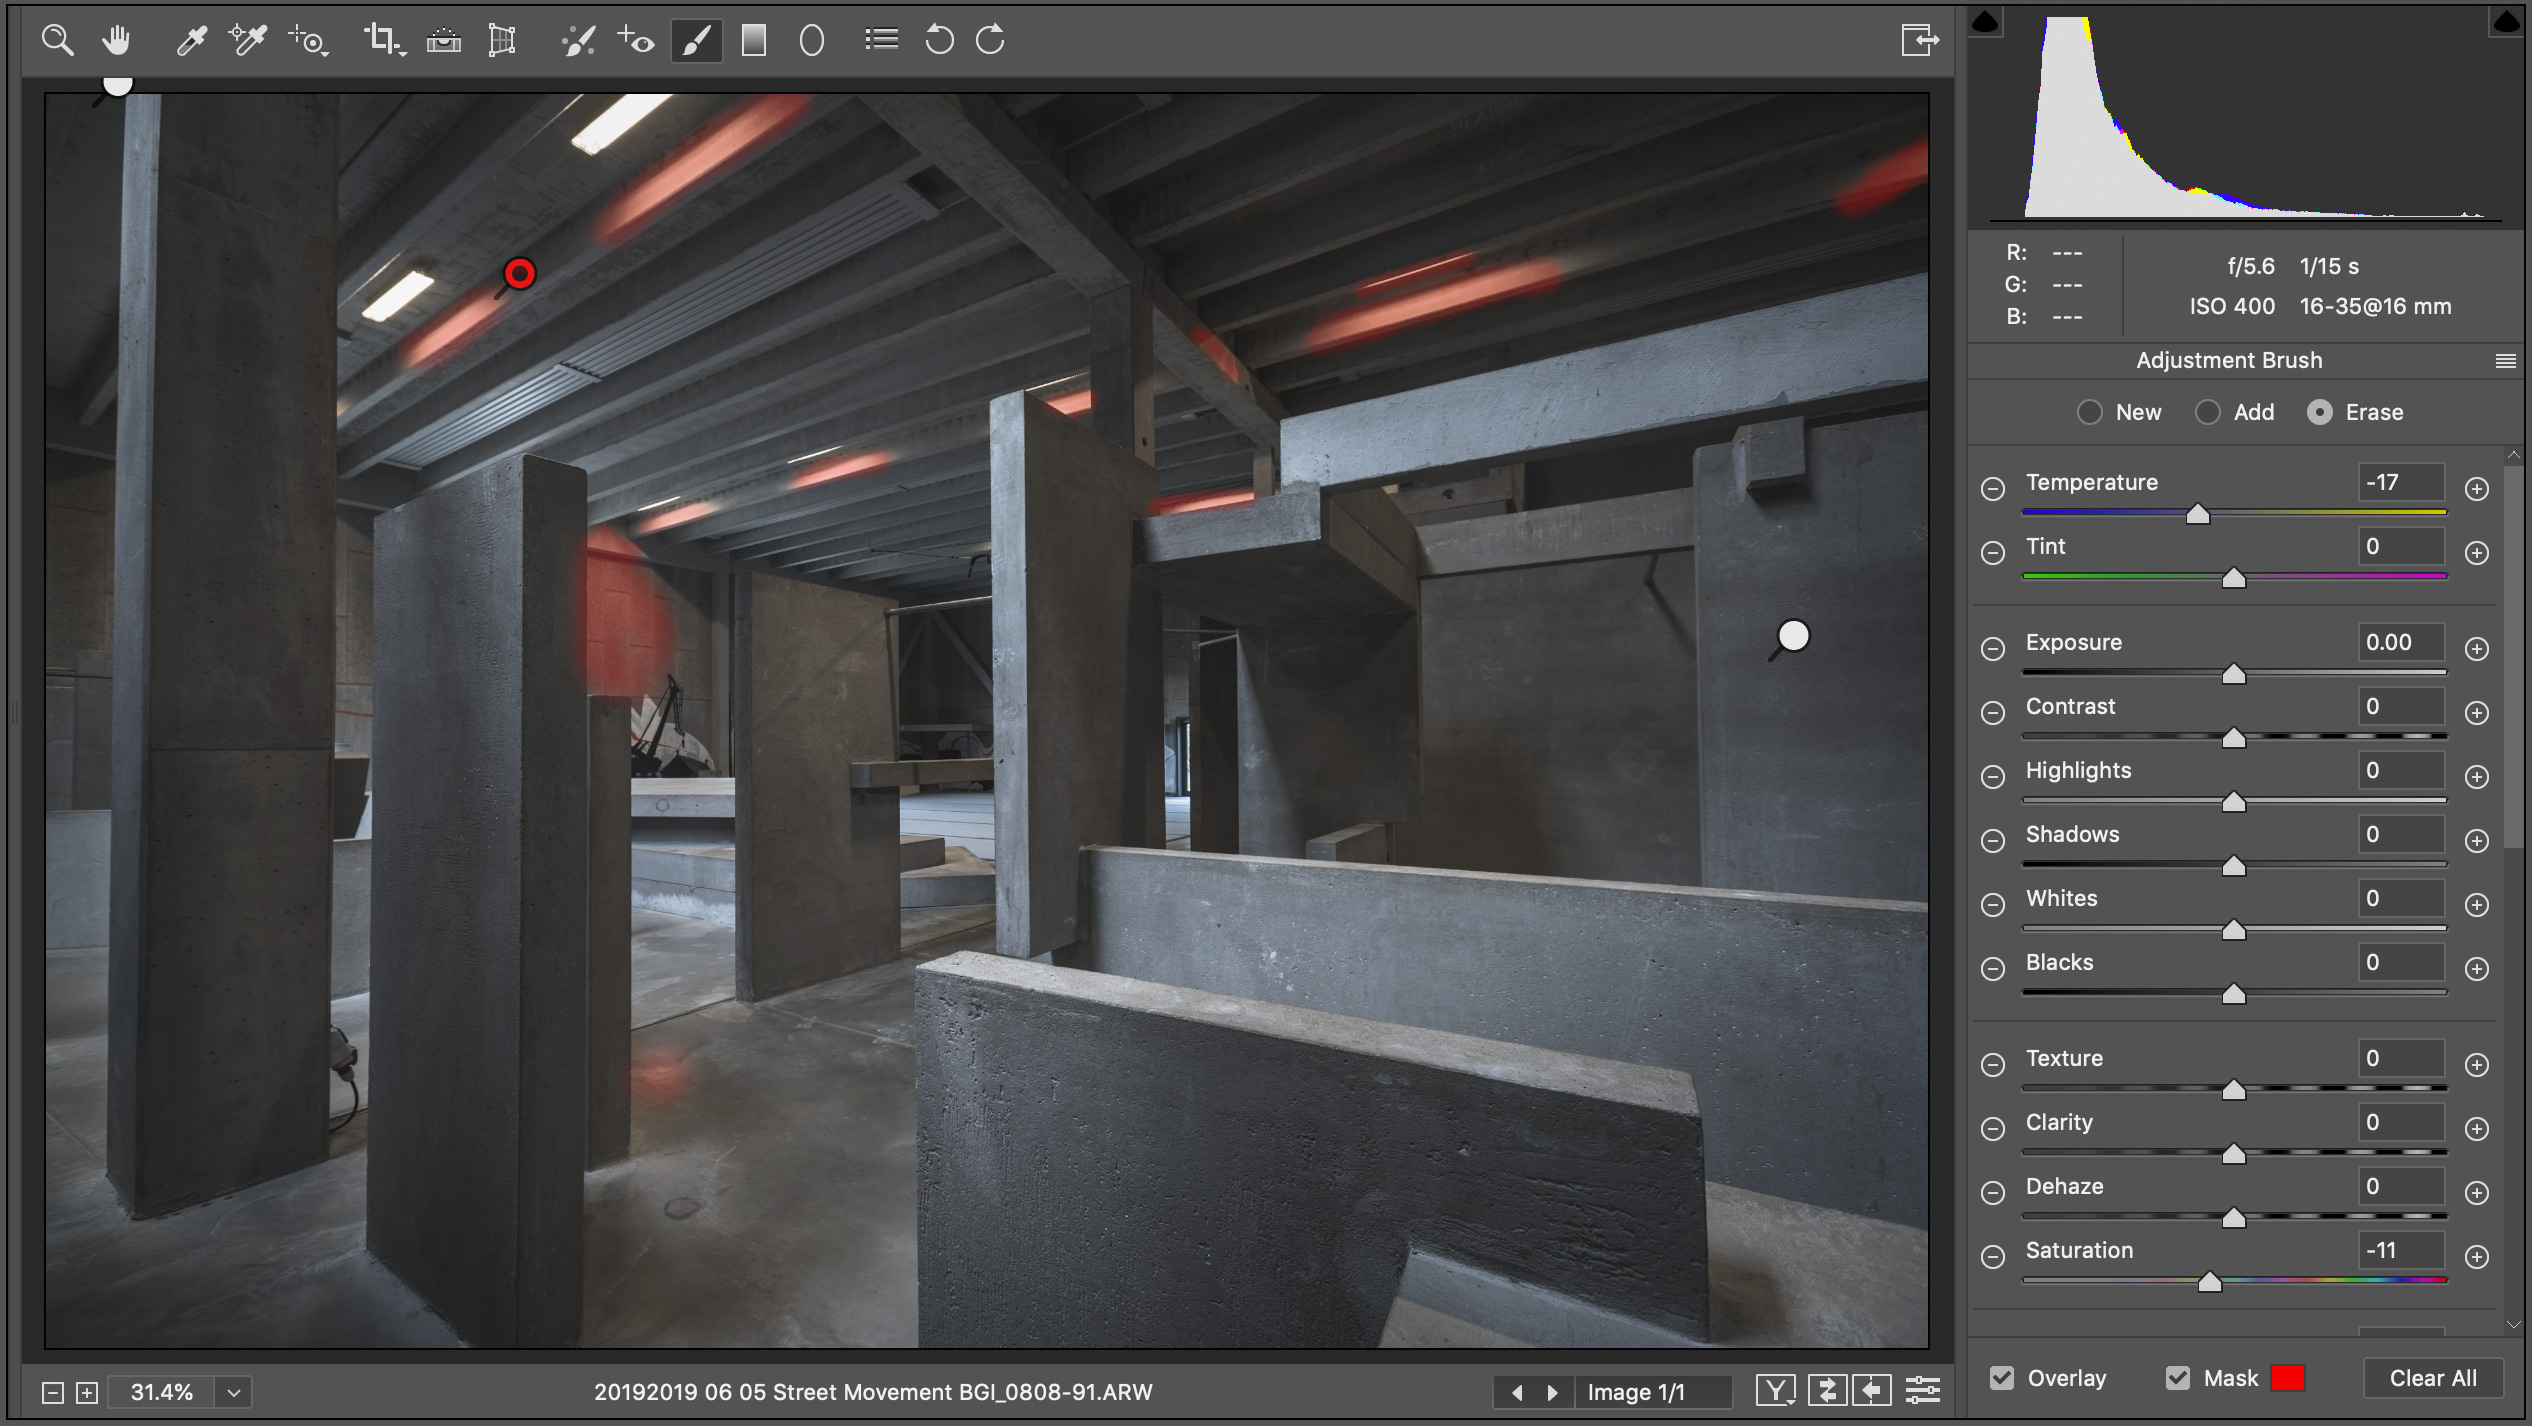
Where the plates felt a little dark, I lifted shadows using Adobe Camera Raw and an adjustment brush to paint in areas of increased exposure and shadows. Elsewhere, I killed saturation locally to deal with any patches of concrete that felt out of place. Similarly, I used the same technique to sit on bits of concrete that seemed too bright, dropping the exposure and squashing the highlights a little. This was much quicker and easier than pulling in a darker background plate as an extra layer.
Each Image Presents Its Own Challenge
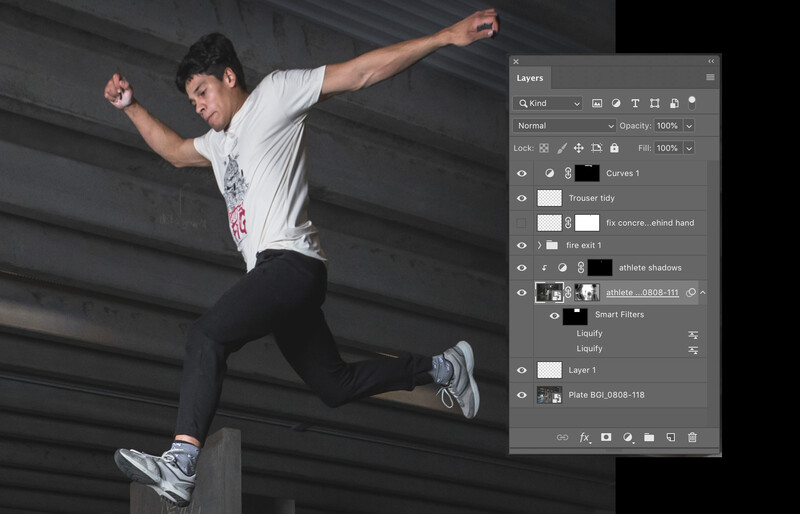
Certain images presented a few individual problems. For example, in one of the shots, the wide angle of the lens combined with the fact that the athlete was quite close to the edge of the frame was distorting the body slightly: his head was triangular, and his arm looked a little bit too long to be natural. This is where Photoshop’s liquify tool comes in handy, and I’ve used it on many occasions to shorten fingers and make feet smaller when they’ve been warped by a rectilinear lens.
Once I had a full set of images, I exported them as screen-resolution JPEGs so that I could flick between them quickly to compare exposure and color balance. Something that stood out to me was the orange hue around many of the light fittings. I went through all of the images, opening up the plate layer in Adobe Camera Raw and painting using an adjustment brush to drop the color temperature along with a very light shade of pale blue.
Time to Rasterize
I could have spent more time matching them up, but I was happy with what I’d managed to achieve. To make the final tweaks such as more complex cloning jobs, I decided to rasterize my layers and save all of the files as new versions. Before taking this step, I exported them all as screen-res JPEGs and sent them to the client to check that he was happy.
Much of the basic cloning — removing bright green fire exit signs, for example — was already done, but more work was needed. As well as chalky patches of graffiti, some images had distracting pools of sunlight streaming in from outside.
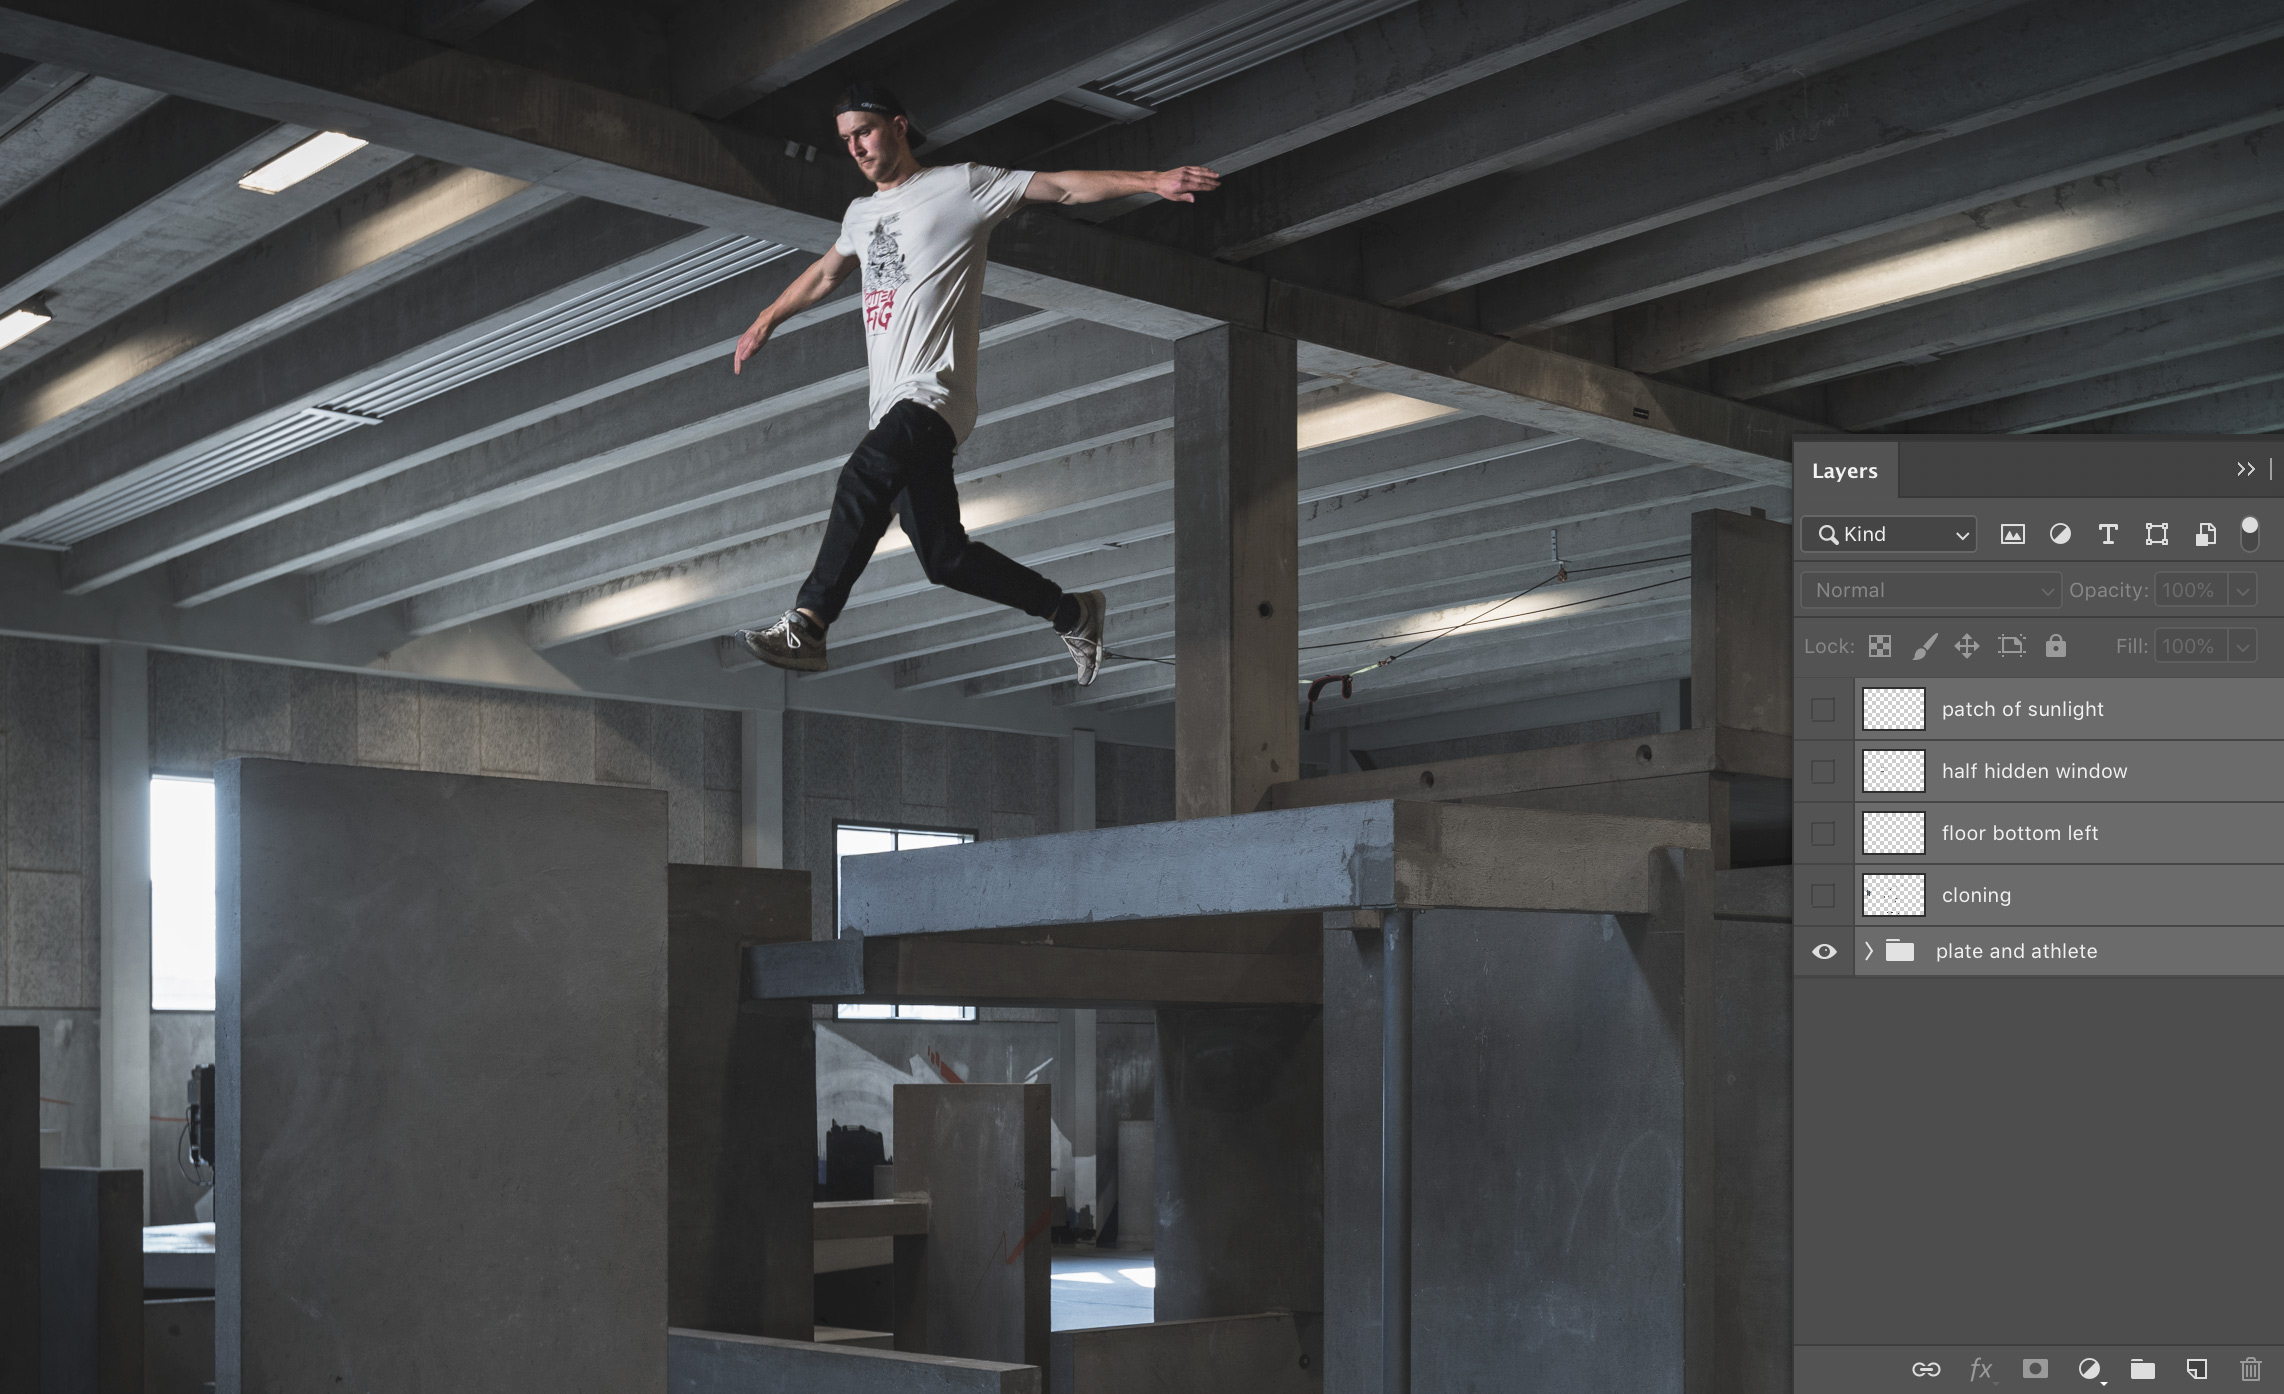

Frustratingly, Photoshop crashed repeatedly during this work, causing it to take about as twice as long as it should have. Once all of the images were tidied, the last step was to use create some guides and use the skew tool to make sure all of my verticals were absolutely straight.
A Favor to Ask
I'm sure that Photoshop experts will be amused and bemused by some of my choices, and I'm excited to learn how I should have done things differently. Looking back, I'm pleased with the results and learned a lot as a result of the process. I'd be grateful for your thoughts, feedback, and ideas below, and perhaps read the first article if you're interested to know how some of the shooting choices came about. And please be gentle!

Join the Fstoppers community for free
-
Post comments and join in the discussions
-
Browse the site ad-free
-
Share your work and get featured in the community
-
Compete in the photo contests for fun and prizes
No comments yet