
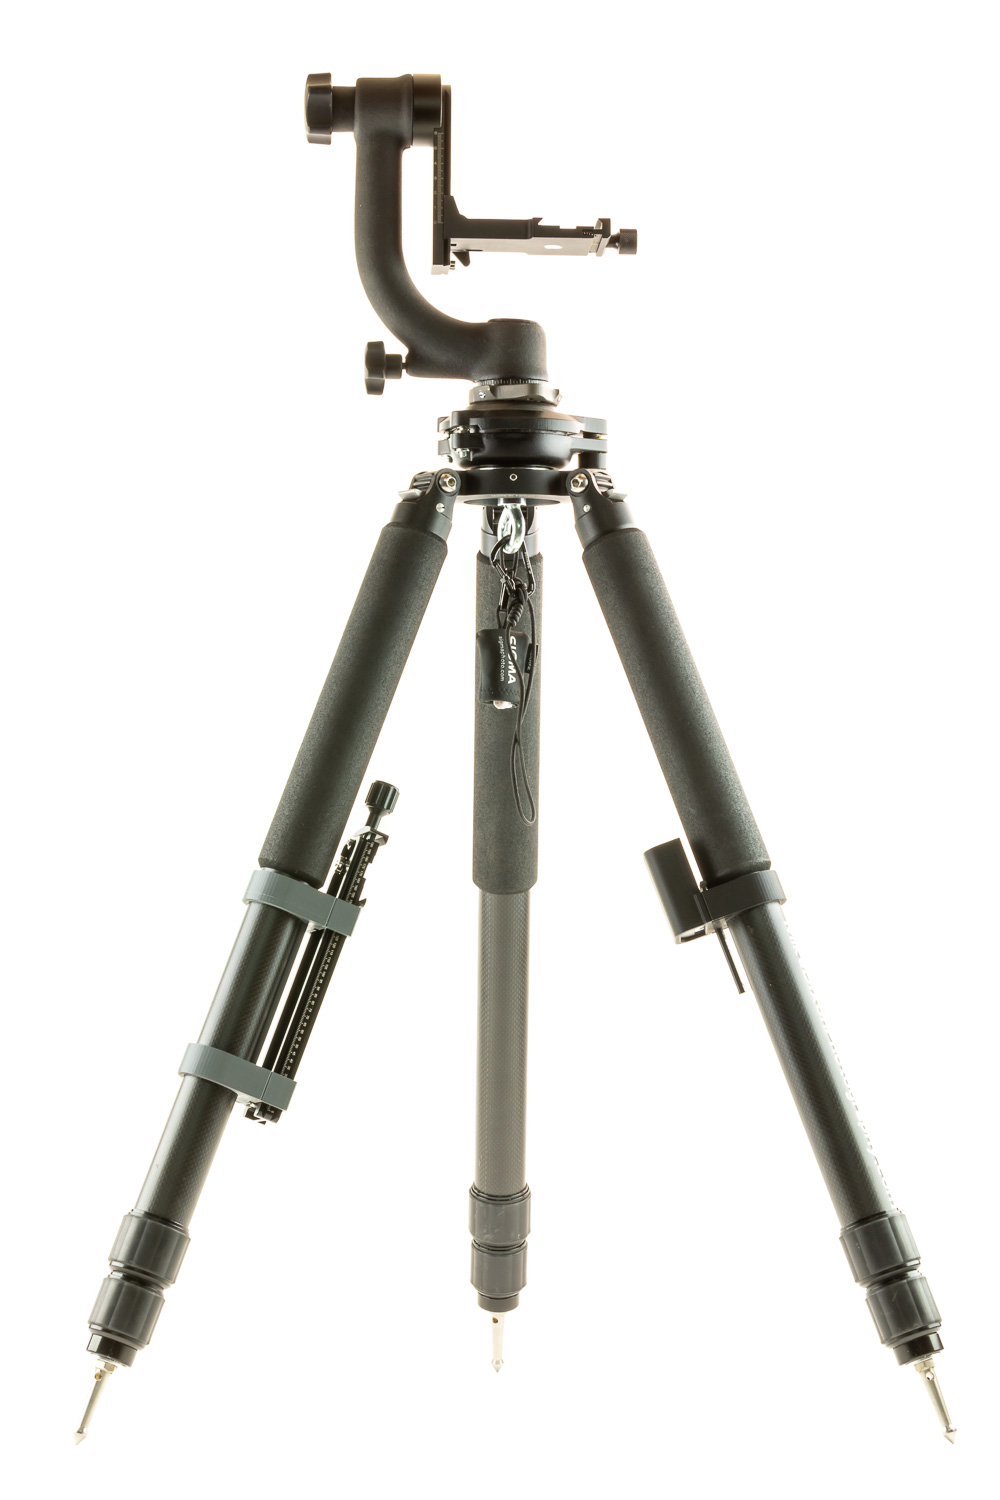
I'm a gadget guy. I always appreciate anything that can make my life easier, safer, or more enjoyable. When I recently acquired a Kywoo3D Tycoon 3D printer, I thought it would be an excellent time to make my photography life easier.
One drawback of using a tripod gimbal head is that you need to use a nodal rail for lenses that don't have a lens foot. I keep two in my camera bag, but I occasionally don't want to take my bag with me on short outings.
When I don't take my bag with me, I have to make sure to grab a spare battery, a nodal rail, my tripod, and my camera. Having the nodal rail and battery with me means I will have to deal with things in my pockets. Large items in your pockets tend to fall out easier when you squat or sit.
For a long time, I've wanted to get or make a mount for my nodal rail, and I've searched high and low for a commercial 37mm clamp to meet my needs for the nodal rail mount, but I could not find anything even close to what I wanted.
The Nodal Rail Mount
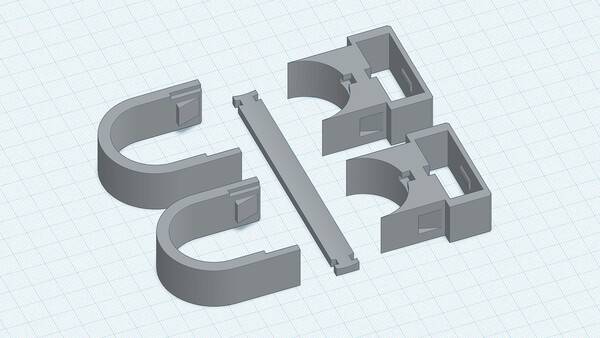
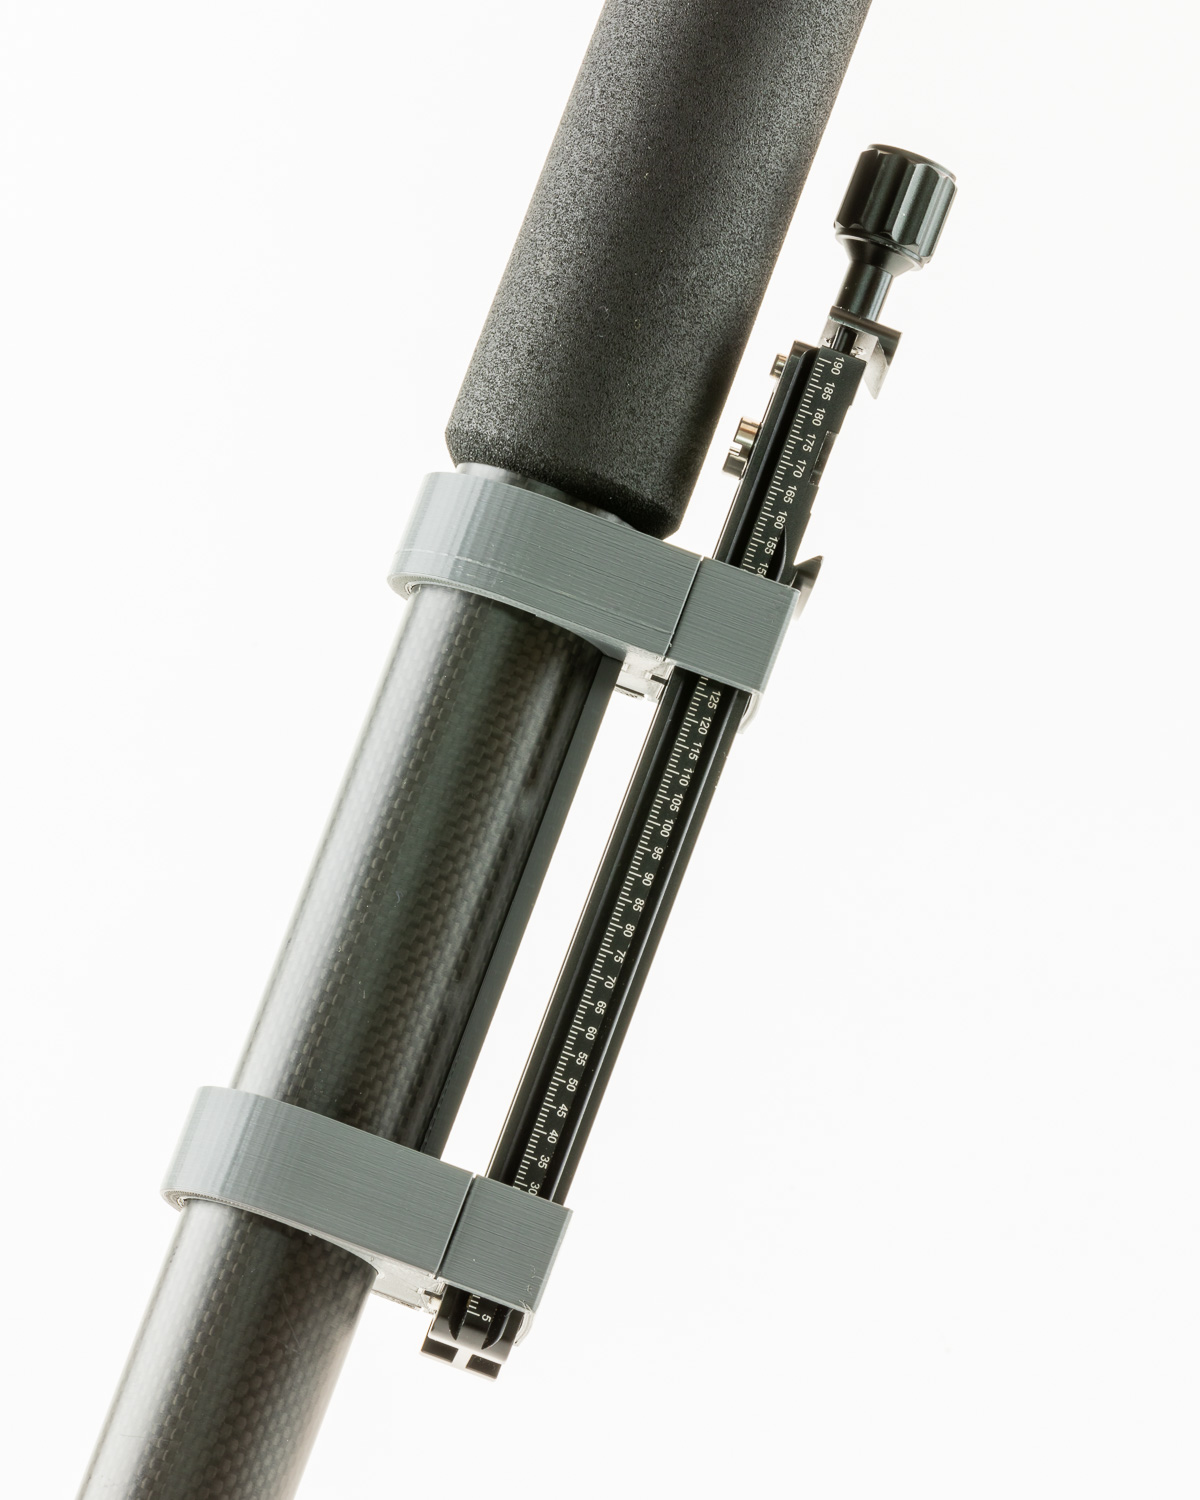
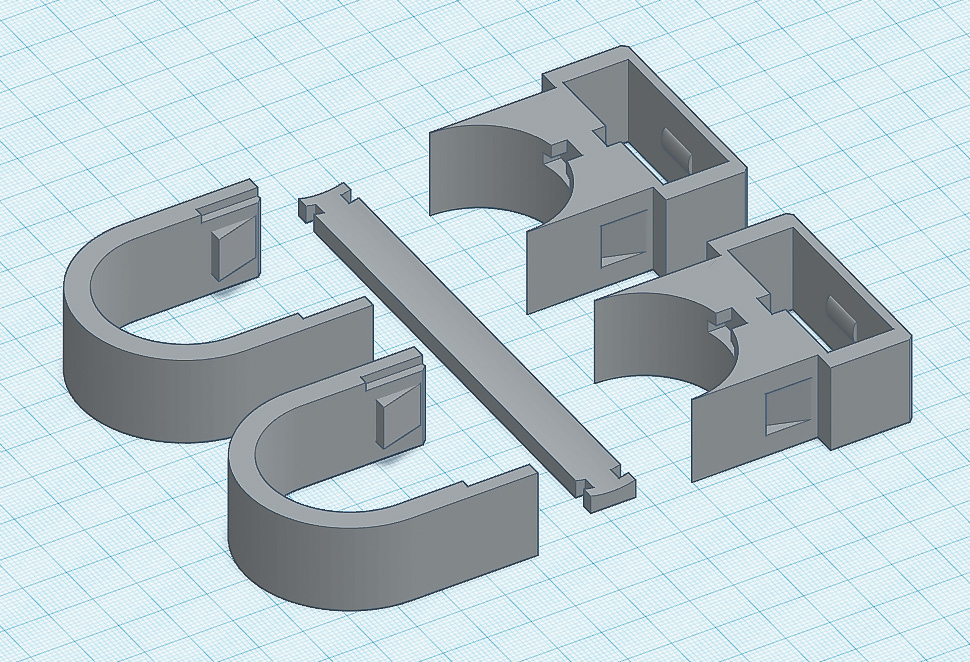
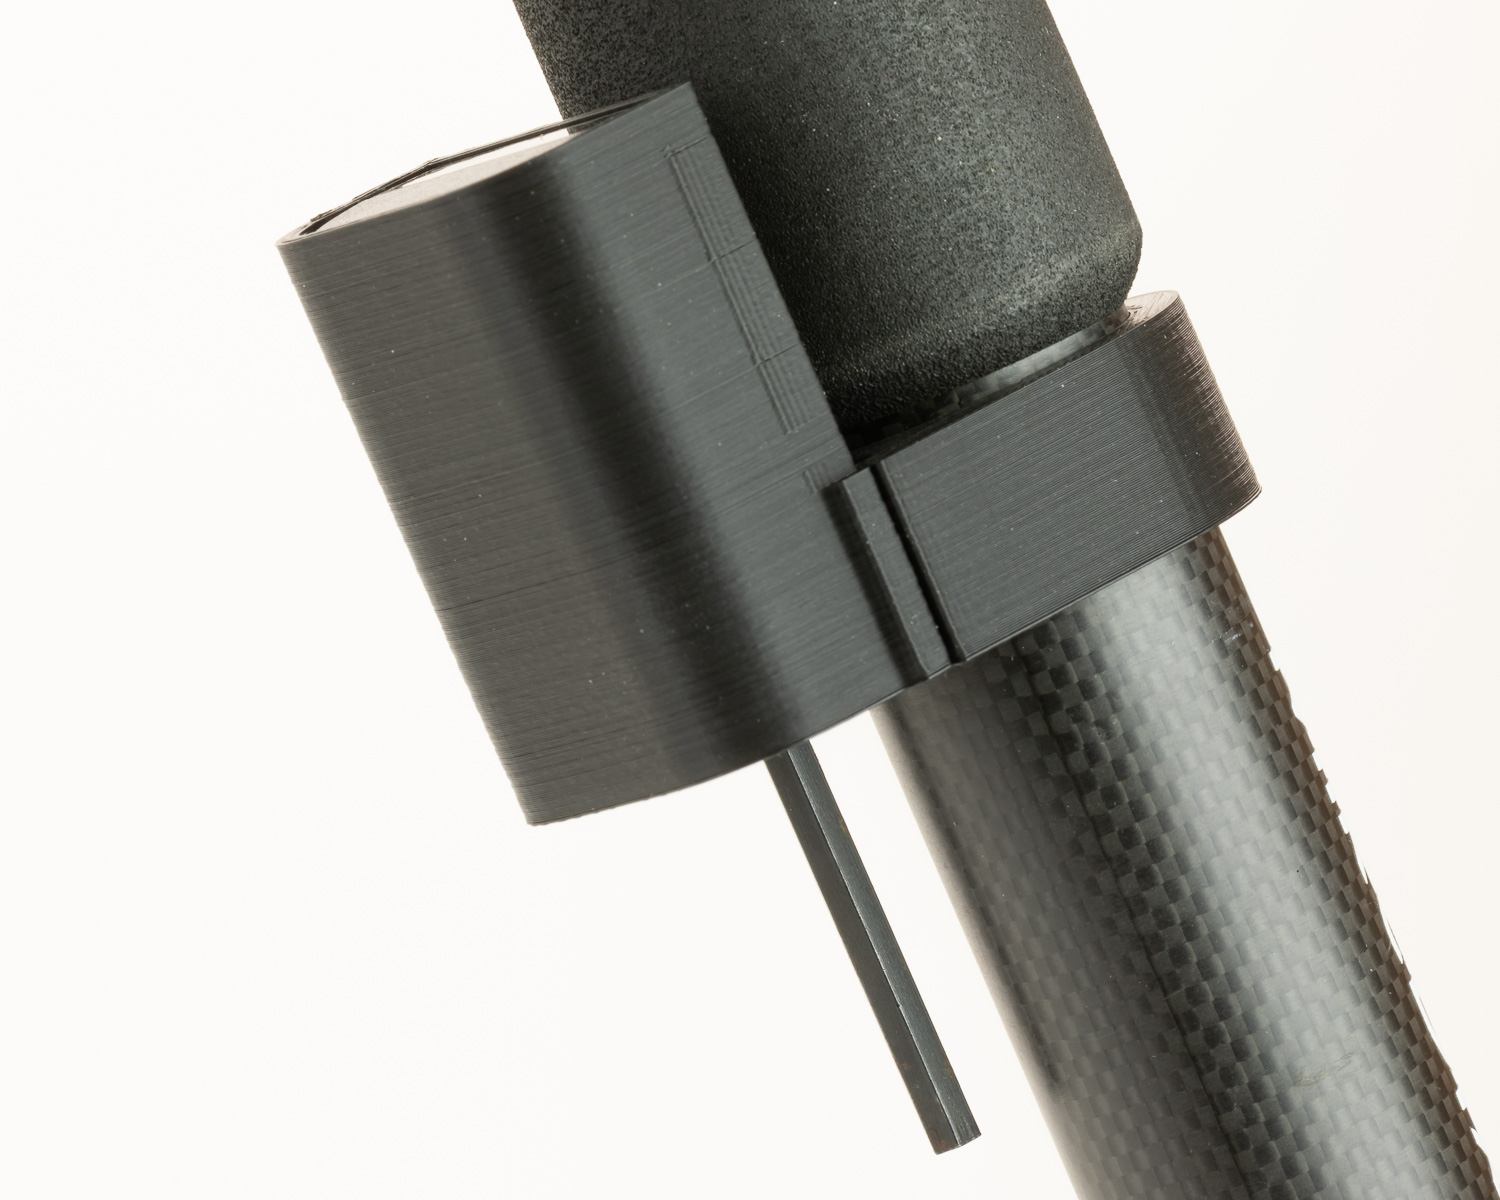
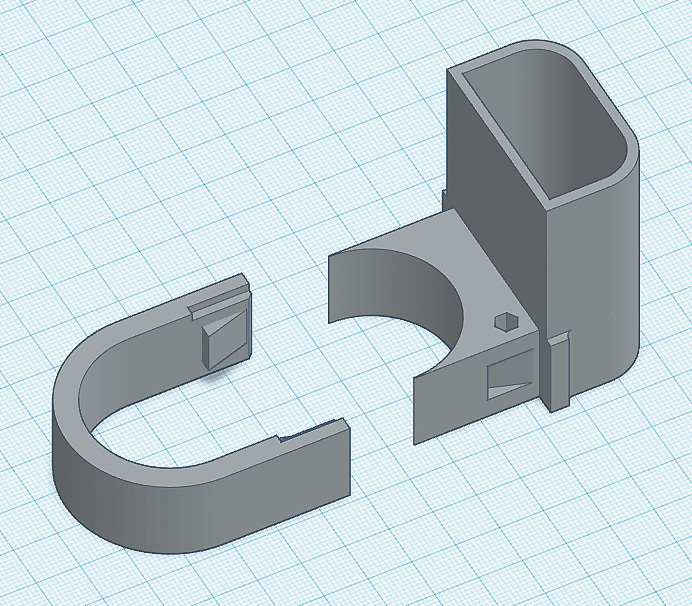
So, I designed a bracket that holds my nodal rail and snaps onto my tripod leg. I was learning both CAD and 3D printing as I went through various versions of the bracket. I was quite surprised that I got the diameter just right on my 2nd attempt, and my first attempt at a snap-fit worked perfectly. Even my son, who is a plastics engineer, was impressed.
Each bracket features a nub on the inside that provides a bit of retention. If I'm going to go on a longer hike, I can also screw a 1/4-20 screw or knob into the rail to completely secure it.
I made the u-shaped part of the bracket to be "universal" for this 37mm tripod leg, which came in handy when designing the battery holder.
The Battery Holder
I rarely need a second battery, but it's always when I forget to bring one with me when I do. Next on the list was to make a battery bracket so that I always have a battery with my tripod.
Utilizing the same u-shaped bracket and socket, I designed the battery holder with a nub that interfaces with the little square hole in the Canon LP-E6 battery for secure retention. I did go through two designs for this holder. The first design had a slot in the front, but it wasn't wide enough for my finger. This design has an open bottom so that I can push the battery up and out.
I also implemented a hole for storing the hex wrench for my tripod legs. I do have plans to make one with a lid to keep water out, but I don't often shoot in the rain, so that won't be a problem for now.
The Gimbal Cap
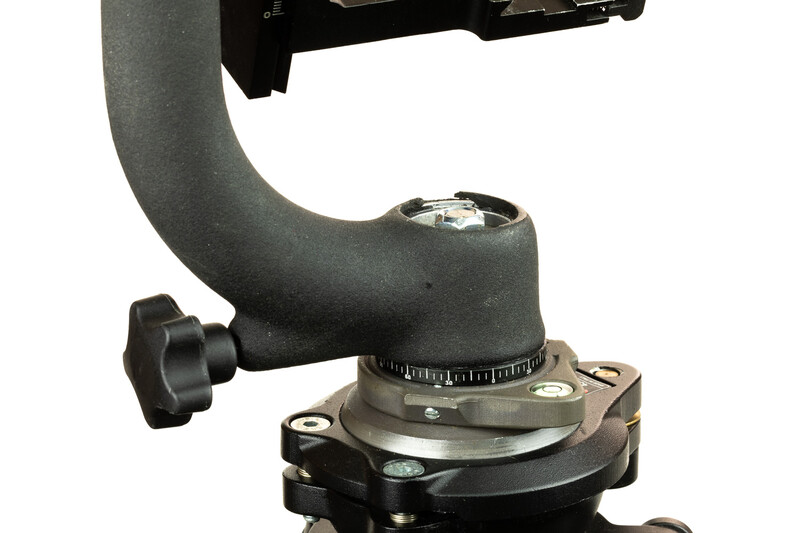
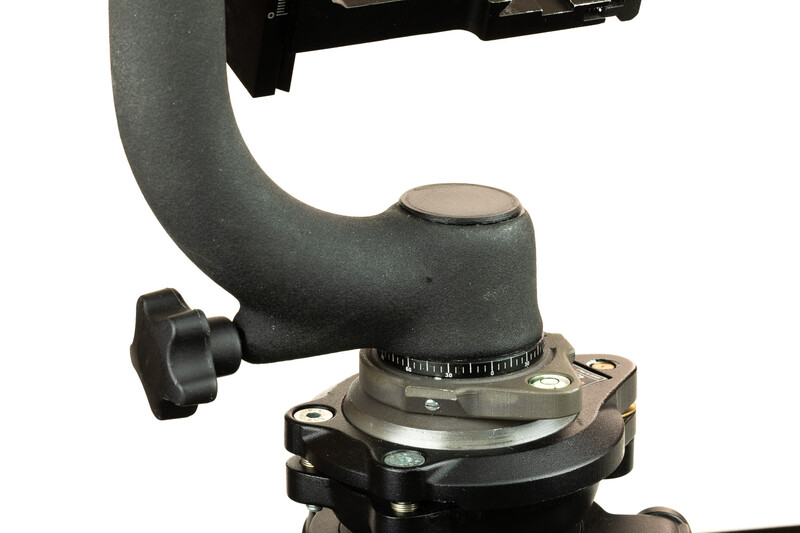
I previously modified my gimbal to use a 3/8" stainless bolt for its connection to the tripod instead of the small one that came with it. When I did so, I had to remove the cap and later realized that I could not re-install it due to the lock nuts' larger size. Not content with an ugly tripod head, I designed and 3D printed a new cap for it.
The tight tolerances for the inner diameter of the gimbal proved to be a little challenging. When it comes to 3D printing, you must determine your printer's dimensional accuracy and design accordingly. For example, you might design something that is 30mm wide, but it ends up printing 30.2mm wide.
3D-Printing Final Thoughts
I've printed many things for my office, and I have quite a few other ideas of things that I would like to print. I've already designed a lens hood for my Canon 100-400mm, but I still have a few things left to do with that design. That one is more of an "I wonder if I can do that" type of thing rather than a necessity.
I printed brackets to mount my Mac Mini under the desk and an arm to hold my microphone and webcam for my main PC. My 40" monitor makes it difficult to get a good camera angle for my daily video meetings. I've also printed a few brackets to mount things like my card reader and USB hubs to the side of my computer rack.

You can find many items online to print if you're not into designing your own. The exciting part is that you can print things that are not commercially available. There are battery holders, card holders, mini-tripods, lens hoods, almost everything you can imagine.
If you're thinking about getting a 3D printer, be aware that it is most definitely something for the hobbyist. There's a little more to it than just downloading a design and pressing the print button. There's a steep learning curve to getting your printer operating just right. There is a fair amount of machine setup and figuring out the exact settings for your filament, but once you figure it out, it's a blast.
I used Tinkercad for all of these designs, as it's quick and easy. It's also browser-based. Tinkercad sounds cheesy, and it looks pretty simple when you first look at it, but the more you learn about it, the more powerful it becomes. Obviously, for more complex designs, you would want to use more advanced CAD software. I'm also learning Fusion360, a parametric CAD application, and a more complex learning curve.
Conclusion
Whether you're prototyping your next million-dollar idea, making replacement parts, or simply creating something that you can't buy, you might want to look into 3D printing. It's a fun hobby that can also tie in with your photography, whether you shoot as a hobbyist or professional.


Join the Fstoppers community for free
-
Post comments and join in the discussions
-
Browse the site ad-free
-
Share your work and get featured in the community
-
Compete in the photo contests for fun and prizes
11 Comments
Eh, I'll put that money into my next lens.
Agreed. It is a fun (and useful) hobby. I've been designing and printing stuff for my photography gear for years and I love it. The old saying from Abraham Maslow "if all you have is a hammer, everything looks like a nail" becomes "when you have a 3D printer, everything has a solution (even if it wasn't really a problem)"
Good going man. I think a teleprompter stand and a Moment (lens) iPhone 12 cover with a space to slot in a portable charger that charges via Magsafe, and strap to hang the phone around your neck like a camera would be awesome. Again, well done!
I've 3D printed a couple accessories, since I've worked jobs that had them the past few years. If you already have access to a printer, it's not a bad idea for some things, particularly if that thing isn't commercially available. The cheapest machines run about $100-200, so probably not worth buying one just for camera accessories. That, and you just have to recognize the limitations of the machine. Parts come out with a rough texture, precise parts like threads and bayonet connectors never fit right, and they're weak against shear force between print layers.
Lens caps for old MF lenses - original ones cost usually as much as a full roll of filament, but printing them is less than 1$ :D It's awesome we have such tech available at home - through lockdown I bought simple printer and learned to design stuff :D https://www.thingiverse.com/pixelrider/designs
Those are some nice looking designs!
You have to take the cost of the printer into consideration as well, then your lens cap costs probably more than a new one.
I have it since May and for the amount of prototyping I'm doing, it already paid itself ;)
Gadget Prototyping becomes the thing you do when its not camera time. One idea eads to another
http://www.licole.com.au/carbon-gimbal-heads.html
3D printing is not only a hobby but also a serious technology used by some industrial companies. Just look at https://anisoprint.com/ continuous fiber 3D printing solutions for manufacturing optimal composites with continuous fibers: desktop and industrial 3D printers. I think they could print the whole camera case, not only accessories.
I'm very impressed that was all designed with tinkercad. I remember I tried using it some time back and wasn't getting designs like that with it. Used Fusion 360 some but need to get back into it.